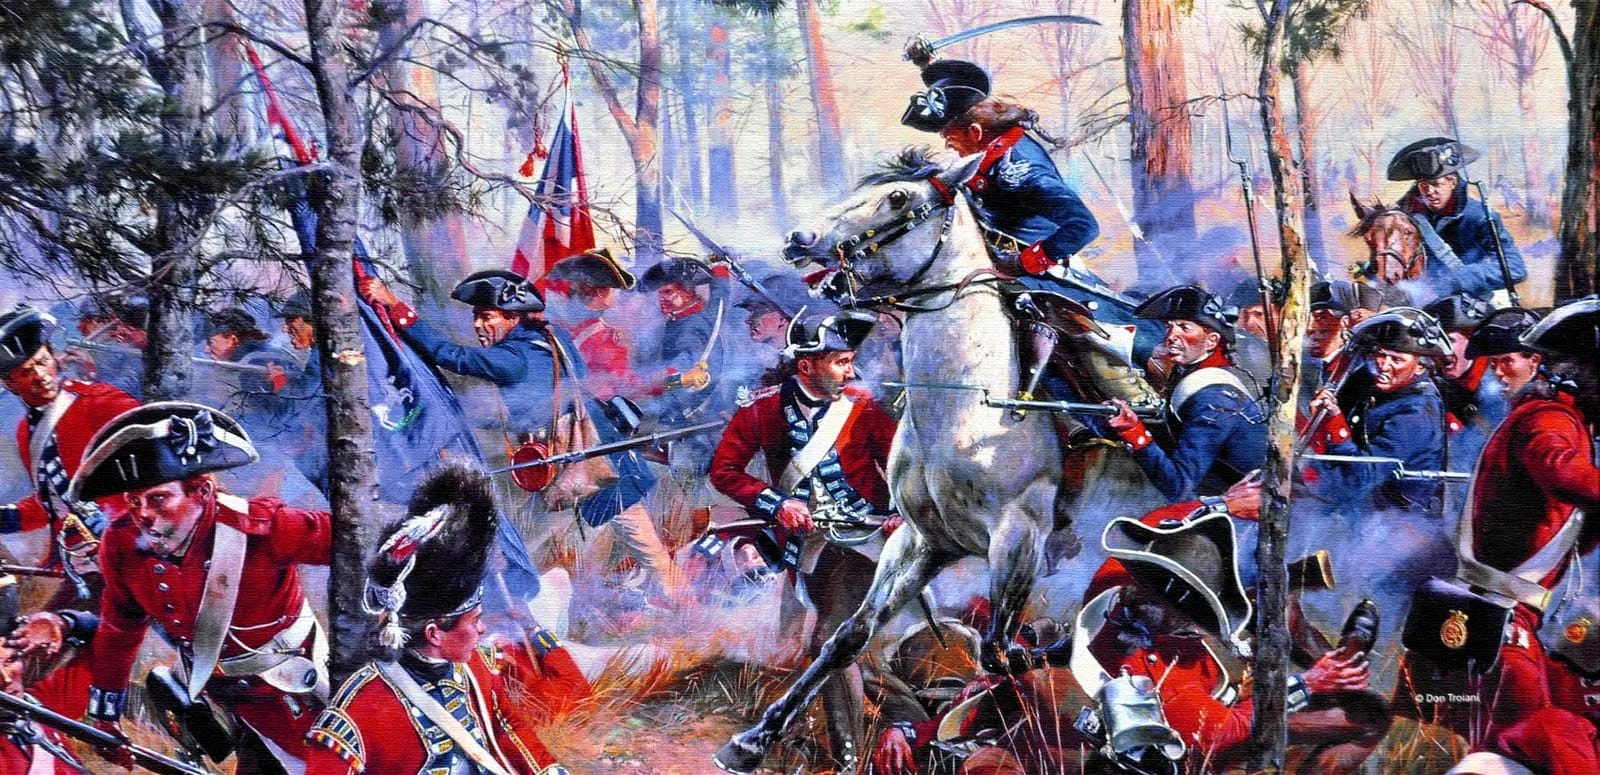
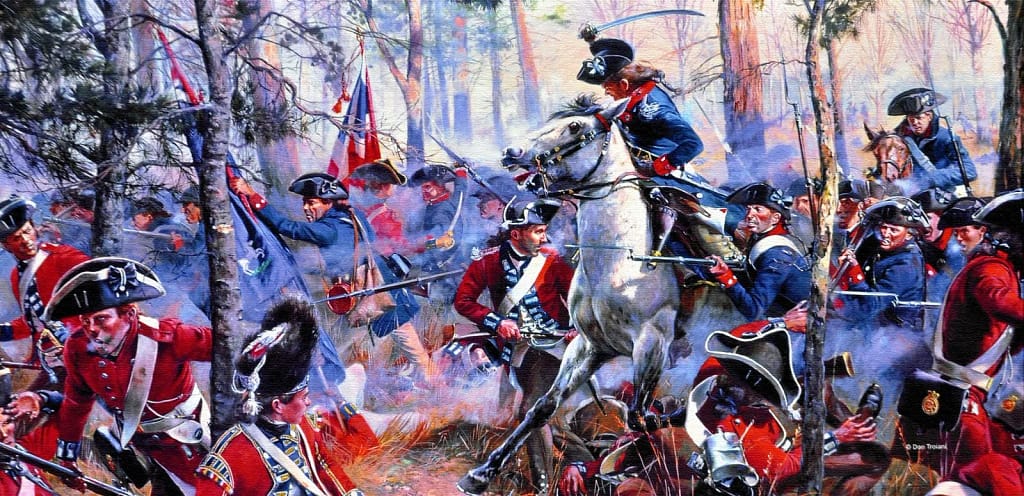
Dan Morgan’s Tactical Masterpiece on the Carolina Frontier!
At the Battle of Cowpens, South Carolina, General Daniel Morgan turned the tide of the American Revolution in the South. Using a layered defence and feigned retreat, his mixed force of Continentals, militia, and cavalry shattered Banastre Tarleton’s elite British legion in less than an hour.
Key facts
Google Earth map – Location of the Cowpens battlefield
🎧 Prefer to listen? This article is now available as a 42 minute podcast.
Tip: If Podbean overlay appears after pausing, click the × in the top-right corner to return to the player controls.
🧭🥾 Walking the Battlefield
I first visited Cowpens battlefield in 1997, and visited again in October 2019, this time equipped with the primary and secondary sources, mapping and GIS data that are my standard tools for battlefield exploration. Cowpens is a compact battlefield, bounded by creeklines on either side – the same creeklines that funnelled Tarleton’s British troops in 1781.
Cowpens has always fascinated me. Dan Morgan’s use of tactical innovation was astounding for the period. He knew the strengths and vulnerabilities of his force and leveraged this knowledge to defeat what was a more capable British force. In Mel Gibson’s 2000 movie ‘The Patriot’, Gibson’s Colonel Benjamin Martin lures the British into battle by deploying a line of militia troops in front of his position, knowing full well that they cannot stand against the British infantry. Their task was to fire two rounds and then withdraw with the British in pursuit. Hidden in the dead ground behind the militia were steady ranks of American Continental troops who then gave the pursuing British a good thrashing. It all seems very Hollywood and very improbable. But that is precisely what happened at Cowpens in 1781! The scene in ‘The Patriot’ was based on the Battle of Cowpens.
Strategic Context: the war moves south
The war moves south
By early 1781, the American Revolutionary War had entered a decisive new phase. The British, having failed to suppress rebellion in the north, shifted their weight southward, hoping to exploit Loyalist sympathies in the Carolinas and Georgia. The southern colonies were seen as fertile ground for restoring royal authority, both because of the plantation elite’s traditional ties to Britain and because Loyalist militia could supplement stretched British regular forces.
The shift began in earnest in 1780 when General Sir Henry Clinton launched an expedition into South Carolina. The British gained a spectacular success in May, capturing Charleston after a long siege and taking more than 5,000 American prisoners — the single largest surrender of the war. In August 1780, British fortunes rose higher still when American forces under General Horatio Gates, the victor of Saratoga, suffered a crushing defeat at the Battle of Camden. Patriot morale in the South plummeted, and it seemed to many observers that Loyalist ascendancy was inevitable.
Loyalist defeat at King’s Mountain
Yet cracks soon appeared in the British strategy. Attempts to mobilise Loyalist militia often produced more resentment than support, as harsh reprisals alienated the population. At Kings Mountain in October 1780, Patriot militia decisively defeated a Loyalist force, killing or capturing nearly its entire strength. The battle was a warning: British reliance on Loyalist auxiliaries was no guarantee of control.
Nathaniel Greene takes over
In December 1780, the Continental Congress entrusted overall command in the South to General Nathanael Greene, a capable and pragmatic officer. Greene recognised that he lacked the numbers to confront the British head-on. Instead, he divided his army, sending a mobile detachment under Brigadier General Daniel Morgan westward from Charlotte, North Carolina. Morgan’s task was to rally backcountry militia, harass British outposts, and threaten Loyalist concentrations. This move was risky — Greene’s forces were already outnumbered — but it forced the British to extend themselves across difficult terrain.
General Charles Cornwallis, commanding in the South, recognised the danger. Morgan’s advance threatened both his supply lines and the fragile network of Loyalist garrisons that supported his occupation. To neutralise the threat, Cornwallis dispatched one of his most aggressive officers, Lieutenant Colonel Banastre Tarleton, with a mixed column of about 1,150 men: cavalry from his own British Legion, regular infantry from the 7th and 71st Regiments, artillery, and provincial auxiliaries. Cornwallis intended Tarleton to overtake and crush Morgan before the Americans could gather strength.
The road to Hannah’s Cowpens
Morgan, however, was no ordinary opponent. A tough veteran of frontier fighting and a hero of Saratoga, he knew the strengths and weaknesses of both militia and Continentals. Rather than retreat before Tarleton, Morgan chose his ground carefully. On 17 January 1781, at a place called Hannah’s Cowpens — an open pastureland near present-day Chesnee, South Carolina, where locals once grazed cattle — he prepared a complex ambush. With a keen understanding of both terrain and psychology, Morgan would lure Tarleton into a carefully layered defence that turned apparent weakness into decisive strength.
Opposing Forces: American Patriots versus Tarleton’s Legion
 American/Patriot Forces
 American/Patriot Forces
Brigadier General Daniel Morgan commanded about 1,000 men, a mixed force of Continentals, militia, and cavalry. His command reflected the improvisational character of the Southern Campaign:
- Continental Infantry (approx. 300–350 men): A core of veterans from Maryland and Delaware formed Morgan’s reliable centre. Commanded by Lt. Col. John Eager Howard, these troops were drilled and disciplined, able to execute controlled withdrawals and counterattacks.
- Militia (approx. 500–600 men): Drawn from North Carolina, South Carolina, and Georgia, the militia were less steady under fire but vital for swelling numbers. Morgan placed them forward, instructing them to fire two volleys before retiring. Their performance at Cowpens defied the British expectation that militia would scatter at first contact.
- Cavalry (approx. 80–100 troopers): Lt. Col. William Washington’s small but aggressive mounted force was crucial in exploiting opportunities. His cavalry countercharges disrupted British dragoons and rolled up infantry exposed by the double envelopment.
- Supporting these were small groups of riflemen and light troops, including sharpshooters from the Carolinas and Virginia, whose accurate opening fire helped unhinge the British advance.
 British Forces
 British Forces
Lieutenant Colonel Banastre Tarleton led a force of about 1,100 men, largely composed of regulars and provincial loyalist units. Tarleton’s troops were experienced but fatigued from days of pursuit.
- Infantry (approx. 800 men): The backbone of Tarleton’s command was the 7th Regiment of Foot (Royal Fusiliers) and the 71st Highlanders, supported by the Loyalist infantry of the British Legion. These troops were battle-tested but overconfident, spurred on by Tarleton’s aggressive leadership.
- Cavalry (approx. 250–300 troopers): The British Legion cavalry, well-regarded for shock action, accompanied Tarleton. They were expected to scatter the Patriot militia and exploit any disorder, but Washington’s cavalry repeatedly checked them.
- Artillery: A pair of 3-pounder field guns provided Tarleton with some fire support, though they were of limited effect in the wooded and rolling terrain of the battlefield.
The Balance of Forces
While Tarleton enjoyed a slight numerical edge and fielded a higher proportion of regulars, Morgan’s careful deployment neutralised these advantages. By blending Continental steadiness, militia firepower, and cavalry manoeuvre, he constructed a defence-in-depth that turned Tarleton’s impetuous attack into a trap.
Phase I. Approach to Hannah’s Cowpens
In the days before the clash, both armies moved rapidly through the Carolina backcountry. Morgan, encumbered by a militia of variable reliability, avoided fixed positions and sought ground favourable to his methods. The open pasture at Hannah’s Cowpens — used for grazing cattle, hence its name — offered space to manoeuvre and natural channelling features on the flanks.
Tarleton, by contrast, advanced with characteristic speed and aggressiveness. His “flying column” was designed for pursuit, not positional fighting. Many of his men had been marching through the night before the action; fatigue was already eroding discipline. Tarleton’s impatience, combined with his disdain for militia, ensured that when contact came, it would be direct and furious.
Phase II. The skirmishers’ opening shots
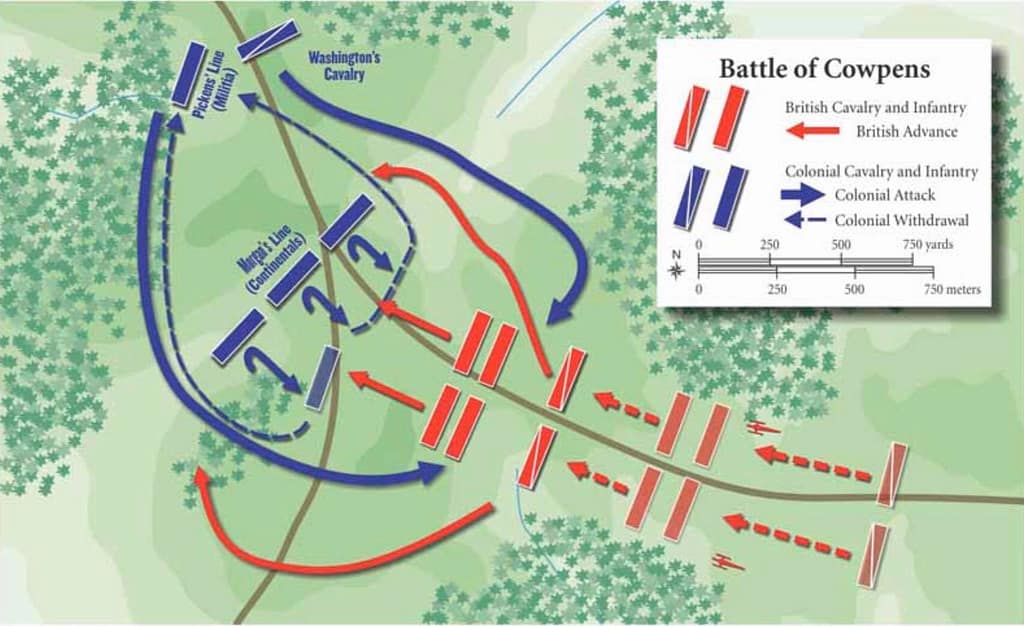
At first light, Morgan’s forward skirmishers — crack riflemen drawn from North Carolina and Georgia — screened the field. Armed with long rifles accurate at over 200 yards, they picked off British officers and non-commissioned leaders. Their opening volleys slowed Tarleton’s advance and seeded disorder among the infantry ranks.
These men were never intended to stand and fight. After firing, they melted back through the trees toward Pickens’ militia line. Their disappearance created the illusion that the Americans were already yielding ground, feeding Tarleton’s assumption that the Patriot army would scatter once pressed.

Phase III. The Militia volley
The second line of Morgan’s defence, the militia under Charles Pickens, now bore the brunt of the assault. Tarleton’s Legion infantry and the 7th Regiment of Foot closed in at the quick step, drums beating. At about 50 yards, Pickens’ militia unleashed their two planned volleys. These were carefully timed: the first to stagger the advance, the second at near point-blank range to cut down attackers just before they could fix bayonets.
The effect was devastating. Entire files of redcoats dropped, and momentum faltered. True to orders, however, the militia did not attempt to stand a bayonet charge. They fell back behind the Continentals — not in panic, but in controlled withdrawal. To British eyes, however, this looked exactly like the rout they expected.
Phase IV. Tarleton commits his force
Sensing victory within reach, Tarleton hurled his main body forward. He committed both regulars and Loyalist auxiliaries in a headlong charge against Howard’s Continentals, while ordering his Legion dragoons to ride down the retreating militia.
At this critical moment, William Washington’s cavalry reserve emerged from concealment on the flank. They smashed into the charging dragoons, sabres flashing, scattering them and protecting the militia as they regrouped. The British cavalry, deprived of their shock role, never recovered cohesion.

Feigned retreat by the Continentals
As the British regulars pressed the Continentals, a moment of apparent crisis unfolded. Howard issued an order to wheel a company to the right, but the command was misunderstood as a general withdrawal. The Continental line began falling back in unison.
For Tarleton, this confirmed the collapse he anticipated. He drove his men forward in a furious bayonet assault to finish the job. Yet Howard, calm and in control, halted his troops at the right moment, reformed their line, and ordered a withering close-range volley. The advancing redcoats, caught mid-charge, were cut down in swathes.

Phase V. Morgan springs his trap
As the British line reeled, Morgan committed decisively. Howard’s Continentals pressed forward against the faltering British attack. Washington’s cavalry wheeled in from the right, driving into Tarleton’s exposed left flank. On the opposite side of the battlefield, Pickens’ rallied militia returned to strike the British right flank.
This three-sided assault shattered the British force. Tarleton’s left and centre buckled; the Highlanders on the right fought stubbornly but were outflanked and surrounded. Panic spread across the field as British units dissolved. Soldiers threw down muskets and surrendered in droves.
⚔️ Go deeper — Members get exclusive access to the Deep Research Collection, Field Notes, and monthly Research Dispatches. Try membership free for 7 days, cancel anytime. From $9/month.
Tarleton’s Flight from Cowpens
Tarleton’s collapse
As the double envelopment snapped shut and the British line collapsed, the field turned into a rout. Morgan’s militia pressed forward with renewed confidence, while Washington’s dragoons cut through the remnants of the British Legion cavalry. Within less than an hour, Tarleton’s proud command had ceased to exist as a coherent force.
Only fragments managed to break out. Some infantry threw down their arms, others scattered into the woods, but most were captured where they stood. For Tarleton himself, the battle closed with a desperate dash for survival. He attempted to rally a small band of horsemen, cutting through encircling Americans in a bid to escape.
Duel with Lieutenant Colonel Washington
During this chaotic retreat, Tarleton engaged in a brief but dramatic sabre duel with Lieutenant Colonel William Washington, commander of the Patriot cavalry. Accounts describe Washington lunging at Tarleton and shattering his sword blade against the Englishman’s weapon. A Loyalist officer intervened, firing a pistol shot that killed Washington’s horse and allowed Tarleton to break free. Pursued by Washington’s men, he spurred his horse furiously, eventually fleeing the field with only about 40 mounted survivors from the 250 troopers who had entered the fight.
The escape was narrow and humiliating. Tarleton’s reputation as the terror of the southern backcountry — built on his rapid marches and ruthless pursuit of fleeing rebels — now stood in tatters. The personal duel with Washington became a favourite subject of later retellings, encapsulating the reversal of fortune that Cowpens represented: the hunter turned quarry, the pursuer forced to flee.
Outcomes of the Battle of Cowpens
Immediate Military Consequences
The scale of Tarleton’s defeat shocked both sides. Out of roughly 1,150 men under his command, more than 800 were killed, wounded, or captured, including nearly the entirety of the British Legion infantry and the 7th Regiment of Foot. Four field guns, 200 cavalry horses, and much of Tarleton’s baggage train fell into American hands. By contrast, Morgan’s force of about 1,000 sustained fewer than 150 casualties, a remarkable disparity highlighting the effectiveness of his tactical plan.
Strategically, Cowpens shattered Cornwallis’ light troops and deprived him of Tarleton’s aggressive striking arm. It boosted Patriot morale at a time when southern fortunes had hung in the balance, and directly contributed to Cornwallis’ overextended pursuit into North Carolina — culminating in Guilford Courthouse and, ultimately, Yorktown.
Tarleton’s reputation as the scourge of the southern backcountry, feared for his speed and brutality, never recovered. His command was effectively destroyed as a fighting force. More importantly, Cornwallis lost the core of his light troops — the instrument he relied upon for reconnaissance, pursuit, and rapid strikes. Without them, his freedom of action in the Carolinas was fatally constrained.
The Cowpens tactical model
The Battle of Cowpens became a model of integrated, layered defence and counterattack. Morgan’s careful use of militia, his elastic depth of deployment, and his mastery of timing produced a rare double envelopment on an open battlefield. The Americans used the tactical model again at Guilford Courthouse two months later.
By placing his various troop types on specific pieces of ground, Morgan had also demonstrated a deep appreciation of the power of micro-terrain—those small scale terrain features that often do not appear on maps and can only be seen when you are standing on the ground. The concept of exploiting small scale terrain features in battle is discussed further in the Micro-Terrain and Command Decision-Making research hub.
In an era when battle tactics were were generally quite simple (because it was so difficult to communicate once the battle started), the American tactics at Cowpens were really quite sophisticated. The skirmish line (effectively a covering force) broke up the British attack, while the barely trained American militia inflicted substantial casualties and were allowed to withdraw before they had to face a bayonet charge by British line infantry. After all this, the British faced steady ranks of Continentals, and were enveloped on both flanks. Hannibal at Cannae, and Zulu Chief Ntshingwayo kaMahole Khoza at Isandlwana would have recognised the tactics employed.
The Cowpens battlefield today
Preserved landscape
The site of Cowpens is now protected as the Cowpens National Battlefield, part of the U.S. National Park Service. The open pastureland where cattle once grazed has been carefully maintained, providing visitors with a clear sense of the tactical space Morgan selected. The rolling ground, tree lines, and gentle slopes are all visible, allowing modern travellers to picture how militia, Continentals, and cavalry moved across the field.
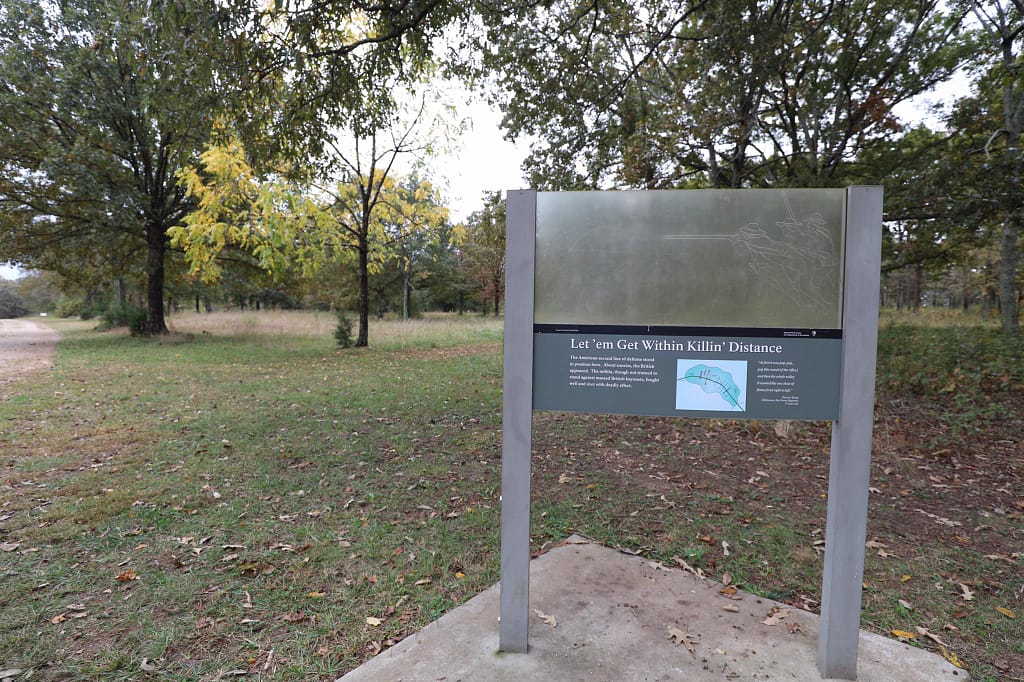
A walking trail and driving loop trace the lines of advance and defence, with interpretive signs marking key positions. The park’s scale — compact compared to sprawling battlefields like Gettysburg — helps visitors grasp the drama of a clash that lasted barely an hour but changed the course of the war.
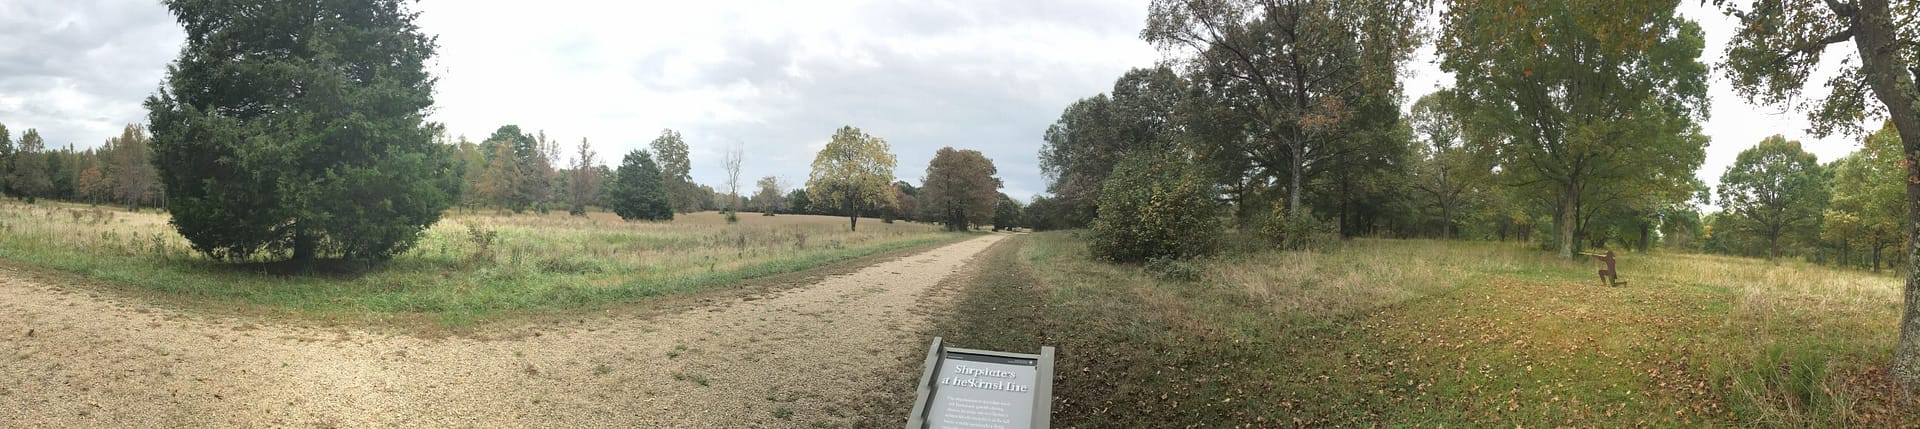
View from the American skirmish line towards the British advance
Visitor Centre and Interpretation
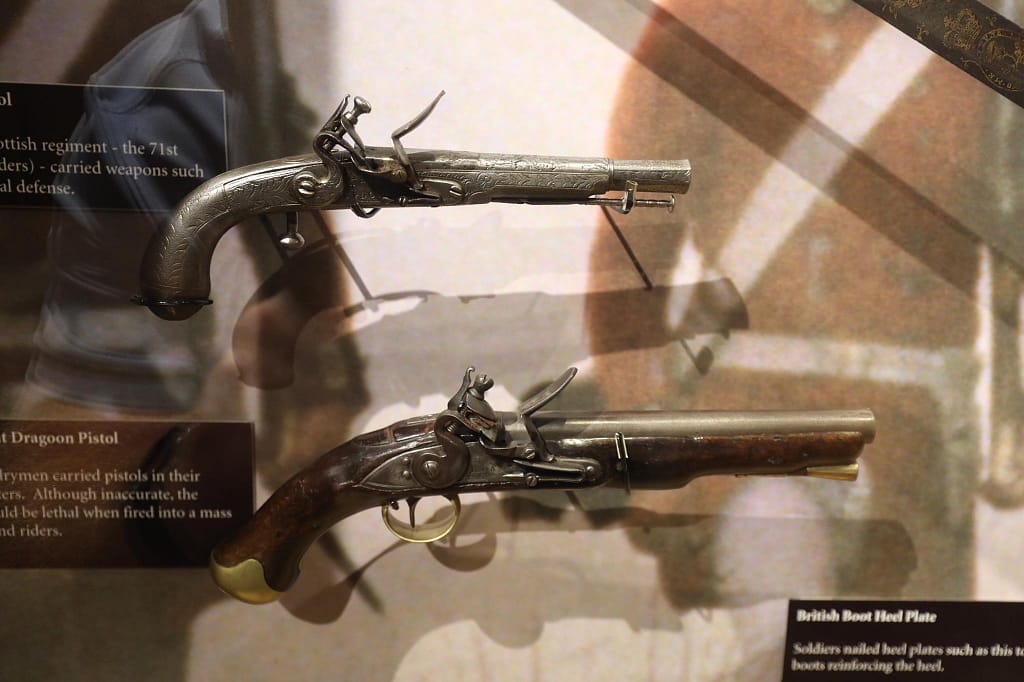
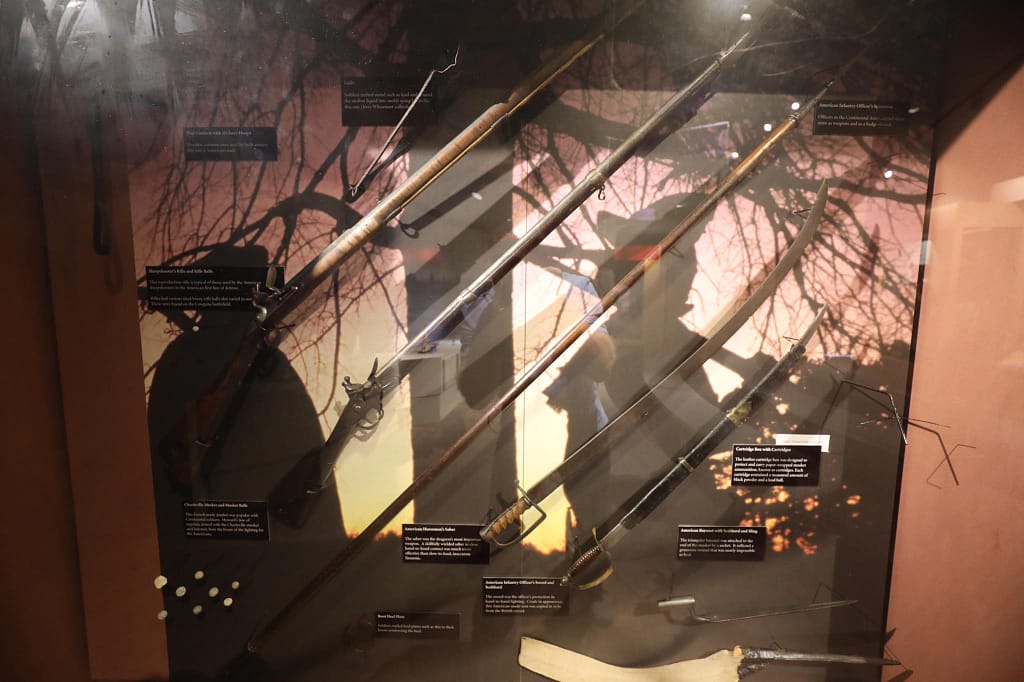
The Cowpens Visitor Center houses exhibits on the battle, the southern campaign, and the personalities of Morgan, Tarleton, and their troops. Weapons, uniforms, and period artefacts provide tangible connections to the fight. An orientation film explains the sequence of the battle, while maps and dioramas illustrate the tactical layers that made Morgan’s victory possible.
Living history events, including musket demonstrations and reenactments, periodically bring the battlefield to life. These provide not just spectacle but insight into the sights, sounds, and even the smoke-filled confusion of 18th-century combat.
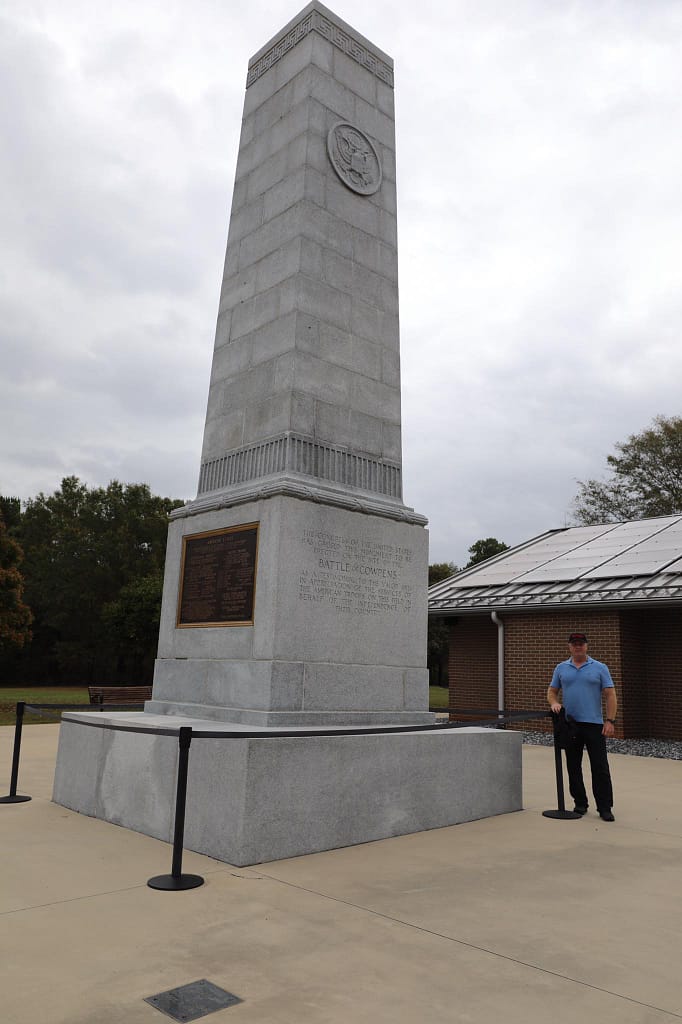
Link to the Cowpens battlefield website
Additional images of Cowpens

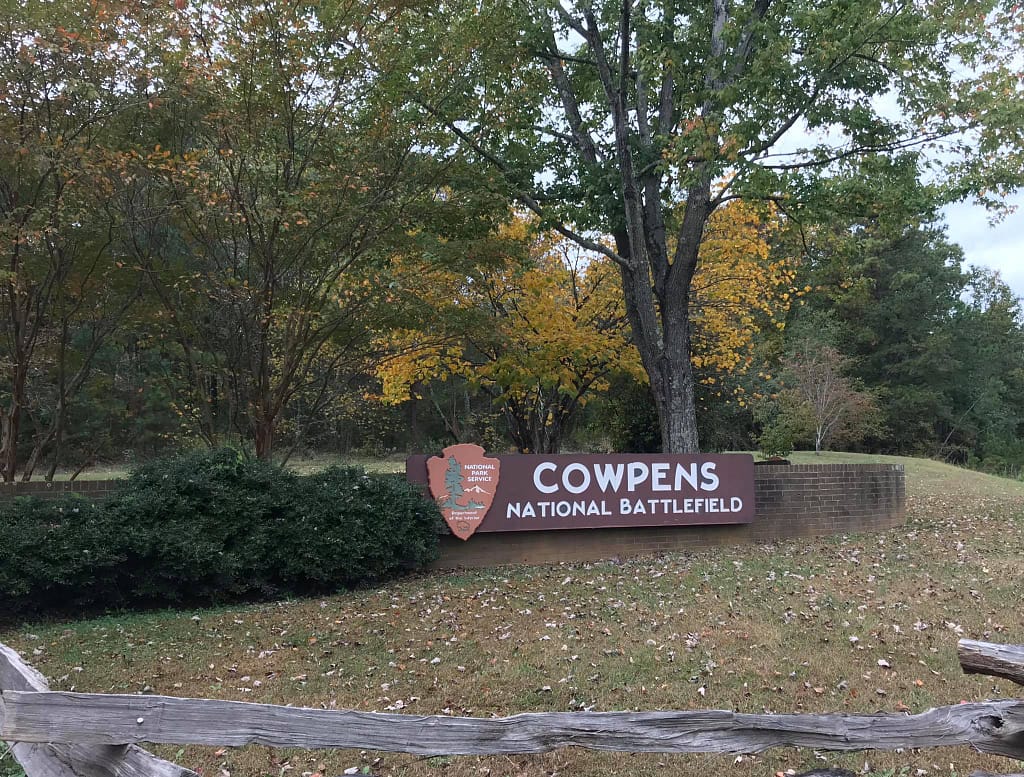
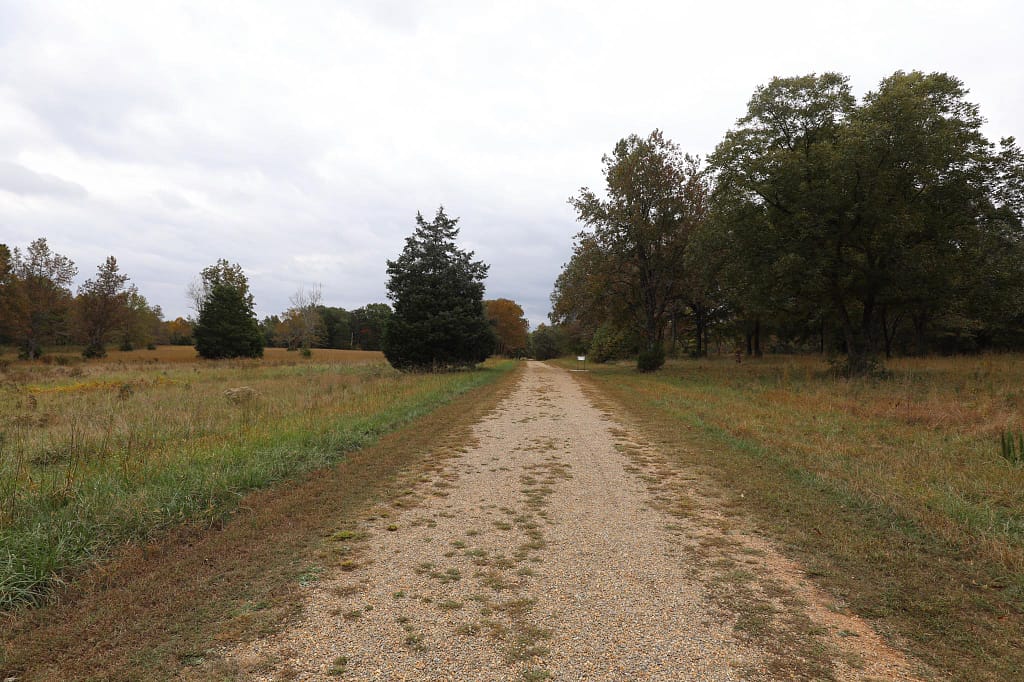

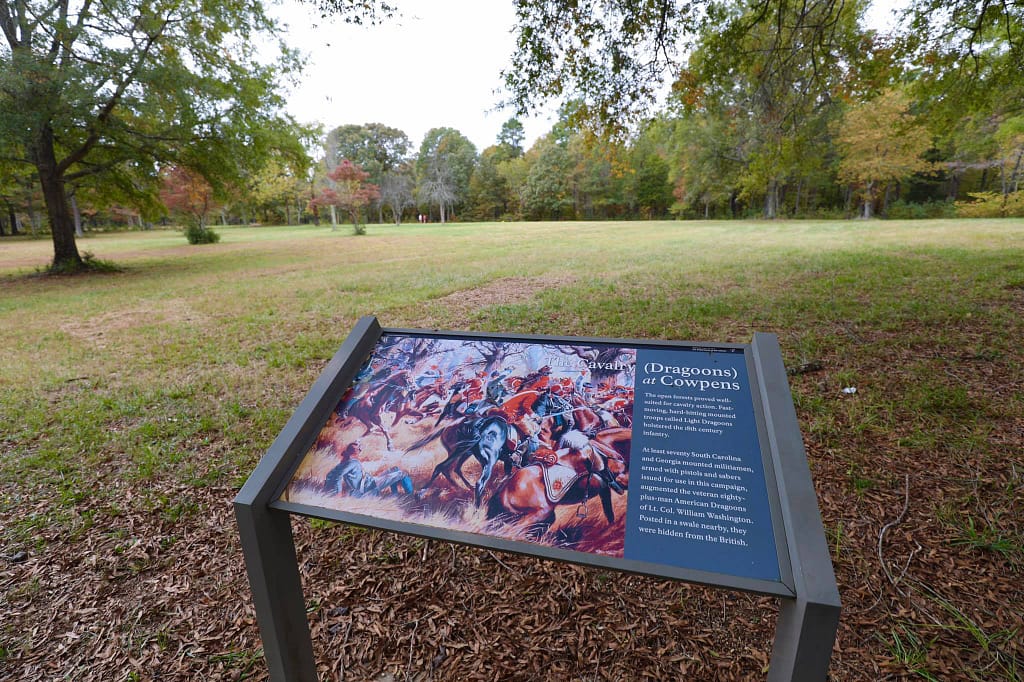

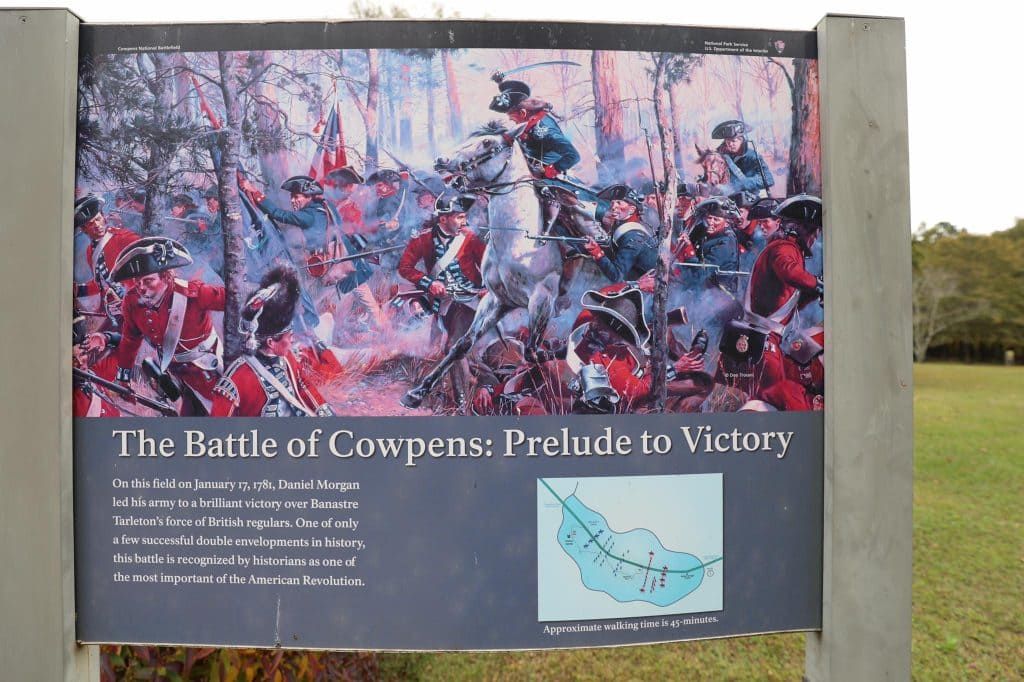
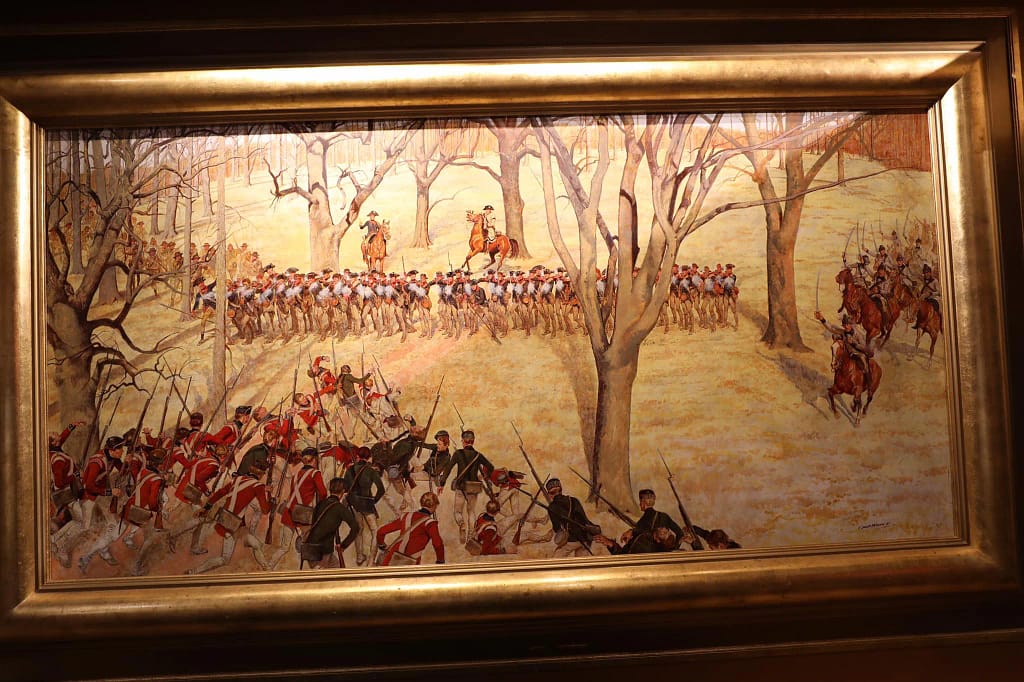
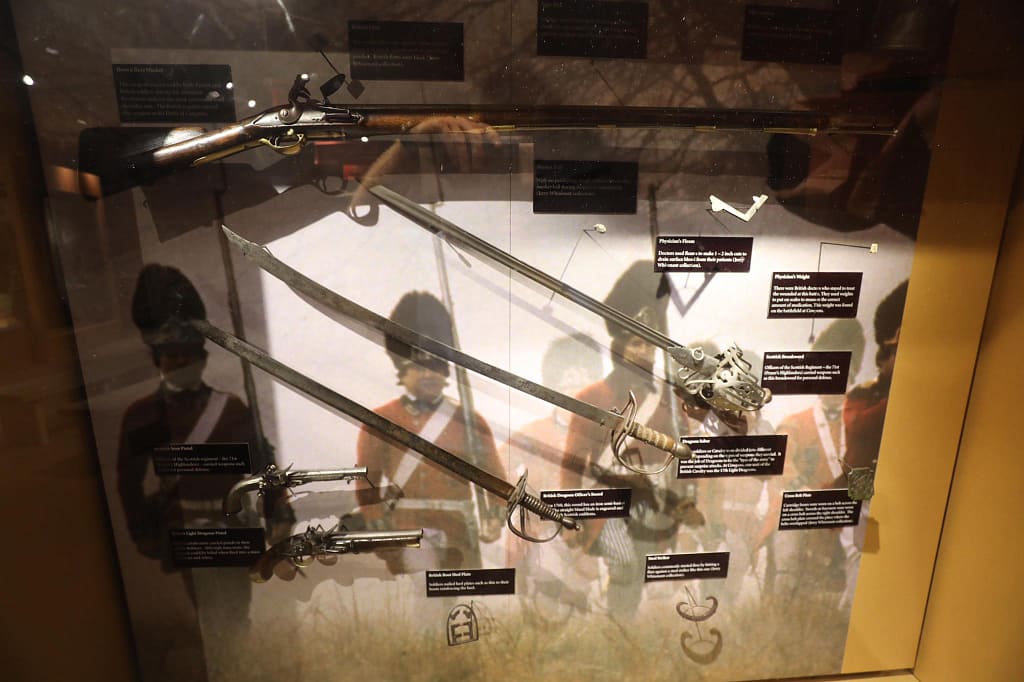


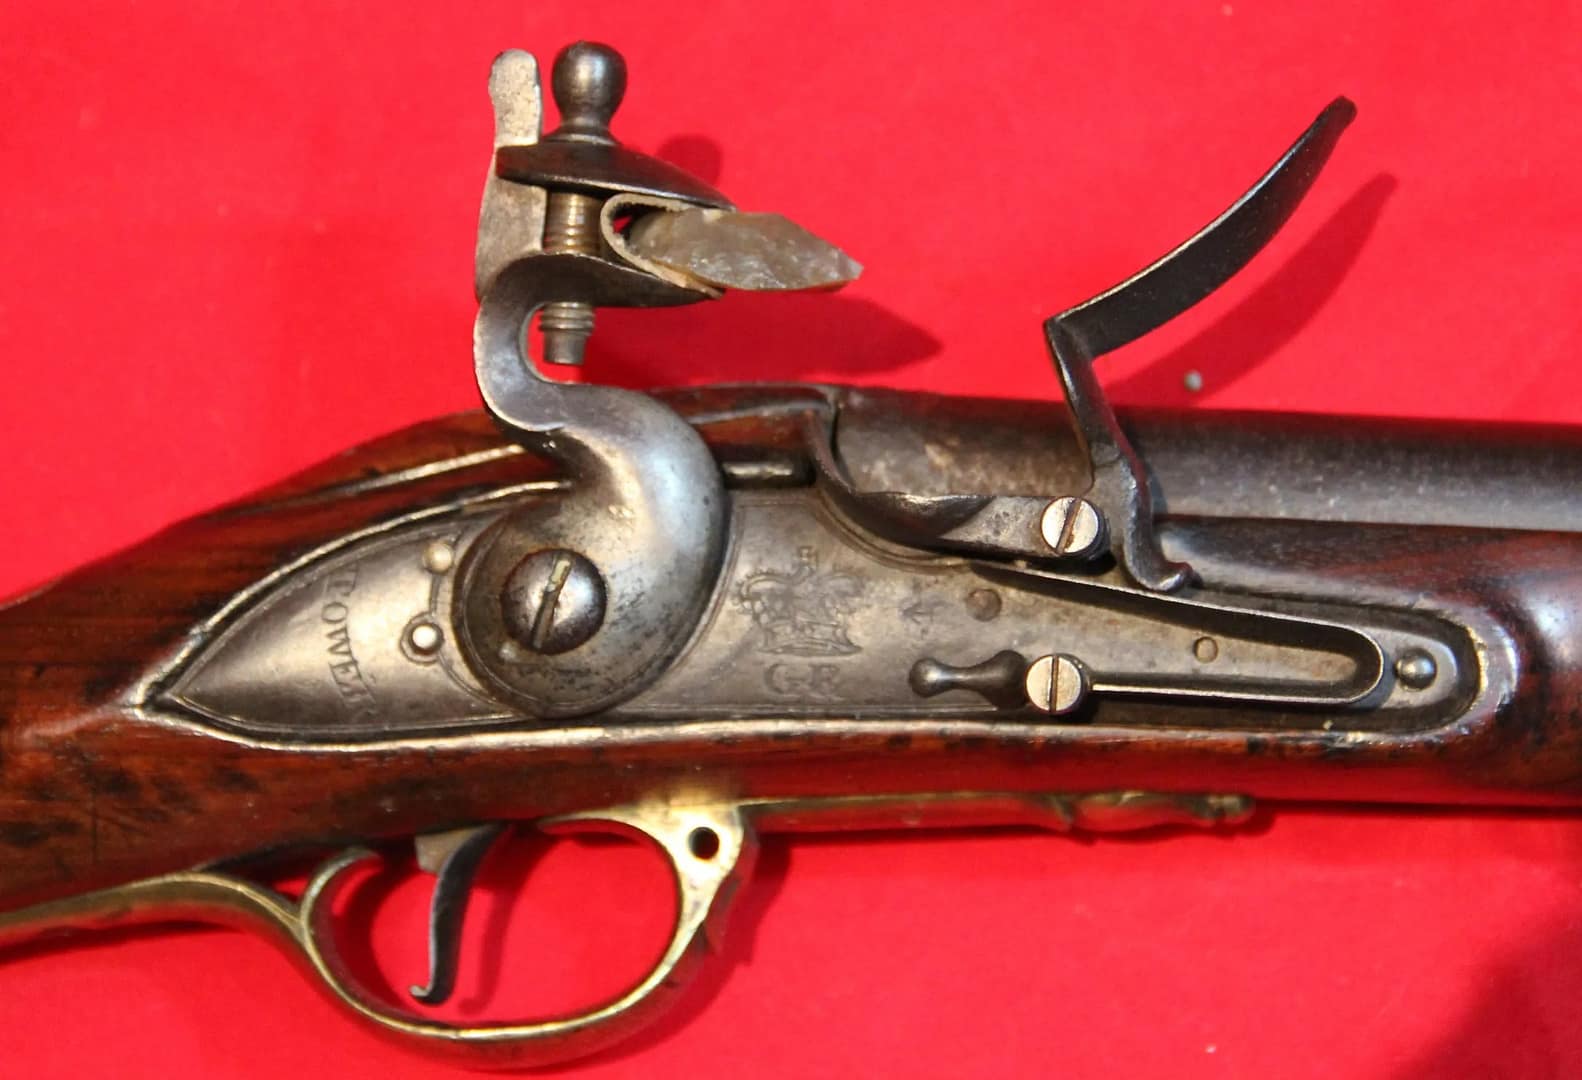
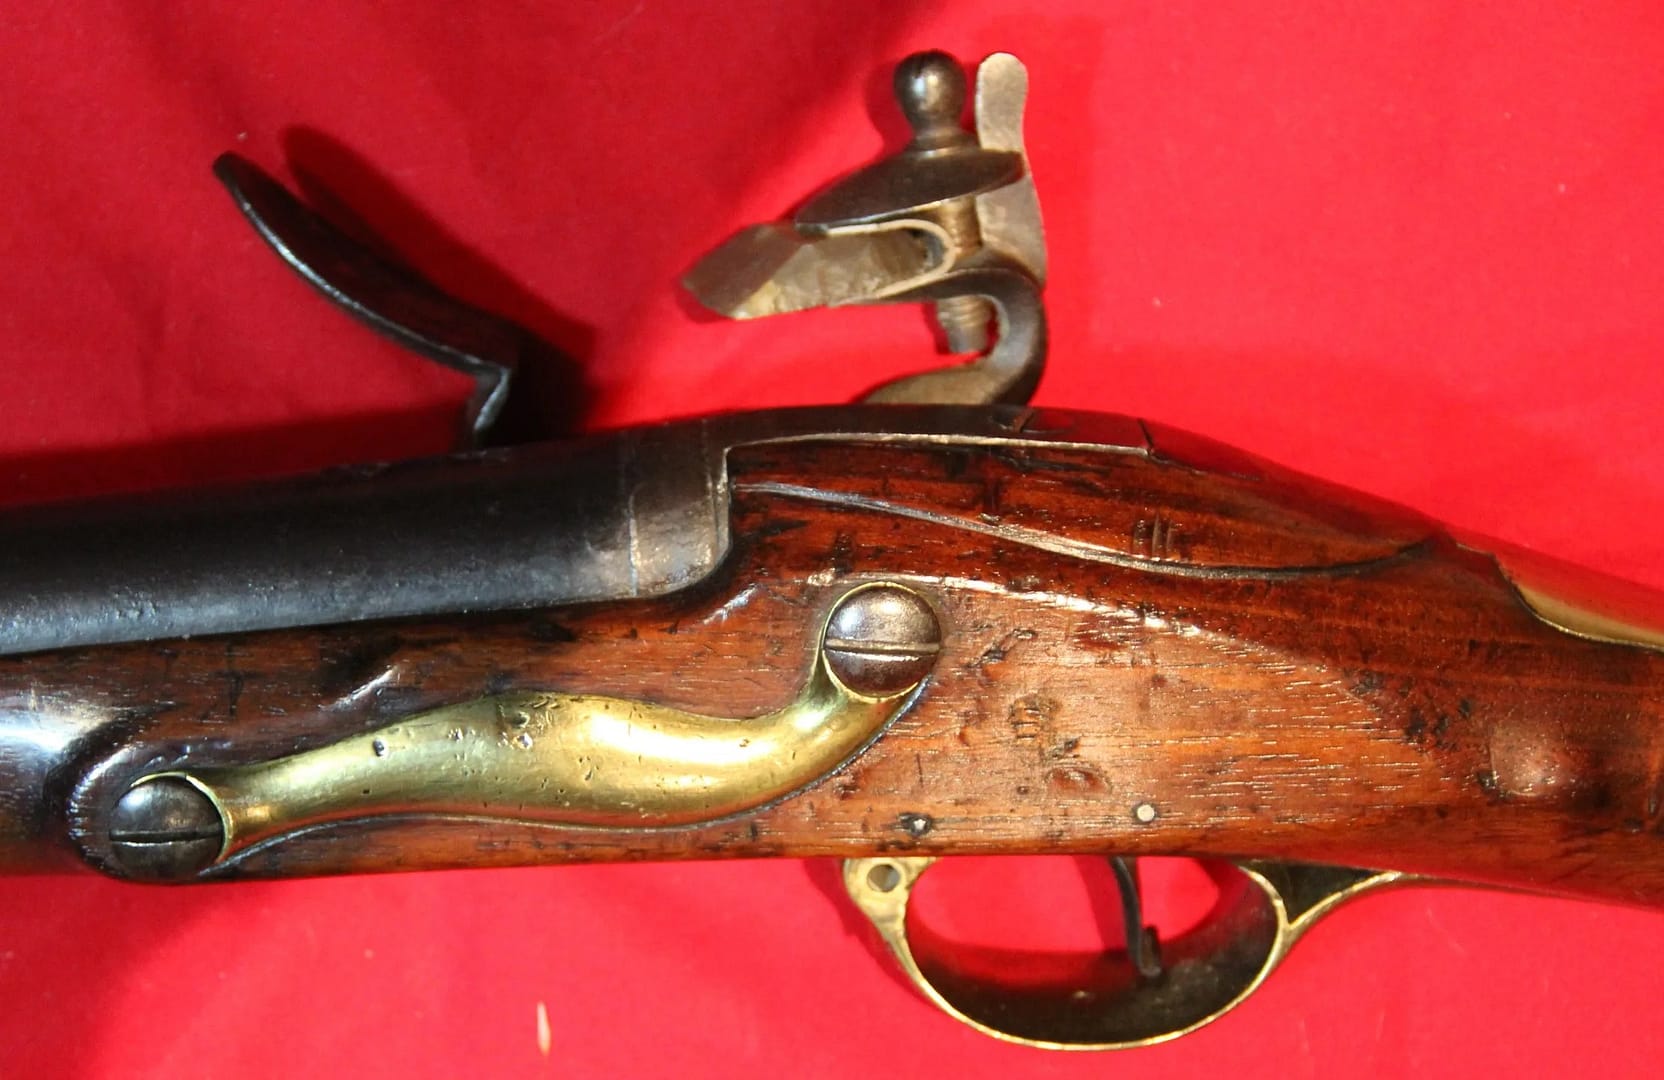
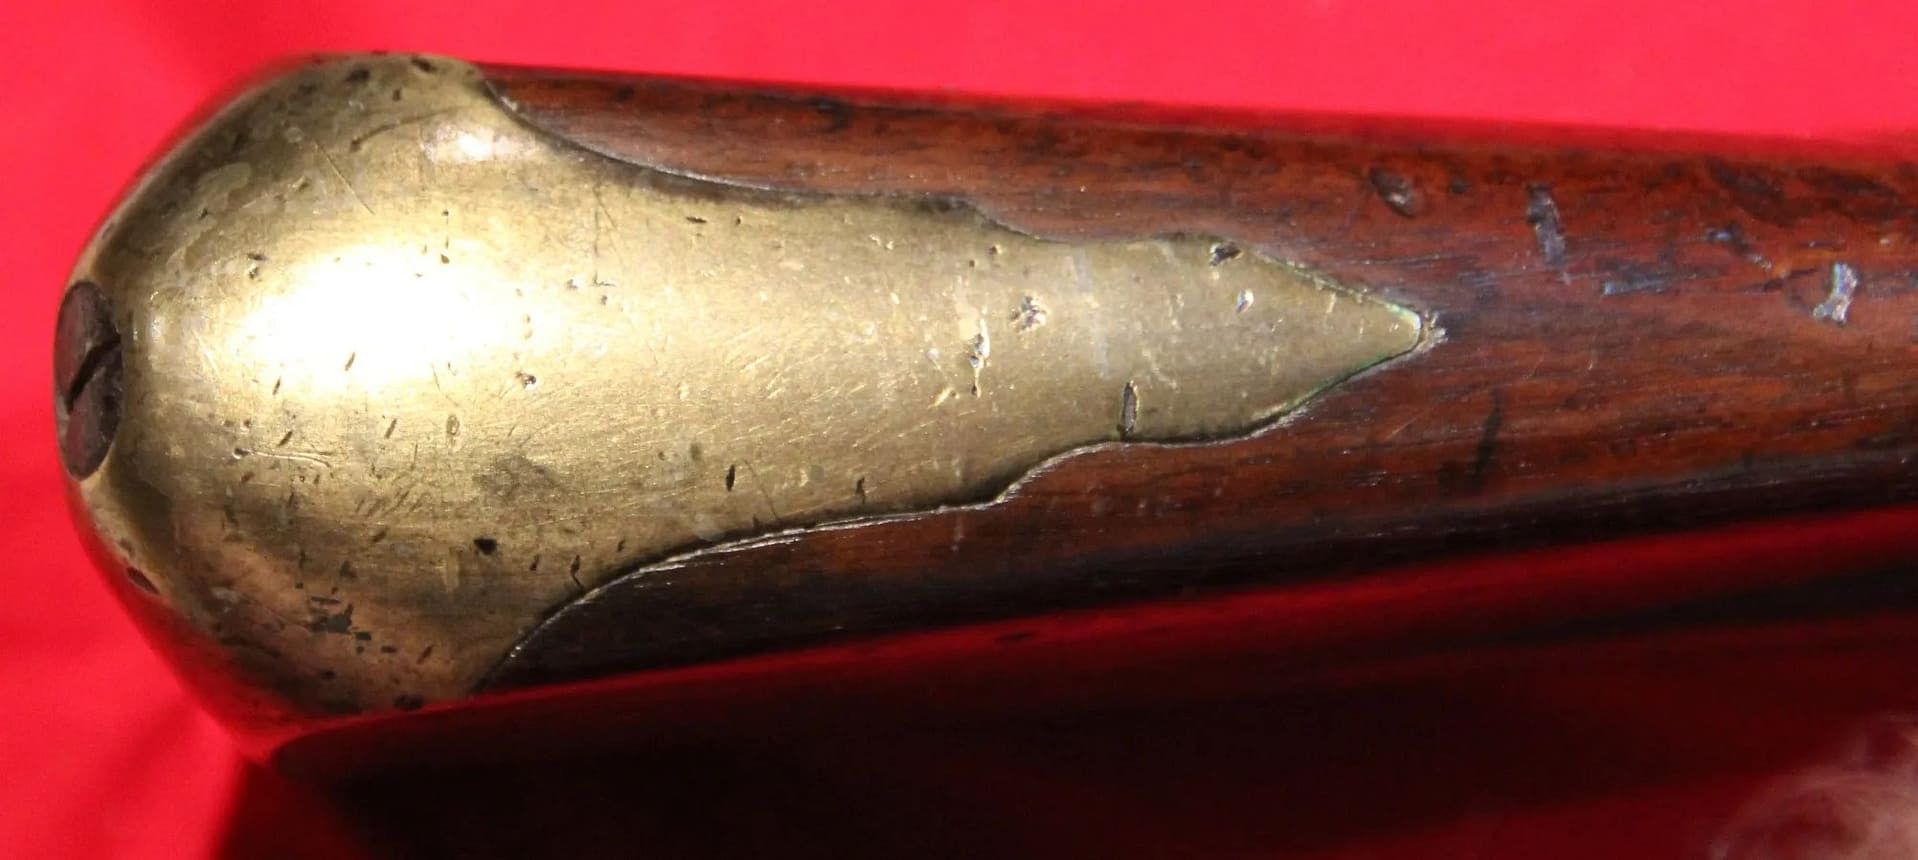
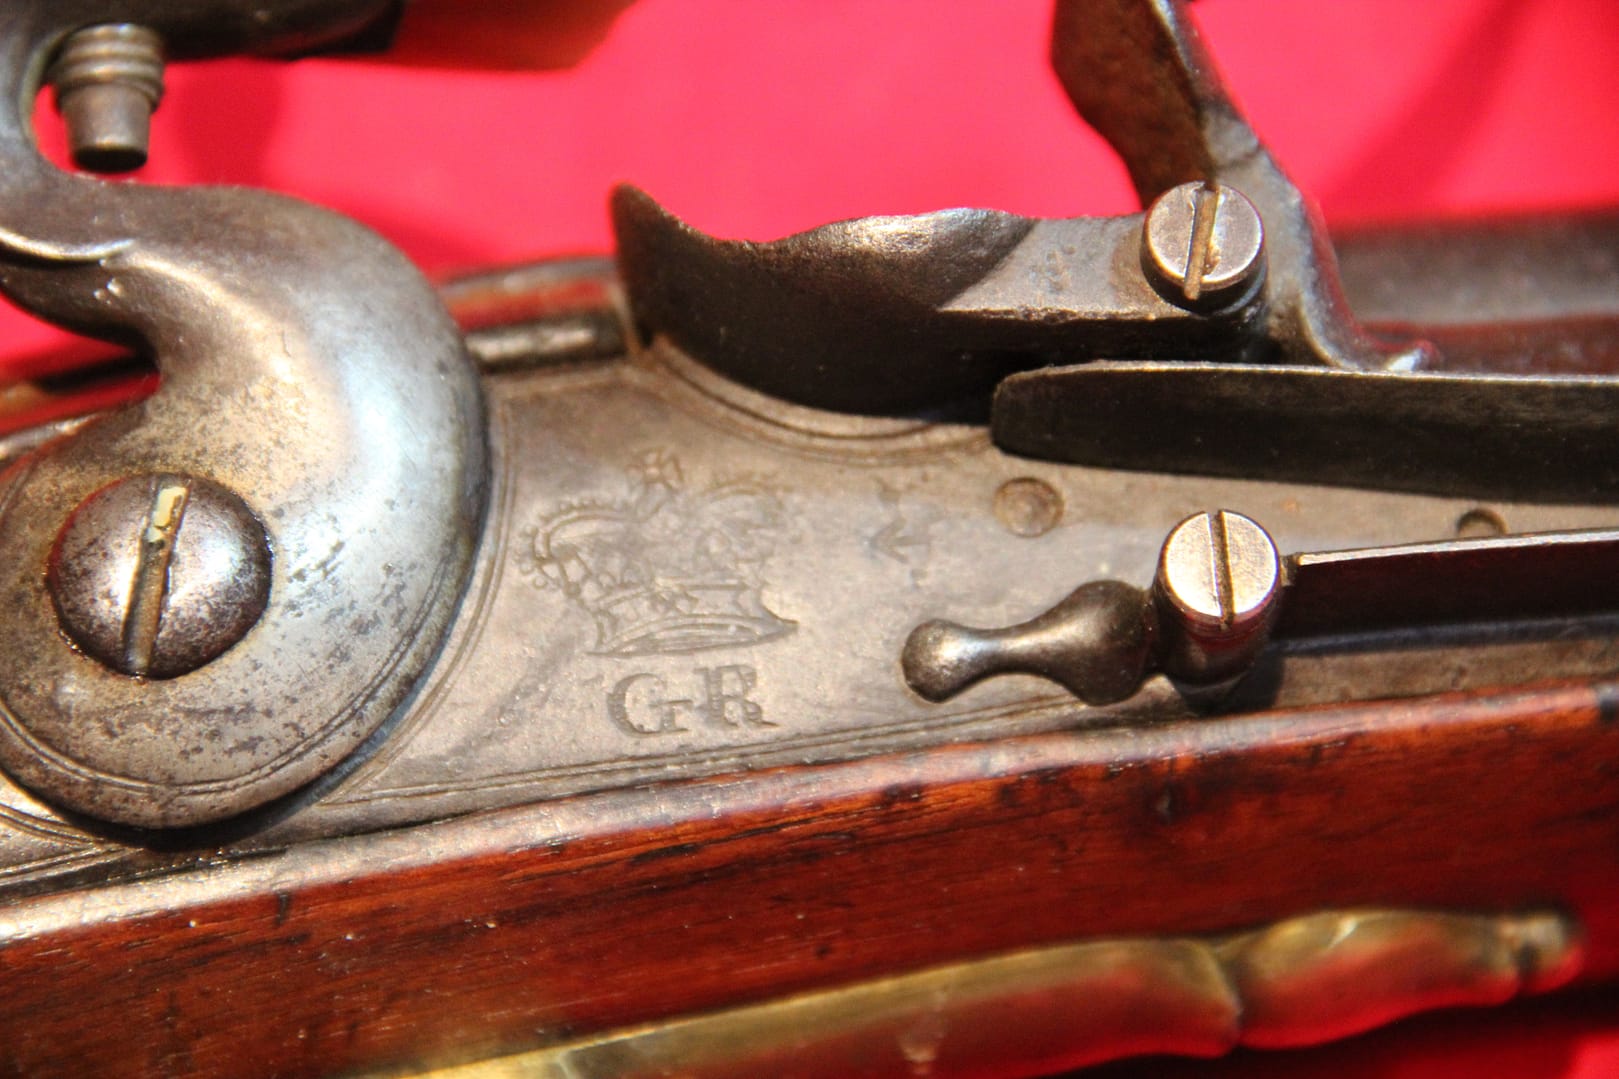
From my personal collection – a British Short Land Pattern Brown Bess, Model 1777-S. This pattern was a simplified model to meet the vastly increased demand for the war in the American colonies. The hammer casting was simplified, as was the brass sideplate. Also, innovations like the two conical ramrod tubes sped up reloading by guiding the ramrod back into place.
Found this useful? Buy me a coffee — it helps fund future battlefield research


Authored by Mick Prictor, a retired military officer with 40 years’ service, and a military historian specialising in terrain-focused analysis of tactics, doctrine, and command decision-making in land warfare. His work draws on extensive battlefield fieldwork—more than 280 sites worldwide—and one of the world’s largest private collections of historic military arms, uniforms, and equipment. About me
Sources
- Robert W. Brown Jr. (2009). Kings Mountain and Cowpens: Our Victory Was Complete. The History Press.
- Andrew Waters (2019). Battle of Cowpens: Primary & Contemporary Accounts. Independently published.
- Lawrence E. Babits (2001). A Devil of a Whipping: The Battle of Cowpens. The University of North Carolina Press.
📚 Further Reading: American Revolutionary War
This battle study nests within the broader analytical framework explored in the Research Hub, where operational methods, operating environments, armies, commanders, and weapons are examined across conflicts and eras. The links below connect related studies across the wider body of battlefield analysis on the BattlefieldTravels site.
⚔️ Explore all battle studies from the American Revolutionary War
🏛️Explore the museum of American Revolutionary War historic weapons and equipment
The book list for this conflict includes the finest campaign studies, memoirs, and operational analyses available on the American Revolutionary War, selected specifically to complement this battlefield study.
📚 American Revolutionary War 1775-1783 – Recommended Reading
🗞️ For updates on new battlefield studies and research insights, you can subscribe to the Newsletter.
Related Battle Studies, Museum Pieces & Reading Resources


🧭 Battlefield Travel Guide: Battle of Cowpens (1781)
Getting There
- Nearest Town: Chesnee, South Carolina, USA (north of Spartanburg).
- Transport: By car via I-85; use exits for Gaffney or Spartanburg and follow signs to Cowpens National Battlefield.
- Parking: Free parking at the Visitor Centre and trailheads.
Site Orientation
- Key Landmarks: Green River Road trace, main battlefield clearing, Morgan monument, and wayside markers.
- Walking Routes: 1.5-mile signed battlefield loop; additional short spurs to interpretive nodes.
- Best Vantage Points: Open pasture-like ground along the loop conveys the layered defence and double envelopment that broke Tarleton’s line.
Museums & Visitor Centres
- Cowpens National Battlefield Visitor Center: Exhibits on the Southern Campaign, weapons, and Morgan’s tactics; film shown seasonally.
- Interpretive Displays: Detailed waysides with maps of militia, Continentals, and cavalry actions.
- Nearby: Kings Mountain National Military Park (1780) for broader campaign context; Spartanburg Regional History Museum for local ties.
On-Site Experience
- Interpretive Signage: Clear, bilingual waysides step through each phase of the battle.
- Atmosphere: Quiet, open fields and pine stands closely resemble period terrain.
- Guides & Tours: Ranger talks on weekends/anniversary; self-guided audio via NPS resources works well on the loop trail.
Nearby Points of Interest
- Kings Mountain: Pivotal Patriot victory (Oct 1780) that set conditions for Cowpens.
- Gaffney & Spartanburg: Town centres with Revolutionary War heritage stops, dining, and lodging.
- Overmountain Victory National Historic Trail: Waypoints tracing militia approach routes in the Southern Campaign.
Practical Tips
- When to Visit: Spring and autumn offer best weather; anniversary events occur mid-January.
- Facilities: Visitor Centre restrooms, water, and bookshop; picnic areas nearby.
- Special Considerations: Trails are easy grade; bring water/hat in summer. Drone use requires NPS permission.
Subscribe to Battlefield Travels and receive a free E-Book Battlefield Guide
Unlock expert battlefield analysis, campaign reconstructions, and historical insights drawn from firsthand exploration and primary sources.
🗺️ You’ll receive:
🎖️ Exclusive historical insights you won’t find elsewhere
📘 A free eBook: 10 Tips for Exploring Historic Battlefields
📰 New battlefield studies straight to your inbox as they are published

⚔️ Go deeper — Members get exclusive access to the Deep Research Collection, Field Notes, and monthly Research Dispatches. Try membership free for 7 days, cancel anytime. From $9/month.