Polygon Wood, 1917: Brutal Allied ‘bite and hold’ tactics
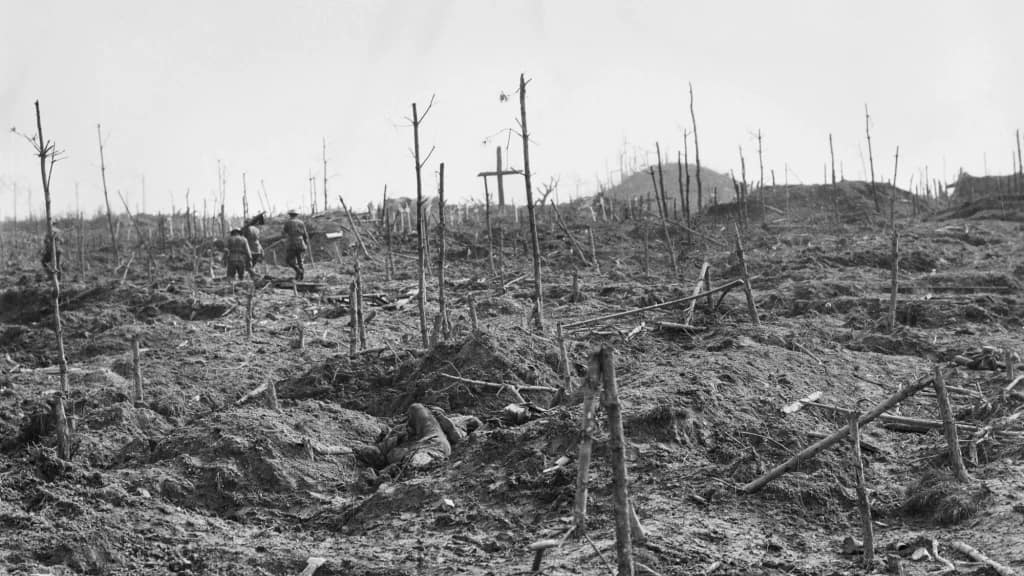
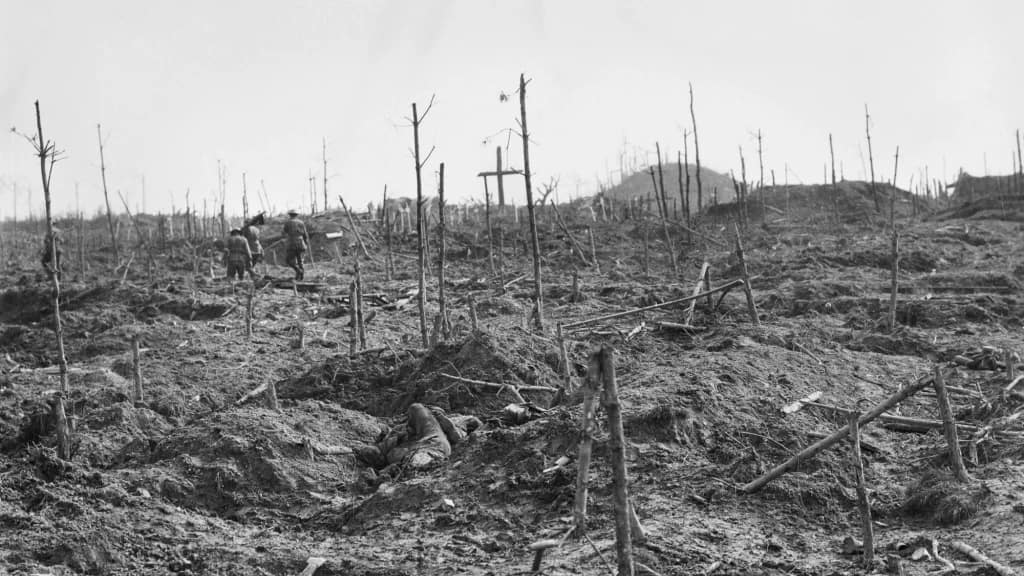
Polygon Wood was no ordinary battlefield. Once a quiet Belgian forest, it became a wasteland of mud, shattered trees, and German pillboxes. Here in September 1917, Australian and British divisions fought a brutal fight for the Butte, using creeping barrages and bite-and-hold tactics to crush German counterattacks. Today, the cemeteries and memorials preserve the memory of those who fought in the heart of the Ypres Salient.
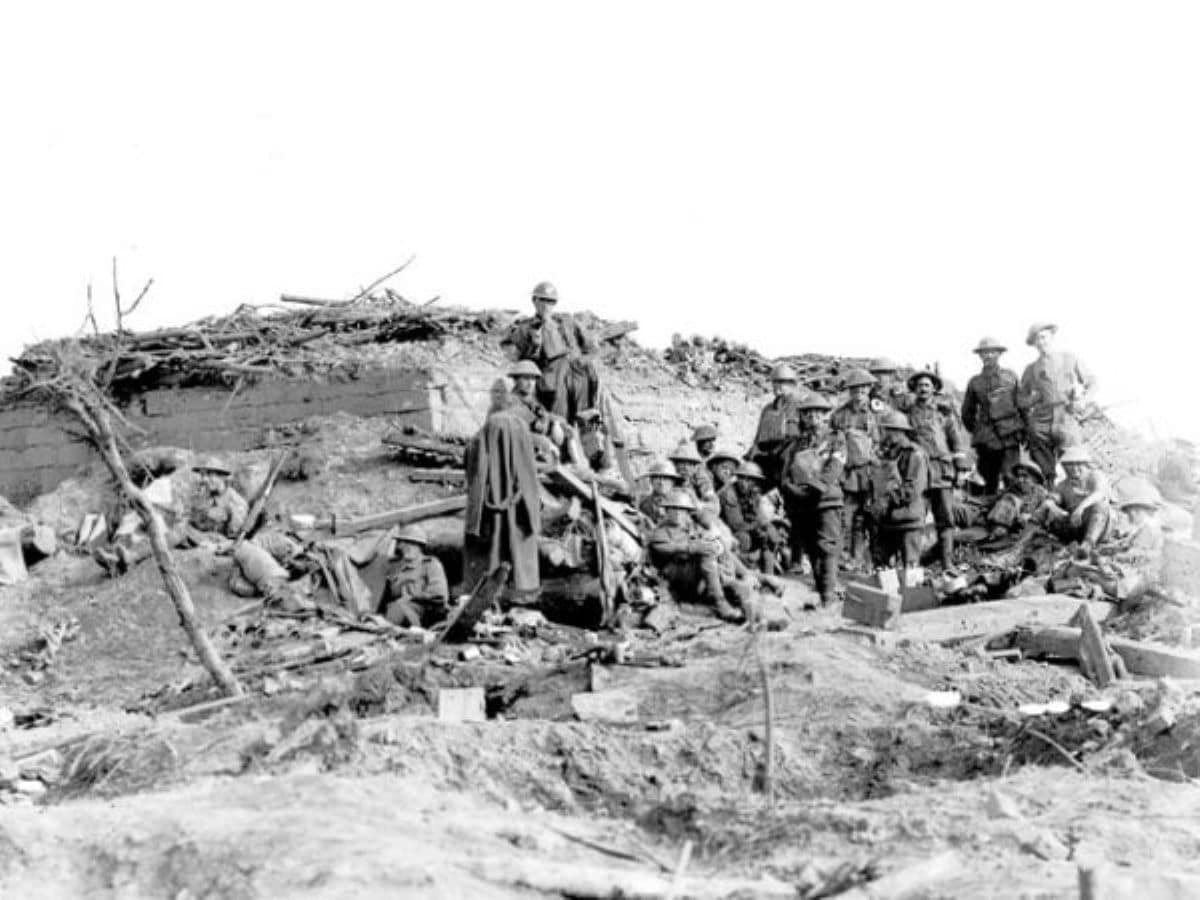
Key facts
Google Earth map – Location of Polygon Wood, Belgium
🎧 Prefer to listen? This article is available as a 37-minute podcast
Tip: If Podbean overlay appears after pausing, click the × in the top-right corner to return to the player controls.
🧭🥾 Walking the Battlefield
The Battle of Polygon Wood is significant to me. My grandfather originally enlisted in 4th Light Horse Regiment and later, in April 1917, transferred to 5th Australian Division Signal Company. He fought at Polygon Wood with the Division. Polygon Wood battlefield was selected as the site for the 5th Australian Division memorial in September 1919.
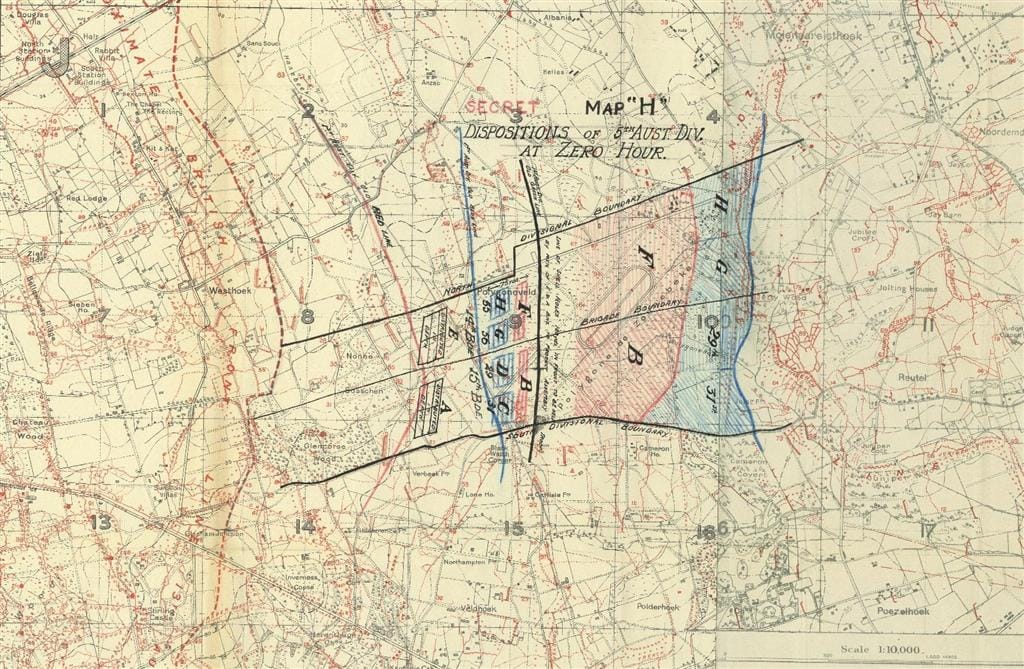
I have explored Polygon Wood three times: October 2000, September 2009, and most recently on 10 November 2024. On the most recent visit, I was equipped with period tactical maps, numerous images, and my own GIS digital mapping. This allowed me to overlay images and maps onto the digital terrain and identify exactly where unit boundaries, objectives, bunkers and phase lines were located.
Battle of Polygon Wood, 26 September – 3 October 1917
Strategic context: Third Battle of Ypres
The Third Battle of Ypres was the main British offensive of 1917. The objectives were to seize the high ground around Ypres, clear the Belgian coast, seize critical transport junctions, and to destroy German reserves. A breakthrough of the German lines was an optimistic objective.
In May 1917, the French Nivelle offensive failed with enormous casualties, and the French army was wracked by mutinies. Russia was on the verge of collapse. The failed Kerensky offensive in July 1917 demonstrated that the Russian Army was no longer effective. General Haig, the British commander, knew that Britain and the Commonwealth would have to assume the main burden of the allied effort.
The Ypres offensive commenced on 31 July 1917 and made slow progress. British artillery tactics proved effective, but heavy rains in August slowed the offensive and allowed the Germans to reinforce the sector. By mid-September, good progress had been made along the Menin Road, but little progress had been made around the Gheluvelt Plateau. Key to the German defence was Polygon Wood, a densely forested area interspersed with German strongpoints and fortified pillboxes. This elevated terrain provided significant tactical advantages, including observation points for artillery and a commanding view of the surrounding battlefield.
Opposing Forces at Polygon Wood
 Allied Forces

 Allied Forces
The offensive at Polygon Wood was mounted primarily by I ANZAC Corps under Lieutenant General Sir William Birdwood. Within it, the 4th and 5th Australian Divisions formed the main spearhead of the assault. These divisions were battle-hardened from earlier actions at Pozières, Bullecourt, and Menin Road, and were supported by extensive British artillery preparation.
Additional strength came from other corps holding adjacent sectors:
- X Corps, including the 33rd Division and 39th Division, secured flanking positions to prevent German counterattacks.
- V Corps, with the 3rd Division and 59th Division, maintained pressure on the northern edge of the battlefield.
- XVIII Corps, represented by the 58th Division, contributed depth and reserves.
The Allied assault was further reinforced by overwhelming artillery superiority: hundreds of field guns and heavy howitzers had been carefully registered to lay down a precise creeping barrage. This bombardment was the linchpin of the attack, designed to crush German strongpoints and disorganise counterattacks before the infantry advanced.
 German Forces
 German Forces
Opposing them were multiple German divisions assigned to defend the Gheluvelt Plateau, a commanding ridge that was the hinge of the Ypres Salient. The Germans had constructed deep defensive belts of fortified pillboxes, trenches, and wire. They also relied on Eingreif divisions—mobile reserve formations intended to counterattack once the Allied advance was blunted. Among the units present were:
- 236th Division and 23rd Reserve Division, holding much of the front line around Polygon Wood itself.
- The 17th Eingreif Division, designated for rapid counterattack, stationed behind the line to launch immediate assaults against any breach.
- 234th Division and 10th Ersatz Division, deployed in depth to reinforce threatened sectors.
- 50th Reserve Division and 3rd Reserve Division, garrisoning the wider Gheluvelt Plateau and providing additional manpower to stiffen resistance.
Despite being outgunned, the German defenders were formidable opponents. Their network of concrete pillboxes, interlocking fields of machine-gun fire, and rehearsed counterattack tactics made every yard of ground costly to seize.
ANZAC/British plan of attack
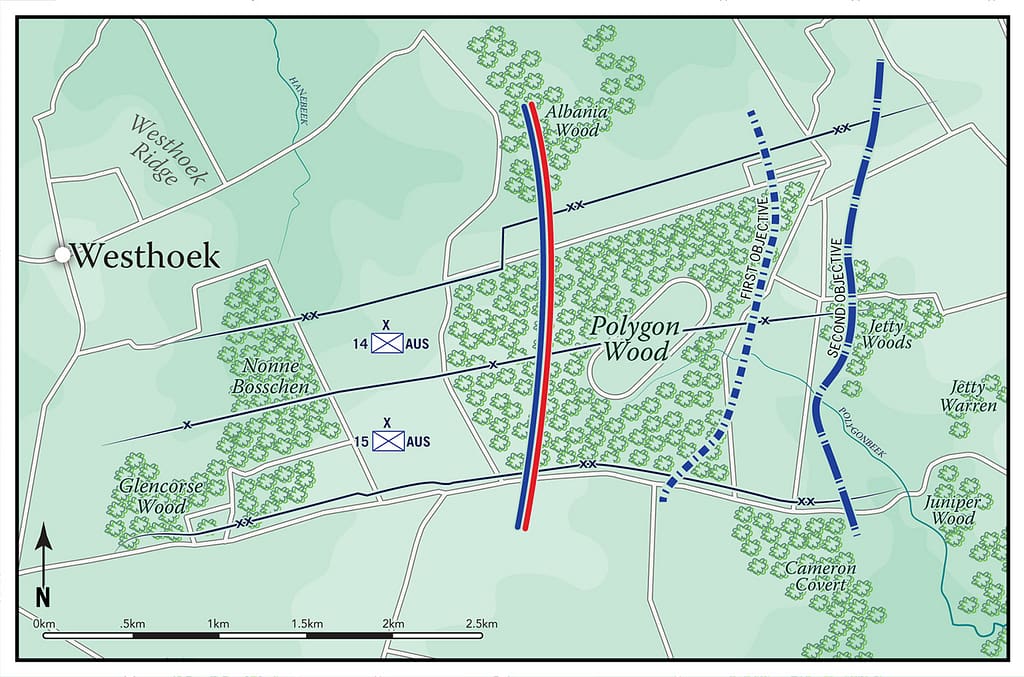
The plan for the attack on Polygon Wood was for I ANZAC Corps to assume the main effort. 4th Australian Division on the left would clear Westhoek Ridge and Albania Wood. 5th Australian Division on the right would clear Polygon Wood. The divisions operated on narrow frontages of about 1,000 yards each. To the north of I ANZAC Corps, V UK Corps with 3rd and 59th Divisions would clear to Zonnebeke and Hill 40. To the south of I ANZAC Corps, X UK Corps with 33rd and 39th Divisions would clear along Menin Road to secure the ANZAC right flank.
Allied versus German battle tactics
Both Allied and German tactics had evolved over three years of war. The war had begun as a war of movement, but rapidly bogged-down to a war of entrenchments. Artillery and machine gun tactics then developed in a race between defensive measures and offensive tactics. The fundamental problem for the defender was to hold a defensive line until reserves and reinforcements could seal any penetrations. The essential problem for the attacker was to cross the artillery and machine gun-dominated No Man’s Land and then bring forward enough weapons, defensive stores and supplies to hold the captured position.
⚔️ Go deeper — Members get exclusive access to the Deep Research Collection, Field Notes, and monthly Research Dispatches. Try membership free for 7 days, cancel anytime. From $9/month.
British/ANZAC tactics ‘Bite and Hold’
The Allied forces had settled on a limited-objective tactical model for the offensive. Artillery, particularly the heavy calibres, would be massed on a section of the front. Concentrated fires would seek to destroy German defensive systems, interdict reinforcements, and suppress German artillery through counter-battery fire. As allied troops advanced, they would do so behind a moving ‘barrage’ of artillery fire that would destroy or suppress enemy troops immediately to their front. Ideally, the assault troops would arrive at enemy strongpoints just as the barrage lifted to the next barrage line.
Allied objectives were limited in depth to about 1,500 yards. This allowed the assault force to consolidate on its objective behind a continuous barrage. Artillery and supplies could then be moved forward for the next stage of the offensive. Heavy machine guns were brought forward to establish mutually-supporting, interlocking fields of fire. Using this model, allied forces remained under the protective cover of their artillery and were well prepared for the inevitable German counter-attack. This limited-objective model meant the attackers were less likely to be disorganised and vulnerable on the objective, a situation the Germans had adeptly exploited in the past.
German tactics ‘Eingreif’
German tactics had also substantially evolved. The densely-packed, continuous trench-lines of 1916 had been replaced by an elastic, defence-in-depth model. In early 1917, the Germans had withdrawn from their forward trenchlines to the Hindenburg Line; a fully developed defensive system based on strongpoints, deep bunkers, and pre-positioned counter-attack forces. Continuous trenches were no longer preferred.
By the Third Battle of Ypres, the elastic defence system was proving vulnerable to the ever-increasing British advantage in artillery. Any defensive system that could be seen by observers could also be targeted. The Germans adapted by shifting to a ‘shell-hole’ defence during active defensive operations. Small teams, based on light-machine crews, would defend from dispersed positions among available shell craters. This approach reduced the density of the targets available to Allied artillery, but also meant that German frontline units needed to be rotated every few days.
The German tactical approach also required a lightly held forward line to minimise losses to artillery. This was backed by aggressive counter-attacks to recapture lost positions and exploit the disorganisation following an attack. Frontline divisions (Stellungsdivisionen – Trench holding division) were expected to undertake immediate counterattacks to restore the integrity of the defensive system. Behind the frontline, and often at a ratio of 1:1 with the trench-holding divisions, were the Eingreif (intervention or counter-attack) divisions that were trained and equipped to conduct larger-scale counterattacks.
The Battle of Polygon Wood
25 September 1917 – preparatory fire
On 25 September, Allied heavy artillery commenced a sustained bombardment against German positions in and around Polygon Wood. The fire was designed to neutralise known strongpoints and to cut wire ahead of the infantry advance. Counter-battery work sought to suppress German artillery, which had harassed forward assembly trenches during earlier operations.
As the Allies prepared for the attack on Polygon Wood, the Germans struck first with a spoiling attack against Allied positions along Menin Road, south of Polygon Wood. British and Australian forces successfully halted the attack.
26 September 1917 – main assault
At 05:50 hours, on 26 September, I ANZAC Corps initiated the attack as part of General Plumer’s “bite and hold” plan. The Australian 4th and 5th Divisions, supported by the flanking British units, spearheaded the assault. The troops advanced behind a coordinated creeping barrage, moving at 100 yards every three minutes. The divisions were arrayed on a two-brigade frontage. Each brigade was arrayed with one battalion in the first echelon and two battalions behind. This configuration allowed a greater reserve to deal with uncertainty as the battle developed.
- Australian 4th Division: tasked with objectives on the left flank, its brigades advanced steadily through heavy shellfire, securing strongpoints east of the Butte by 07:00.
- Australian 5th Division: in the centre, the division’s brigades drove directly toward Polygon Wood and the Butte, capturing the dominating mound and its dugouts. By 07:30, the Butte was in Australian hands.
- British 33rd Division (X Corps): to the left of the Australians, moved on the line of Cameron House and secured contact with the 4th Division.
- British 3rd and 59th Divisions (V Corps): to the right, advanced towards Zonnebeke and maintained flank security.
Their advance was met by determined German resistance, particularly from well-fortified pillboxes and machine-gun nests in the forest area. Despite these obstacles, the Australian Divisions made rapid progress, capturing bunkers and strongpoints in Polygon Wood. The Australian Flying Corps flew ‘Contact Patrols’ to track troop progress, and ‘Counterattack Patrols’ to identify enemy troops massing for counterattacks. The Butte, an artificial mound that had served as a backstop for a pre-war Belgian Army rifle range, was the first objective, and it was captured by about 0730. The second-echelon battalions then passed through to seize the second objective, the ‘Flandern Stellung’ (Flanders Trench). It was now 1100hrs.
In accordance with the ‘bite and hold’ tactical approach, the allied divisions consolidated on their objectives, generally on the reverse slope. Allied artillery continued to lay down an effective barrage. Heavy machine guns, barbed wire and other defensive stores were brought forward onto the objective. By the time the Germans launched their counterattacks, they were met by massive defensive fires.
German Counter-Attacks
By late morning, elements of the German 236th and 17th Reserve Divisions, reinforced by Eingreif counter-attack units, launched local counter-strokes. These were supported by heavy artillery fire, including gas and high explosive, falling on newly won positions. Around 09:00–10:00 hours, German infantry attempted to retake the Butte but were repelled by coordinated rifle, machine-gun, and artillery fire.
Throughout the afternoon, additional counterattacks developed against the 5th Division front. Despite intense shelling, the Australians and attached British units held firm, consolidating positions on the eastern edge of Polygon Wood by nightfall..

27 September – 3 October 1917 – German counterattacks
On 27 and 28 September, the Engreif Divisions launched counterattacks with massive artillery support to throw the allies out of Polygon Wood. More deliberate German counterattacks by fresh divisions followed over 30 September – 2 October. All of these counterattacks were defeated, and none of the objectives gained were lost to German attacks. Colonel Albrecht von Thaer, XII Armee Korps Chief of Staff, recorded in his diary that ‘We are living through truly abominable days‘ and that the Germans had no effective response to British limited-objective attacks and their massed artillery support.
The operation achieved its limited aim: a measured advance of roughly 1,000–1,500 yards and the capture of strong defensive positions dominating the Ypres–Menin road sector. Casualties were heavy on both sides, but the capture of Polygon Wood confirmed the effectiveness of Plumer’s step-by-step approach.
Losses
The Allied ‘bite and hold’ tactics were effective, although at great cost to both sides. The difficulties of attacking against strongly prepared German defences, backed by strong reserves, were not fully resolved. New techniques would be employed in 1918 to finally make breakthroughs – German infiltration and stormtrooper tactics, and Allied combined arms tactics. Total Australian losses in the Battle of Polygon Wood were about 4,800 killed and wounded. The British lost 10,000+ and the Germans about 13,500. For such a small piece of ground and such a limited period, the losses were heavy.
After Polygon Wood
By 3 October, the Allies had secured Polygon Wood, achieving a tactical victory. The two ANZAC Corps were engaged again on 4 October, leading the attack on Broodseinde Ridge, north of Polygon Wood. On 12 October 1917, on the worst single day in New Zealand military history, the New Zealand Division took massive casualties in the first attack on Passchendaele. The Canadian Corps eventually seized Passchendaele on 6 December, concluding the Third Battle of Ypres.
The Polygon Wood battlefield today
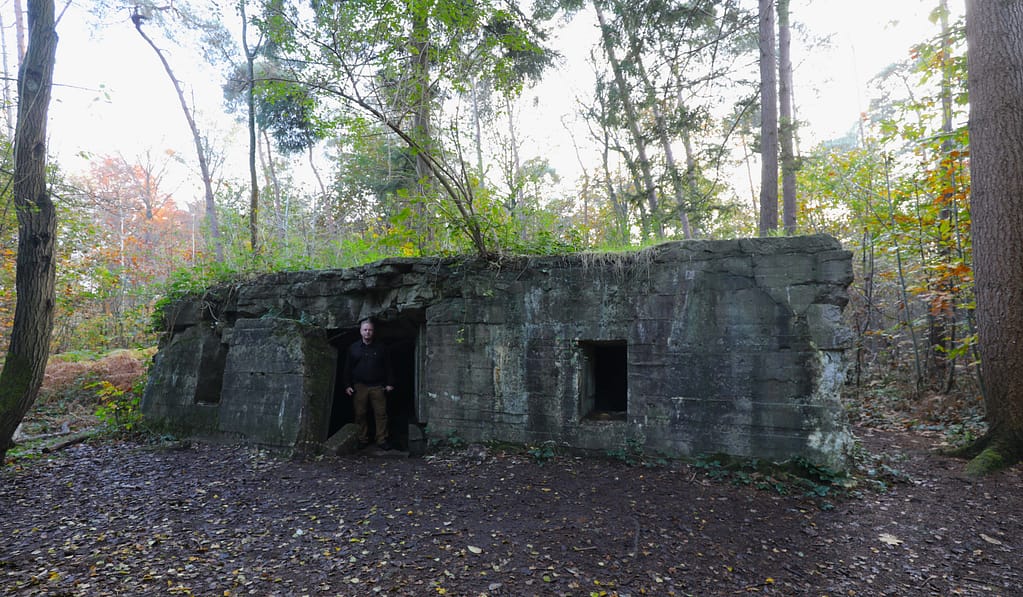
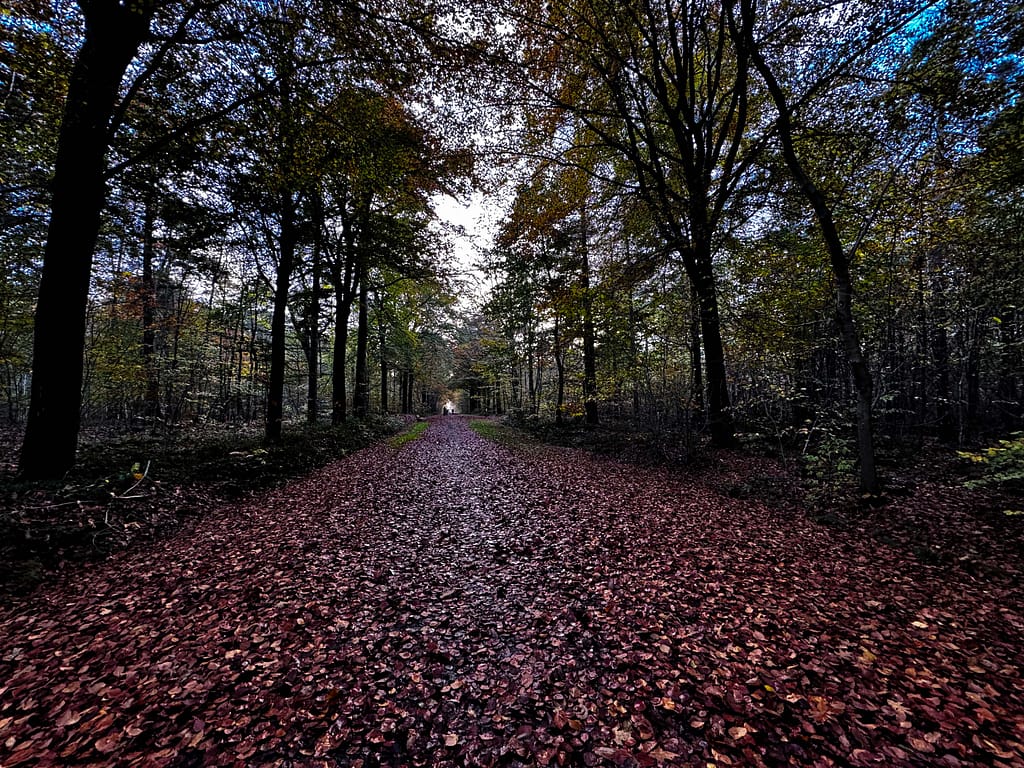
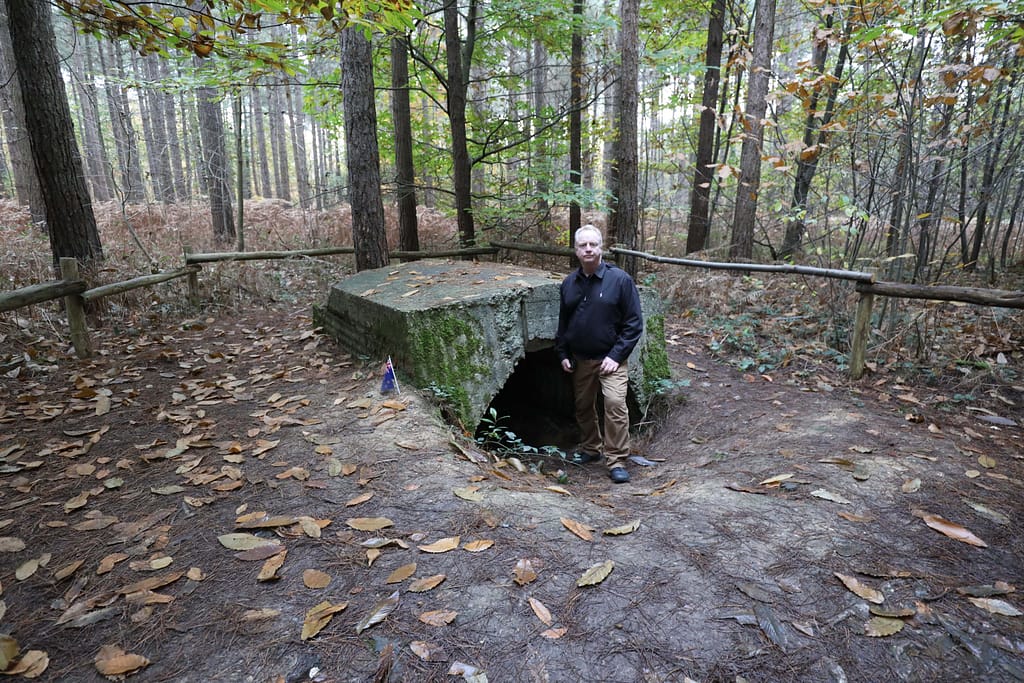
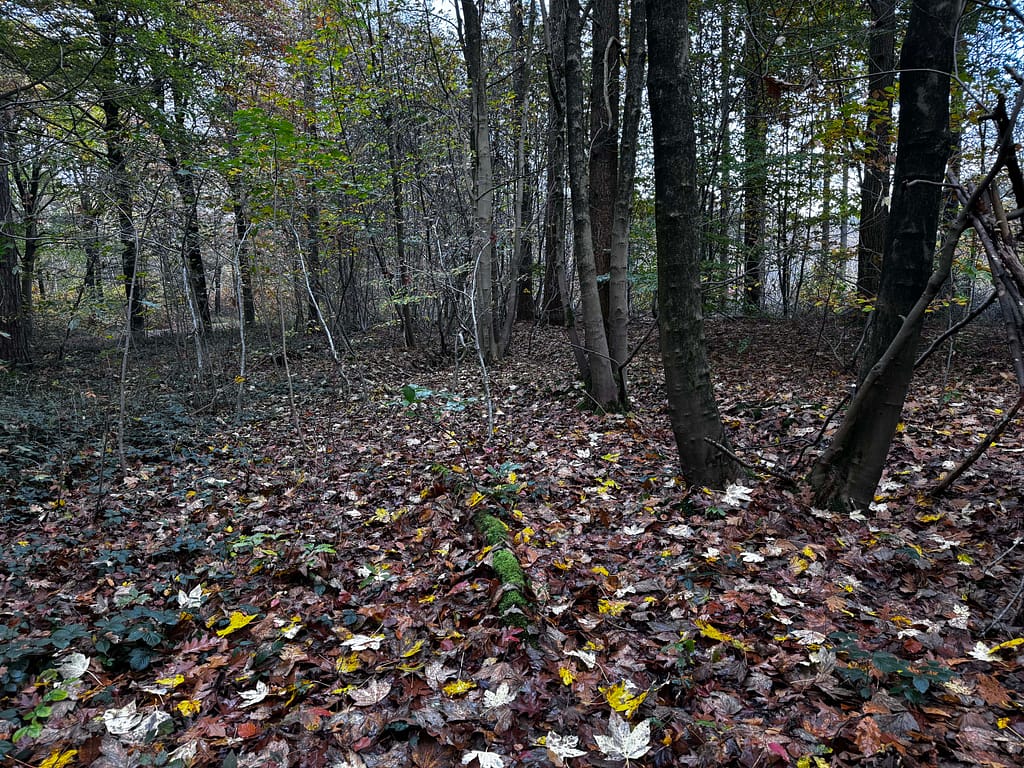
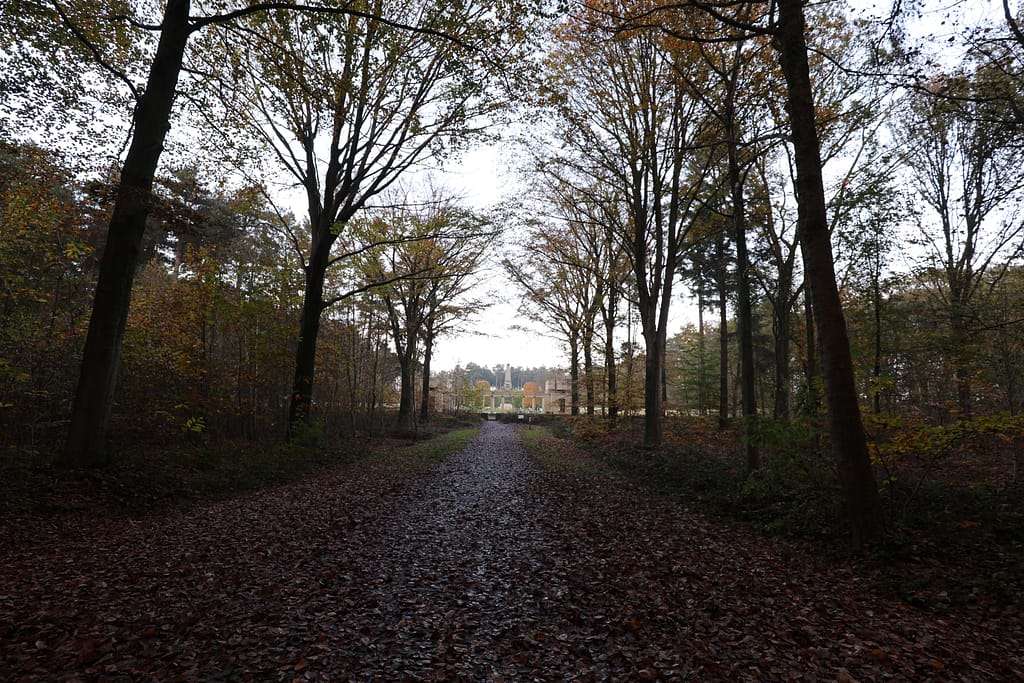
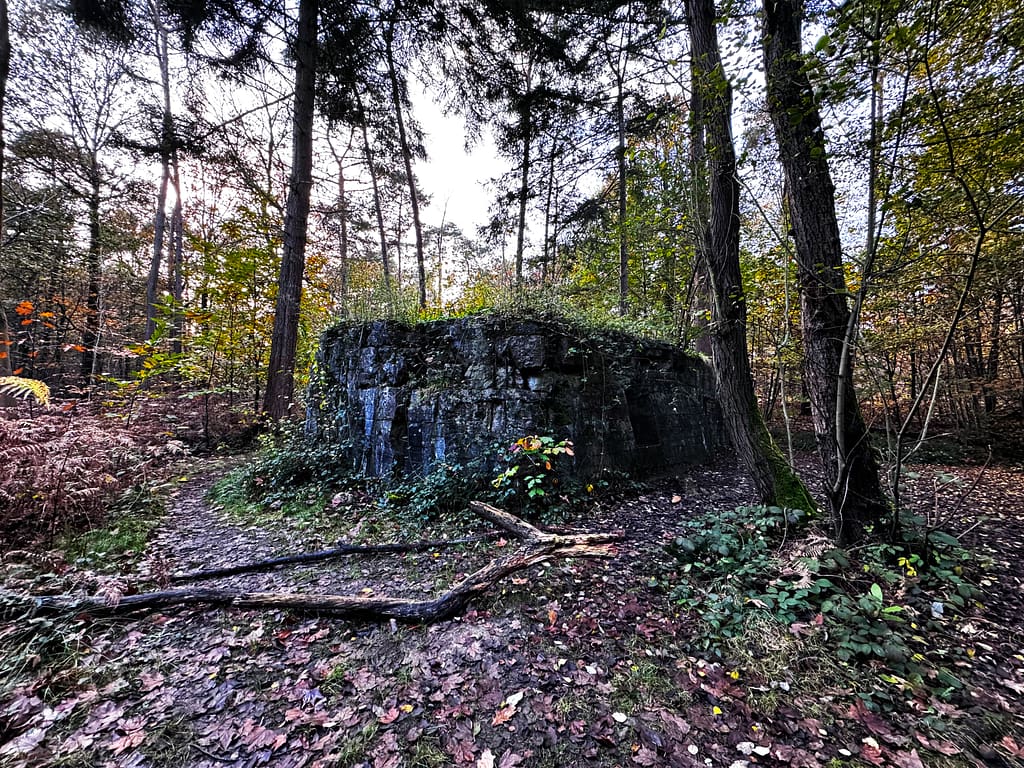
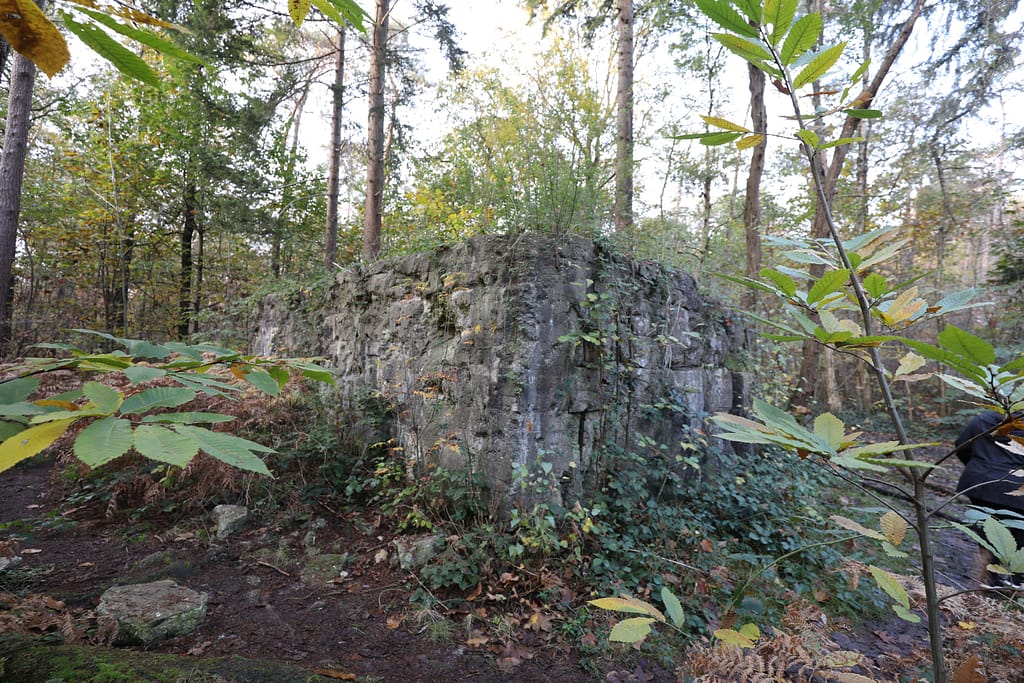
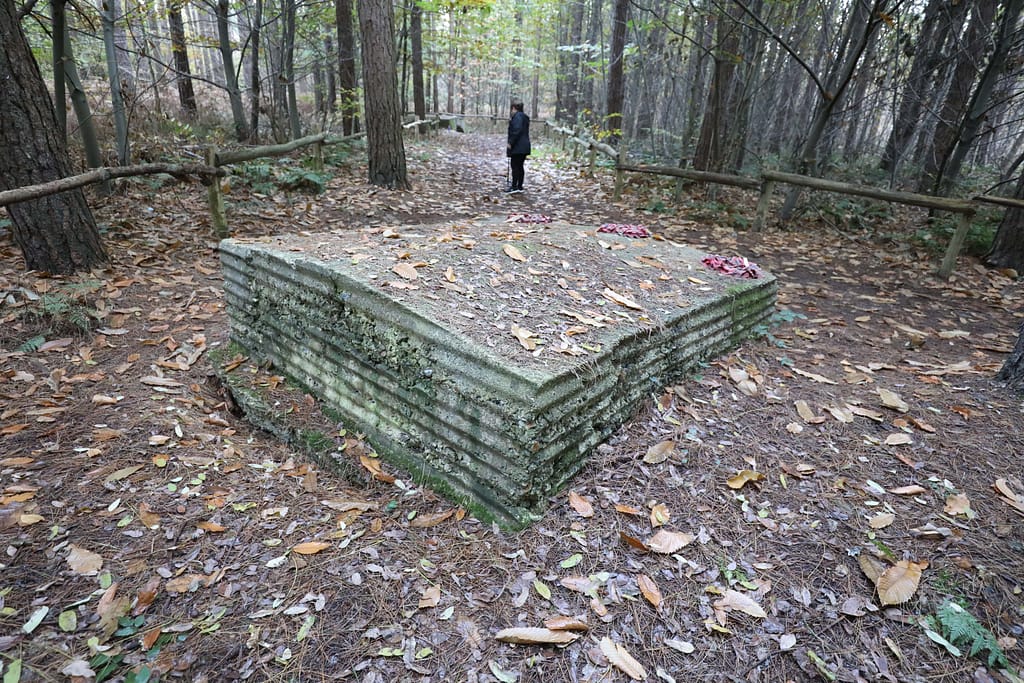
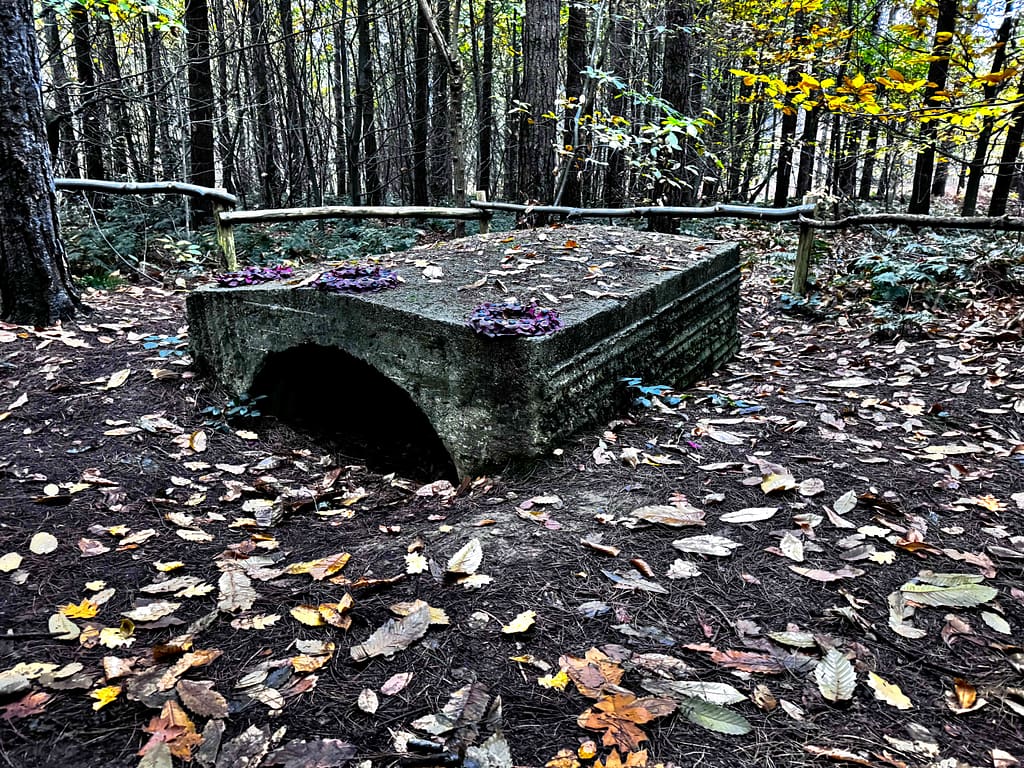
Visiting Polygon Wood today is a sobering and memorable experience. The battlefield today is very recognisable. Polygon Wood is still roughly the same shape it was in 1917 and has regrown into dense forest. The paths through the forest are the same as they were in 1917, as shown above in the photo comparison. The central path through the forest marked the boundary between 14th and 15th Brigades during the attack. Several German and Australian bunkers are still intact in the forest. The area is dotted with cemeteries, memorials, and preserved features that anchor the memory of the battle in the quiet Belgian countryside.
Micro-terrain influence
The Battle of Polygon Wood was fought over a deliberately limited terrain area, where small undulations, shell-torn ground, and the ‘Butte’ at Polygon Wood provided local cover and reference points in an otherwise devastated landscape.
Australian forces applied the “bite and hold” method within this constrained micro-terrain (small scale terrain features that often do not appear on maps and can only be seen when you are standing on the ground), advancing to positions that could be consolidated, defended, and supported by artillery before German Eingreif forces could counter-attack. Terrain was further shaped through deliberate engineering: trenches, strongpoints, and field works. Thereby transforming subtle ground features into a controlled defensive system.
Polygon Wood demonstrates how micro-terrain, even when largely man-made, can shape battlefield decision-making by defining feasible objectives, limiting manoeuvre, and governing the timing of counter-action. The concept of exploiting small scale terrain features in battle is examined further in the Micro-Terrain and Battlefield Decision-Making research hub.
The 5th Australian Division Memorial
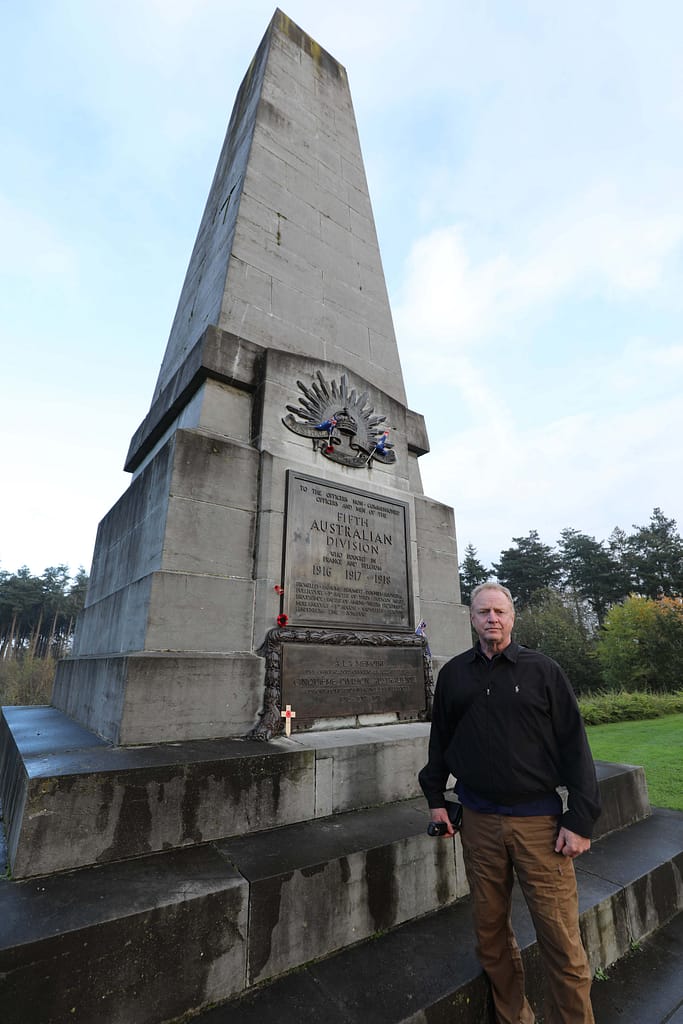
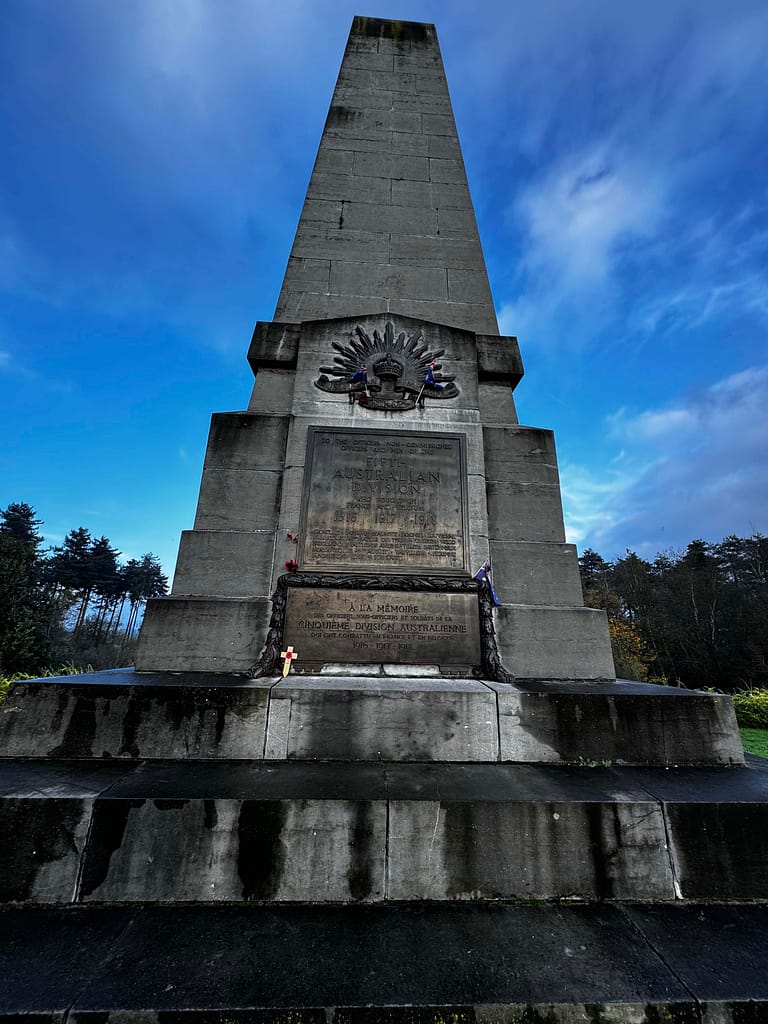
Atop the Butte, the Australian 5th Division Memorial is a striking obelisk commemorating all who served in that formation during the war. The site offers not only a place of reflection but also a sense of the battlefield’s geography: the slight rises and dips in the land that were once bitterly contested are still discernible. Interpretive panels help visitors orient themselves to the events of 26 September 1917.
Polygon Wood Cemetery and Buttes New British Cemetery
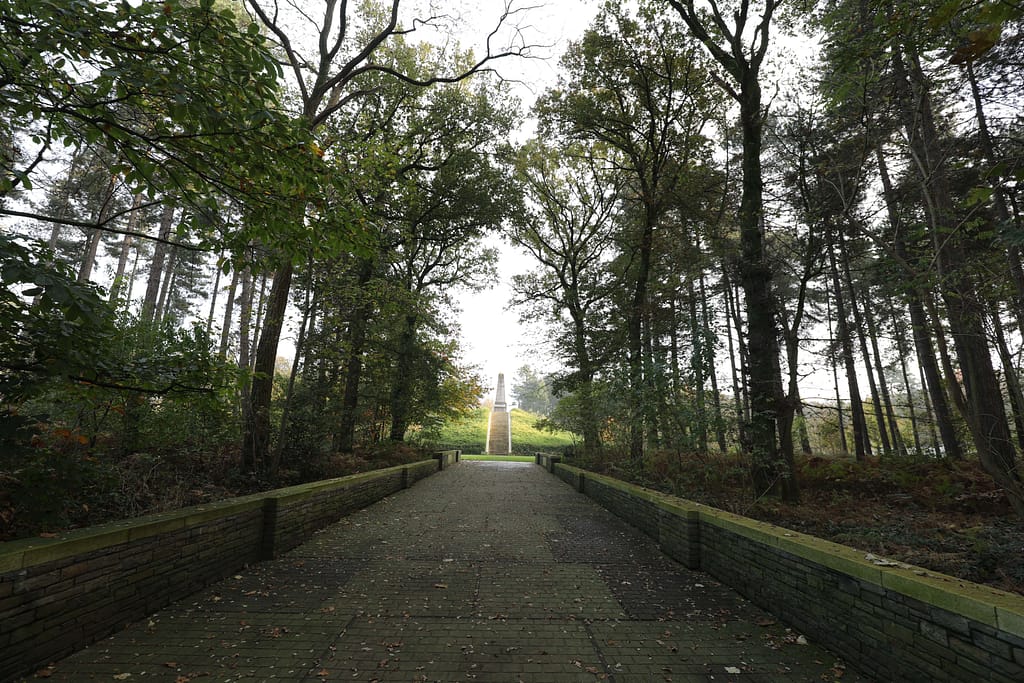
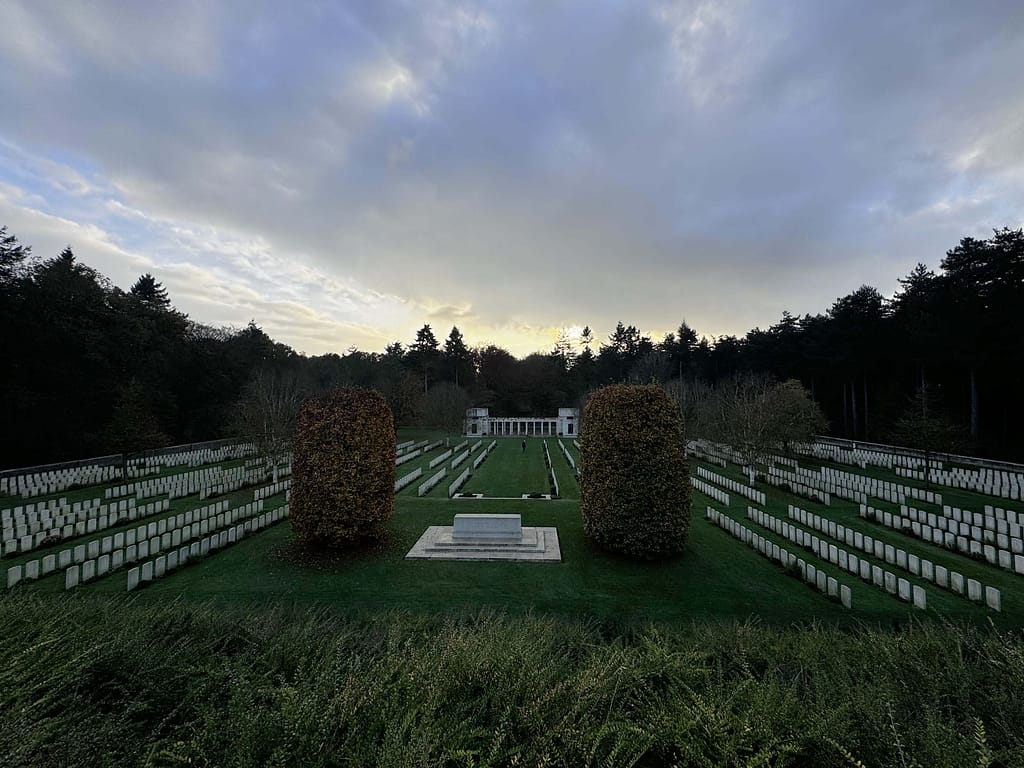
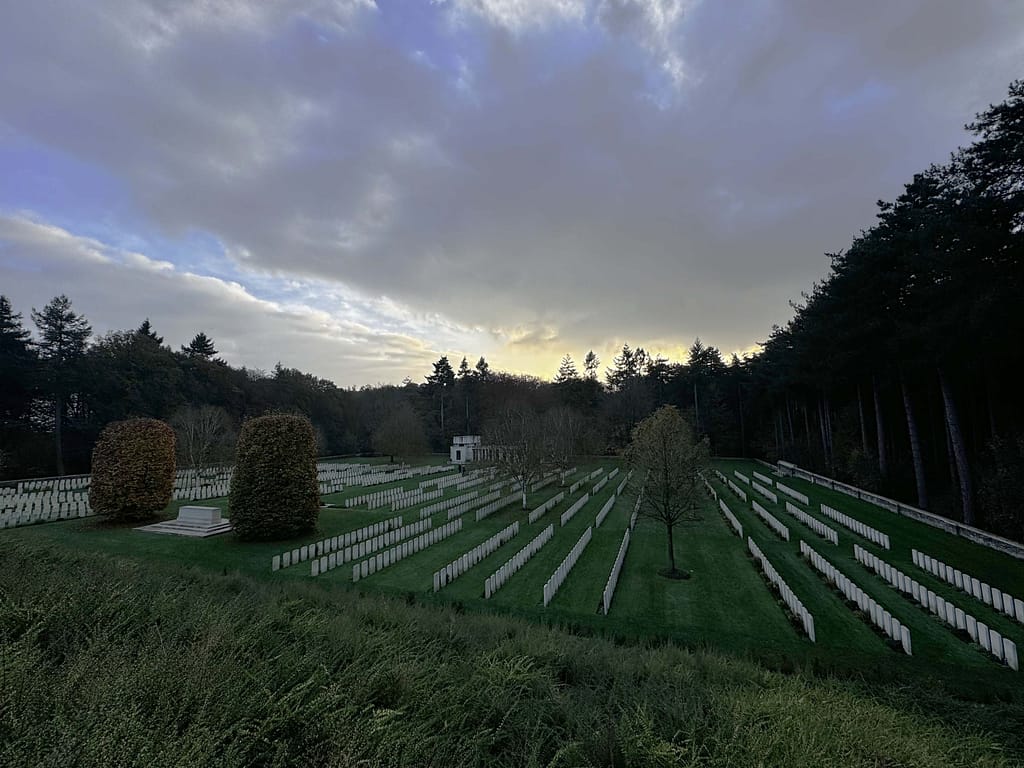
At the heart of the battlefield stands Polygon Wood Cemetery, a small and intimate site created during the war. Just beyond it rises the larger Buttes New British Cemetery, laid out around the imposing 5th Australian Division Memorial on the summit of the Butte itself. From here, visitors can appreciate the commanding view over the surrounding ground — the very vantage point the Australians seized in 1917. The cemetery contains the graves of thousands of soldiers of the Commonwealth, many of them Australians who fell in the assault and subsequent defence of the wood.
Walking the battlefield
Paths through the woodland allow visitors to trace the outlines of the old rifle butts and embankments. Although much of the forest was replanted after the war, the sense of enclosure remains, and walking among the trees offers a perspective on the challenges faced by troops advancing under fire. With a battlefield map in hand, you can follow the line of the Australian advance, from the approach through the ruined forest to the capture of the Butte.
Cemeteries and memorials nearby
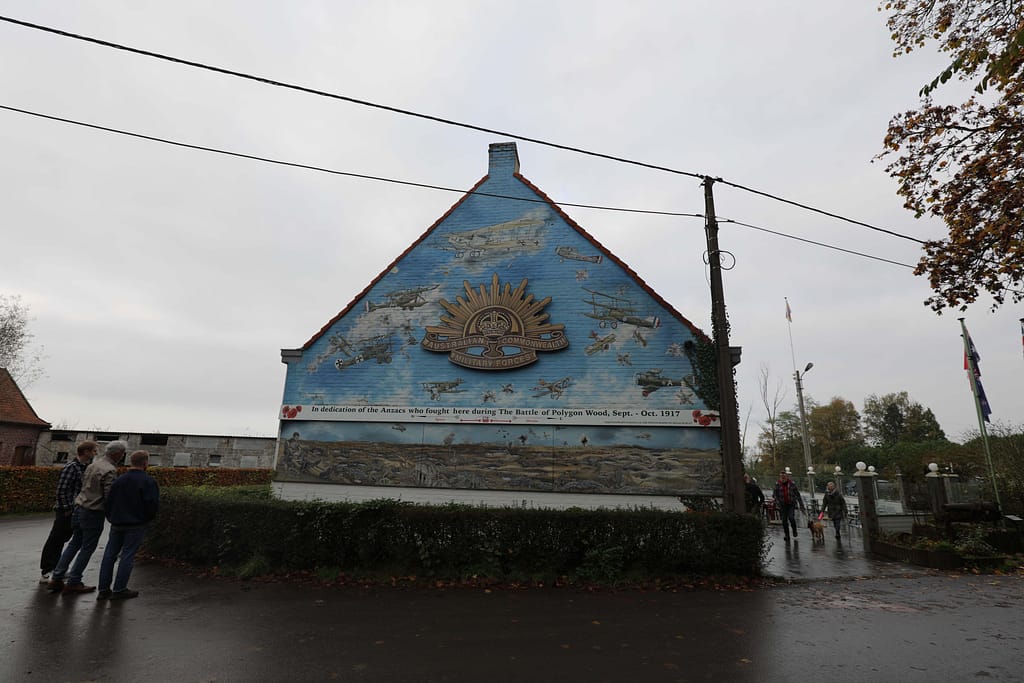
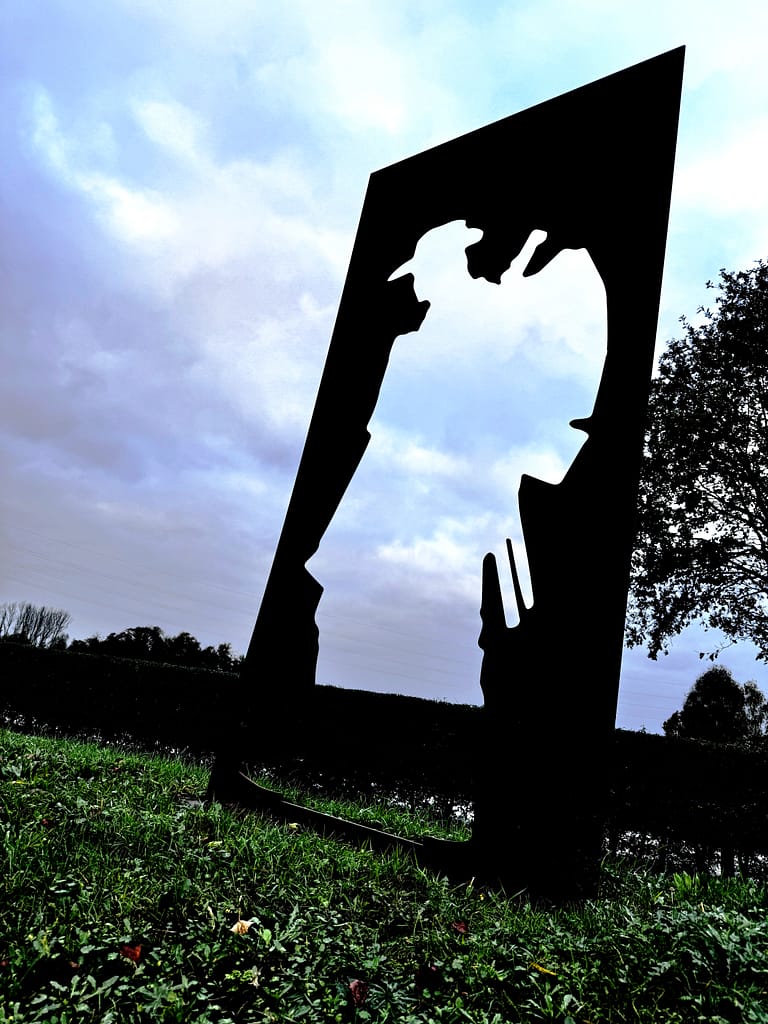
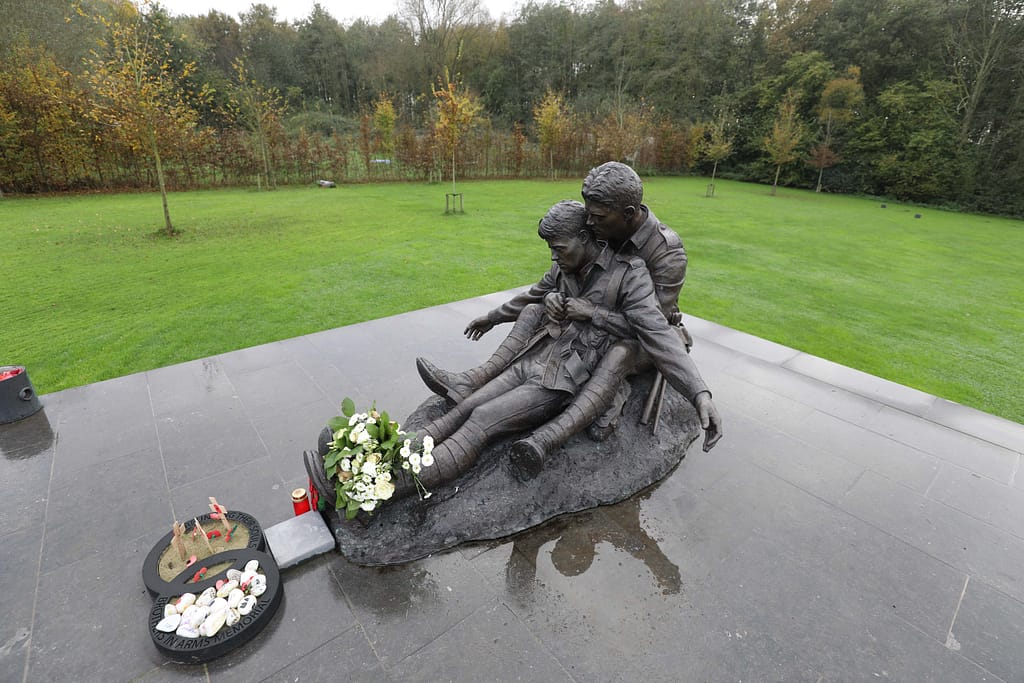
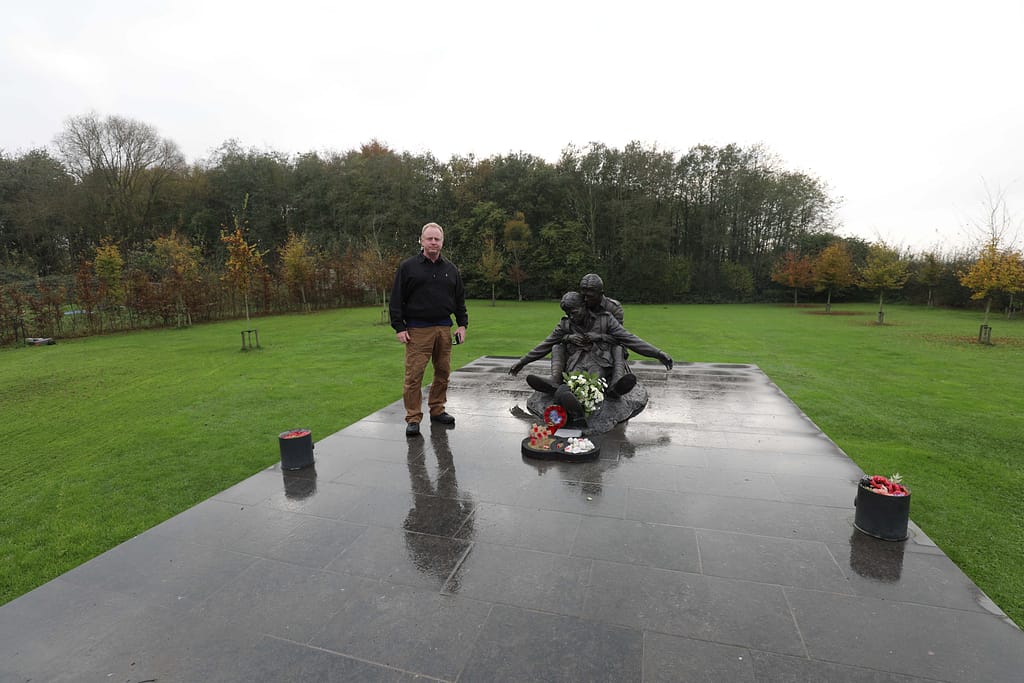
Polygon Wood lies within the broader Ypres Salient, where dozens of cemeteries and memorials cluster along the front line. Tyne Cot Cemetery, only a short drive away, is the largest Commonwealth war cemetery in the world and puts the losses of Polygon Wood in their wider context. Closer still are small “concentration cemeteries” where the dead from the battlefield were later reburied. Each site adds to the layered experience of visiting this part of Flanders. There is a new ‘Brothers in Arms’ AIF Memorial in the northwest corner of the battlefield and an AIF-themed restaurant/bar with a massive rising sun badge nearby.
Link to the Passchendaele Museum – Mission Polygon Wood webpage
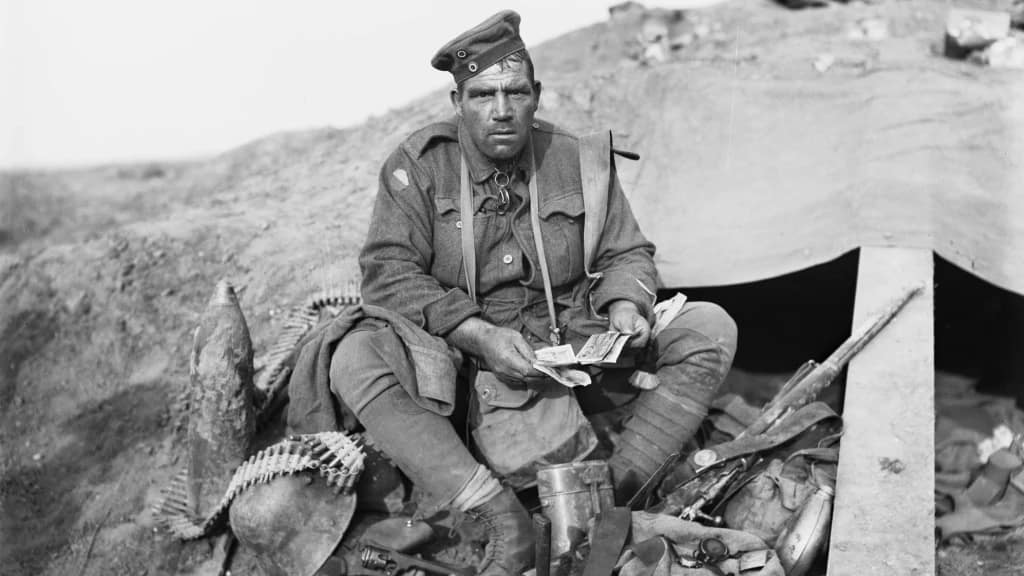
Additional images of Polygon Wood
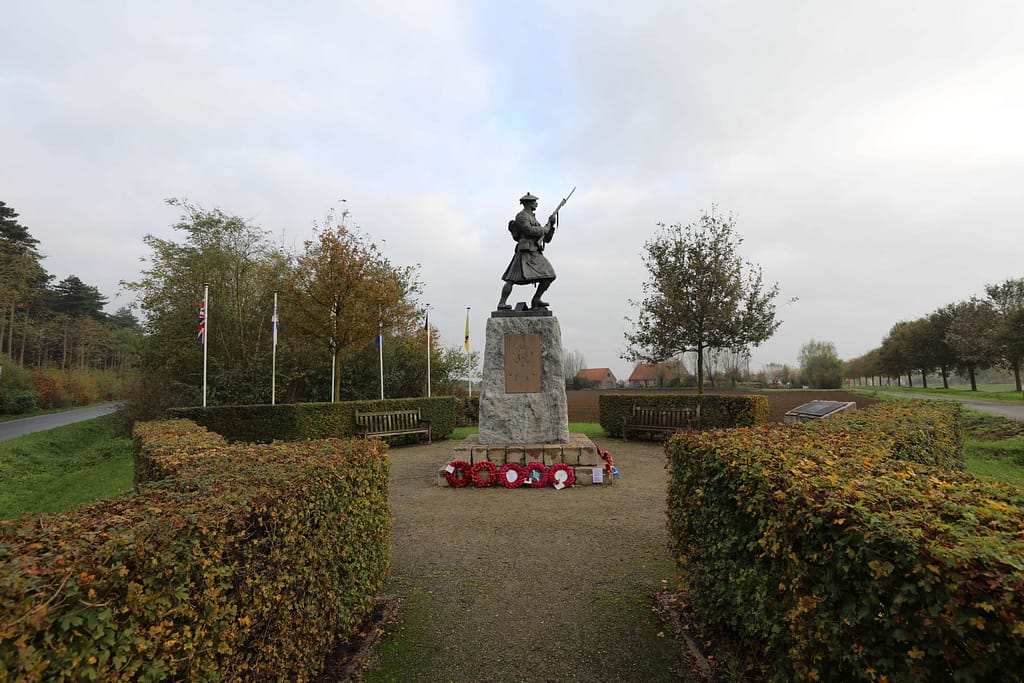

Found this useful? Buy me a coffee — it helps fund future battlefield research


Authored by Mick Prictor, a retired military officer with 40 years’ service, and a military historian specialising in terrain-focused analysis of tactics, doctrine, and command decision-making in land warfare. His work draws on extensive battlefield fieldwork—more than 280 sites worldwide—and one of the world’s largest private collections of historic military arms, uniforms, and equipment. About me
Resources
- Bean, Charles Edwin Woodrow (C E W). The A.I.F in France 1917: The Official History of Australia in the War of 1914 – 18 Vol IV. Chapter XIX – Second Step – Polygon Wood. Accessed 5 March 2025
- Jonathan Passlow (2018). The Battle of Polygon Wood 1917 (Australian Army Campaigns Series Book 19) Kindle Edition. Big Sky Publishing
- Nigel Cave (2011). Polygon Wood (Battleground Ypres). Pen and Sword Military
📚 Further Reading: First World War
This battle study nests within the broader analytical framework explored in the Research Hub, where operational methods, operating environments, armies, commanders, and weapons are examined across conflicts and eras. The links below connect related studies across the wider body of battlefield analysis on the BattlefieldTravels site.
⚔️ Explore all World War One battle studies
🏛️ Explore the museum of World War One weapons and equipment, Part 1. Allied Powers
🏛️ Explore the museum of World War One weapons and equipment, Part 2. Central Powers
The book list for this conflict includes the leading campaign studies, memoirs, and operational analyses available on the Polygon Wood and the Ypres Offensive, selected specifically to complement this battlefield study.
📚 World War One – Recommended Reading
🗞️ For updates on new battlefield studies and research insights, you can subscribe to the Newsletter.
Related Battle Studies, Museum Pieces & Reading Resources
 🏛️ World War One (1914–1918) Weapons and Equipment,
PART 2. CENTRAL POWERS
 ⚔️🔒Capture of Aqaba by T.E. Lawrence and the Arab Army,
06 July 1917
 🏛️ World War One (1914–1918) Weapons and Equipment,
PART 1. ALLIED POWERS
 🏛️ Russian Civil War (1917–1922) Weapons and Equipment
 ⚔️ 1914–1918 World War One, Battle Studies
 📝🔒Field Note: Battle for Verdun, France, Feb – Dec 1916
🧭 Battlefield Travel Guide: Polygon Wood (1917)
Getting There
- Nearest Town: Zonnebeke, West Flanders, Belgium (≈10 km east of Ypres/Ieper).
- Transport: By car from Ypres via the N332; regional buses run between Ypres and Zonnebeke.
- Parking: Small car parks/lay-bys near Buttes New British Cemetery and along Lange Dreve.
Site Orientation
- Key Landmarks: Buttes New British Cemetery, Polygon Wood Cemetery, the Butte (former German OP), Australian 5th Division Memorial.
- Walking Routes: Woodland paths link the cemeteries, Butte, and memorials; short loops start from the cemeteries.
- Best Vantage Points: The Butte provides commanding views across the wood and approach lines of Sept 1917 attacks.
Museums & Visitor Centres
- Memorial Museum Passchendaele 1917 (Zonnebeke): Outstanding context for the Third Ypres battles, trench reconstructions, and local actions.
- In Flanders Fields Museum (Ypres): Wider Ypres Salient perspective; excellent for orientation before field visits.
- On-site Panels: CWGC waysides at cemeteries outline unit actions and cemetery histories.
On-Site Experience
- Interpretive Signage: CWGC panels and local boards; bring a trench/attack map for detailed exploration.
- Atmosphere: Quiet, shaded woodland; the Butte and cemetery rows create a powerful commemorative setting.
- Guides & Tours: Ypres-based guides offer Polygon Wood-focused walks (often highlighting Australian units).
Nearby Points of Interest
- Tyne Cot Cemetery: Largest CWGC cemetery, on the Passchendaele ridge.
- Broodseinde & Passchendaele: Key September–November 1917 battle sites a short drive away.
- Menin Gate (Ypres): Nightly Last Post ceremony honouring the missing of the Salient.
Practical Tips
- When to Visit: Spring–autumn for clearer paths; early morning light suits photography on the Butte.
- Facilities: No services inside the wood; cafés, restrooms, and the museum are in Zonnebeke/Ypres.
- Special Considerations: Paths can be muddy; wear sturdy footwear and respect CWGC ground rules (quiet conduct, no drone use without permission).
FAQ: Battle of Polygon Wood
The battle occurred between 26 September and 3 October 1917, as part of the larger Third Battle of Ypres (Passchendaele).
The main assault was carried out by the Australian 4th and 5th Divisions, supported by British artillery and flanking attacks, against German Fourth Army positions.
The objective was to secure the high ground east of Ypres by capturing Polygon Wood and consolidating a new defensive line.
The Australians captured their objectives in a well-coordinated advance, though heavy shelling and counter-attacks caused over 5,000 Australian casualties.
The Buttes New British Cemetery and the 5th Australian Division Memorial stand within the former wood, marking the battlefield’s centre. Some bunkers and pillboxes still exist.
Subscribe to Battlefield Travels and receive a free E-Book Battlefield Guide
Unlock expert battlefield analysis, campaign reconstructions, and historical insights drawn from firsthand exploration and primary sources.
🗺️ You’ll receive:
🎖️ Exclusive historical insights you won’t find elsewhere
📘 A free eBook: 10 Tips for Exploring Historic Battlefields
📰 New battlefield studies straight to your inbox as they are published

⚔️ Go deeper — Members get exclusive access to the Deep Research Collection, Field Notes, and monthly Research Dispatches. Try membership free for 7 days, cancel anytime. From $9/month.
I haven’t been to Ypres yet but plan to visit soon. I spend a lot of time south of Bastogne with my companion. We have been visiting WW1 and 2 sites in both France and Belgium. I only became interested when I discovered that we were surrounded by these places. I also have a goal of visiting all the American Cemeteries.
Make sure you visit the American cemeteries at Romagne (the biggest in Europe) and Chateau-Thierry, and the monuments at Belleau Wood. A lot of American history in that part of France that gets overshadowed by the D-Day and WW2 history.