Crossing the Nefud: The desert gamble that took Aqaba!
On 6 July 1917, the capture of Aqaba marked a dramatic shift in the Middle Eastern campaign of the First World War. The port of Aqaba fell to Arab Revolt forces after a daring inland campaign that defied both Ottoman expectations and desert geography. The attackers — a mobile, irregular force of Hashemite regulars and Bedouin tribesmen — had crossed over 1,000 km of some of the harshest desert terrain on earth, including the burning sands of the Nefud and the arid limestone plains around Wadi Sirhan. Their unexpected appearance behind Aqaba’s coastal defences led to a rapid surrender of the garrison, transforming the strategic posture of the Allied campaign in the Middle East.
This study explores the terrain, forces, and strategic rationale behind one of the most audacious operations of the First World War — drawing upon firsthand battlefield exploration, Ottoman and British sources, and Lawrence’s own account in Seven Pillars of Wisdom.
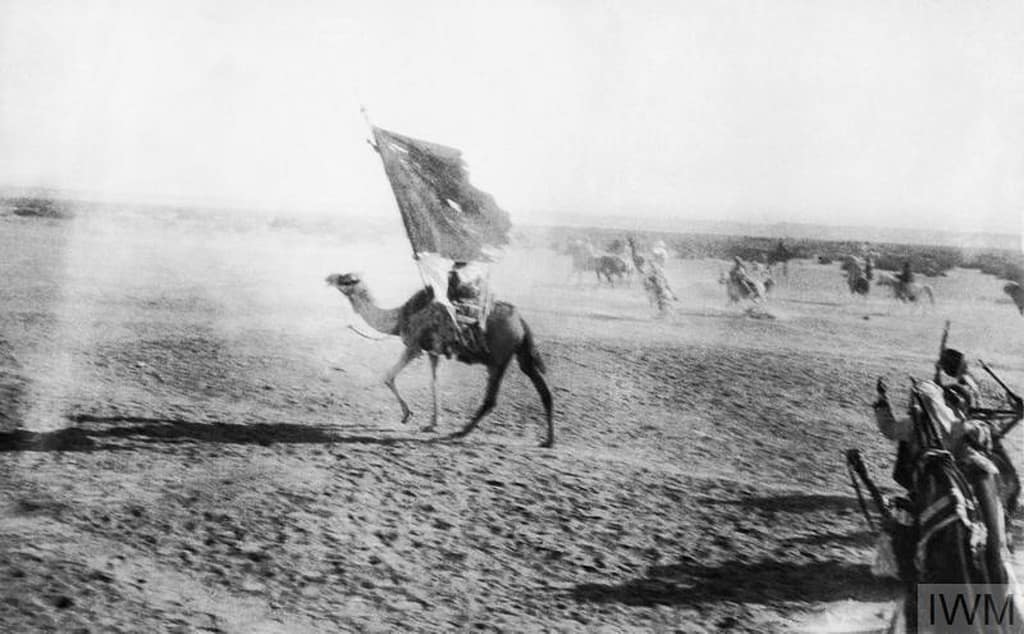
Key facts
🗺️ Capture of Aqaba, Jordan, 16 July 1917
⚔️ The Arab Revolt (WW1), 1914-18 T.E. Lawrence (Lawrence of Arabia), Sherif Nasir, Auda Abu Tayi, leading an Arab Army of -2,500 VS Ottoman ~1,000 Turkish garrison forces in Aqaba and surrounding outposts
🎯 Objective: Arab Army capture of the Port of Aqaba from the Ottoman Empire
Visit my virtual museum of weapons, uniforms and equipment of the First World War
Google Earth map – Location of the Aqaba battlefield
🎧 Prefer to listen? This article is available as a 41-minute podcast episode
Tip: If Podbean overlay appears after pausing, click the × in the top-right corner to return to the player controls.
🧭🥾 Walking the Battlefield
I visited the battlefields around Aqaba in November 2021. I was armed with a range of primary and secondary accounts, a Turkish General Staff campaign history, diagrams, maps, and GIS overlays prepared in Google Earth Pro to locate key sites on the battlefield.
I explored the desert approaches to Aqaba, including the incredible Wadi Rum, and the famous ‘Lawrence’s Well’. I was not able to get to the Hejaz Railway – that will be a future visit.
Aqaba itself has changed almost beyond recognition since 1917, but the desert approaches taken by Lawrence and the Arab Army have changed little. This post is informed by firsthand exploration and a range of primary and secondary resources.
Table of Contents
- 3D Virtual Flythrough of the 1917 Aqaba Campaign
- Strategic context: the Arab Revolt
- Captain T.E. Lawrence and Prince Faisal
- Opposing forces: Arab Army vs Ottoman Army
- 🔒Crossing the Nefud Desert
- 🔒Reinforcements at Al Qurayyat
- 🔒Battle at Aba el Lissan
- 🔒Capture of Aqaba
- 🔒The aftermath in Aqaba
- 🔒Strategic assessment and legacy
- 🔒The Aqaba battlefield today
- 🔒Additional images of the Aqaba campaign
- 🔒Sources & Further Reading
- 📚 Further Reading
- 🧭 Battlefield Travel Guide: Capture of Aqaba (1917)
- FAQ: Capture of Aqaba (1917)
3D Virtual Flythrough of the 1917 Aqaba Campaign
Google Earth Virtual Flythrough of the Turkish defences around Aqaba and Lawrence of Arabia’s 1,000+km desert expedition in May-July 1917 to attack Aqaba from the landward side.
Strategic context: the Arab Revolt
Background to the Arab Revolt
The Ottoman Empire conquered most of the region now covered by Saudi Arabia and Jordan by the early 1500s. The Empire had peaked in size in the 1680s but was much reduced by 1914. My Saudi friends tell me that, historically, Ottoman control was largely confined to the coastal trading regions and large cities, and Ottoman raids and punitive expeditions into the interior frequently met resistance.
When the Ottoman Empire joined the Central Powers in WW1, the British established contact with key Arab leaders to gain their support against Turkish forces in the Arabian Peninsula. The Arab leader in Hejaz (today’s western Saudi Arabia and southern Jordan) was Sharif Hussein Bin Ali, Emir of Mecca. His three sons Ali, Abdullah and Faisal were the key leaders when the Arab Revolt began in June 1916 with an attack on Turkish forces occupying Mecca.
Why Aqaba mattered?
By early 1917, the British campaign in the Middle East was unfolding on multiple fronts. In the west, General Sir Edmund Allenby was preparing for a renewed offensive in Palestine after failures at Gaza. To the east, British forces in Mesopotamia had retaken Kut and were preparing for further advances toward Baghdad. In between these fronts lay the Ottoman-controlled Hejaz — a vast stretch of desert, dotted with oases and fortified rail stations, and anchored at its northern end by the Red Sea port of Aqaba.
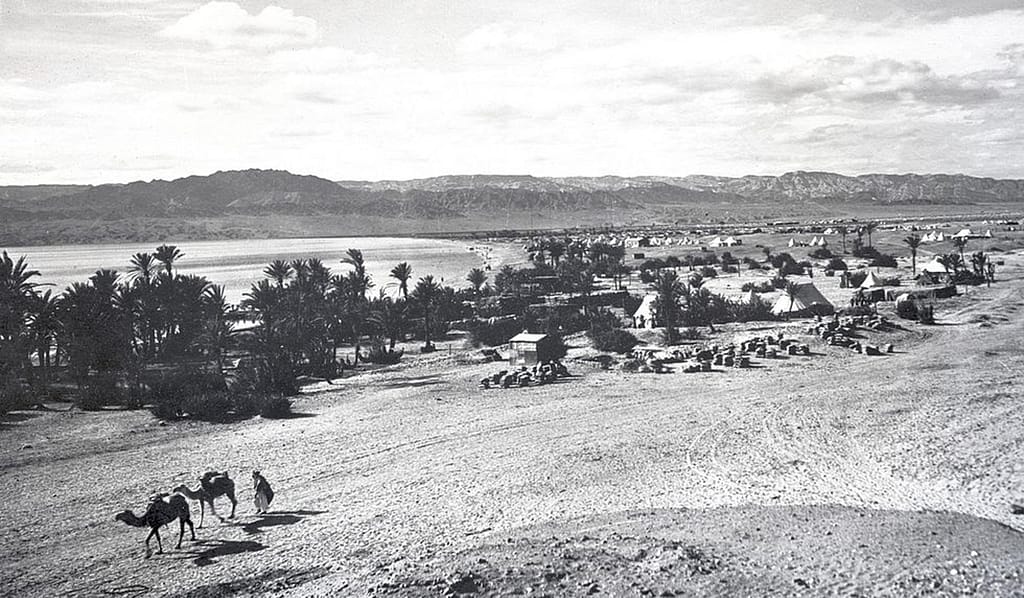
Though relatively minor in terms of garrison strength or economic value, Aqaba held critical strategic value for both sides:
- For the Ottomans, Aqaba was the last remaining Red Sea port under their control. Its loss would sever their coastal connection and further isolate Ottoman forces in the Hejaz — especially the key garrison at Medina.
- For the British, Aqaba represented a potential forward base to support Allenby’s right flank in Palestine and to supply the Arab Northern Army under Prince Faisal. With sea access secure, the British could begin supplying arms, food, and funds directly to the Arab forces rather than via the tenuous overland routes through the Sinai or Suez.
- For the Arab Revolt, still nascent and fragile, the capture of Aqaba would be a symbolic and material breakthrough — transforming tribal raiders into a semi-regular force with a permanent base and a clear battlefield success against the Ottomans.
T.E. Lawrence understood these overlapping interests. He recognised that a successful inland strike on Aqaba would not only outflank the Turkish garrisons but also force the British high command to take the Arab campaign seriously. As he later wrote:
“The best way of ending the war in the East was to cut the enemy’s lines of communication and let his forces wither where they stood.”
— T.E. Lawrence, Seven Pillars of Wisdom
The stage was set for a bold, indirect approach: not a frontal attack from the sea — which the Ottomans were expecting — but a desert march through a region considered impassable.
Captain T.E. Lawrence and Prince Faisal
British support to the Arab Army
By early 1917, the Arab forces had captured all of the Red Sea ports except Aqaba (in today’s Jordan) and were receiving regular resupply of weapons, munitions and money from the British and French governments. Both the British and French provided advisors and liaison officers to the various Arab forces, including British Captain Thomas Edward Lawrence.
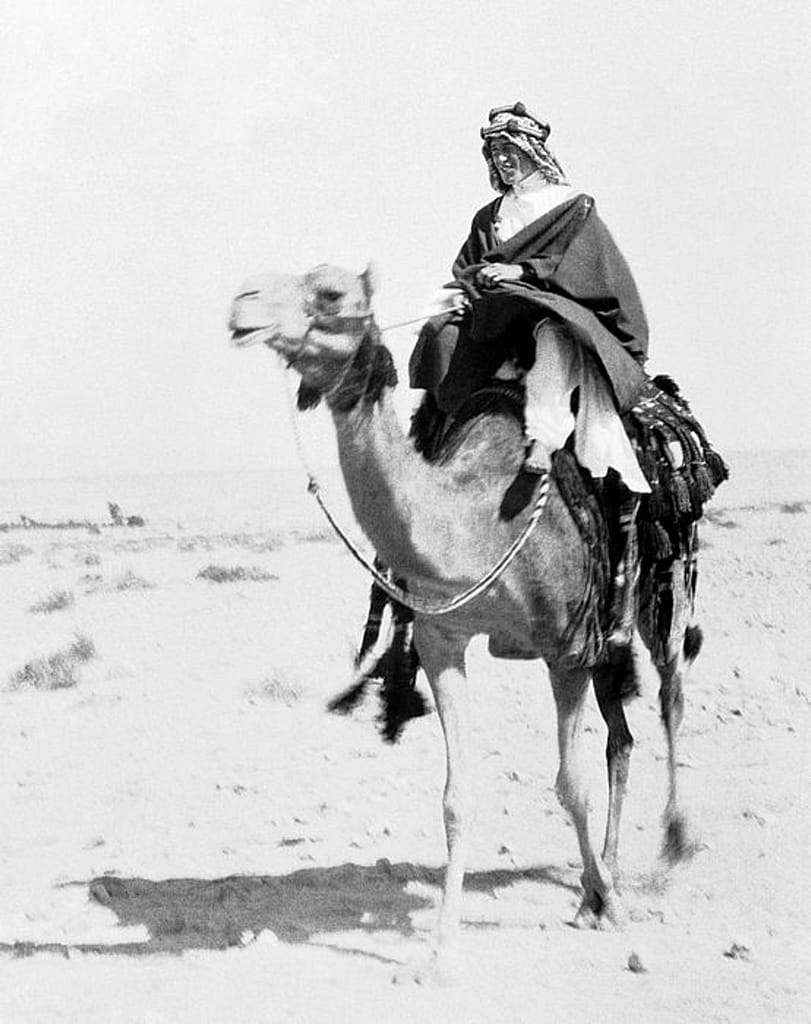
Lawrence established a solid relationship with Prince Faisal and his forces operating in the Hejaz region. Lawrence convinced the Arab leader not to try to force the Ottomans out of Hejaz. Instead, he proposed tying down large numbers of Ottoman troops in Medina and other cities by targeting the vulnerable Hejaz Railway.
‘We must not take Medina. The Turk was harmless there. In prison in Egypt he would cost us food and guards. We wanted him to stay in Medina and every other distant place, in the largest numbers.’
T.E. Lawrence, Seven Pillars of Wisdom, 1926
To Aqaba!
In mid-1917, Lawrence proposed a coordinated attack on the port of Aqaba from the landward side. This operation aimed to seize the last remaining Ottoman-held port on the Red Sea, create a base of operations in the northern Hejaz, and assist British General Allenby by securing his army’s eastern flank during the advance through Palestine. The plan involved a cross-country expedition of more than 1,000km across the desert, including the notorious Nefud Desert in northern Hejaz.
Opposing forces: Arab Army vs Ottoman Army

 Arab Army

 Arab Army
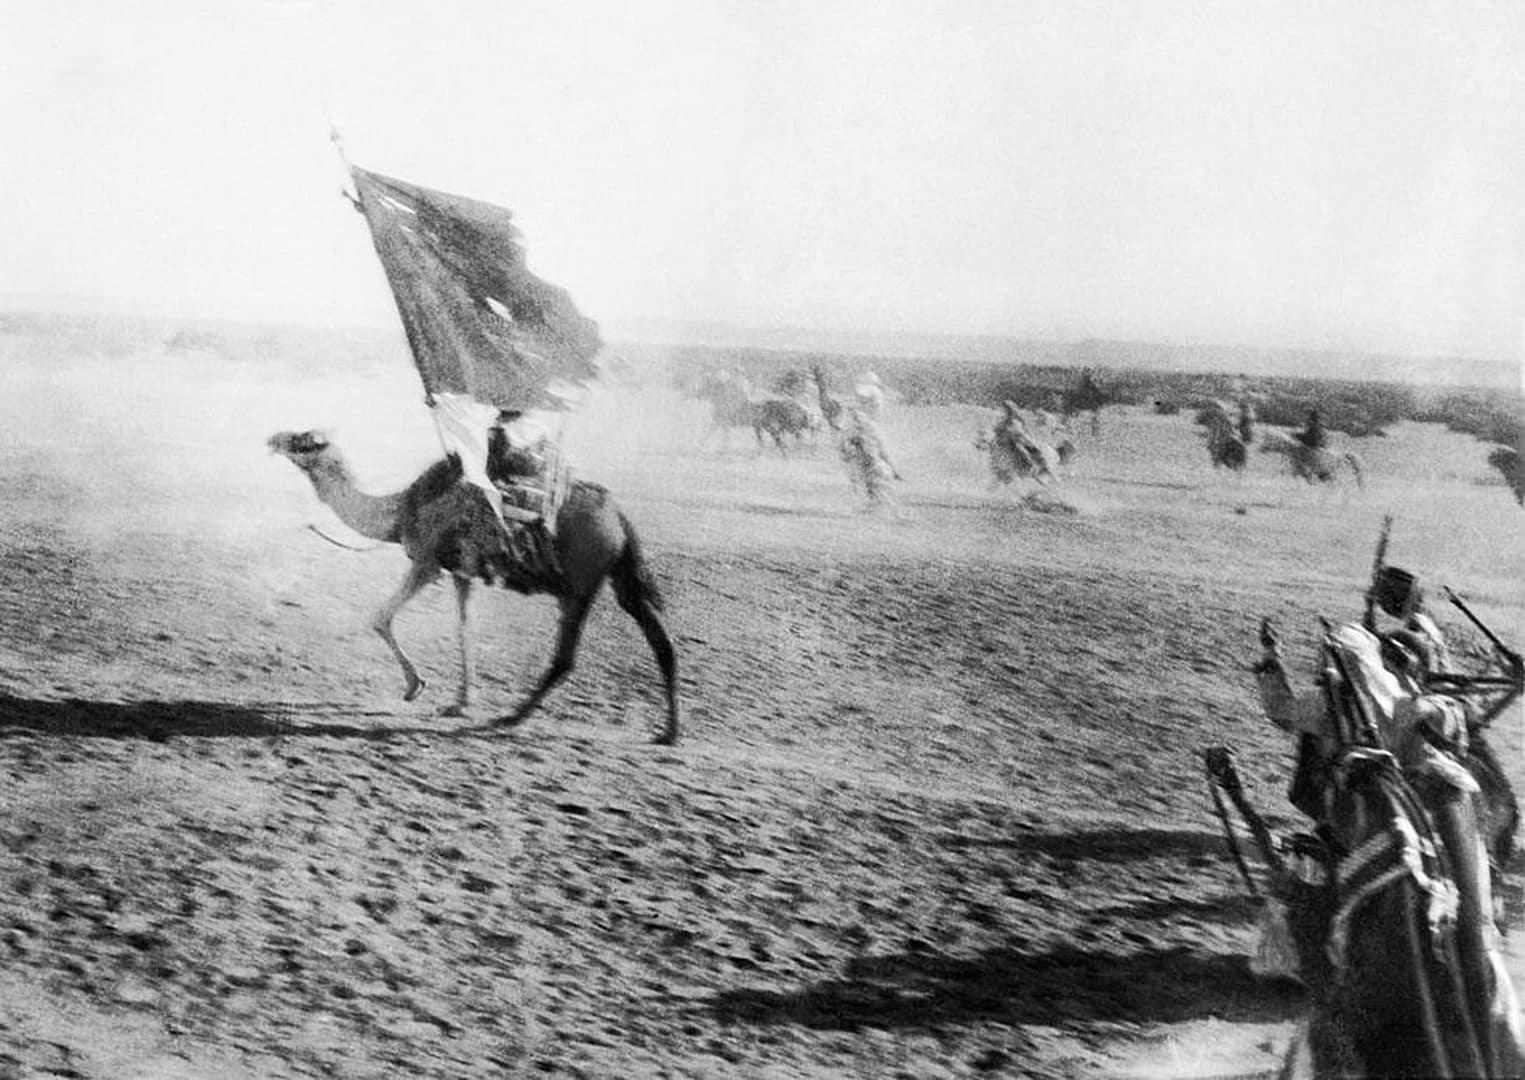
The attacking force was a hybrid of Hashemite regulars, tribal warriors, and a handful of British advisors. It lacked artillery, heavy weapons, or supply infrastructure — but compensated with mobility, local knowledge, and internal motivation. Estimates vary, but most credible sources place the total strength at around 1,200–1,800 men by the time they reached Aqaba. Core components of the army were:
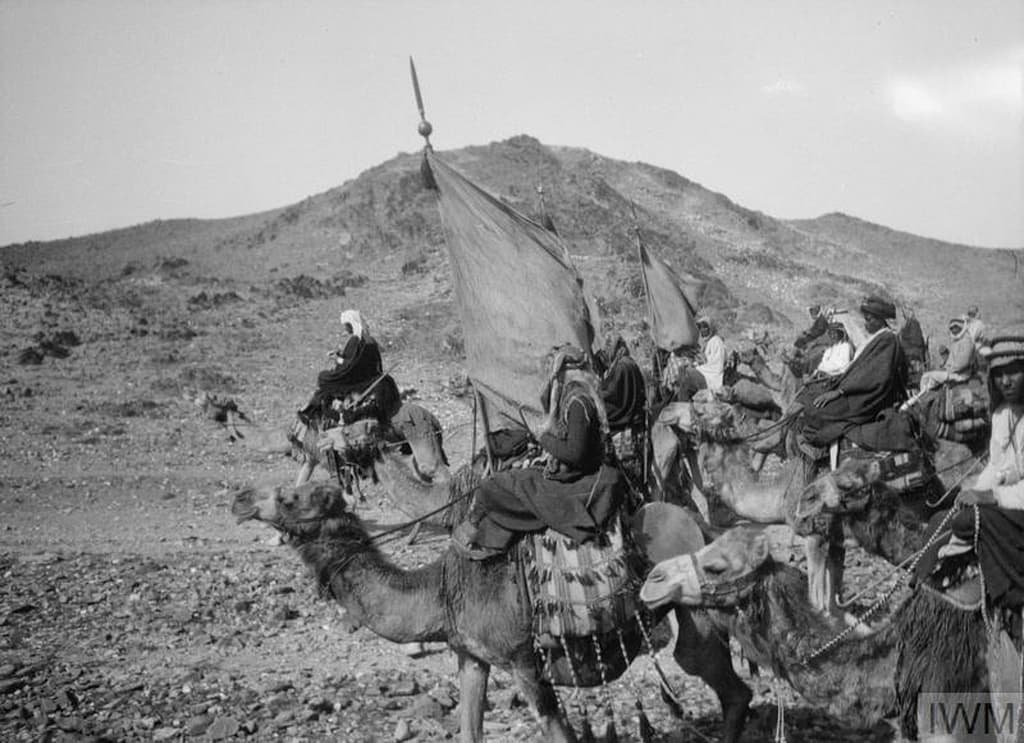
- Regular Troops (~300–400 men)
Commanded by Sherif Nasir ibn Ali, these were part of the Arab Northern Army loyal to Emir Faisal. They were uniformed, trained (often by former Ottoman officers), and more disciplined than the tribal contingents. Nasir’s steady leadership ensured cohesion during the long desert march. - Tribal Fighters (~700–1,200)
Primarily Howeitat and Bani Atiya Bedouin, commanded in the field by Auda abu Tayi, a feared and charismatic leader. These men fought as irregulars — highly mobile on camelback, lightly armed, but well-suited to desert warfare. - Support Elements (~200+)
Camel drivers, water scouts, camp followers, and local guides made up the essential logistical backbone. Most carried no weapons but were vital in navigating waterholes and sustaining the force. - British Contribution
- Captain T.E. Lawrence, the British Army liaison officer and intelligence officer, acted as the strategic planner and diplomatic glue holding the tribal and regular elements together.
- Naval support from the Royal Navy’s Red Sea Patrol was also later employed against Turkish coastal positions, though it played no direct role in the inland campaign.
Ottoman dispositions at Aqaba
 Ottoman dispositions at Aqaba
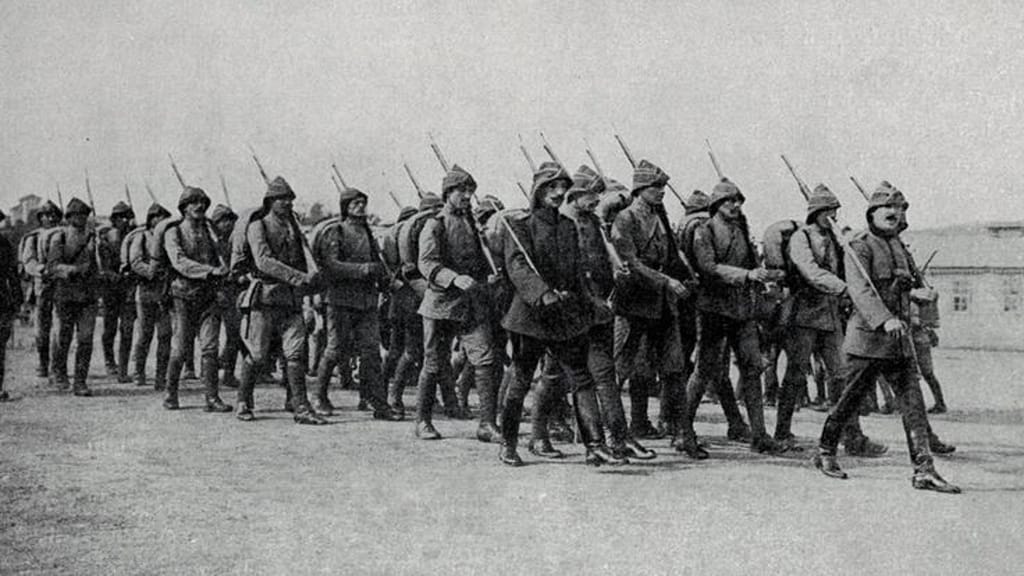
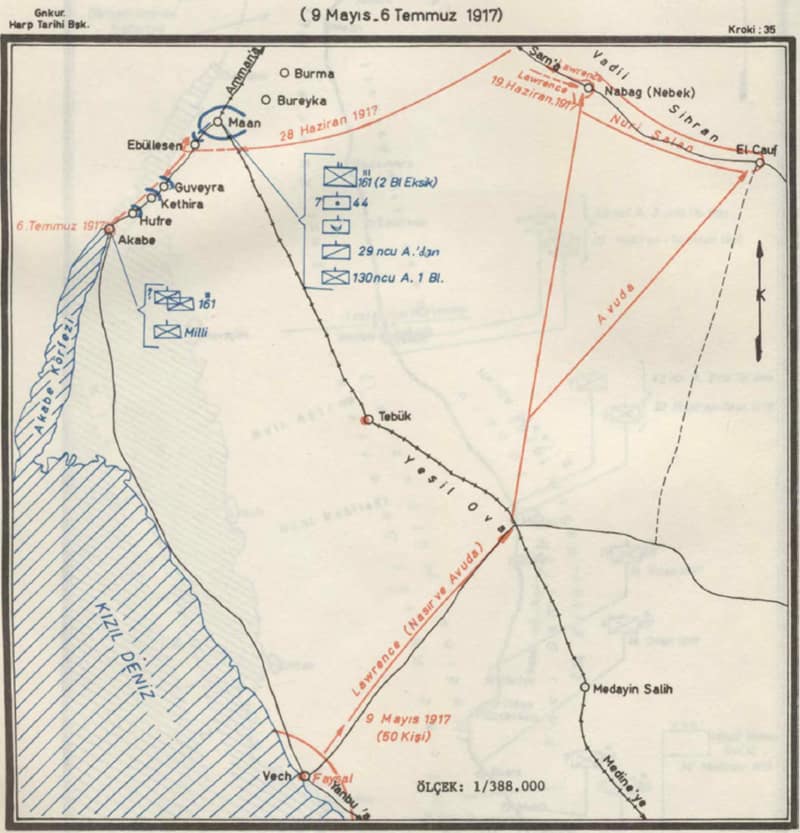
The Ottoman defence of Aqaba was built on the assumption that any attack would come from the sea. The garrison within Aqaba Fortress was modest — two companies of infantry and a local militia company — but reinforced by inland outposts that guarded the key approaches from Ma’an to the north and northeast. According to a Turkish General Staff study, the key Turkish dispositions were:
- Ma’an – Regional Headquarters (80 km NE of Aqaba). ~800 troops initially, including:
- 2nd Battalion, 161st Infantry Regiment (minus two companies)
- One infantry company from 130th Regiment
- 7th Mountain Artillery Battery (44th Artillery Regt.)
- On 1 July, ~500 men were dispatched south to reinforce Aba el Lissan, a critical waterhole and likely axis of approach.
- Aba el Lissan – Forward Outpost. About 400 men by early July 1917
- Functioned as a tripwire garrison and forward blocking position
- Heavily exposed once bypassed or outflanked
- Guweira (40 km NE of Aqaba). Small security outpost (~1 infantry company)
- Kethira (25 km NE). One cavalry company (~50–70 men), tasked with screening duties and mobile response
- Hadra (10 km NE). Lightly held, ultimately abandoned as Arab forces advanced
- Aqaba Fortress. Final garrison of ~300 Ottoman troops
- Two companies of the 161st Infantry
- One local militia company, poorly equipped
- These defences were largely coastal in orientation, with no substantial fortifications facing inland — a critical vulnerability that would prove decisive.
👉 Continue reading — this article is part of the BattlefieldTravels Deep Research Collection. The full 5,426-word analysis draws on primary and secondary accounts of the 1917 battle, including a Turkish General Staff study and Lawrence’s personal sketches, GIS analysis and extensive fieldwork on the Aqaba battlefields. Try membership free for 7 days.
📚 Further Reading
This battle study nests within the broader analytical framework explored in the Research Hub, where operational methods, operating environments, armies, commanders, and weapons are examined across conflicts and eras. The links below connect related studies across the wider body of battlefield analysis on the BattlefieldTravels site.
⚔️ Explore all World War One battle studies
🏛️ Explore the museum of World War One historic weapons and equipment
The book list for this conflict includes the leading campaign studies, memoirs, and operational analyses available on the Middle East Theatre during WW1, selected specifically to complement this battlefield study.
📚 World War One – Recommended Reading
🗞️ For updates on new battlefield studies and research insights, you can subscribe to the Newsletter.
Related Battle Studies, Museum Pieces & Reading Resources
 🏛️ World War One (1914–1918) Weapons and Equipment,
PART 2. CENTRAL POWERS
 🏛️ World War One (1914–1918) Weapons and Equipment,
PART 1. ALLIED POWERS
 ⚔️ Battle of Polygon Wood,
26 September – 3 October 1917
 🏛️ Russian Civil War (1917–1922) Weapons and Equipment
 ⚔️ 1914–1918 World War One, Battle Studies
 📝🔒Field Note: Battle for Verdun, France, Feb – Dec 1916
🧭 Battlefield Travel Guide: Capture of Aqaba (1917)
Getting There
- Nearest Town: Aqaba, Jordan — a Red Sea port city.
- Transport: Easily accessible by car from Amman (approx. 4 hours) or by domestic flight to King Hussein International Airport.
- Parking: Readily available around the fort and waterfront area.
Site Orientation
- Key Landmarks: Aqaba Fort (Mamluk fortress), Ottoman gun positions facing the sea, and desert approaches from Wadi Rum.
- Walking Routes: The old fort area can be explored on foot; the desert routes north of Aqaba require guided 4×4 tours.
- Best Vantage Points: The battlements of Aqaba Fort overlook the harbour, while desert viewpoints at Wadi Rum recall the approach of the Arab forces.
Museums & Visitor Centres
- Aqaba Fort Museum: Displays on local history, Lawrence of Arabia, and the 1917 campaign.
- Aqaba Archaeological Museum: Housed within the fort, offering broader historical context.
- Lawrence of Arabia Heritage Sites: Plaques and interpretive material around Aqaba and Wadi Rum commemorate the campaign.
On-Site Experience
- Interpretive Signage: Panels in Aqaba Fort and town explain the role of the Arab Revolt and the British mission.
- Atmosphere: The juxtaposition of desert approaches and Red Sea coastline illustrates the daring flank attack of 1917.
- Guides & Tours: Wadi Rum desert tours often include Lawrence of Arabia themes, linking Aqaba to inland operations.
Nearby Points of Interest
- Wadi Rum: Desert stronghold of the Arab Revolt, with dramatic rock formations and inscriptions.
- Hejaz Railway Remnants: Ruins of Ottoman railway stations and locomotives targeted during the revolt.
- Petra: UNESCO World Heritage site, once a logistical waypoint for forces moving through southern Jordan.
Practical Tips
- When to Visit: Cooler months (Oct–Apr) are best for combining desert exploration with Aqaba’s coastal attractions.
- Facilities: Aqaba is a modern resort town with hotels, restaurants, and transport services.
- Special Considerations: For battlefield context, combine a visit to Aqaba Fort with a guided trip through Wadi Rum to appreciate the campaign’s desert approach.
FAQ: Capture of Aqaba (1917)
On 6 July 1917, Arab Revolt forces under Sherif Nasir ibn Ali, Auda abu Tayi, and T. E. Lawrence captured Aqaba from the Ottomans after a daring overland march.
Its capture secured a Red Sea supply port for the Arab Revolt and threatened the Ottoman flank along the Hejaz Railway.
They crossed the Nefud Desert and attacked Aqaba from the landward side, which was lightly defended.
The Ottoman garrison surrendered, and the victory allowed Allied support and supplies to flow through Aqaba.
Yes, though much of the old fort is rebuilt, the location can be toured and there are local plaques referencing Lawrence of Arabia.
Subscribe to Battlefield Travels and receive a free E-Book Battlefield Guide
Unlock expert battlefield analysis, campaign reconstructions, and historical insights drawn from firsthand exploration and primary sources.
🗺️ You’ll receive:
🎖️ Exclusive historical insights you won’t find elsewhere
📘 A free eBook: 10 Tips for Exploring Historic Battlefields
📰 New battlefield studies straight to your inbox as they are published

⚔️ Go deeper — Members get exclusive access to the Deep Research Collection, Field Notes, and monthly Research Dispatches. Try membership free for 7 days, cancel anytime. From $9/month.
Thanks Mick, very good summary, I enjoyed it.
Thanks Mark, I know a lot more about the battle now than what I did in 2021. Time to revisit!
Do you have any maps showing the route Lawrence took?
Hello Bethy, the video fly through shows the route. I do have Lawrence’s sketch. I will add to the post. Mike
Thanks for this information, a fascinating read.
Myself & friends are planning to revisit Saudi later this year, we will be travelling through Jeddah to our old base (and Lawrence’s!) at Yanbu, then possibly on to Jordan & Aqaba.
Raymond. Awesome! I was working in Saudi when I visited Aqaba and Wadi Rum. I have researched the battle a lot more since I visited, so you have the benefit of all that research now. I found the Turkish General Staff mapping and writings particularly useful in locating the Turkish garrisons. Mick