Dispatches go out monthly. If you are reading this as a forwarded copy and would like to subscribe, you can do so at BattlefieldTravels.com.

Research Dispatch | England and Norway — What the ground revealed
Back from the Battlefield
In my last Research Dispatch, I outlined plans for an extensive programme of battlefield exploration across England and Norway. After several weeks in the air, on the road, and on the sea, I have returned with a substantial collection of photographs, maps, terrain observations and new research questions.
The expedition covered more than a thousand years of military history, from the Viking and Anglo-Saxon campaigns of early medieval England to the naval, airborne and mountain operations of the Norwegian Campaign of 1940.

As always, the purpose was more than visiting historical locations. My approach to battlefield research brings together contemporary accounts, historical maps, military doctrine and firsthand examination of the ground. The objective is to understand not just what happened, but how terrain, weapons, tactics and command decisions combined to influence the outcome.
Three locations were particularly rewarding, each illustrating a different aspect of this approach.
Bosworth, 1485 — When the battlefield Is not where you thought it was
One of the highlights of my English fieldwork was revisiting the Battle of Bosworth, fought on 22 August 1485, where Richard III was defeated and killed by the forces of Henry Tudor.
For centuries, the battle was believed to have taken place around Ambion Hill in Leicestershire. Monuments were erected, battlefield trails developed and generations of visitors explored what was accepted as the site of Richard’s final battle. But the contemporary descriptions never quite matched the landscape.
Between 2005 and 2009, an archaeological investigation led by Dr Glenn Foard combined historical documents, old maps, landscape reconstruction and systematic metal detecting. The discoveries fundamentally changed our understanding of where the battle was fought.
A remarkable concentration of lead shot from early firearms and artillery was recovered around Fenn Lane, approximately three kilometres southwest of the traditional location. The discovery of a small silver-gilt boar badge, Richard III’s personal emblem, near a former marsh provided another intriguing clue. The evidence relocated the principal battlefield and revealed a more substantial use of gunpowder weapons than previously appreciated.

I was particularly fortunate to explore Bosworth with my old friend Harry, with whom I served in Headquarters 1st Division in the Australian Army more than twenty years ago. Harry is now involved with the Bosworth Battlefield Heritage Centre and has developed an extraordinary knowledge of the Wars of the Roses. Walking the ground together, examining the archaeological evidence and reconstructing the historical landscape provided an excellent opportunity to consider how the battle may have unfolded.
Bosworth illustrates a fundamental principle of battlefield research: accepted historical interpretations must be tested against the physical ground. Even after five centuries, new evidence can transform our understanding of a battle.

Worcester, 1651 — Terrain perception and decision-making
Of the English Civil War battlefields I visited, Worcester was particularly interesting from the perspective of terrain and command decision-making. On 3 September 1651, Oliver Cromwell’s Parliamentarian army defeated the Royalist and Scottish forces of Charles II at Worcester in the final major battle of the English Civil Wars.
The battlefield is dominated by two rivers, the Severn and Teme, which divided the opposing forces and constrained the lateral movement of troops. Cromwell’s army had to establish crossings, coordinate attacks on both sides of the Severn and respond to Royalist counterattacks. The surviving landscape provides an excellent opportunity to examine these decisions.
At Powick, the Teme and its crossing points illustrate the challenges of attacking against a defended river line. Cromwell used methods that we would recognise today:
- Engineer reconnaissance established the need for improvised river crossings.
- Pontoon boats were positioned well forward in Cromwell’s advancing army.
- Cromwell established two crossing sites over the Severn and Teme, and secured the far banks while the pontoon bridges were constructed and adequate forces were moved across the rivers.

From the Royalist held positions on Fort Royal and Worcester Cathedral, the entire battlefield could be observed, and dominated by artillery. This perhaps explains why Charles’ Royalist army performed as well as it did for as long as it did, despite being outnumbered by more than two-to-one.
One of the most interesting episodes occurred when Charles II attempted to exploit Cromwell’s commitment of troops west of the Severn by attacking the Parliamentarian forces east of the river. Cromwell responded by transferring troops back across his bridges of boats, thereby reversing the Royalist advance.
It is an excellent example of how terrain creates both opportunities and constraints. Rivers that protect a defensive position can also divide forces and restrict their freedom of manoeuvre. Equally, the ability to establish and control crossing points can create options that would otherwise be unavailable.
From Fieldwork to Publication: Since returning from England, I have completed and published my first Field Note from the expedition, examining the Battle of Worcester in 1651. It explores how Cromwell and Charles II responded to the constraints and opportunities created by the Severn and Teme rivers. I have also established a new English Civil Wars Conflict Hub, supported by a dedicated Reading Room covering the principal military histories, campaign studies and contemporary sources. Here are the links:
- 📝 🔒Field Note: Battle of Worcester, English Civil War, 3 September 1651
- ⚔️ 1642–1651 English Civil War, Battle Studies
- 📚 1642-1651 English Civil War, Recommended Reading

Narvik, 1940 — Winning the battles, losing the campaign
Narvik was perhaps the most ambitious part of my expedition. Situated well north of the Arctic Circle, the port was the scene of one of the most complex campaigns of the Second World War. Its importance derived from the Ofoten Railway, which connected the ice-free harbour at Narvik with the iron-ore mines of northern Sweden.
On 9 April 1940, in a dramatic coup de main, German destroyers sank the two Norwegian coastal defence vessels Norge and Eidsvold, and delivered nearly 2,000 troops of the 3rd Mountain Division into Narvik. The very next day, five British destroyers sailed into Ofotfjord and, in an equally dramatic attack, sank several of the German ships before they themselves were pursued out of Narvik. Three days later, on 13 April, the British returned in force with nine destroyers, the battleship HMS Warspite, and the aircraft carrier HMS Furious. The Royal Navy sank all the remaining German destroyers and U-boat U-64. However, no Allied troops were landed, so the German mountain troops and surviving sailors remained in control of Narvik and its surrounding mountains.
Over the following seven weeks, Norwegian, British, French and Polish forces gradually drove the Germans eastwards. Narvik was recaptured on 28 May, but the German offensive in France and Belgium fundamentally changed the strategic situation. The Allies evacuated northern Norway, allowing German forces to reoccupy the port. The Royal Navy had won the naval battles. Allied forces had retaken Narvik. Yet Germany ultimately retained the strategic objective.

During our visit, I was able to explore the naval battle locations along Ofotfjord, investigate the fighting around Bjerkvik, Gratangen and Ankenes, and travel the spectacular Ofoten Railway to Bjørnfjell, near the Swedish border. The physical geography is extraordinary. Deep fjords, steep mountains, restricted approaches, snow-covered high ground and a vulnerable railway corridor shaped almost every aspect of the campaign.
The journey reinforced the difficulties of understanding a campaign of this scale solely through maps and written accounts. The distances between the principal battle areas, the relationship between the maritime and mountain approaches, and the extraordinary terrain along the railway become much more apparent when examined firsthand.
Narvik has generated an enormous body of fieldwork material. The next step is to bring these observations together with contemporary operational accounts, historical maps and other primary sources to develop detailed battlefield studies of the campaign.

Beyond Bosworth, Worcester and Narvik
The three examples above represent only part of the expedition. In England, I explored the medieval battlefields of Maldon (991), Hastings (1066), Barnet (1471) and Tewkesbury (1471), along with Rochester Castle (1215) and the Dutch naval Raid on the Medway (1667). The English Civil Wars featured prominently, with visits to Edgehill (1642), Naseby (1645), Langport (1645), and Worcester (1651). I also explored the Monmouth Rebellion battlefield of Sedgemoor (1685).
Other investigations followed the campaigns and legacy of Alfred the Great, including Edington (878), Athelney (the burnt cakes episode), Brent Knoll (875), and Winchester (Alfred’s capital). Visits to the former Royal Small Arms Factory at Enfield and Bovington Tank Museum provided opportunities to examine developments in military technology, manufacturing and armoured warfare.
In Norway, my fieldwork extended well beyond Narvik. At Trondheim, Kristiansten Fortress provided an opportunity to explore the Swedish invasion of 1718 during the Great Northern War, while the enormous DORA I and DORA II submarine bunkers illustrated the scale of German military construction during the Second World War.
Near Stavanger, I explored the German airborne assault on Sola Airfield in April 1940. At Hafrsfjord (872), the spectacular Swords in Rock monument commemorates the traditional Viking battle associated with the emergence of a unified Norwegian kingdom.
Not every location will become a major battlefield study. Some will contribute to existing articles, while others may generate shorter Field Notes or thematic investigations. Together, however, they represent a substantial addition to the research material available for Battlefield Travels.

From fieldwork to publication — What comes next?
The first phase of the research process is the planning and preparation. Then walking the ground, photography, and terrain observations. The next task is to reconcile what I observed on the ground with contemporary accounts, operational records, historical maps and existing scholarship. This is where the fieldwork begins to reveal its real value: testing established interpretations, identifying questions that require further investigation and reconstructing the military problems faced by commanders.
Narvik is a major priority, with sufficient material to examine the naval engagements, land campaign and strategically important Ofoten Railway. Bosworth and Worcester also offer opportunities for further research, while several other locations will contribute to future battlefield studies and shorter Field Notes.
The expedition also provided valuable material for my doctoral research into how commanders perceive, interpret and exploit small-scale terrain features, and how these decisions influence battlefield outcomes. Over the coming months, I will be working through this material and gradually incorporating the findings into Battlefield Travels.
The objective remains the same: to move beyond simply recounting battles and develop a deeper understanding of how and why they were fought.
And that is ultimately why I continue to walk the ground.


Authored by Mick Prictor, a retired military officer with 40 years’ service, and a military historian specialising in terrain-focused analysis of tactics, doctrine, and command decision-making in land warfare. His work draws on extensive battlefield fieldwork—more than 280 sites worldwide—and one of the world’s largest private collections of historic military arms, uniforms, and equipment. About me
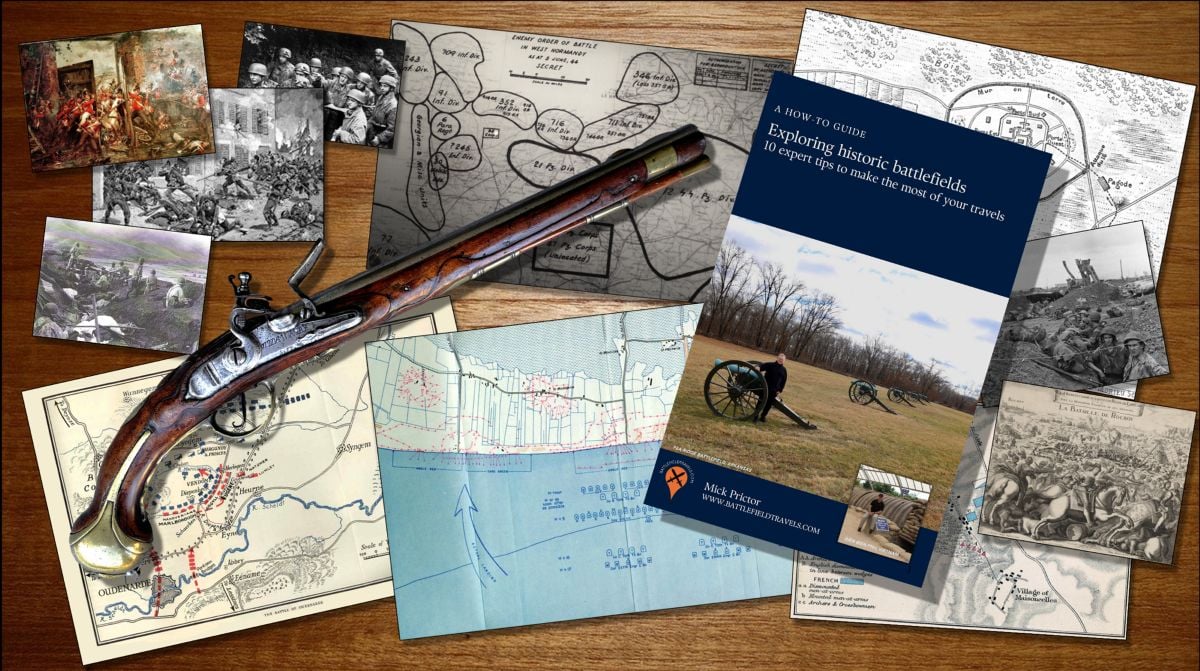
Subscribe to Battlefield Travels and receive a free E-Book Battlefield Guide
Unlock expert battlefield analysis, campaign reconstructions, and historical insights drawn from firsthand exploration and primary sources.
🗺️ You’ll receive:
🎖️ Exclusive historical insights you won’t find elsewhere
📘 A free eBook: 10 Tips for Exploring Historic Battlefields
📰 New battlefield studies straight to your inbox as they are published
⚔️ Go deeper — Members get exclusive access to the Deep Research Collection, Field Notes, and monthly Research Dispatches. Try membership free for 7 days, cancel anytime. From $9/month.
