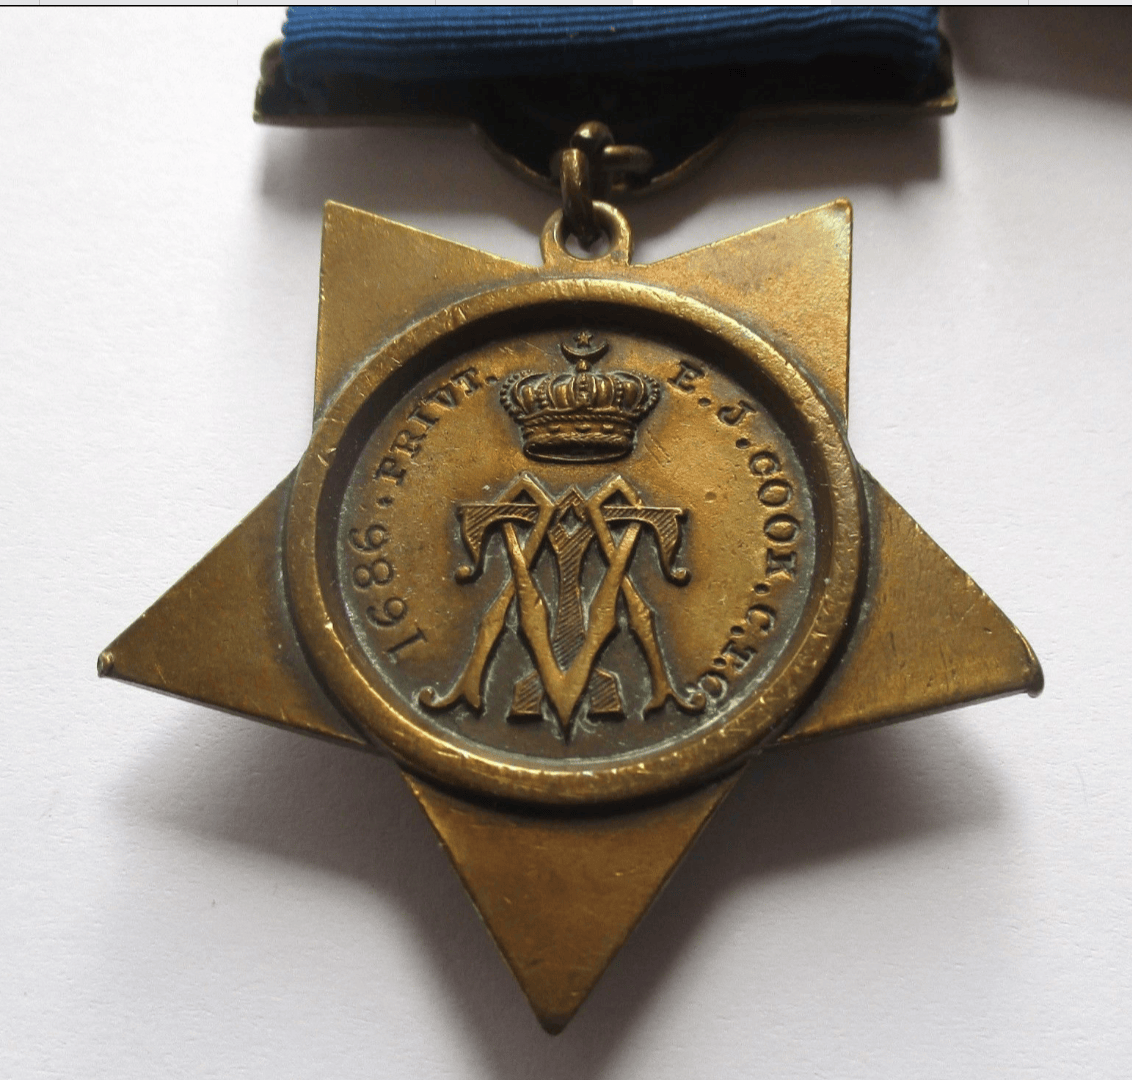
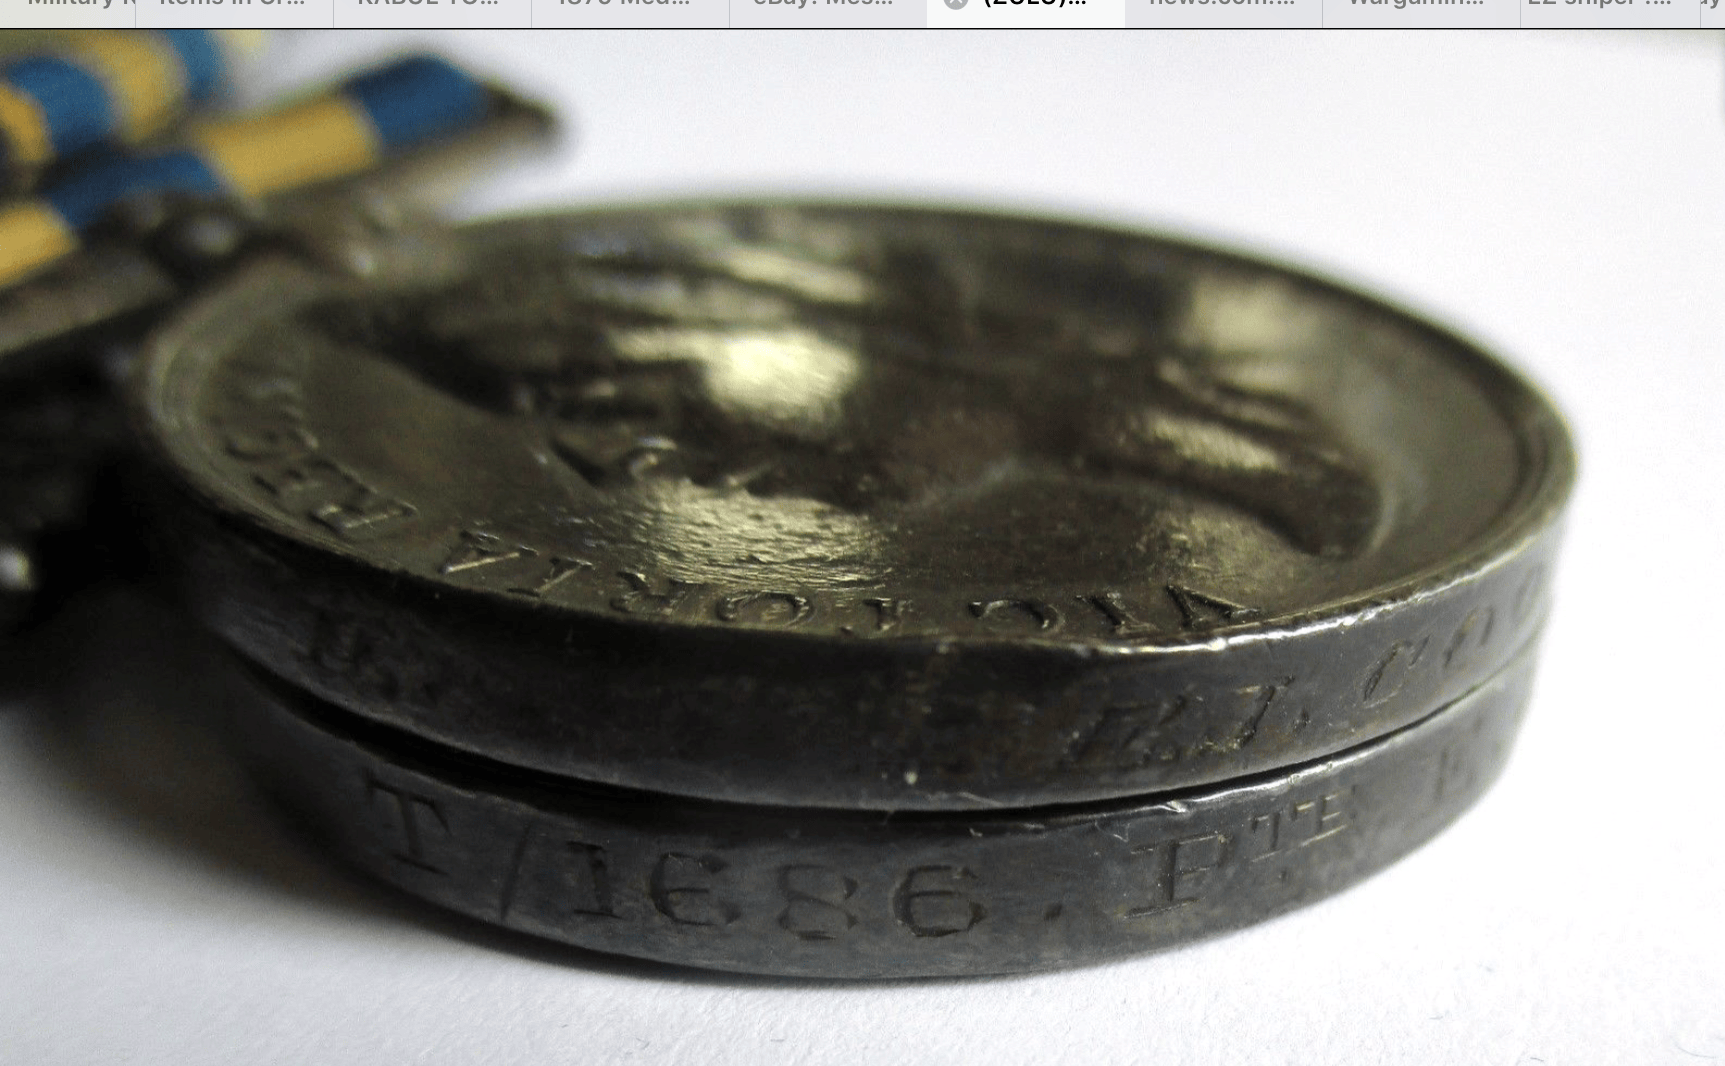
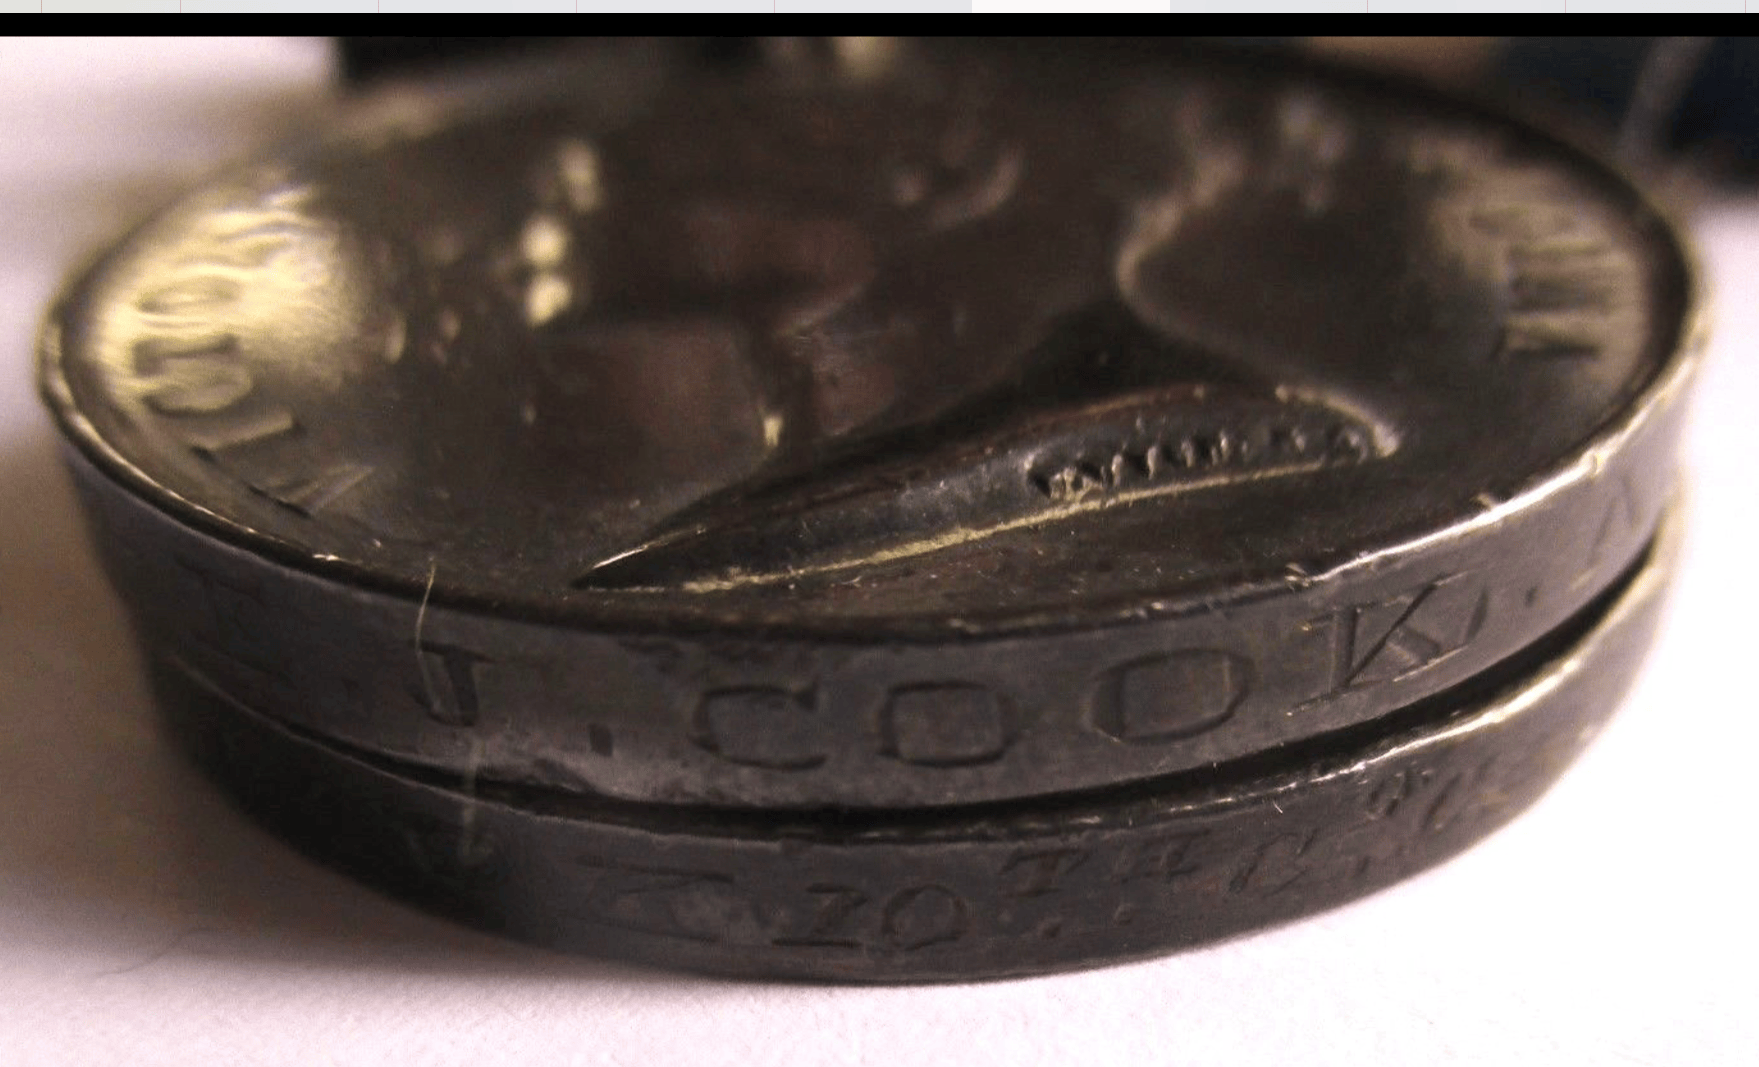
Reconstructing Anglo-Zulu War battlefields through terrain analysis, primary sources and on-site research
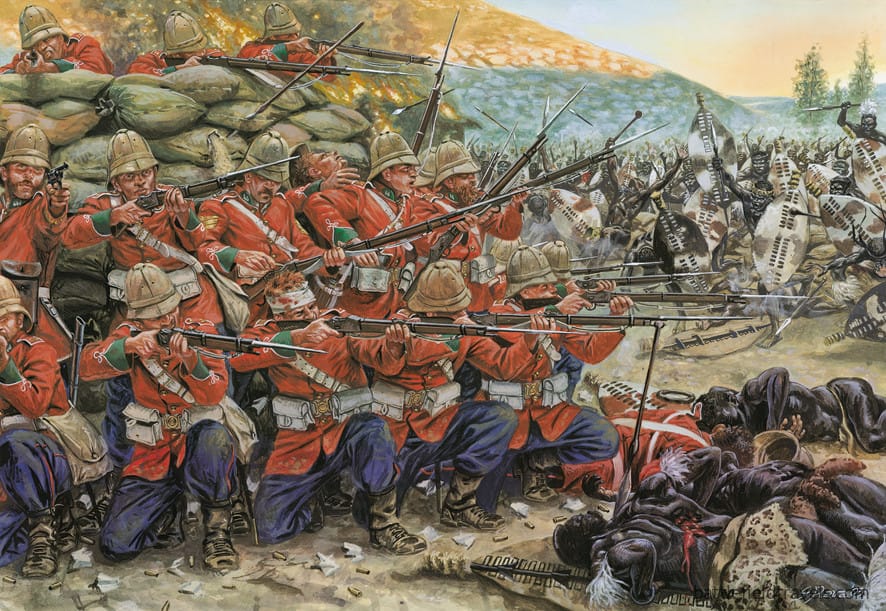
Walking the battlefields of the Anglo-Zulu War
The Anglo-Zulu War of 1879 was one of the most dramatic and consequential colonial conflicts of the late 19th century. Fought between the expanding British Empire and the militarised Zulu Kingdom of King Cetshwayo, it unfolded across the rugged hills, basalt ridges and sweeping grasslands of KwaZulu-Natal. Though brief, the war produced some of the most iconic engagements in Victorian military history, revealing stark contrasts in strategy, culture, weaponry and command philosophy.
Road to War
British authorities in southern Africa—seeking confederation, territorial consolidation and control of the region—presented the Zulu kingdom with an ultimatum designed to be rejected. When Cetshwayo refused to dismantle his regimental system and accept British arbitration, the invasion force crossed the Buffalo River in January 1879, setting in motion a campaign that would shock London and reshape regional power.
Key battles
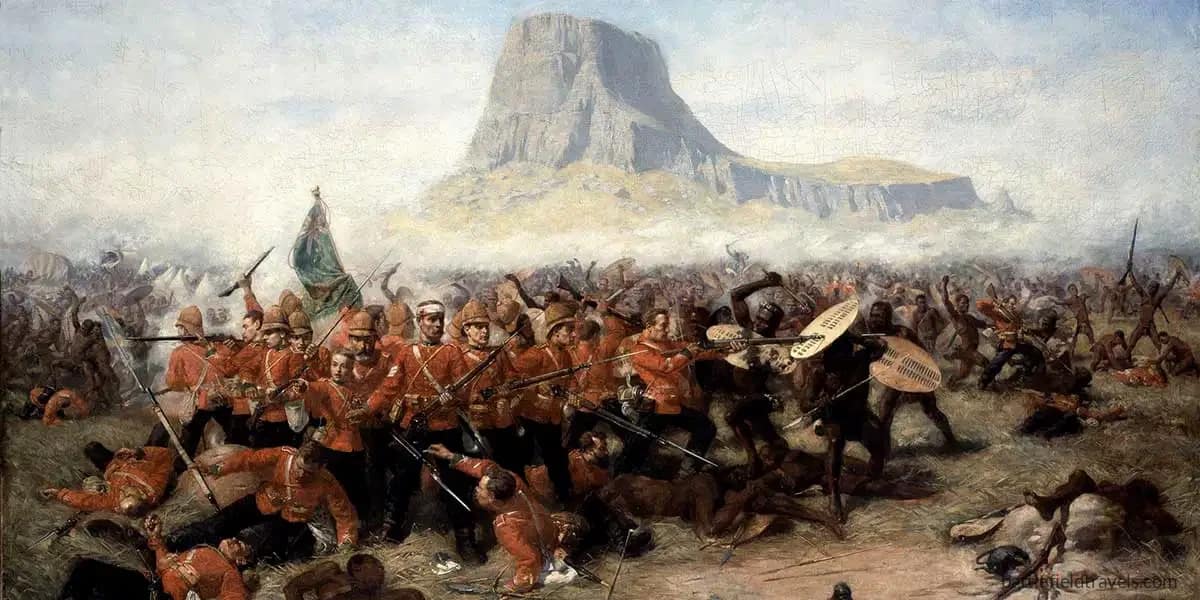
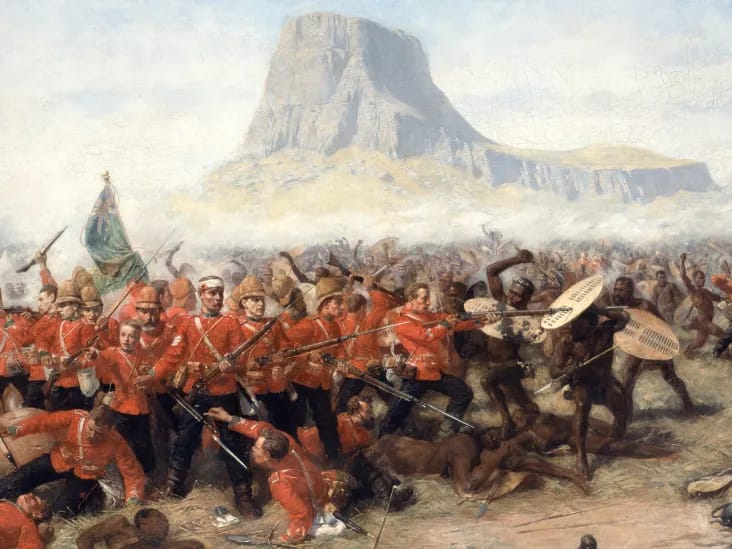
At Isandlwana (22 January 1879), the Zulu impi achieved one of the most stunning Indigenous victories of the colonial era. Using classic enveloping “horns of the buffalo” tactics adapted to the broken hillsides and ravines east of the mountain, the Zulu regiments annihilated the central British column. I have walked this battlefield extensively, tracing the donga lines, the firing positions and the final stands where companies of the 24th Foot attempted to hold back thousands of warriors. Isandlwana remains a case study in terrain, reconnaissance failure, dispersed deployment, and the misreading of the enemy’s culture.
Hours after the disaster at Isandlwana, a small British garrison at the Rorke’s Drift mission station held off repeated Zulu assaults. The fight took place on confined ground and it demonstrates how disciplined firepower, improvised fortification and interior lines could offset heavy numerical disadvantage. My study of Rorke’s Drift draws on on-site reconnaissance, period sketches, survivor statements and the evolving defensive layout reconstructed through GIS.
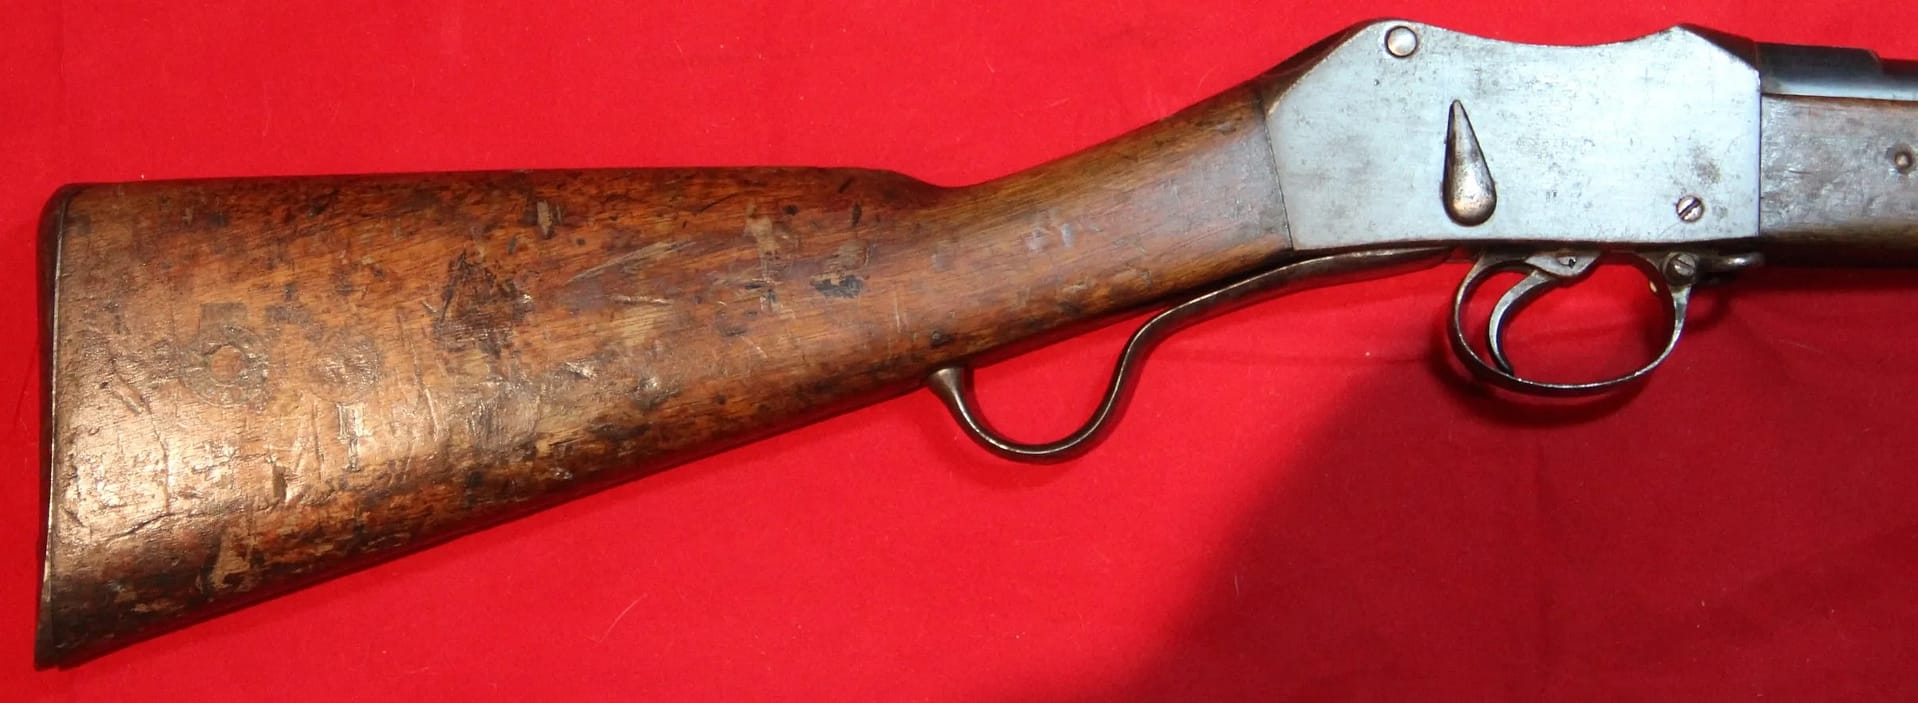
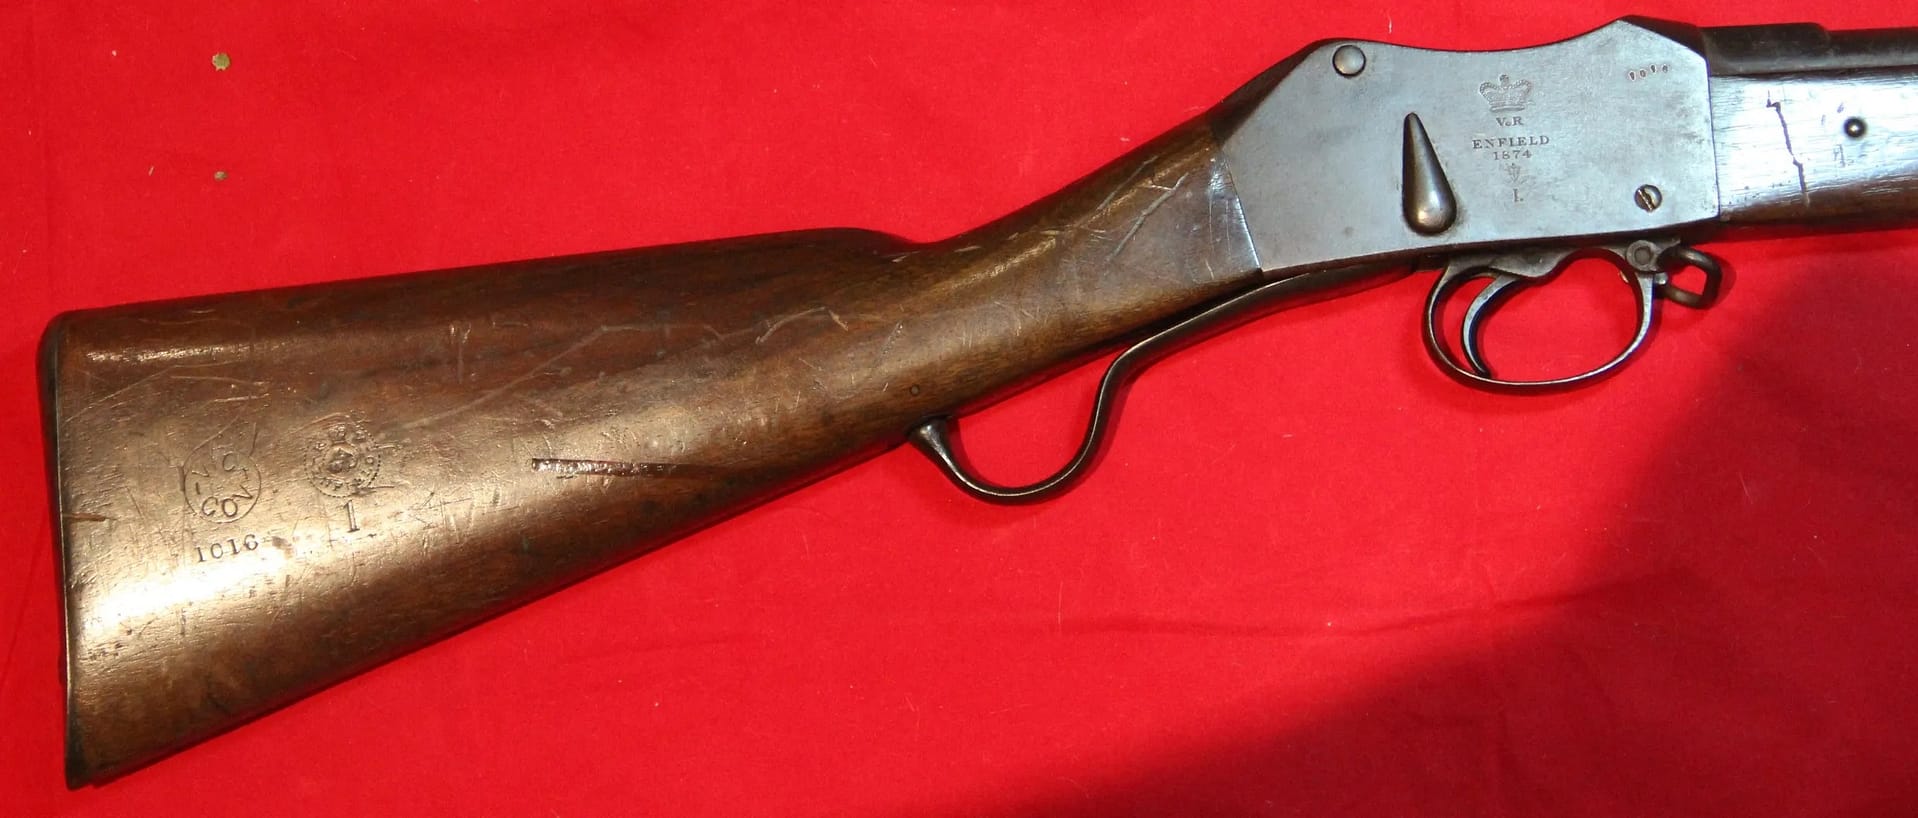
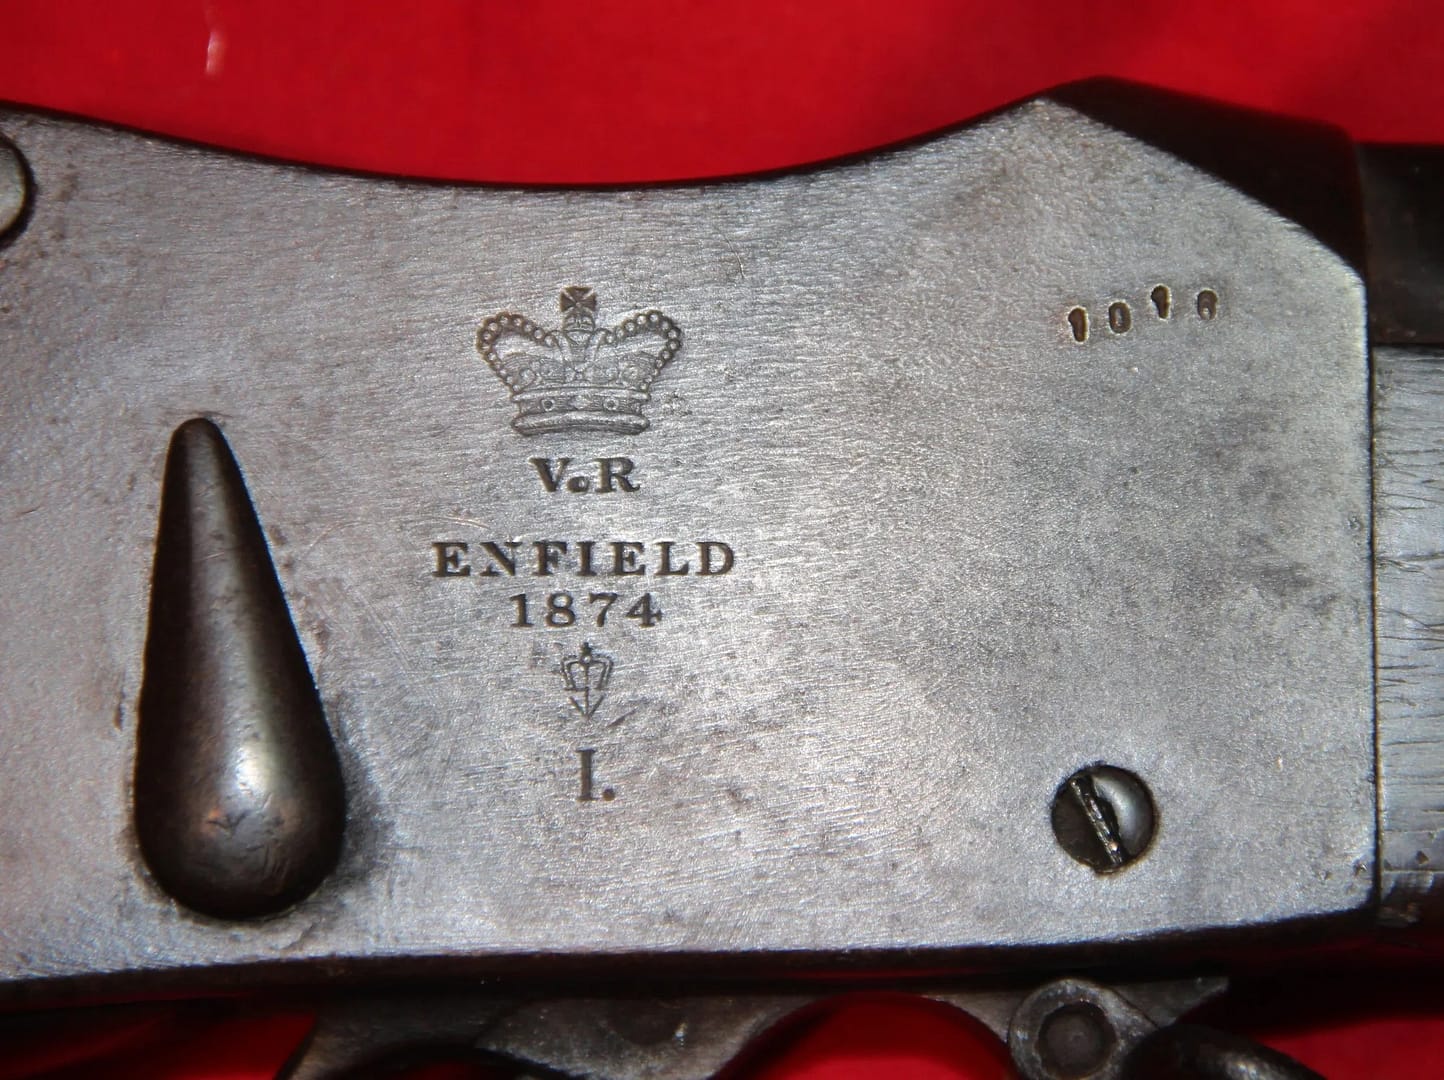
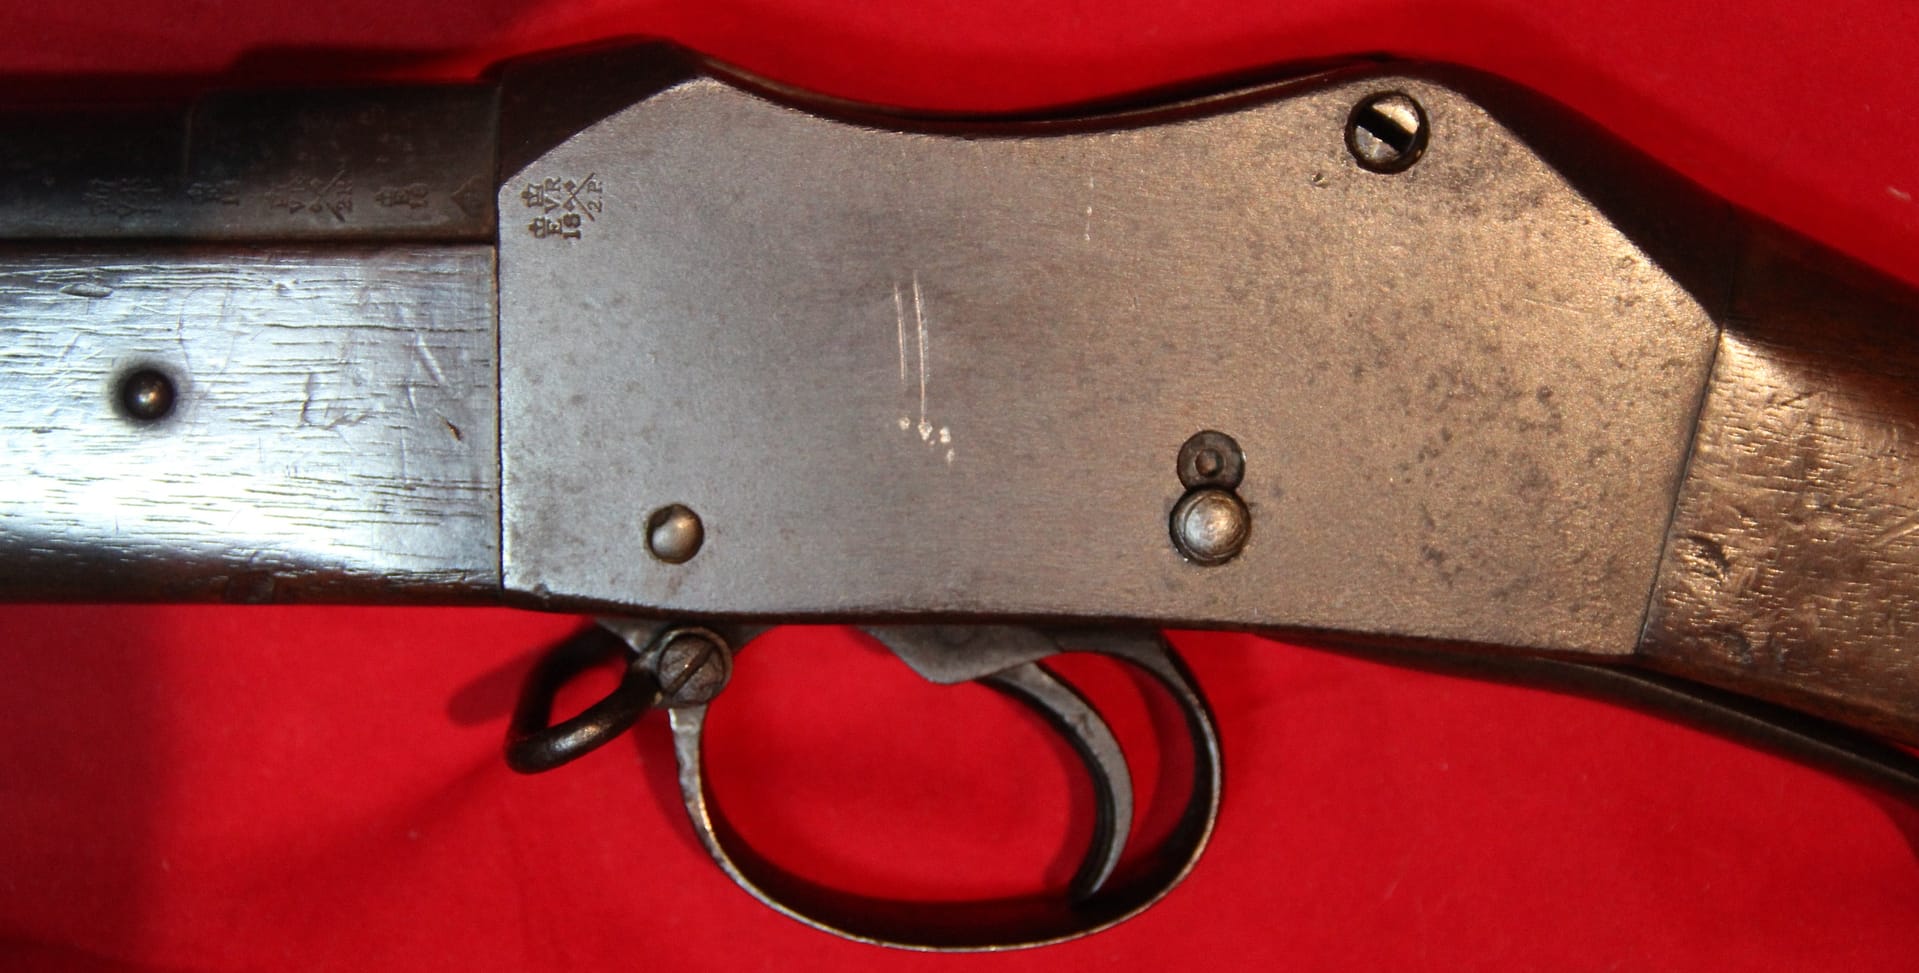
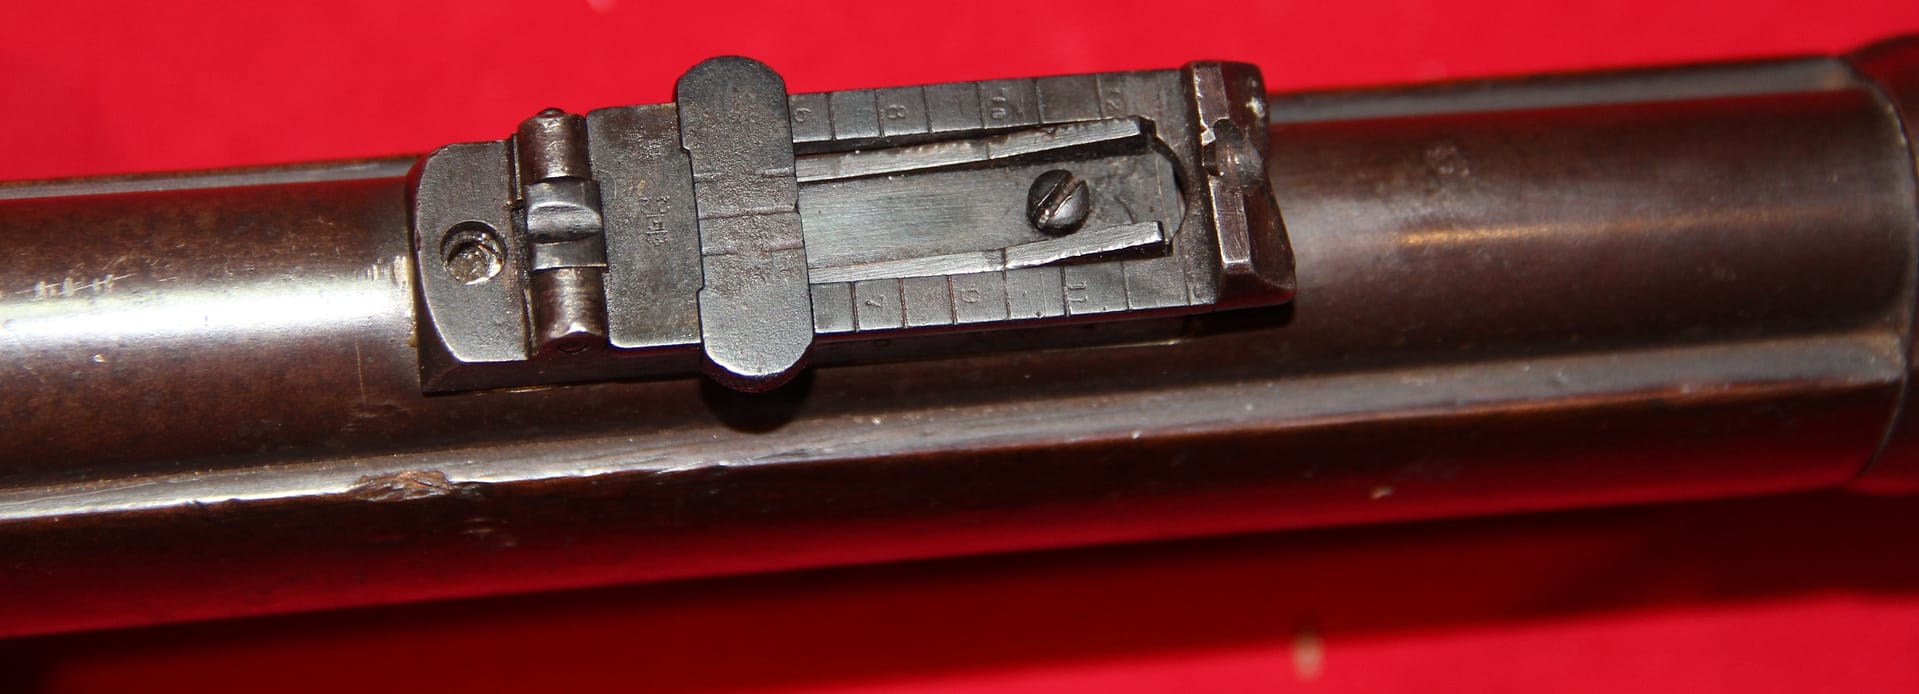
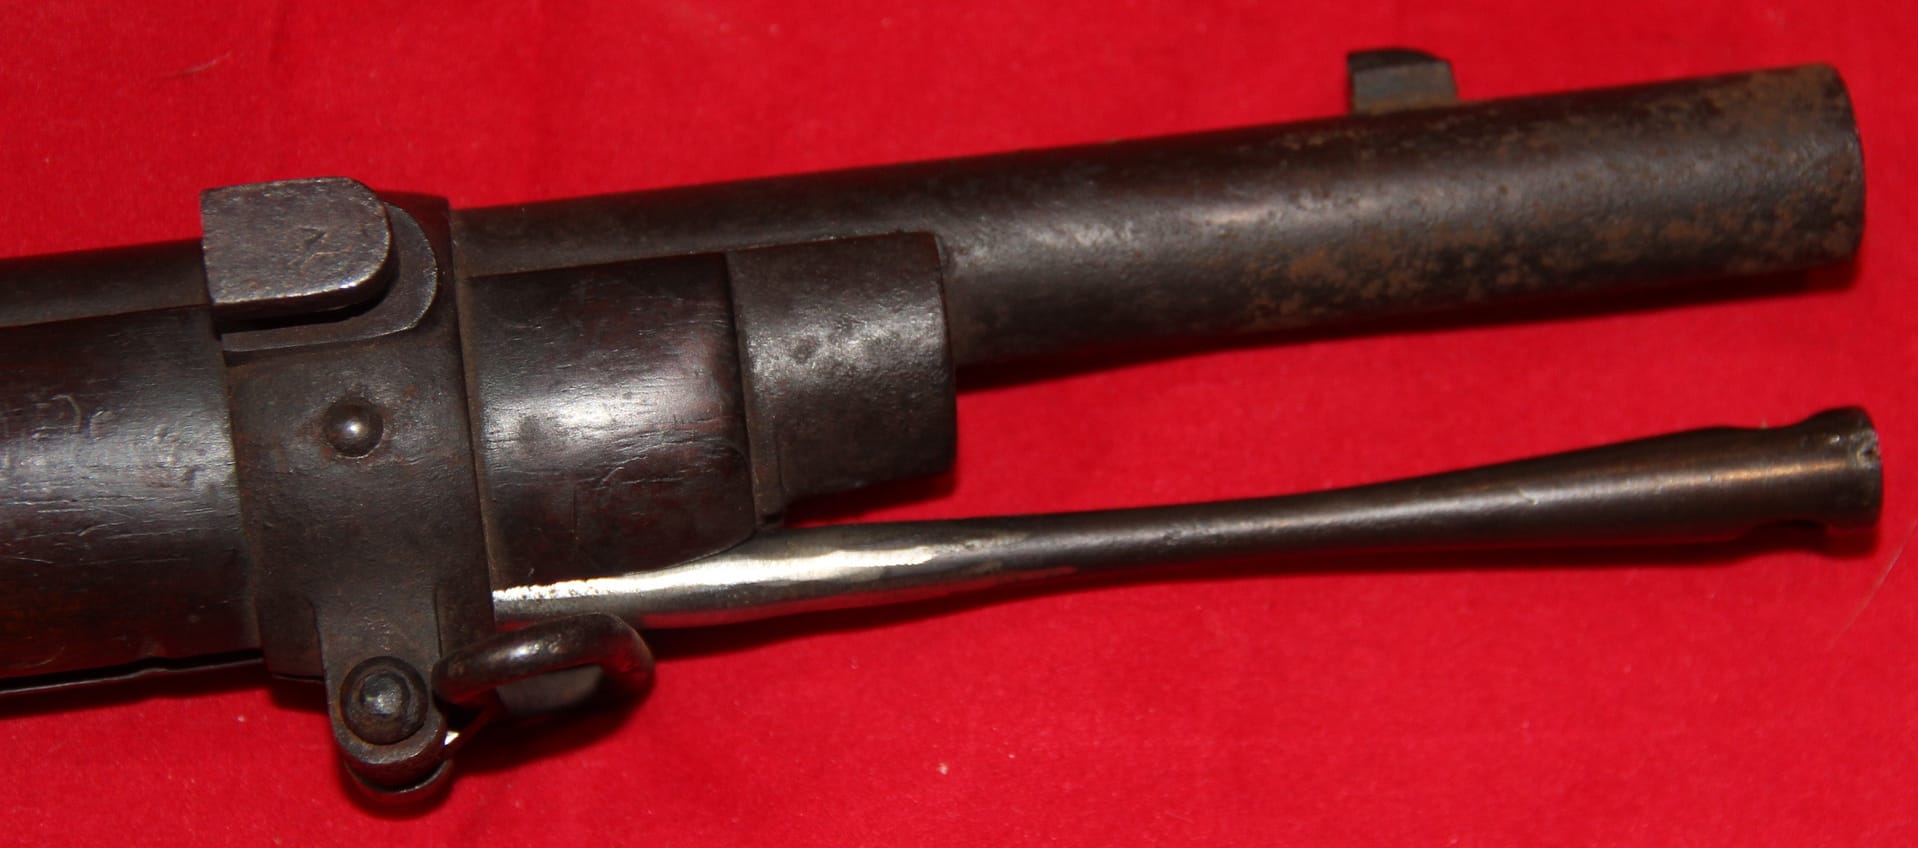
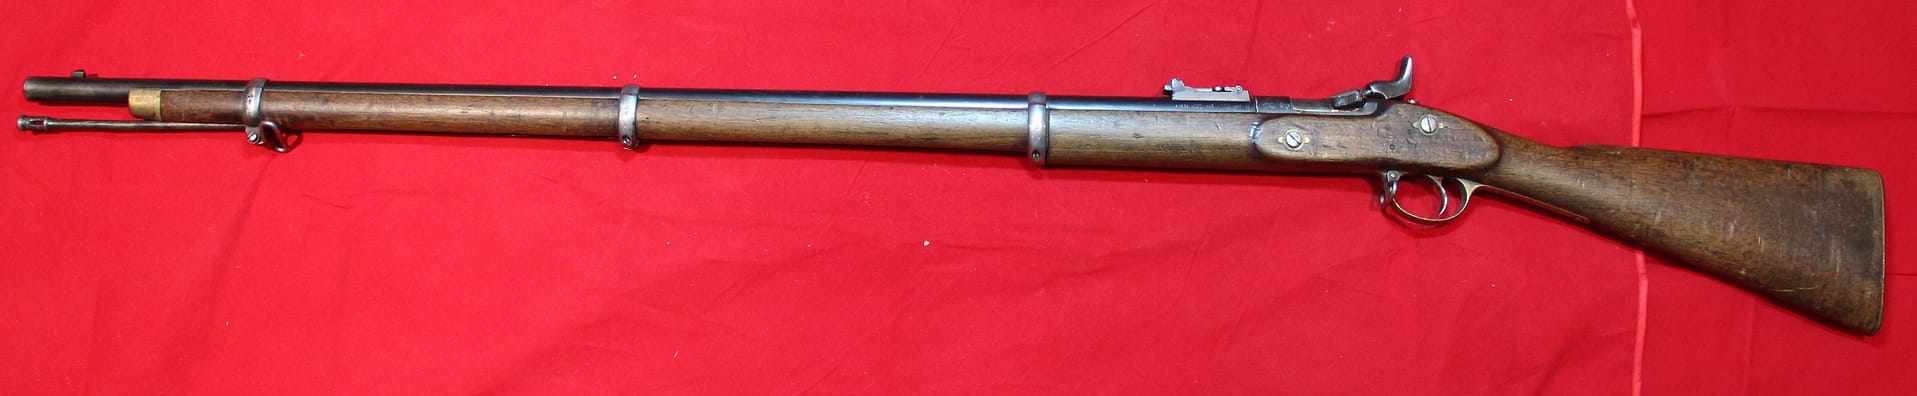
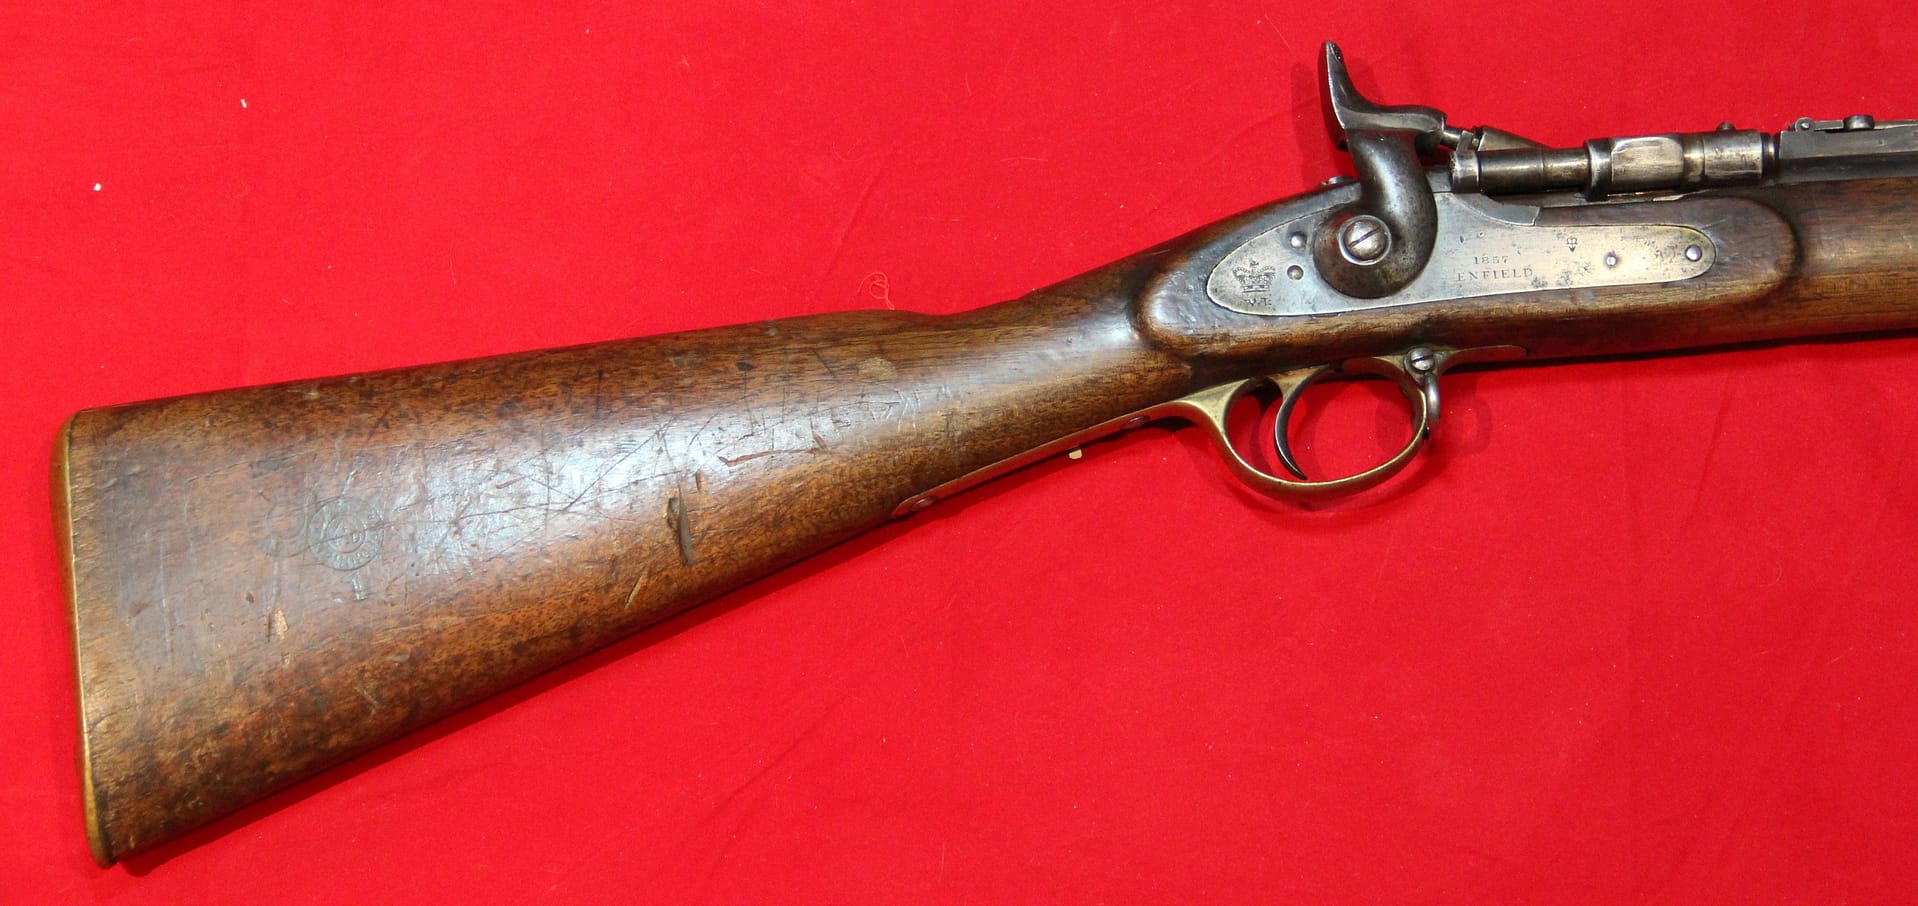
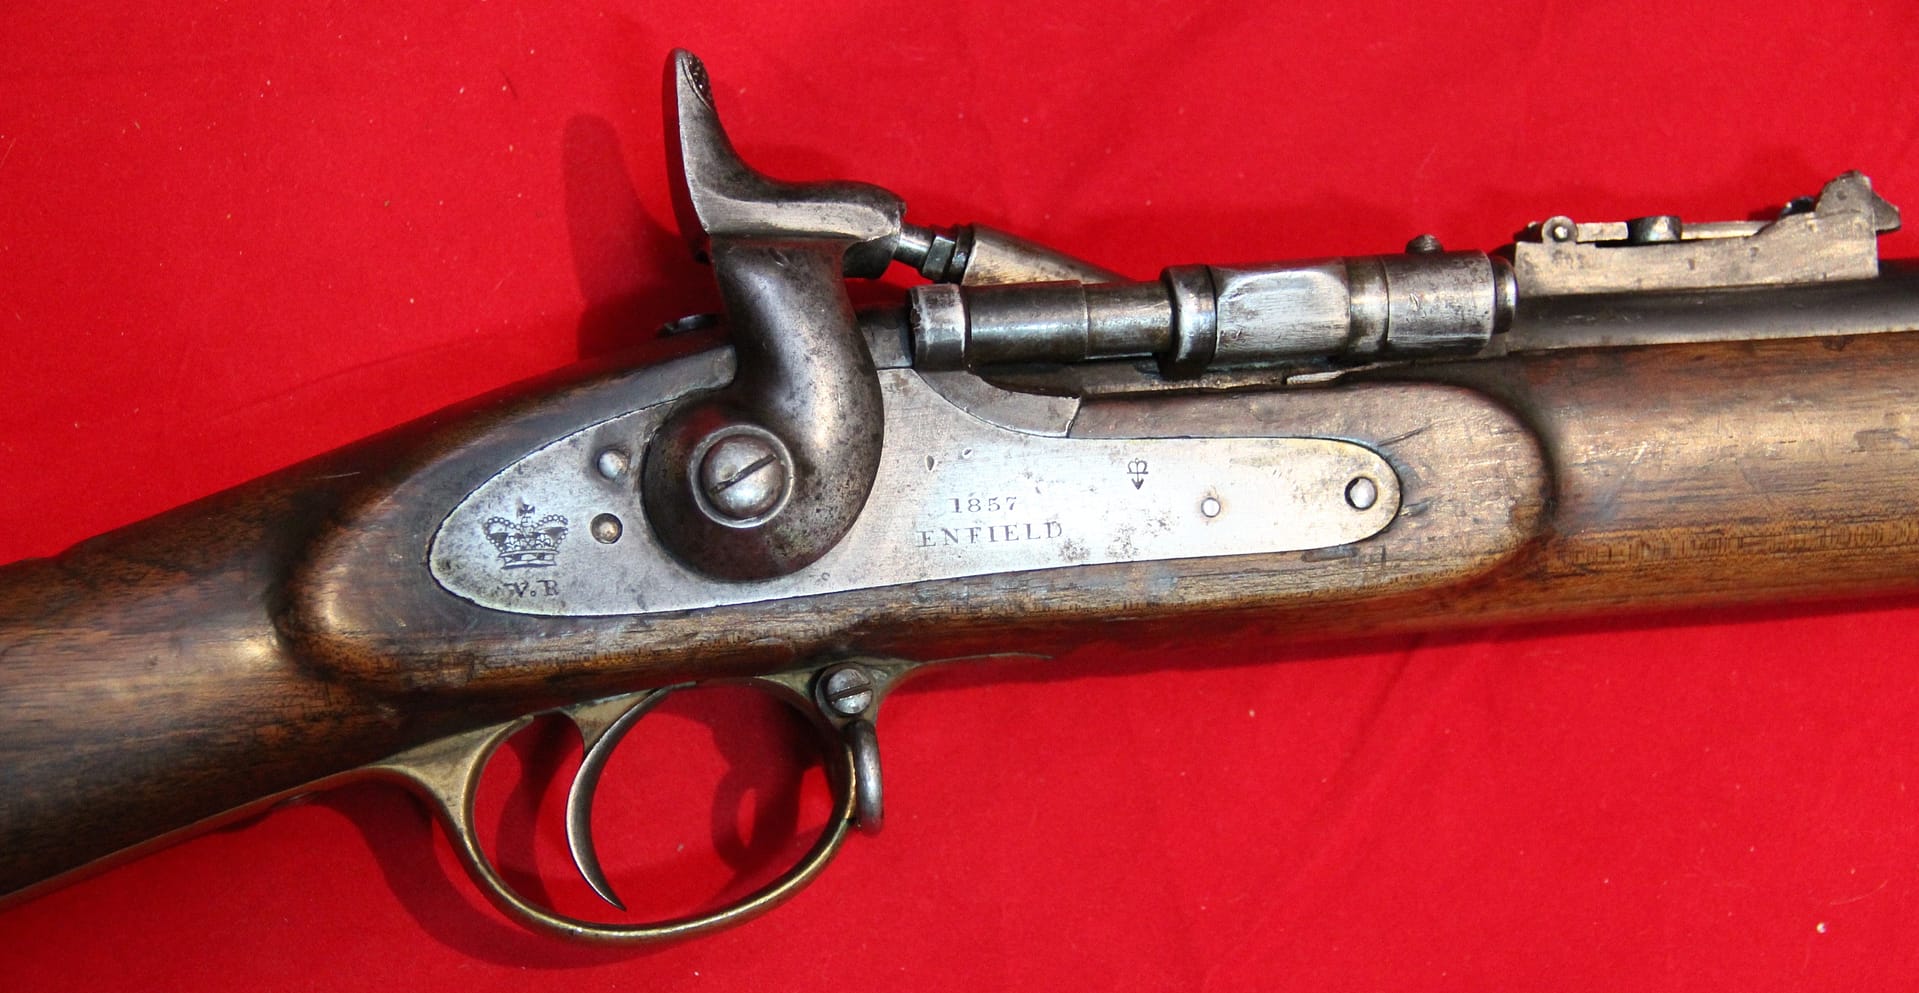
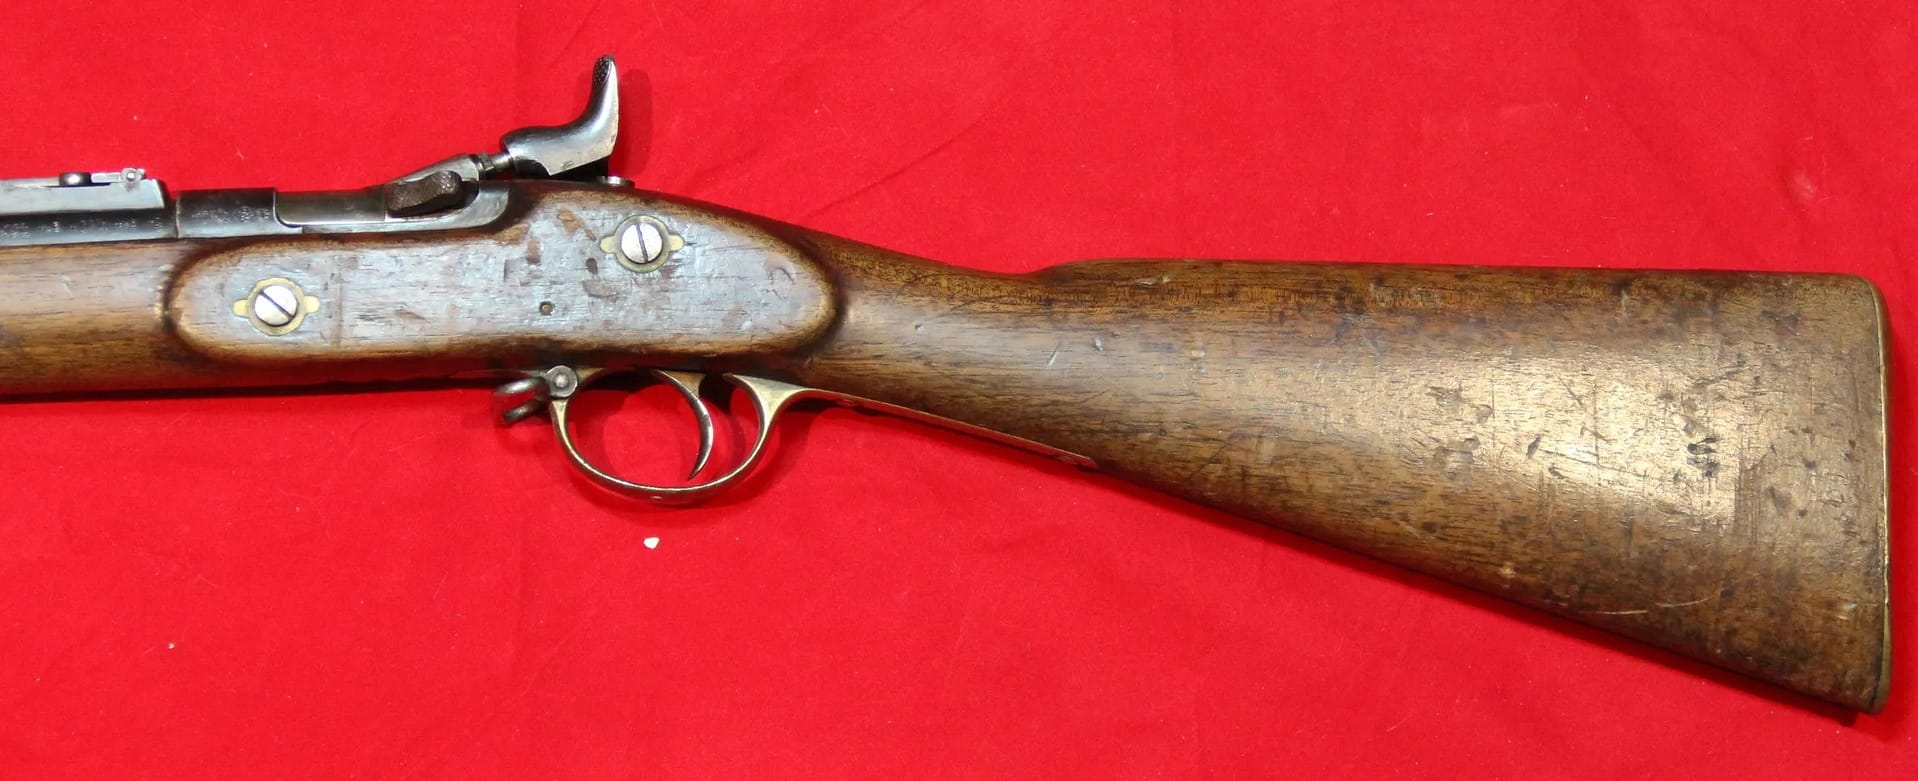
The Battle of Ulundi marked the decisive end of the war. Here, a British square advanced across open grassland toward the royal homestead, facing massed Zulu attacks under intense Martini-Henry fire. The site offers exceptional visibility of how linear firepower, mounted pursuit and logistical coordination combined to break the Zulu kingdom’s military system. This battlefield rewards careful terrain analysis—particularly the undulations that shaped both Zulu approach routes and British fields of fire.
Methodology
The Anglo-Zulu War is often framed through dramatic narratives—heroism at Rorke’s Drift, catastrophe at Isandlwana, triumph at Ulundi. But the aim of BattlefieldTravels is to go deeper: to analyse how command culture, weapons technology, regimental systems, doctrine, mobility, and environmental conditions shaped outcomes.
By walking the ground at these sites—studying the ravines beneath Isandlwana, the defensive lines at Rorke’s Drift, and the sweeping plains around Ulundi—each battlefield study reconstructs what commanders actually saw, how they interpreted the terrain, and how those perceptions translated into decisions.
Using a blend of primary sources, British and Zulu testimony, period photography, archaeological data and modern GIS modelling, these studies aim to explain not only what happened, but why events unfolded the way they did.
Battle Studies in the Anglo-Zulu War
Below are all current BattlefieldTravels studies for the Anglo-Zulu War, covering key battles, campaign phases and associated sites. New studies are added as further battlefields are walked and analysed.
-
⚔️ Battle of Rorkes Drift, South Africa,
22-23 January 1879
The Battle of Rorke’s Drift, 22-23 January 1879, was fought in the opening phase of 1879 Anglo-Zulu War. 139 British soldiers and colonial auxiliaries successfully defended a small mission station on the Natal-Zululand border against 3,000-4,000 Zulu warriors. The battle followed immediately after the Battle of Isandlwana, in which King Cetshwayo’s Zulu Army destroyed a…
-
⚔️ Battle of Isandlwana, South Africa,
22 January 1879
The Battle of Isandlwana, fought on January 22, 1879, was the first major battle of the Anglo-Zulu War and one of the worst defeats ever suffered by the British Army. A force of more than 1100 British soldiers and 400 local levies was overrun by the Zulu Impis of King Cetshwayo


Authored by Mick Prictor, a retired military officer with 40 years’ service, and a military historian specialising in terrain-focused analysis of tactics, doctrine, and command decision-making in land warfare. His work draws on extensive battlefield fieldwork—more than 280 sites worldwide—and one of the world’s largest private collections of historic military arms, uniforms, and equipment. About me
⚔️ Go deeper — Members get exclusive access to the Deep Research Collection, Field Notes, and monthly Research Dispatches. Try membership free for 7 days, cancel anytime. From $9/month.
Explore Related Themes
Armies: Impi (Zulu Tactics) • British Army
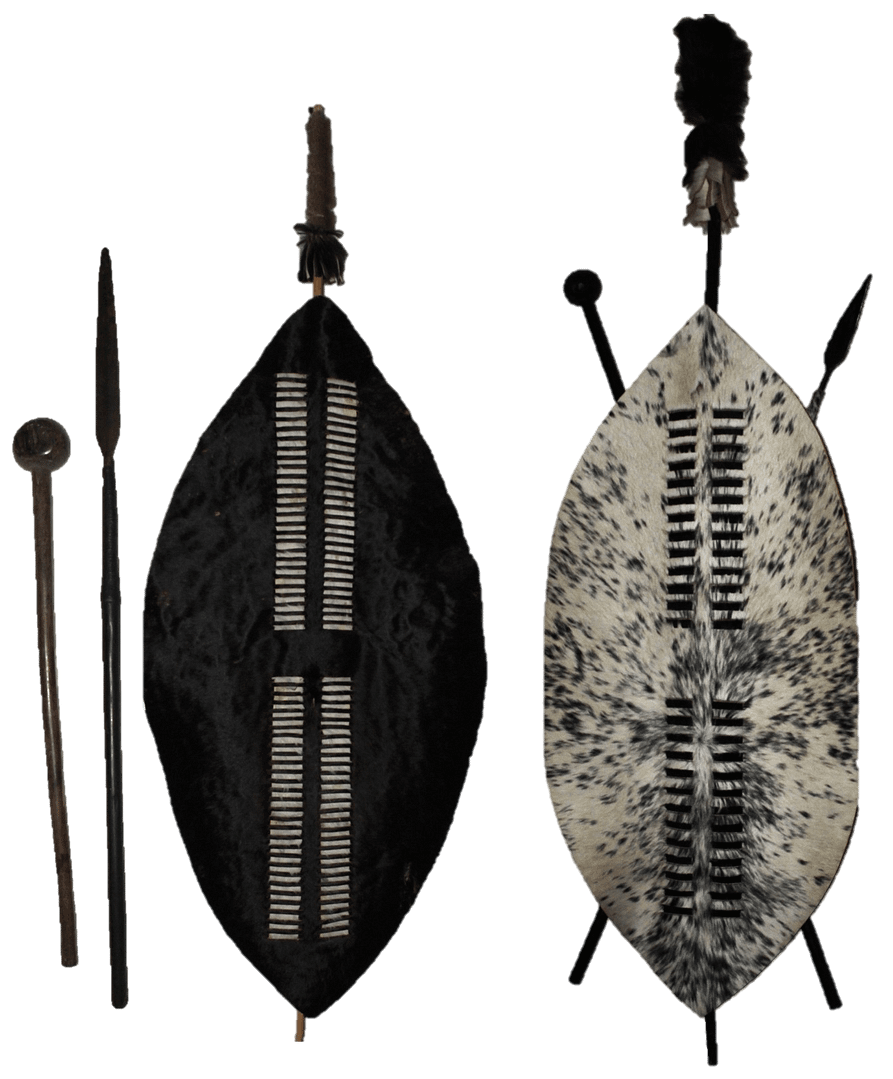
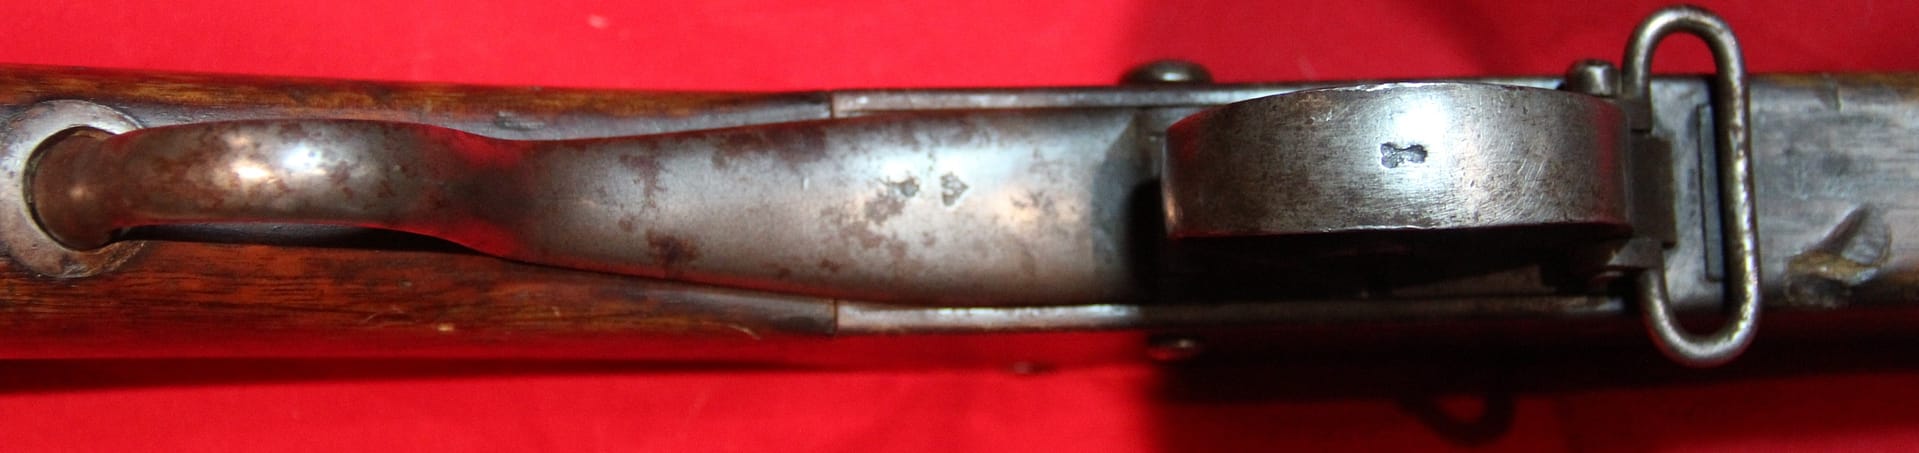
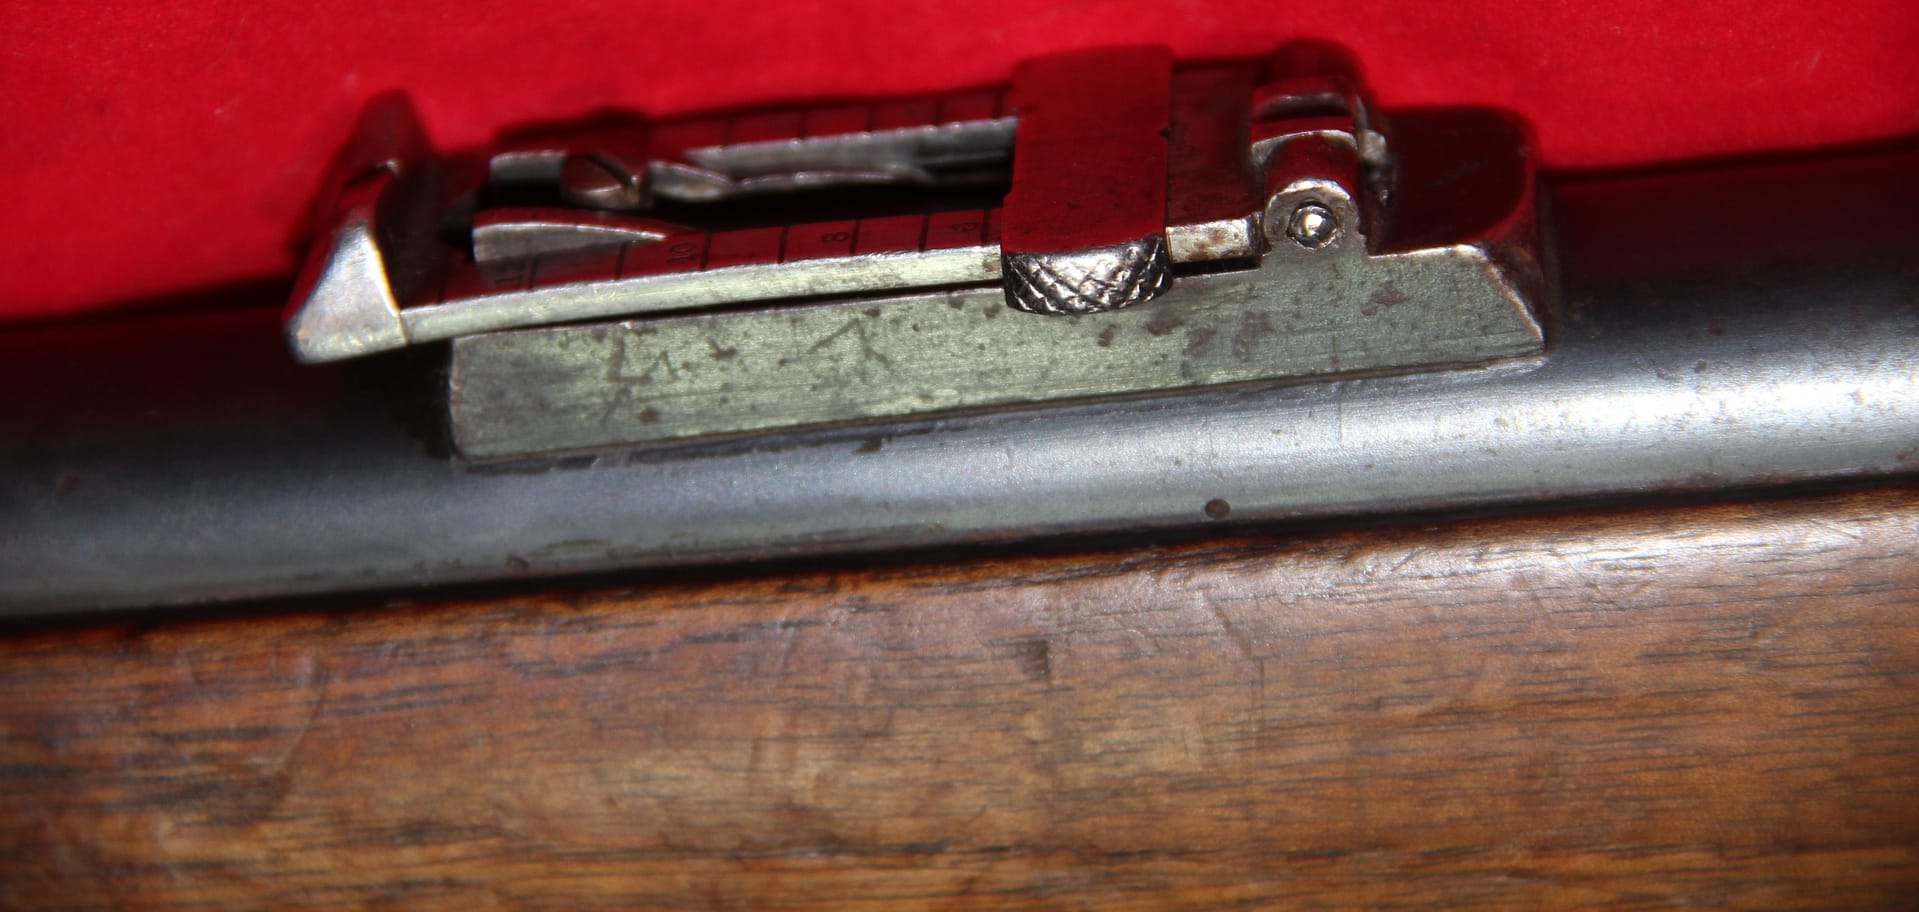
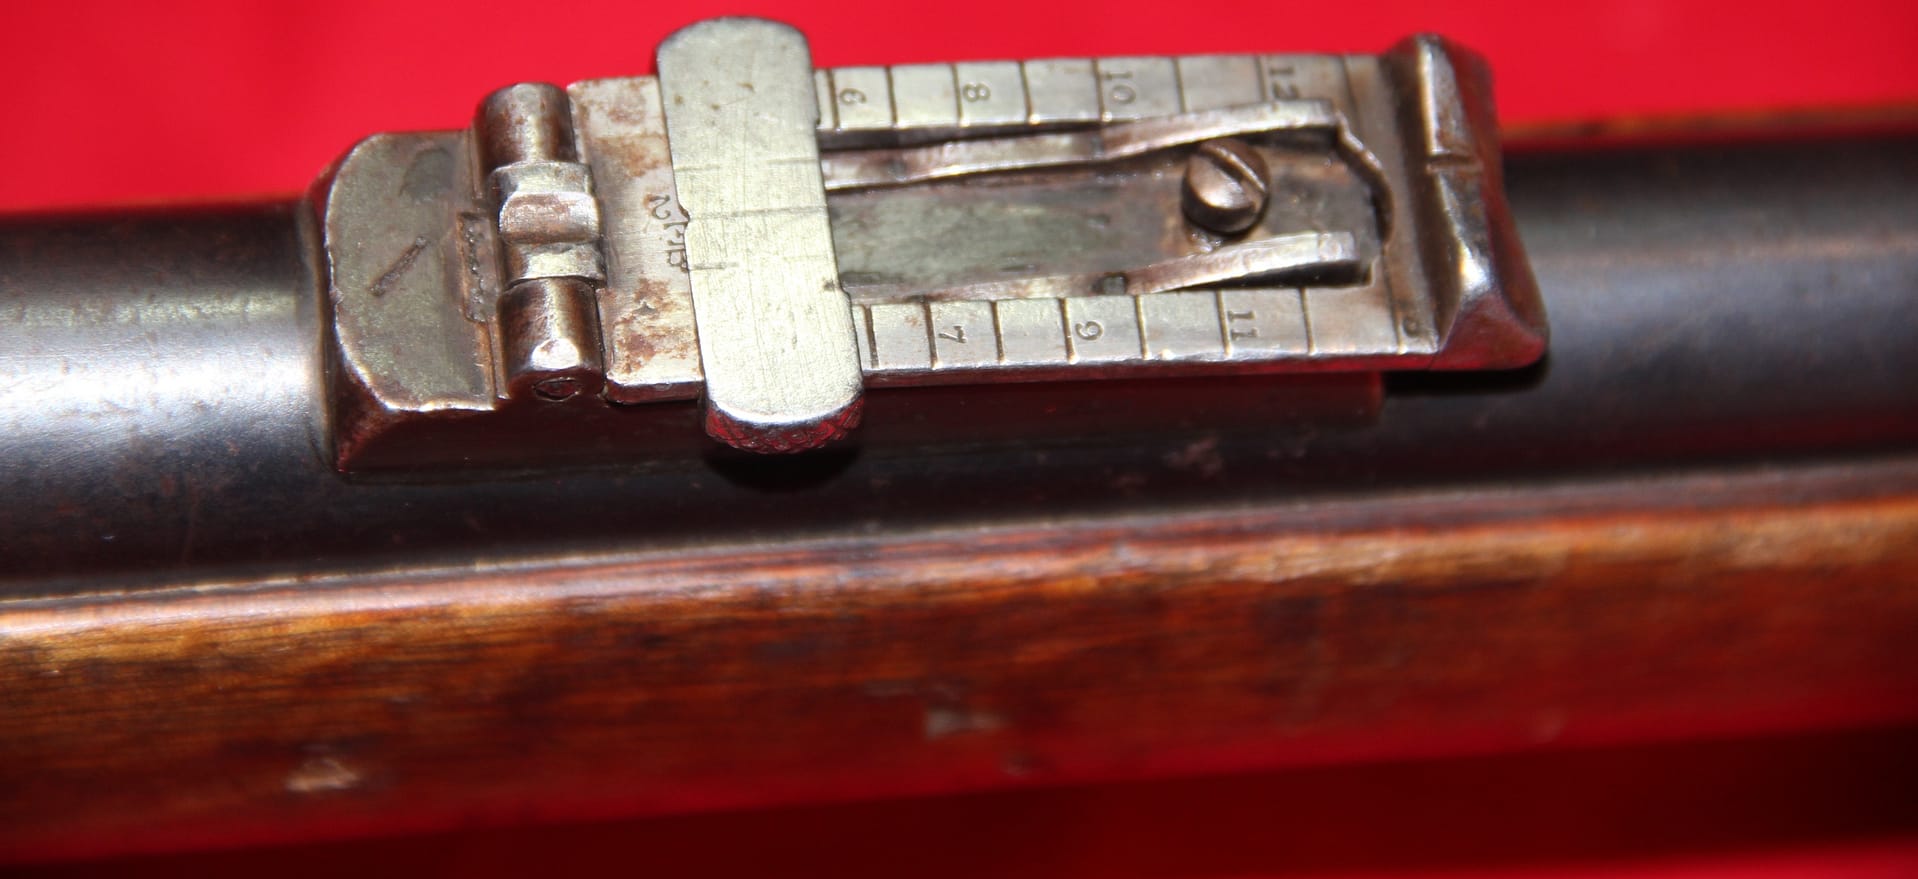
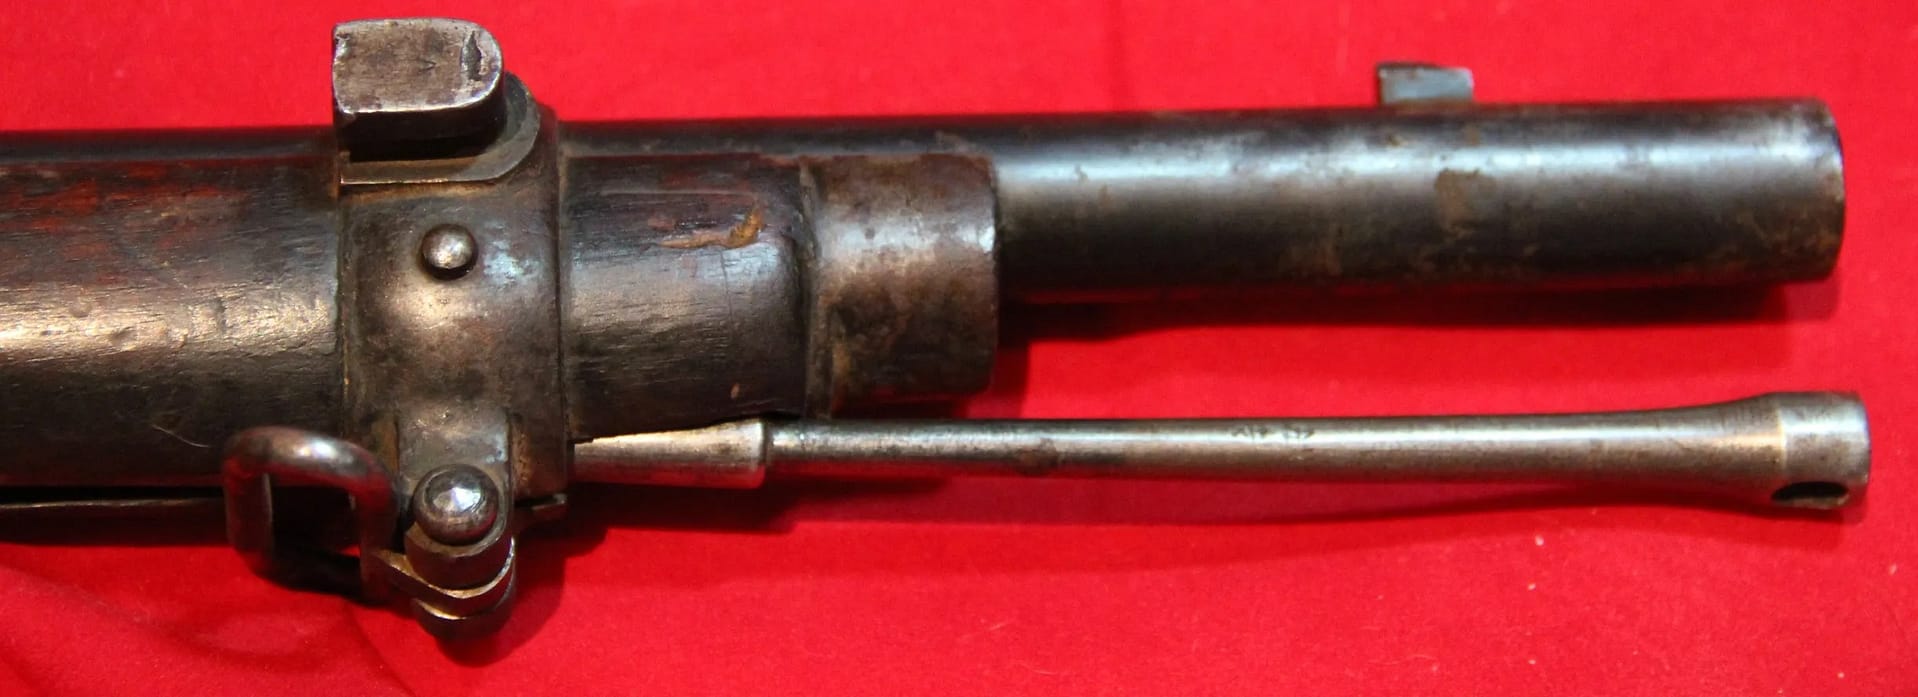
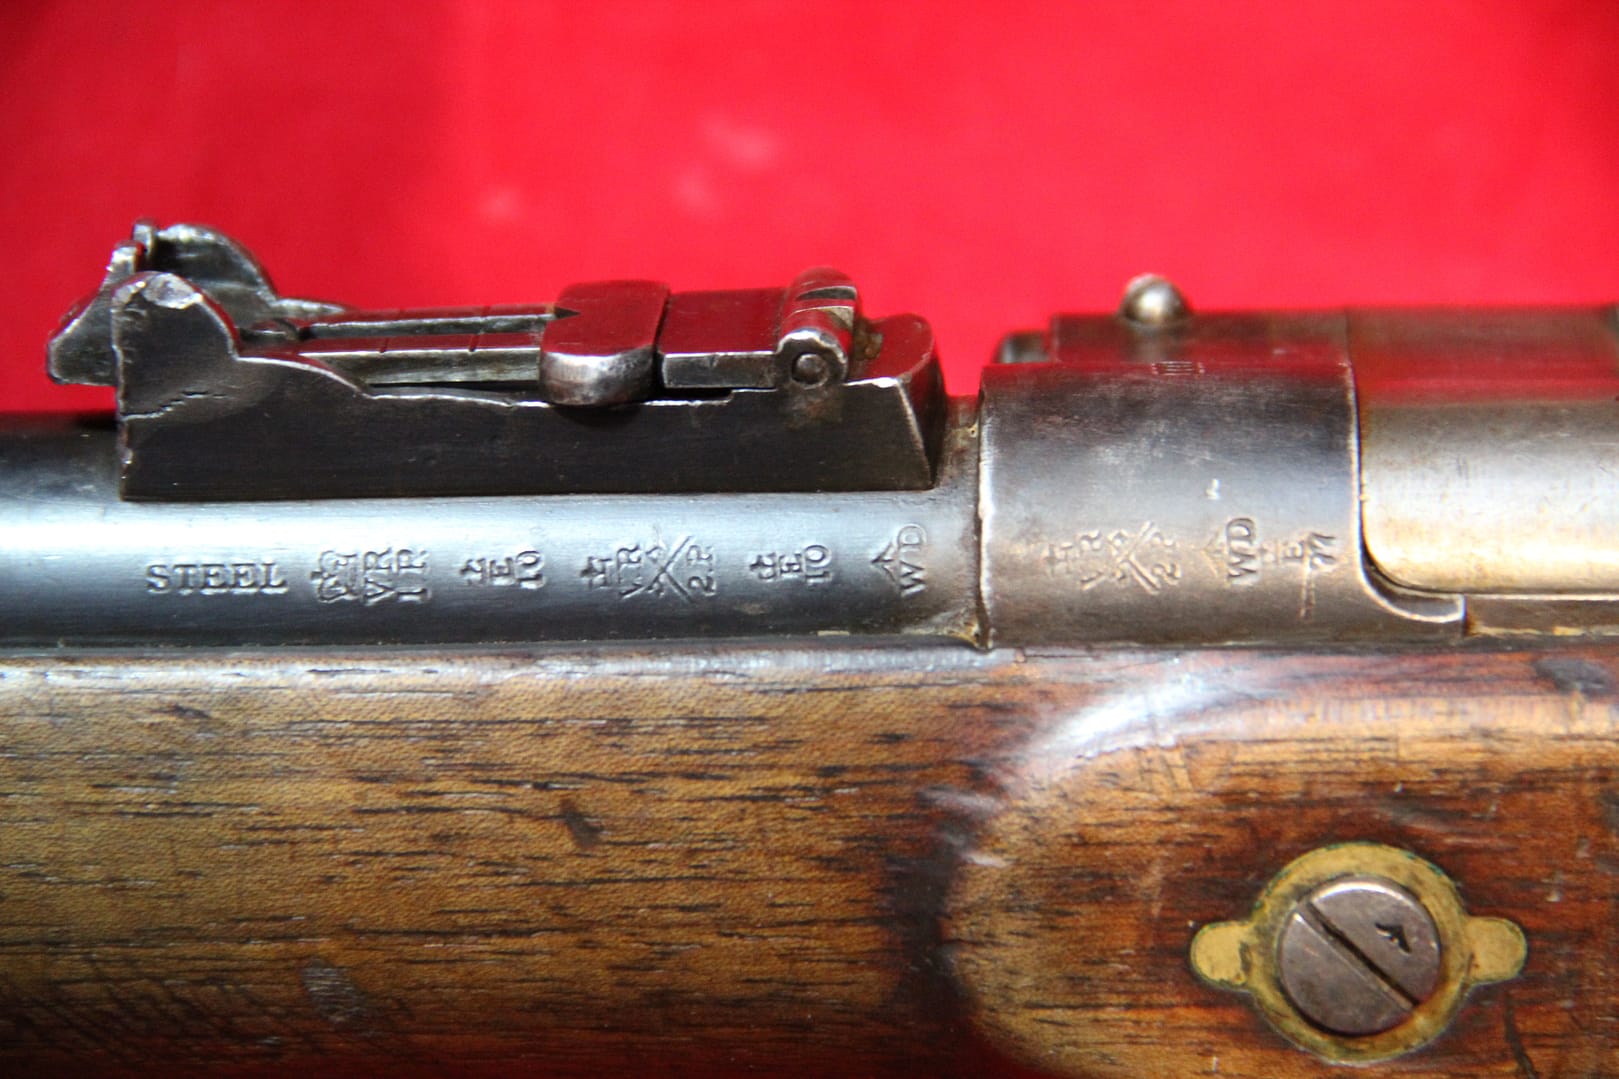
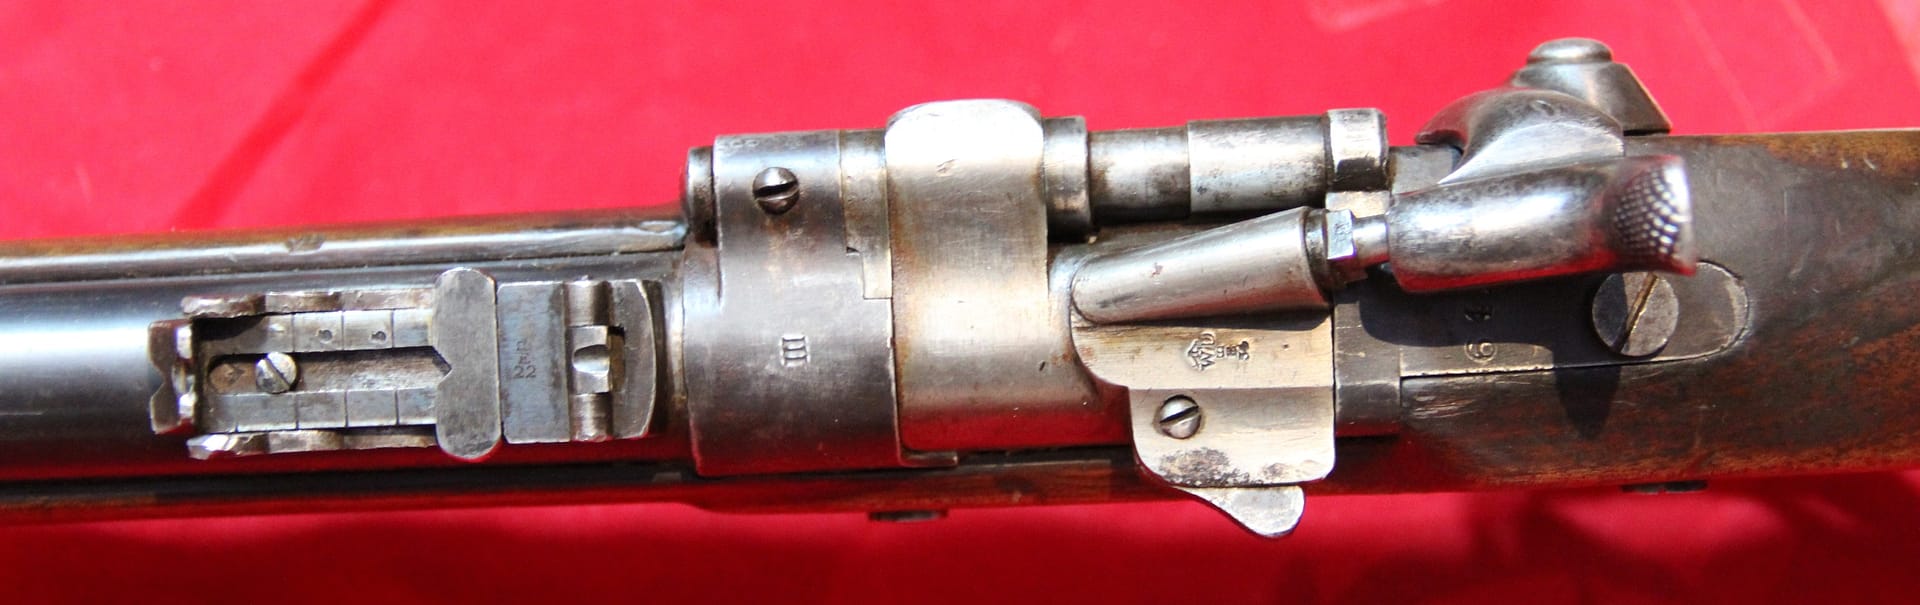
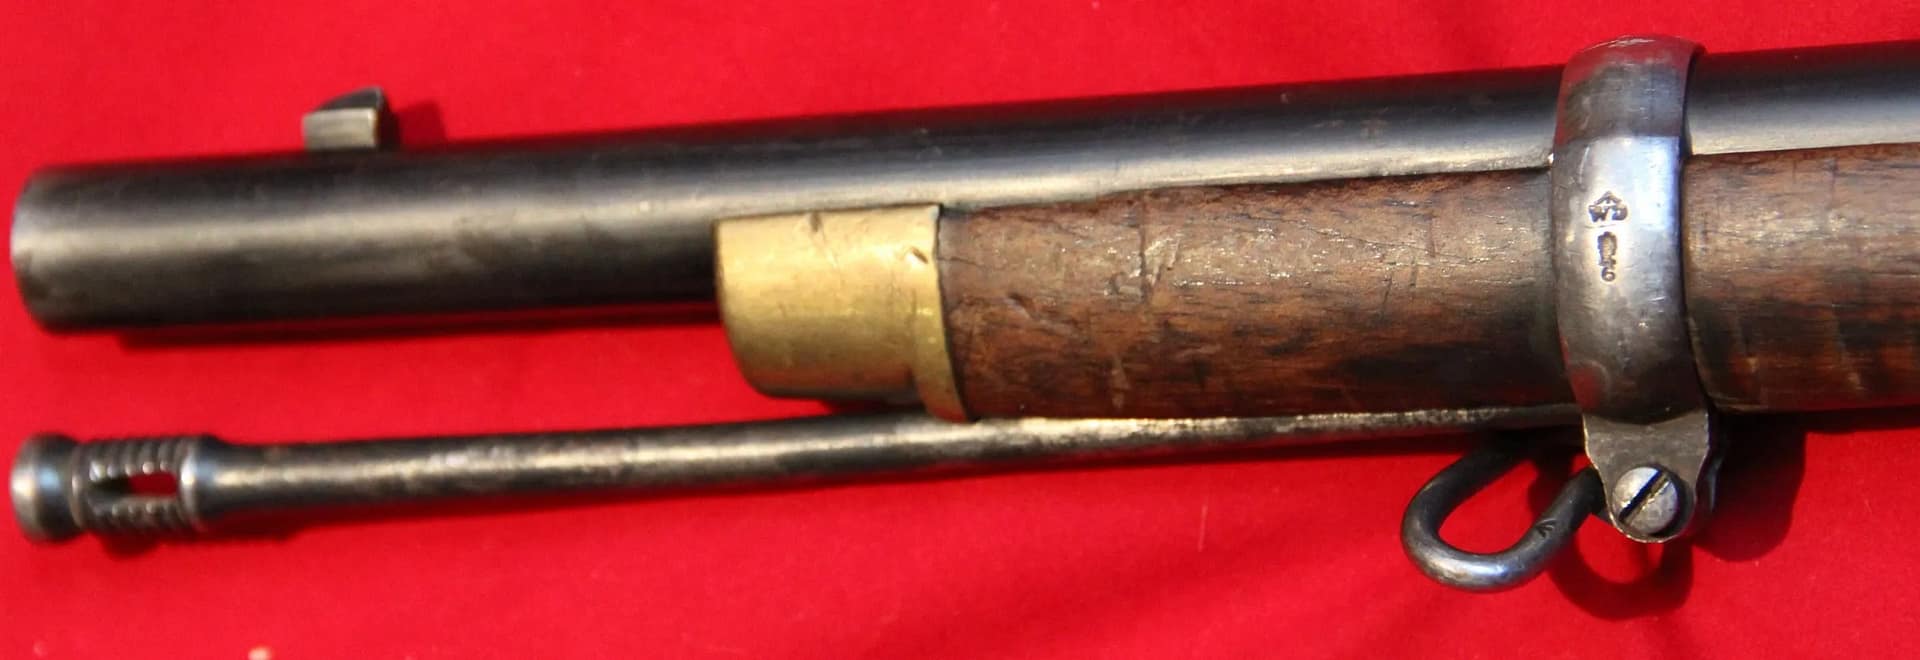
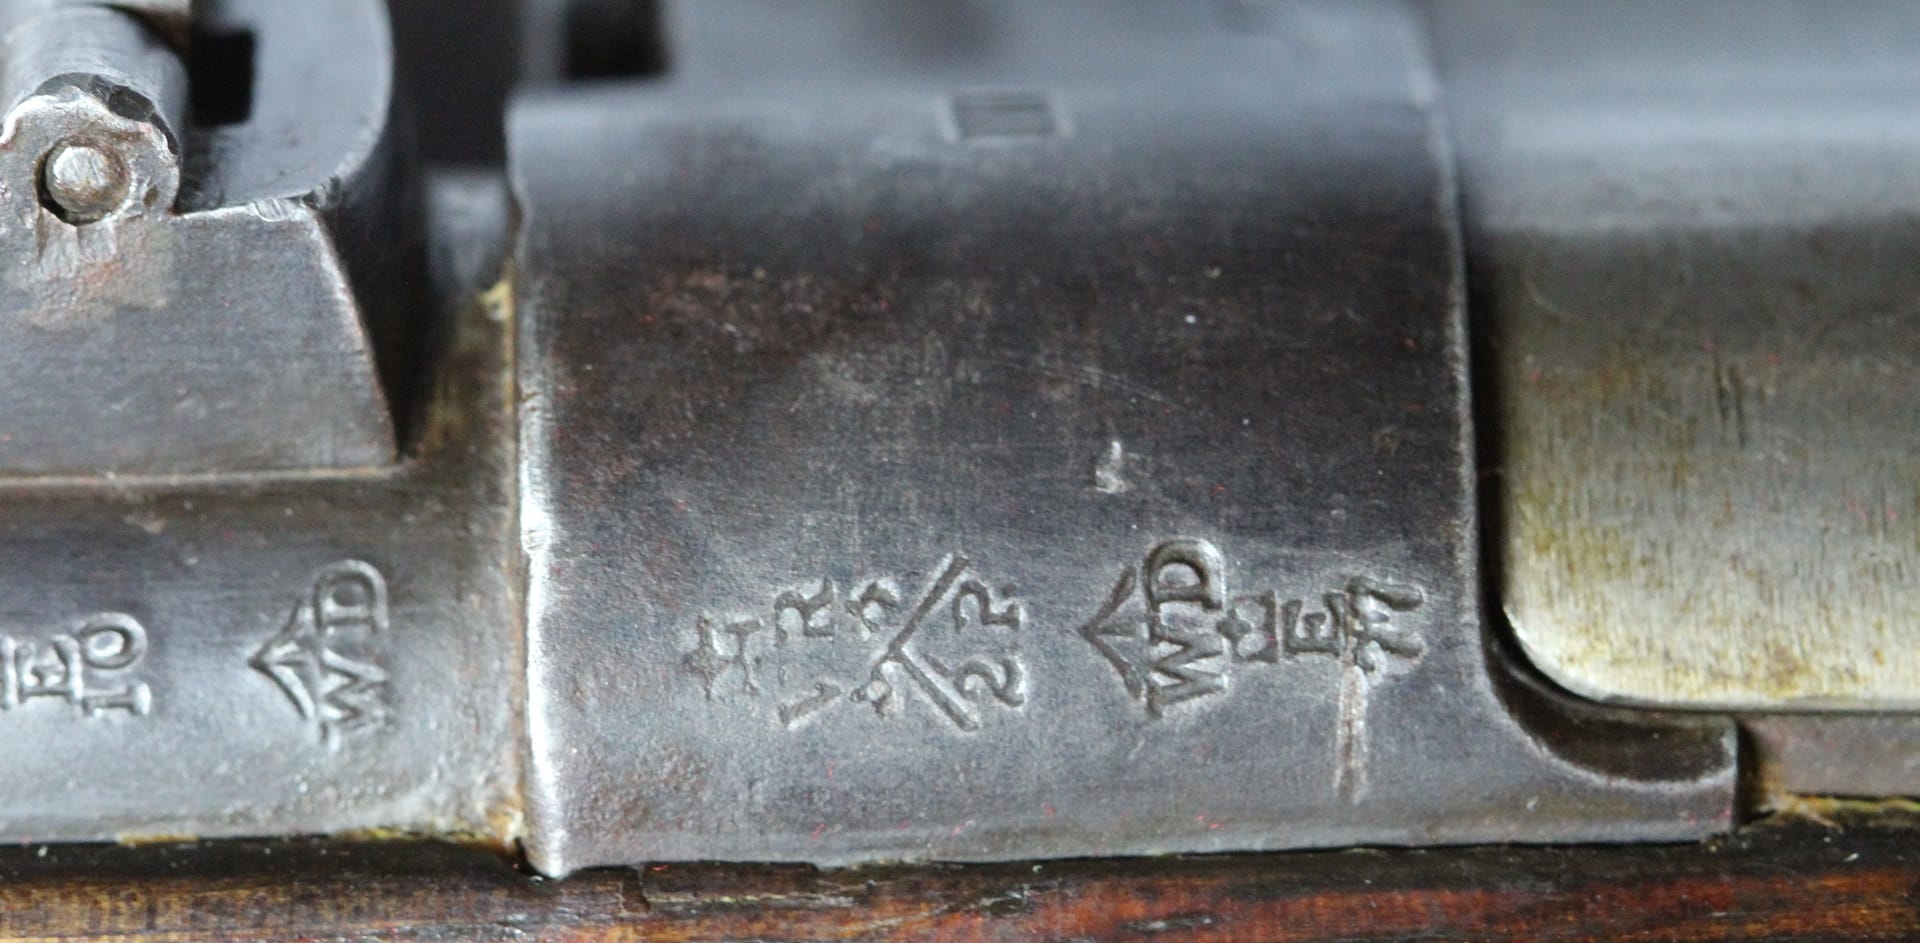
Weapons: Martini-Henry Rifle • Assegai
Methods: Raid Operations • Envelopment • Siege Warfare
Further Study: Anglo-Zulu War Reading List
Frequently asked questions
The Anglo-Zulu War offers rare insight into clashes between industrial-age firepower and Indigenous military systems. Battles such as Isandlwana, Rorke’s Drift and Ulundi reveal how command culture, terrain, reconnaissance and weapons technology shaped outcomes on both sides.
Each study integrates on-site reconnaissance, period sketches, eyewitness accounts, archaeological findings and modern GIS terrain modelling. This approach reconstructs what British and Zulu commanders actually saw, how they positioned their forces and why the battles unfolded as they did.
Isandlwana resulted from dispersed deployment, poor reconnaissance, misreading of Zulu mobility and terrain that favoured the enveloping Zulu “horns” formation. Battlefield terrain analysis helps clarify why the British position collapsed so rapidly.
Rorke’s Drift succeeded due to strong junior leaders, disciplined fire control, improvised fortifications, interior lines and the constrained terrain around the mission station. The British defenders maximised every structural and positional advantage, allowing them to hold against overwhelming Zulu numbers.
Ulundi demonstrated how concentrated firepower, mounted pursuit and coordinated movement could counter a massed Zulu attack in open terrain. The British square and its mobility before and after the fight marked the end of organised Zulu resistance.
Subscribe to Battlefield Travels and receive a free E-Book Battlefield Guide
Unlock expert battlefield analysis, campaign reconstructions, and historical insights drawn from firsthand exploration and primary sources.
🗺️ You’ll receive:
🎖️ Exclusive historical insights you won’t find elsewhere
📘 A free eBook: 10 Tips for Exploring Historic Battlefields
📰 New battlefield studies straight to your inbox as they are published

⚔️ Go deeper — Members get exclusive access to the Deep Research Collection, Field Notes, and monthly Research Dispatches. Try membership free for 7 days, cancel anytime. From $9/month.