Reconstructing the D-Day landings and subsequent Normandy Campaign through terrain analysis, primary sources and on-site fieldwork
EXPLORE: BATTLES | WEAPONS & EQUIPMENT | READING | QUIZ
Key facts
🗺️ D-Day & the Normandy Landings, 6 June 1944
⚔️ Conflict: World War Two – Western Front
🪖 Major Allied forces: US First Army; British Second Army; US 82nd and 101st Airborne Divisions; British 6th Airborne Division
🪖 Major German forces: German Seventh Army; 84th Army Corps; 716th Infantry Division, 352nd Infantry Division and 21st Panzer Division
⭐ Principal Allied commanders: Dwight D. Eisenhower; Bernard Montgomery; Omar Bradley; Miles Dempsey
⭐ Principal German commanders: Gerd von Rundstedt; Erwin Rommel; Friedrich Dollmann
🎯 Strategic objective: Establish an Allied lodgement in Normandy for the liberation of north-west Europe
📌 Outcome: Allied victory; five beachheads established and airborne flanks secured, opening the Battle of Normandy.
🧭🥾 Walking the D-Day battlefields
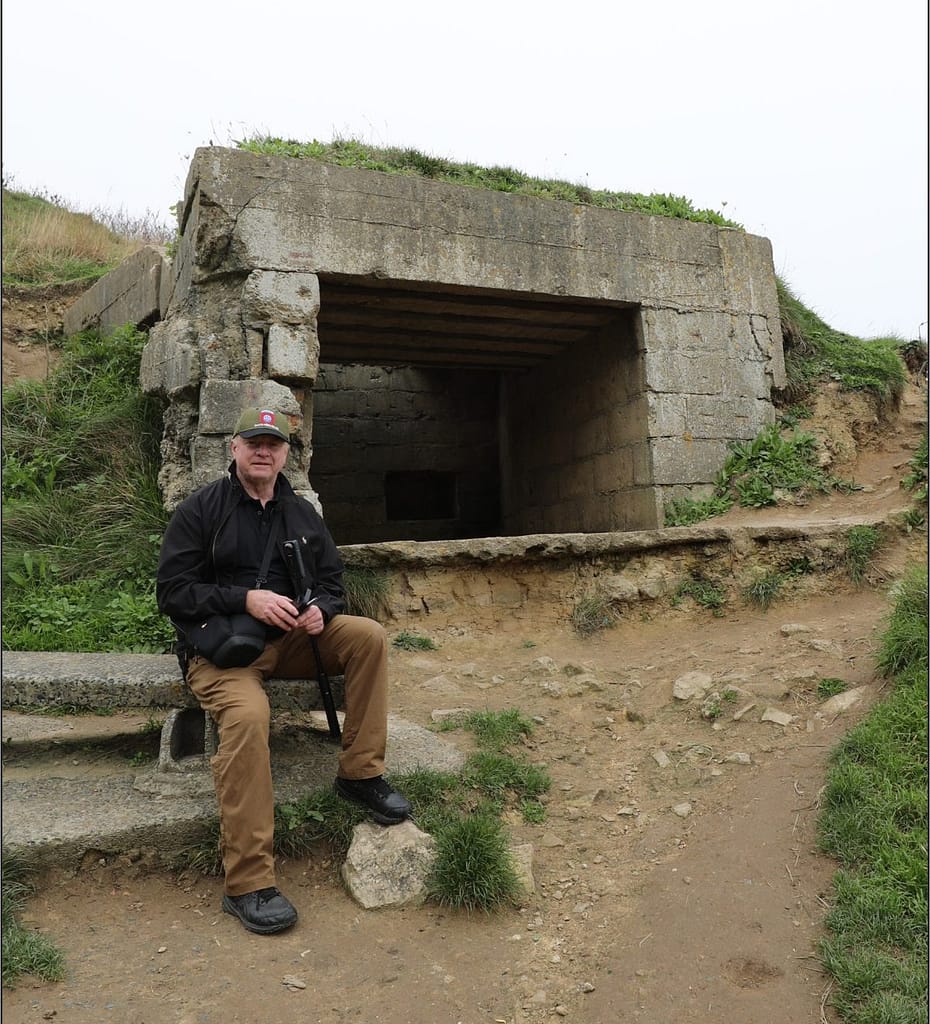
Some aspects of the Normandy battlefields only become apparent when you walk the ground. The enormous distance across the exposed beaches at low tide, the surprisingly shallow folds and depressions that offered troops a way off Omaha Beach, and the importance of slightly raised roads across the flooded ground behind Utah are difficult to appreciate from maps and photographs alone.
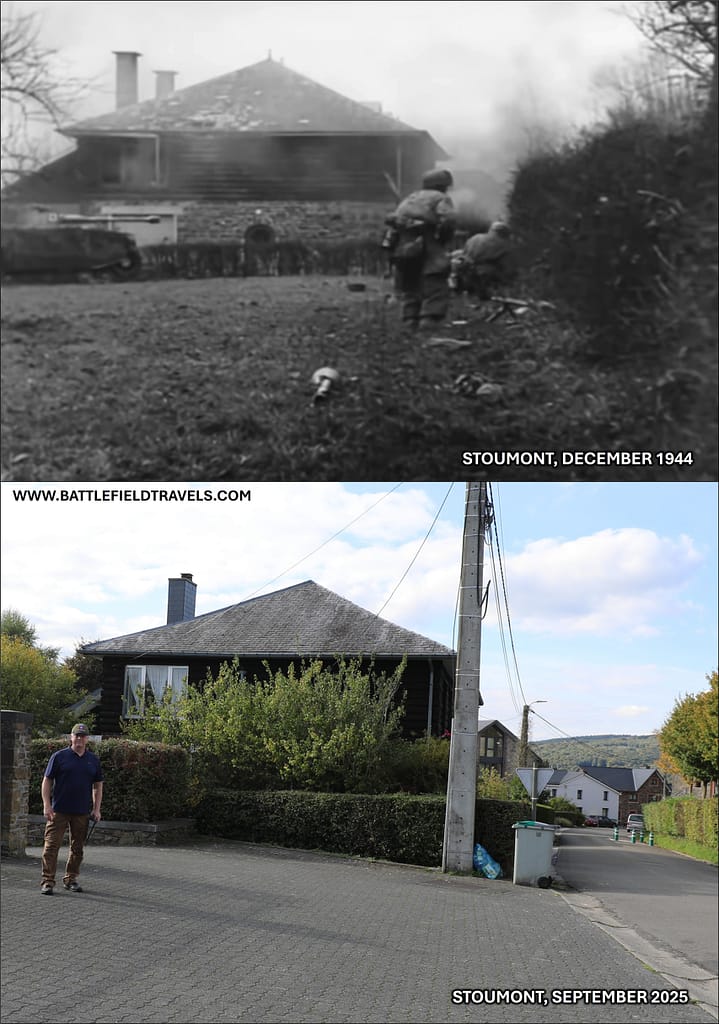
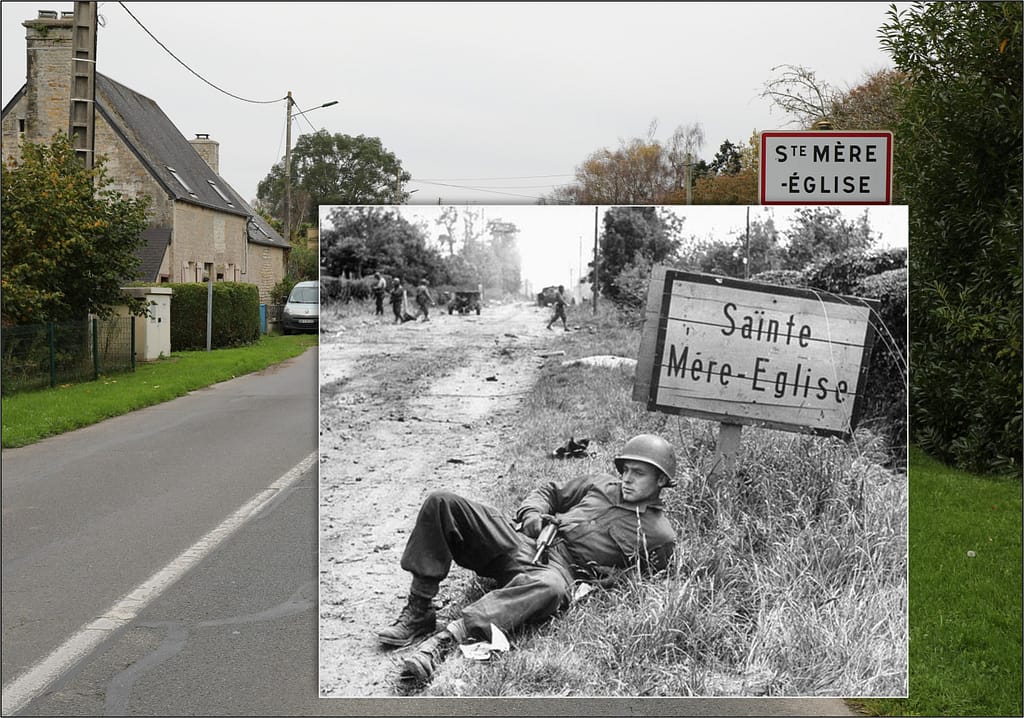
I have spent many days exploring these battlefields: walking the beaches and exits, following the flooded lowlands and causeways, tracing airborne drop zones and glider landing grounds, climbing the bluffs above Omaha, and following the hedgerows, sunken lanes and narrow roads through which troops had to move inland. I have also stood where photographers stood on D-Day and in its immediate aftermath, capturing hundreds of ‘Then and Now’ images that help relate the surviving landscape to the events of 1944.
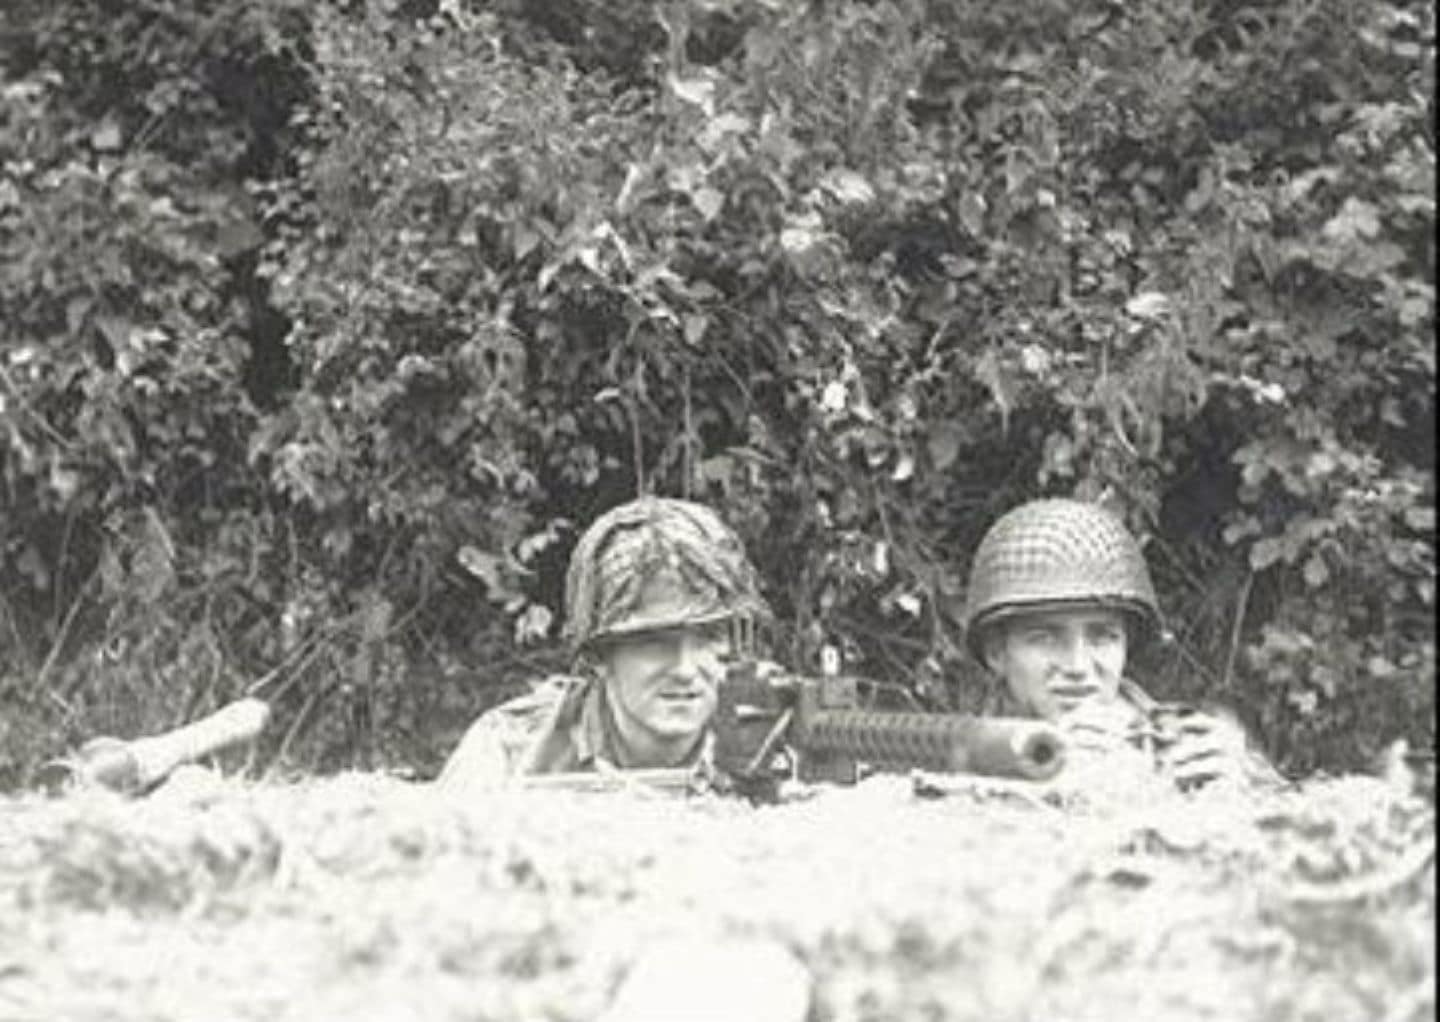
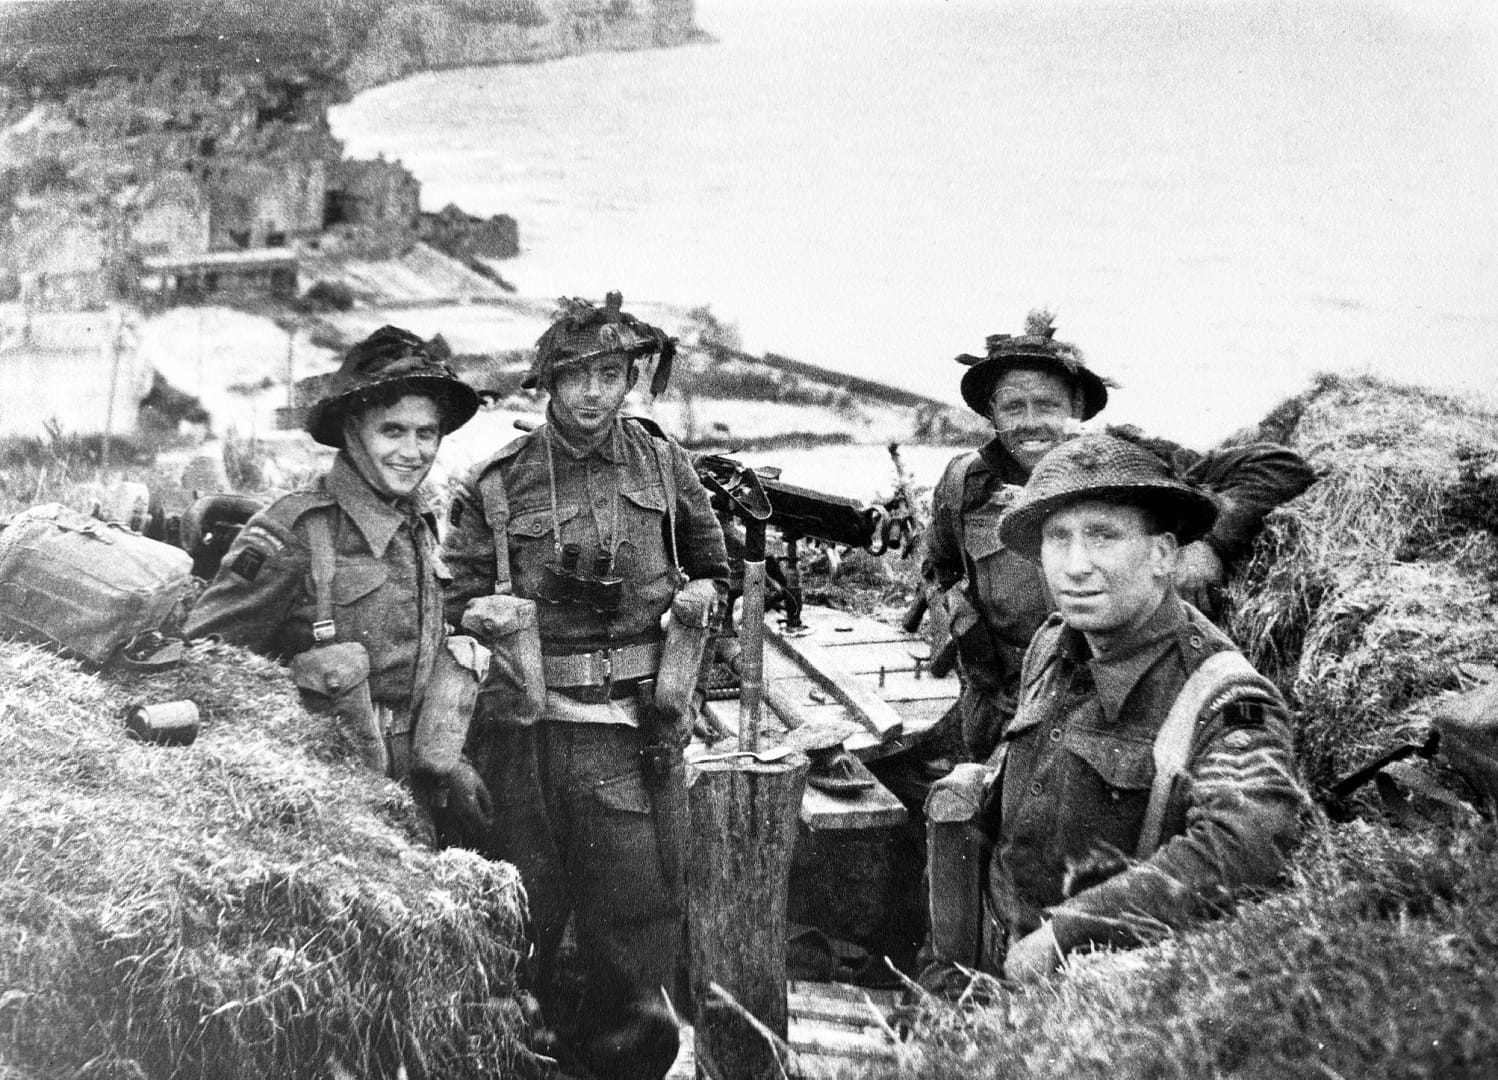
The invasion is often presented as five beaches and two airborne landings, but on the ground these were interconnected terrain problems. Beach exits determined where troops and vehicles could move inland; bridges and causeways became key terrain; villages controlled road networks; and apparently minor fields, hedgerows and folds in the ground shaped individual actions. At Pegasus Bridge, La Fière, Brecourt Manor and Omaha Beach, small pieces of terrain assumed importance far beyond their physical size.
This campaign study brings those pieces together. It follows the landings from the first gliders at Pegasus Bridge through the airborne operations, the five assault beaches and the fighting to consolidate the lodgement, linking the wider invasion plan to the individual battlefields I have explored on the ground.
Normandy, 1944: Campaign Overview
Strategic Context: Operation Overlord
By the spring of 1944, the Western Allies had assembled the forces required to return to northwest Europe. Operation Overlord was intended to establish a secure lodgement in Normandy from which Allied armies could build up their strength, capture the ports and communications needed to sustain the campaign, and ultimately advance into Germany. Normandy offered suitable landing beaches within range of Allied air power and was less heavily defended than the Pas-de-Calais. An elaborate deception plan reinforced German expectations that the main invasion would fall farther north.
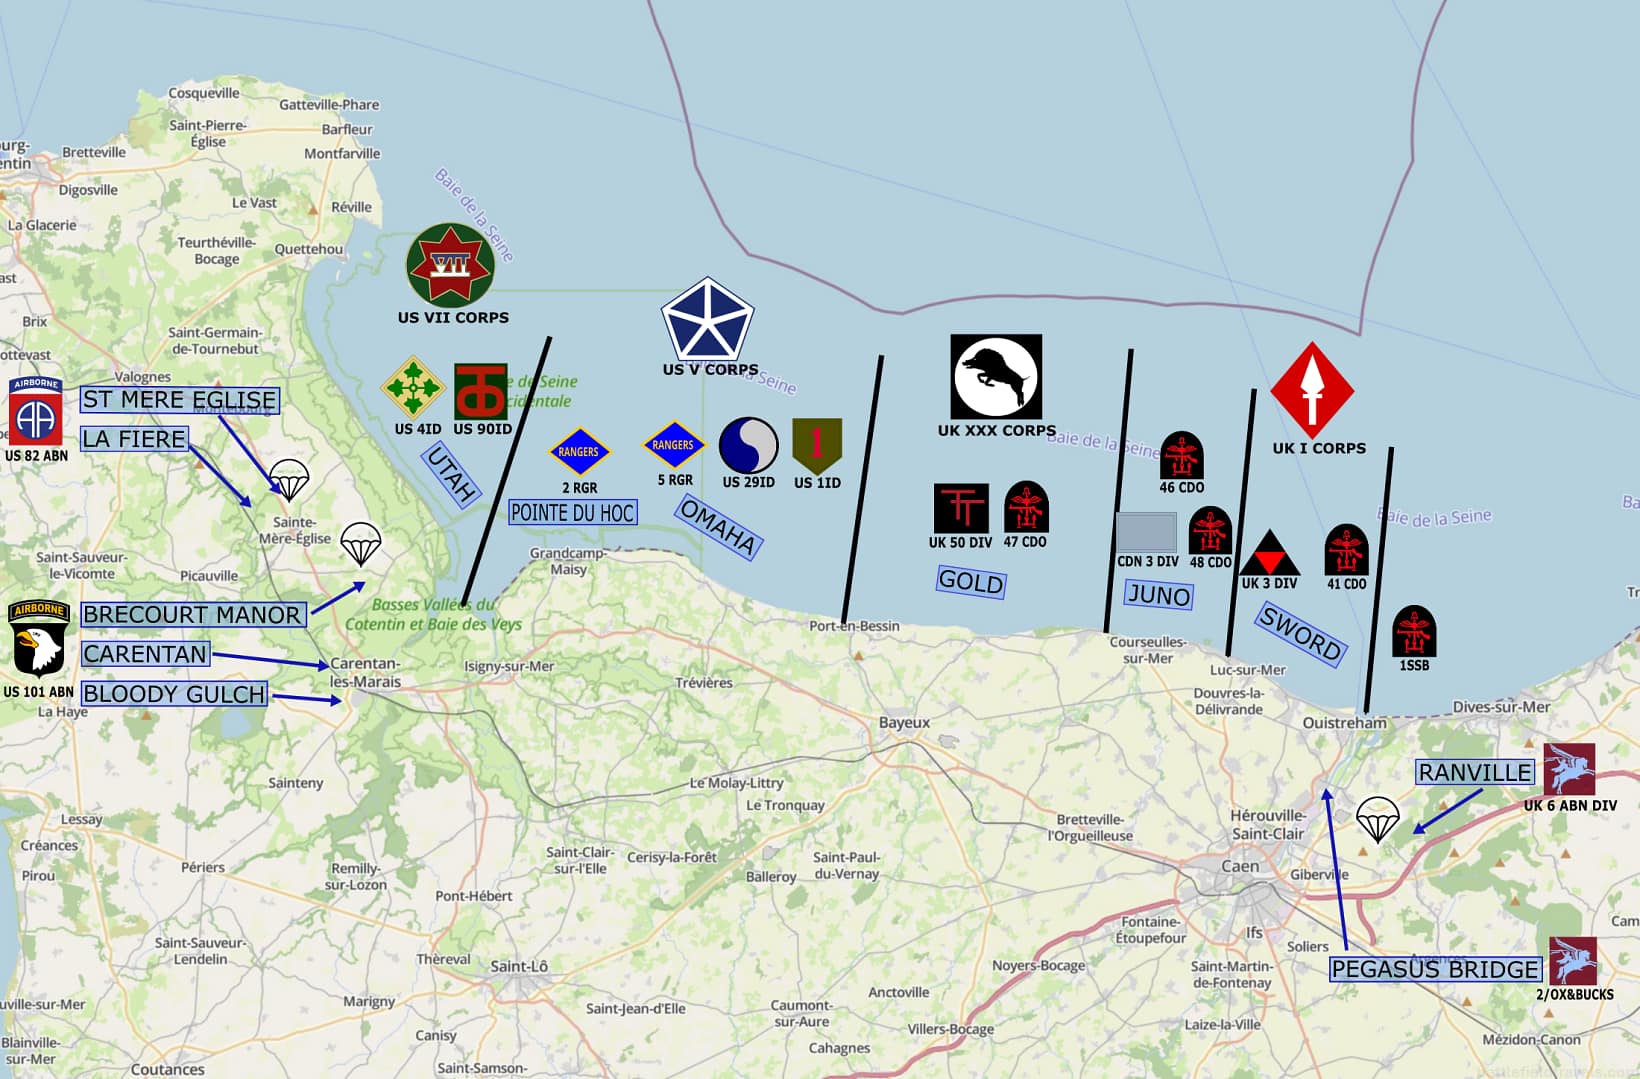
The invasion plan combined five amphibious assault beaches with airborne landings on both flanks. American forces would land at Utah Beach and Omaha Beach in the west, with the US 82nd and 101st Airborne Divisions securing the Cotentin approaches behind Utah. British and Canadian forces would land at Gold, Juno and Sword Beaches, while the British 6th Airborne Division protected the eastern flank beyond the Orne River. Naval gunfire, tactical air power and airborne operations were intended to isolate the battlefield and prevent German forces from destroying the lodgement before Allied strength could be built ashore.
Terrain was fundamental to the plan. Flooded lowlands restricted movement behind Utah; steep bluffs dominated Omaha; fortified coastal positions covered the beach exits. Rivers, canals, villages, ridgelines and the dense Norman bocage channelled movement inland. Beyond the enormous challenges of getting tens of thousands of troops and their equipment ashore, the Allies had to seize the terrain that would allow the five beachheads to survive and eventually become a single lodgement.
Normandy series of battlefield studies
This article is part of a series exploring the D-Day airborne and amphibious battlefields on 6 June 1944 and the immediate aftermath. Click on the hotlinks to open the battlefield study.
Pegasus Bridge: The first assault
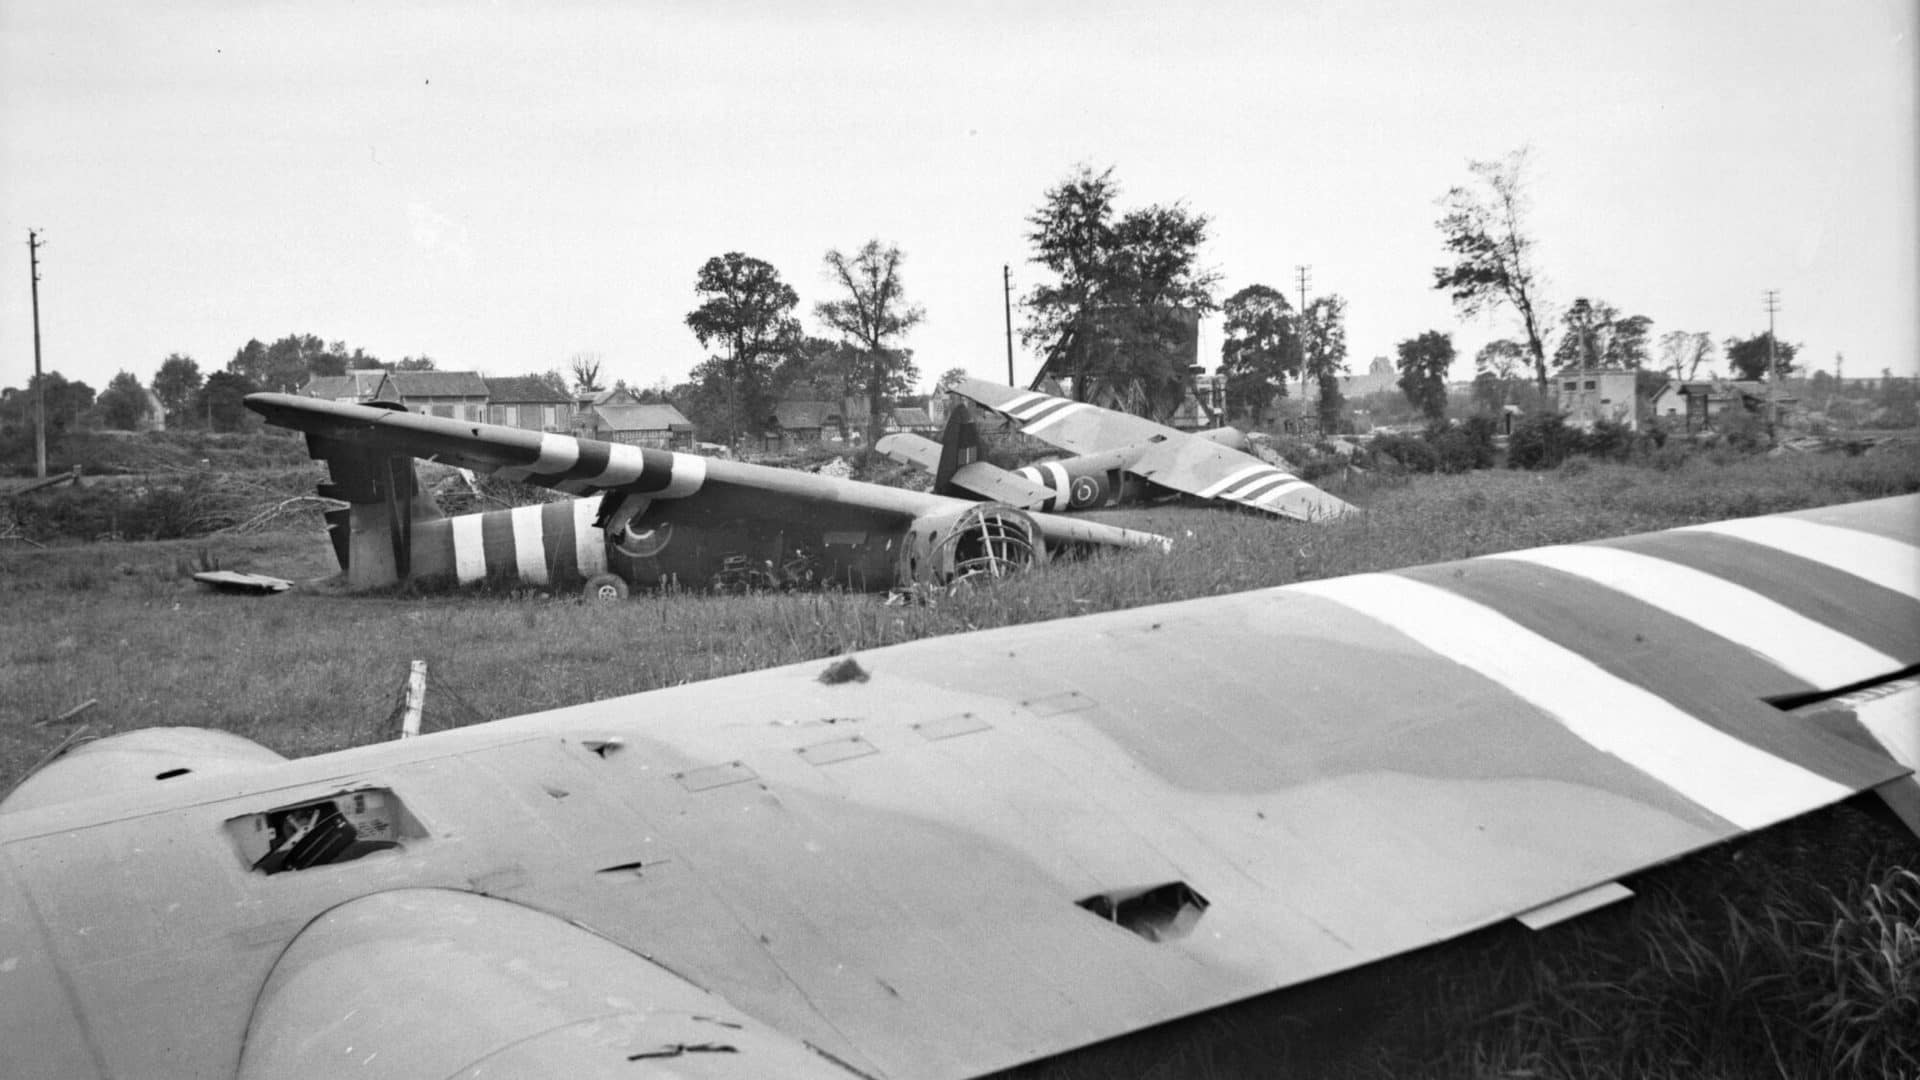
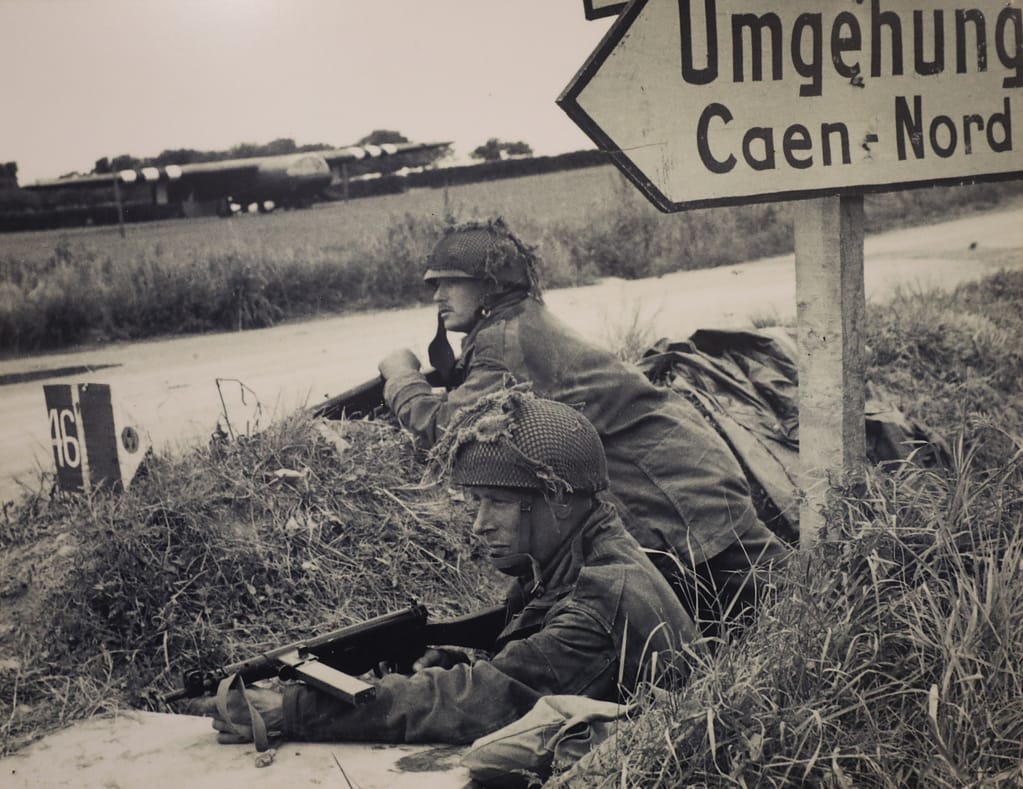
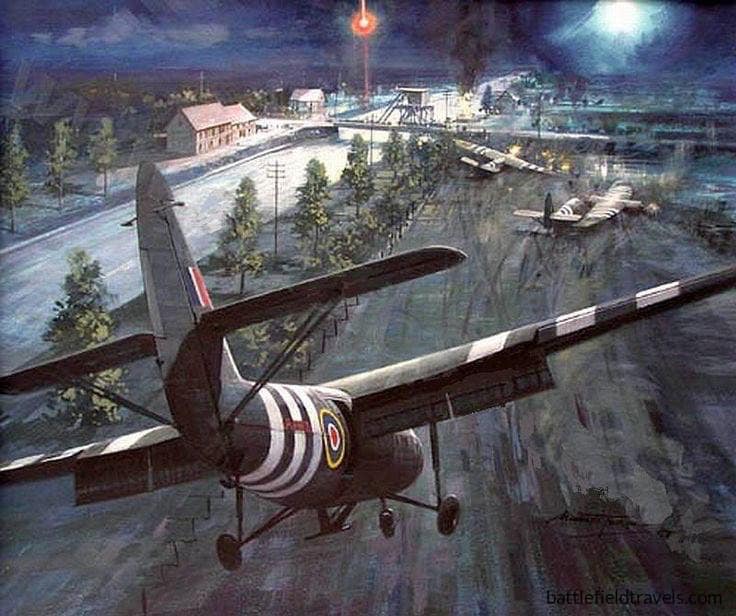
Ground combat began shortly after midnight on 6 June. At the eastern extremity of the invasion beaches, six Horsa gliders carried Major John Howard’s coup-de-main force on a silent approach to seize the two bridges spanning the Caen Canal and Orne River. Both crossings had to be captured intact. Their destruction would impede the advance from Sword Beach, while losing them to a German counterattack could expose the invasion’s eastern flank.
The Pegasus Bridge coup de main achieved extraordinary tactical surprise. Howard’s leading gliders landed within metres of the Caen Canal bridge, allowing the airborne troops to overwhelm the defenders before they could fire their demolition charges. The Orne River bridge was also secured. The problem then shifted from seizure. Howard’s small force had to hold the crossings until reinforced by the remainder of 6th Airborne Division and, eventually, heavier forces advancing inland from Sword Beach.
Ranville and Merville: Securing the eastern flank
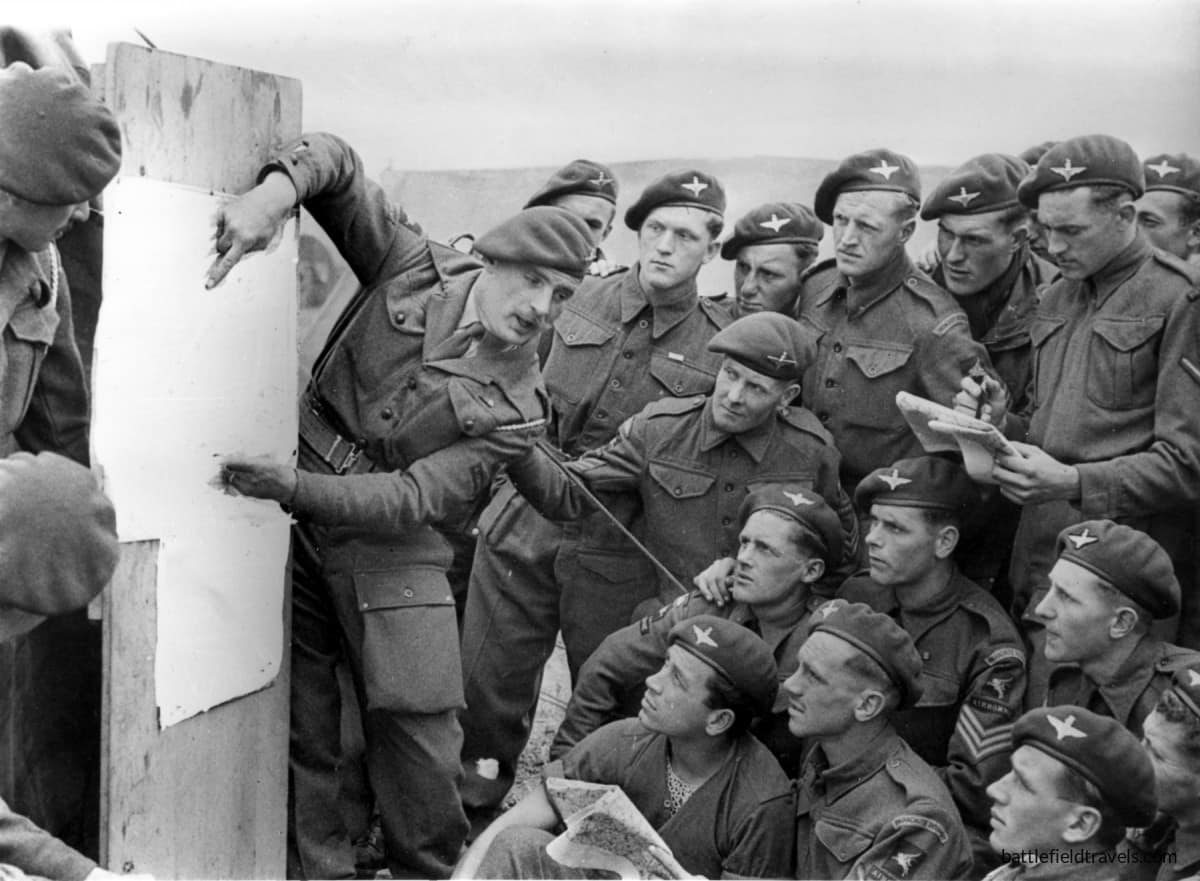
East of the Orne, the remainder of the British 6th Airborne Division landed by parachute and glider across a scattered series of drop and landing zones. Its tasks included destroying bridges over the River Dives, securing the high ground around Ranville and preventing German forces east of the Orne from interfering with the invasion beaches.
One of the most difficult objectives was neutralising the German coastal battery at Merville, whose guns were believed capable of firing on Sword Beach. Lieutenant Colonel Terence Otway’s 9th Parachute Battalion attacked despite severe dispersal during the airborne drop and the loss of much of its specialist equipment. The wider 6th Airborne Division operations at Ranville and Merville established a defensive bridgehead east of the Orne that would become the Allied invasion’s exposed eastern flank.
The British airborne operation therefore accomplished more than the spectacular seizure of Pegasus Bridge. It created a barrier between the invasion beaches and German forces approaching from the east, while preserving the crossings through which the airborne bridgehead could be reinforced.
The American airborne operations: Securing the western flank
101st Airborne Division – Mission ALBANY
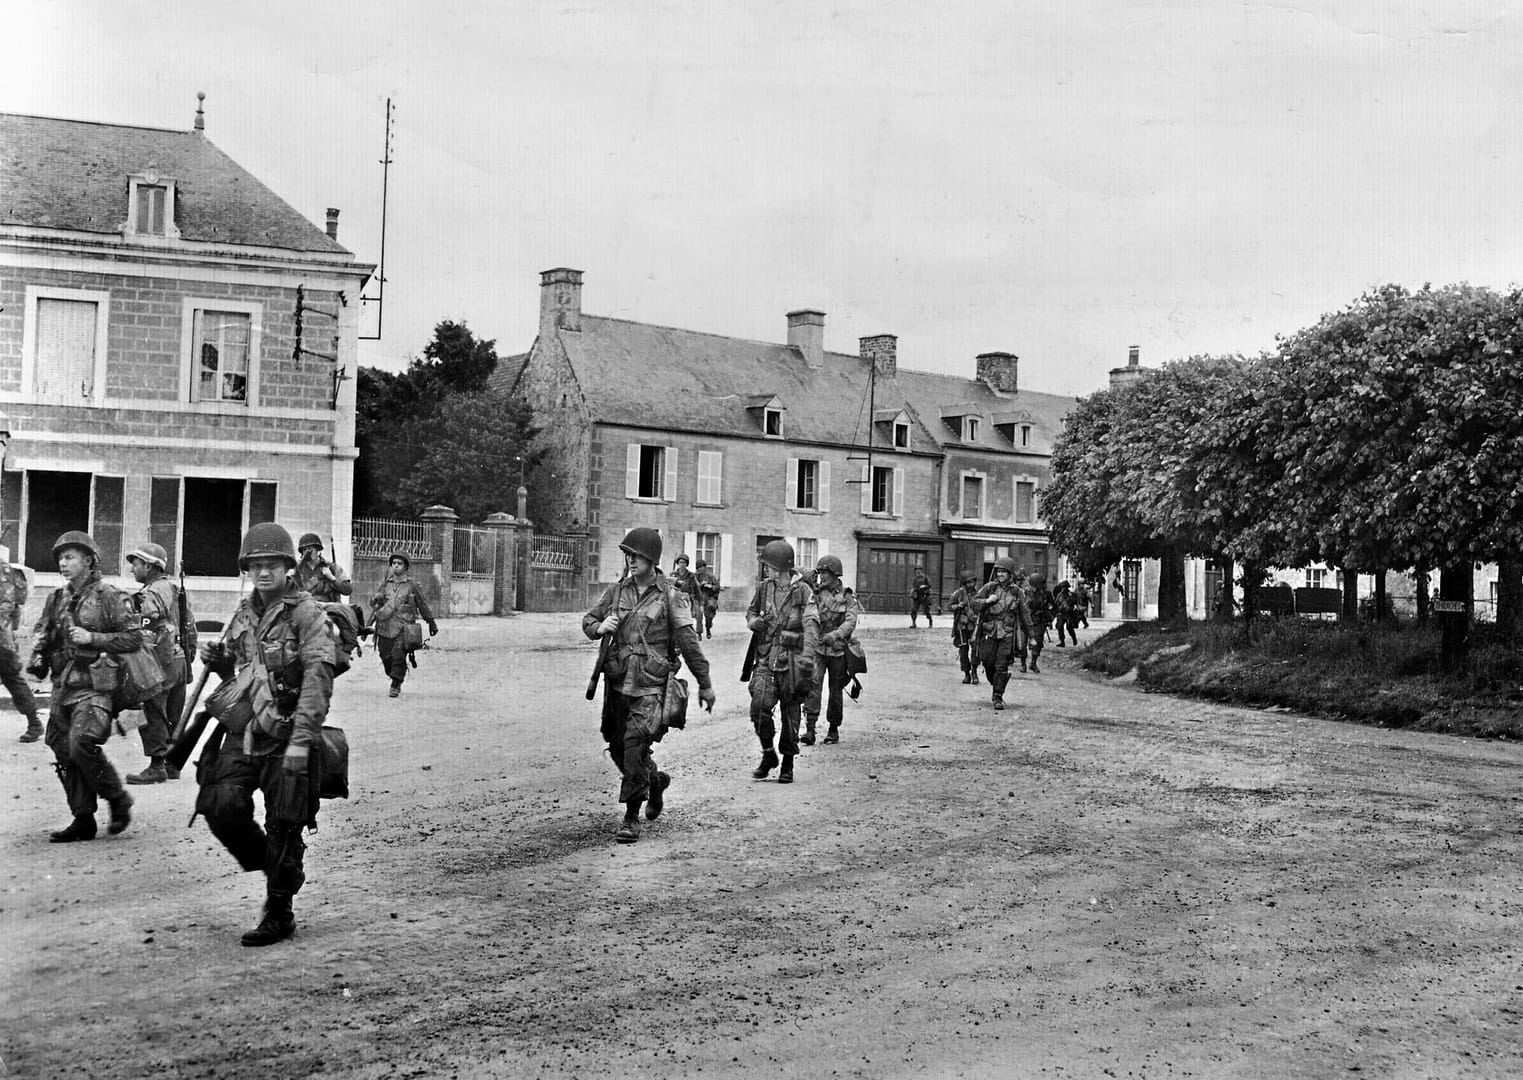
At the western end of the invasion area, the US 82nd and 101st Airborne Divisions descended into a very different landscape. German forces had deliberately flooded large areas behind Utah Beach, which meant villages and a small number of raised roads and causeways acquired disproportionate tactical importance. Scattered drops fragmented many airborne units, but also placed American paratroopers across the German rear areas.
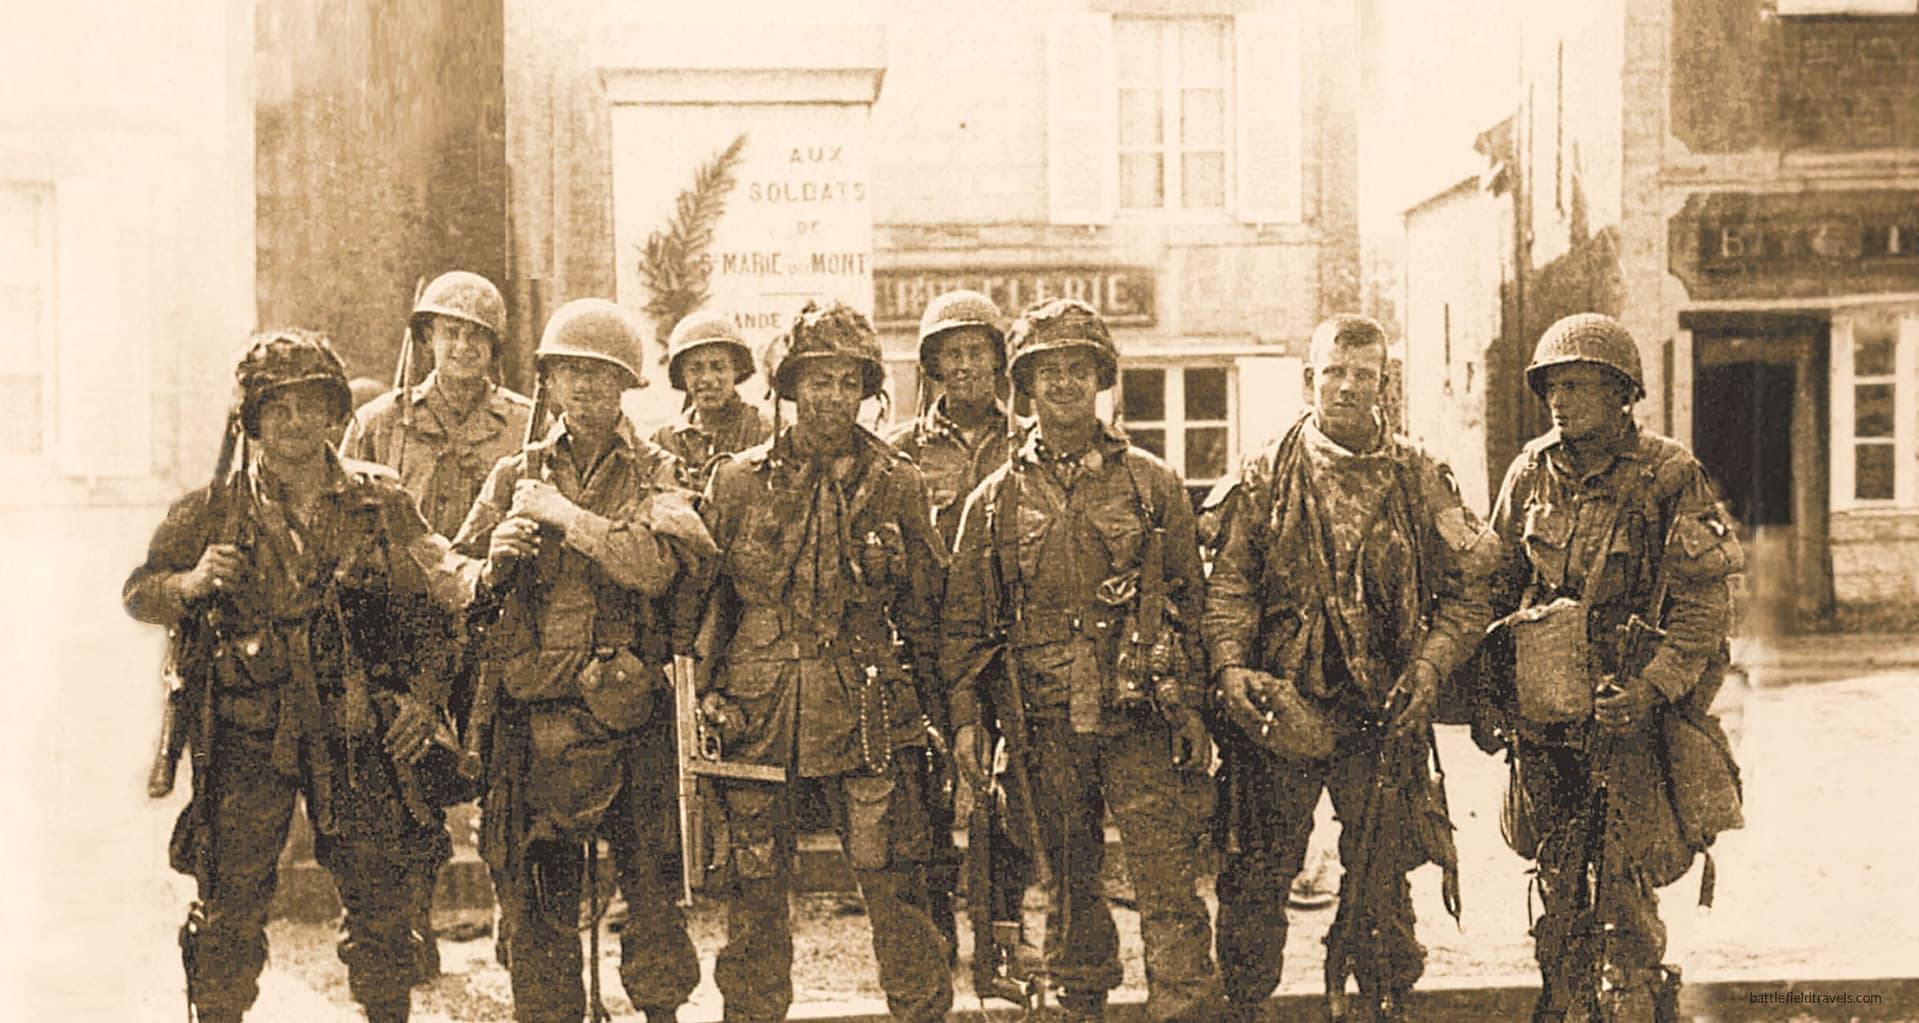
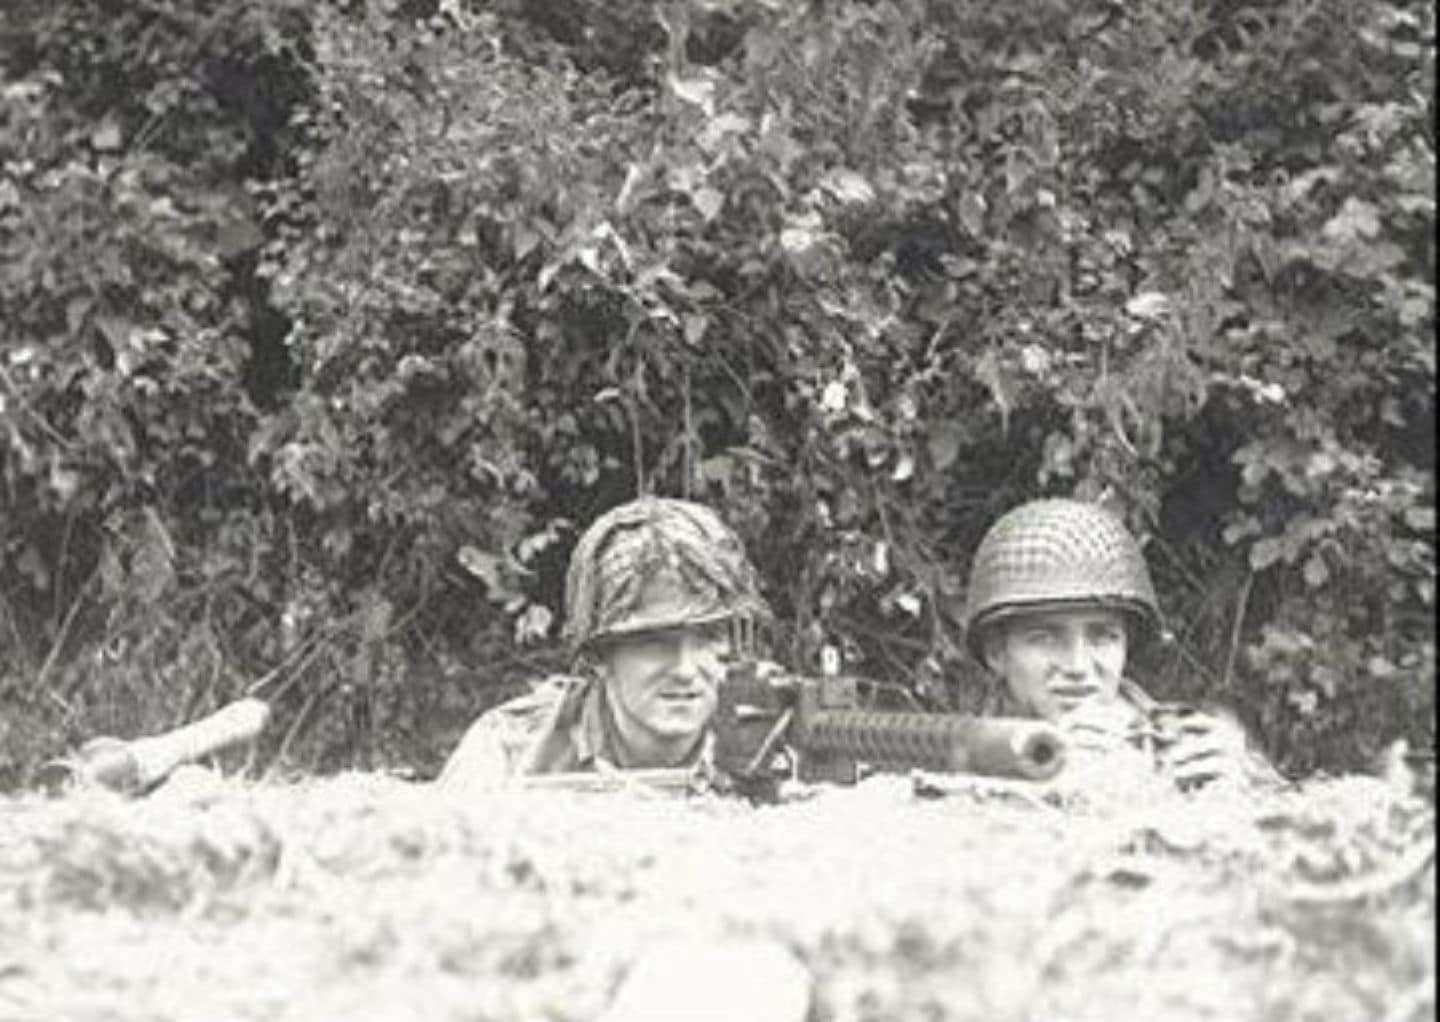
The 101st Airborne Division was tasked principally with securing the four western exits from Utah Beach and disrupting German movement toward the invasion area. Paratroopers rallied in improvised groups and fought through the villages and hedgerows behind the coast. Near Sainte-Marie-du-Mont, Lieutenant Richard Winters led a small force from Easy Company, 506th Parachute Infantry Regiment, in the assault on the German battery at Brecourt Manor, eliminating guns that could fire toward the Utah Beach exits.
The fighting behind Utah Beach also marked the beginning of Easy Company’s combat experience in Normandy. From the scattered airborne landings and the assault at Brecourt Manor, the company’s route continued through Carentan and Bloody Gulch. The Easy Company battles in Normandy form part of a wider battlefield series following the company from D-Day through the Netherlands, Bastogne and the final advance into Germany and Austria.
82nd Airborne Division – Mission BOSTON
Farther north, the 82nd Airborne Division fought to secure the approaches around Sainte-Mère-Église, one of the critical road centres behind the invasion beaches. To its west, the battle for La Fière Causeway developed into a prolonged struggle for one of the few routes across the flooded Merderet valley. Here, a seemingly minor bridge and narrow raised causeway became key terrain because the surrounding inundations channelled all movement onto very few routes.
The American airborne landings were therefore inseparable from the Utah operation. By occupying road junctions, causeways and beach exits, disrupting German communications and forcing German units to fight inland, the paratroopers helped prevent a coordinated response against the troops coming ashore.
Beyond D-Day: Carentan and the western link-up
The success of the landings on 6 June did not immediately create a continuous Allied foothold. Utah and Omaha remained separated, and the road and rail centre of Carentan stood astride the communications connecting the two American beachheads. Capturing it became essential to consolidating the western lodgement.
Elements of the 101st Airborne Division advanced toward the town through flooded country and along exposed causeways before engaging the German defenders on its approaches and within the town itself. The Battle for Carentan continued the airborne role beyond its original D-Day missions and helped establish the physical connection between the Utah and Omaha sectors.
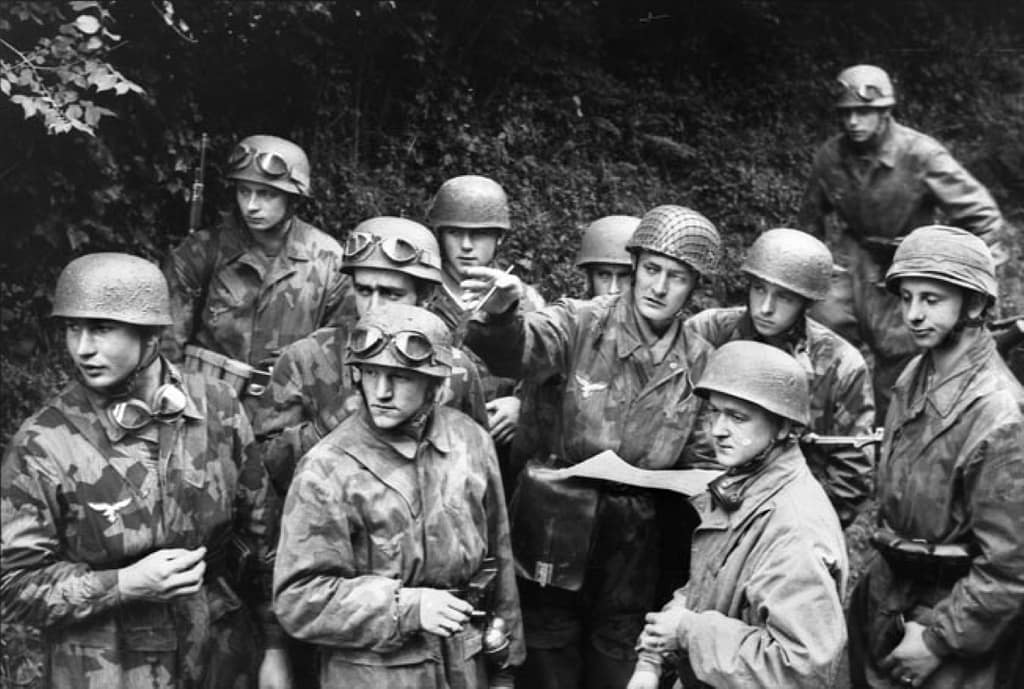
The German response did not end with the loss of Carentan. Counterattacking forces struck the American positions southwest of the town, producing the confused and violent Battle of Bloody Gulch. By this stage the character of the campaign was already changing. The immediate struggle to land on the Normandy coast was giving way to a battle to hold and expand the lodgement through hedgerows, sunken roads, villages and enclosed fields.
Utah Beach
The westernmost amphibious landing took place on the Cotentin Peninsula. The US 4th Infantry Division came ashore at Utah Beach after currents and navigational errors carried the initial assault south of the intended landing area. The displacement proved advantageous. Resistance was lighter than at the planned landing site, and Brigadier General Theodore Roosevelt Jr famously chose to continue the operation from where the troops had landed rather than attempt to shift the assault north.
Success at Utah, however, depended on getting troops and vehicles off the coast. Flooding had transformed much of the hinterland into an obstacle, concentrating movement onto a handful of causeways. The beach landings and airborne operations therefore formed parts of a single tactical problem. As the 4th Infantry Division pushed inland, contact with elements of the 101st Airborne Division helped open the routes through the inundated ground and secure the beachhead.
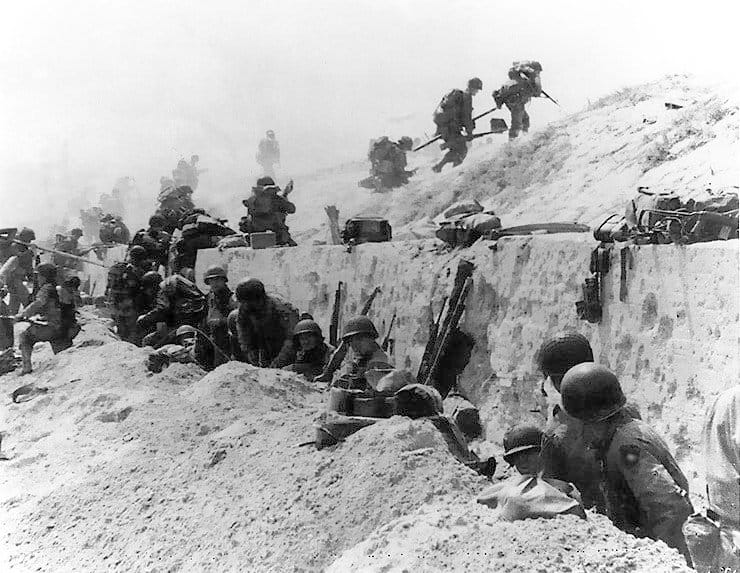
Pointe du Hoc
Between Utah and Omaha, cliffs dominated the coast at Pointe du Hoc. Allied intelligence identified the position as a German coastal battery capable of threatening the invasion fleet and landing beaches. Lieutenant Colonel James Rudder’s 2nd Ranger Battalion was assigned the task to neutralise the guns.
The Ranger assault on Pointe du Hoc required troops to land beneath the cliffs, scale them under fire and seize the fortified position above. The Rangers discovered that the main guns had been removed from their prepared emplacements, but patrols subsequently located and disabled them inland. Isolated on the headland, the Rangers then fought to hold their position while awaiting relief from forces advancing from Omaha.
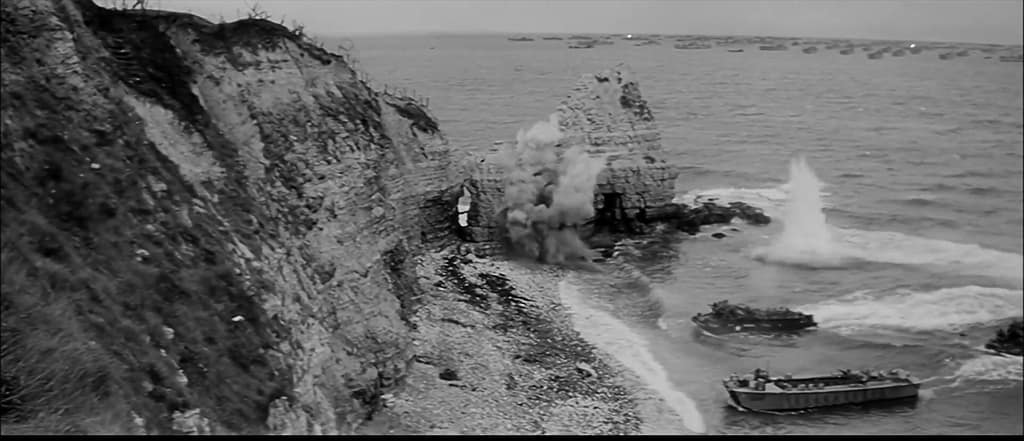
Omaha Beach
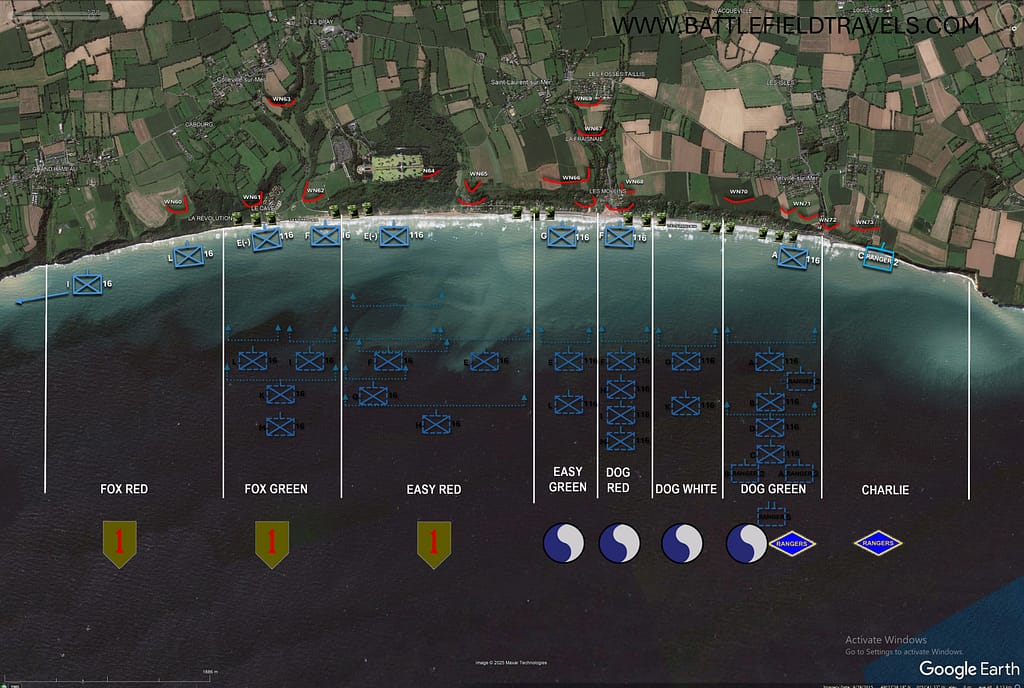
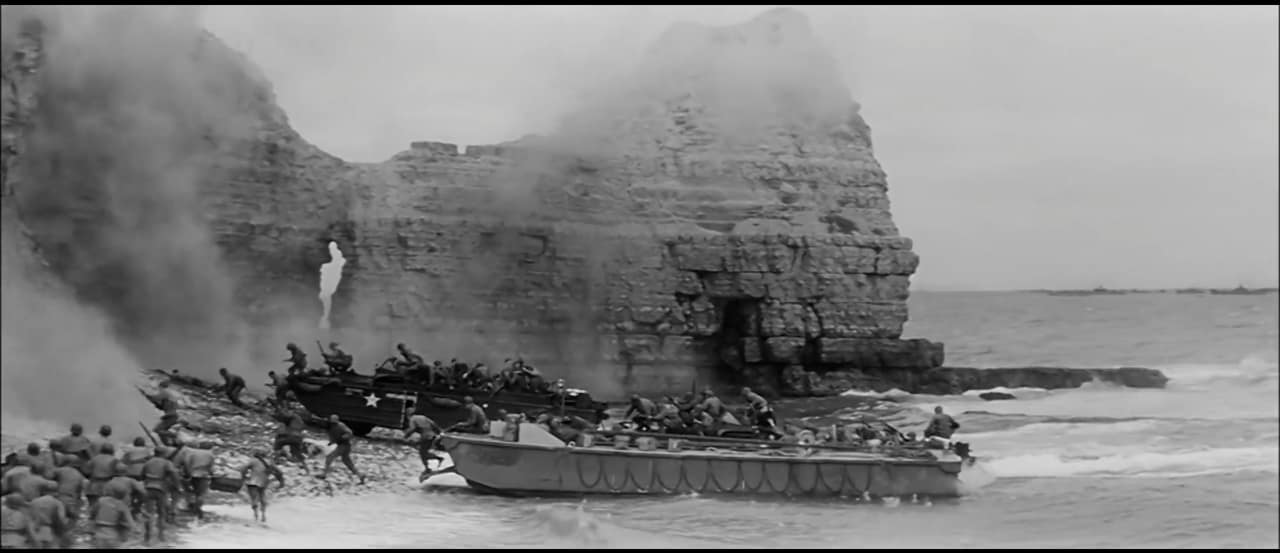
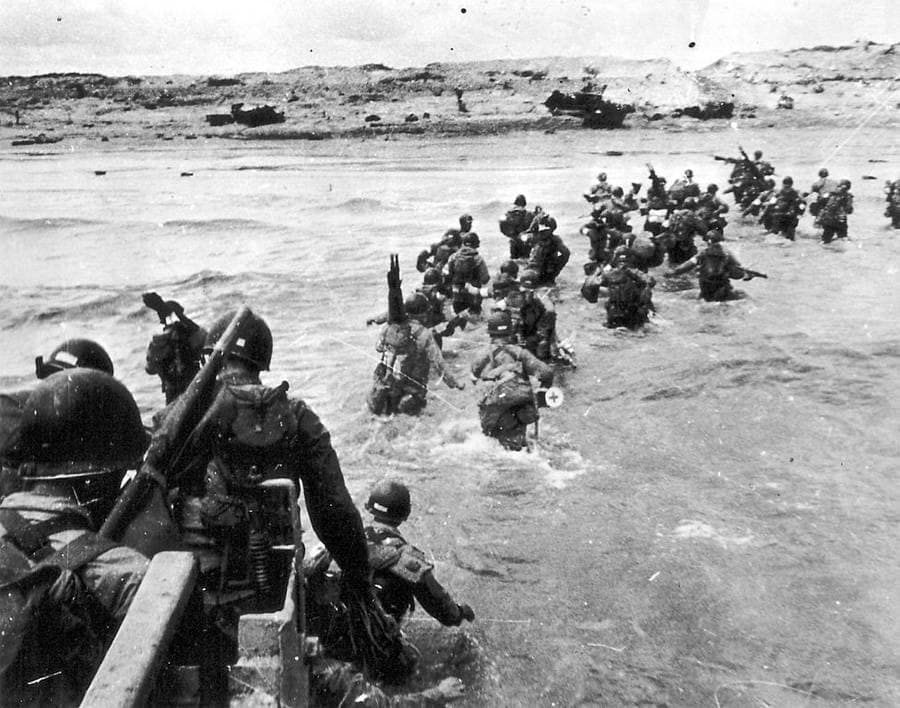
At Omaha Beach, the US 1st and 29th Infantry Divisions encountered the most formidable resistance of any of the five Allied landing beaches. The terrain magnified the problem. A broad tidal flat and exposed beach lay beneath steep bluffs, while movement inland was channelled through five beach exits covered by German strongpoints, obstacles, mines and interlocking fire.
The initial Omaha Beach landings suffered heavy casualties. Amphibious tanks were lost, units became intermixed, engineers struggled to clear beach obstacles and German fire disrupted attempts to move through the planned exits. For a time, the assault appeared dangerously close to failure.
The breakthrough came not through the smooth execution of the original plan but through local initiative. Small groups of infantry, engineers and Rangers worked their way across and above the bluffs, infiltrating between German positions and attacking strongpoints from their flanks and rear. By the end of 6 June the Omaha lodgement remained shallow and vulnerable, but American troops had broken through the coastal defences. The cost made Omaha the bloodiest of the five D-Day beaches and demonstrated how profoundly local terrain could disrupt even the most carefully prepared operational plan.

Gold Beach
East of Omaha, the British 50th (Northumbrian) Infantry Division landed at Gold Beach. Its objectives included securing the coast between the American and Canadian sectors, capturing Arromanches and pushing inland toward Bayeux while cutting the important Caen–Bayeux road.
German strongpoints and coastal defences caused delays at several locations, but British forces penetrated inland and made substantial progress during the day. The capture of Arromanches was particularly important because the site had been selected for one of the artificial Mulberry harbours that would sustain the Allied build-up before major French ports could be secured.
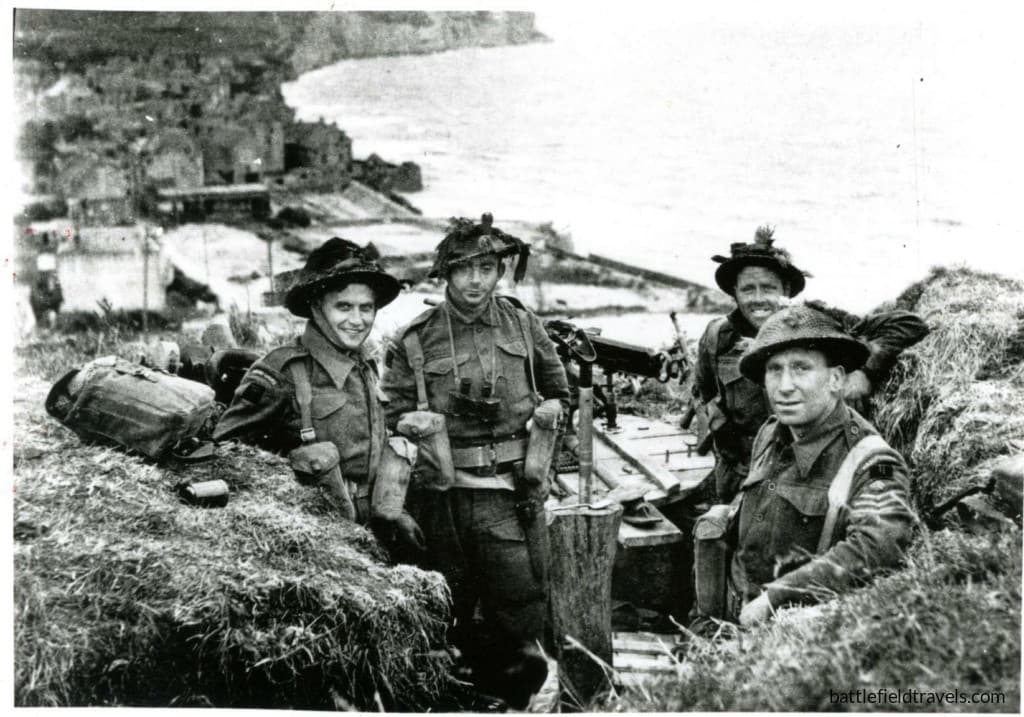
Juno Beach
The Canadian 3rd Infantry Division assaulted Juno Beach between the British landings at Gold and Sword. Rough seas, offshore obstacles and fortified coastal villages complicated the assault, and several Canadian units suffered heavily while breaking through the beach defences.
Once inland, however, Canadian forces advanced farther than many of the other seaborne formations on D-Day. Their objectives included securing the Caen–Bayeux road and linking the British and Canadian beachheads. Although not all planned objectives were reached and gaps remained between Allied formations, the Canadians had established a substantial lodgement by the end of the day.
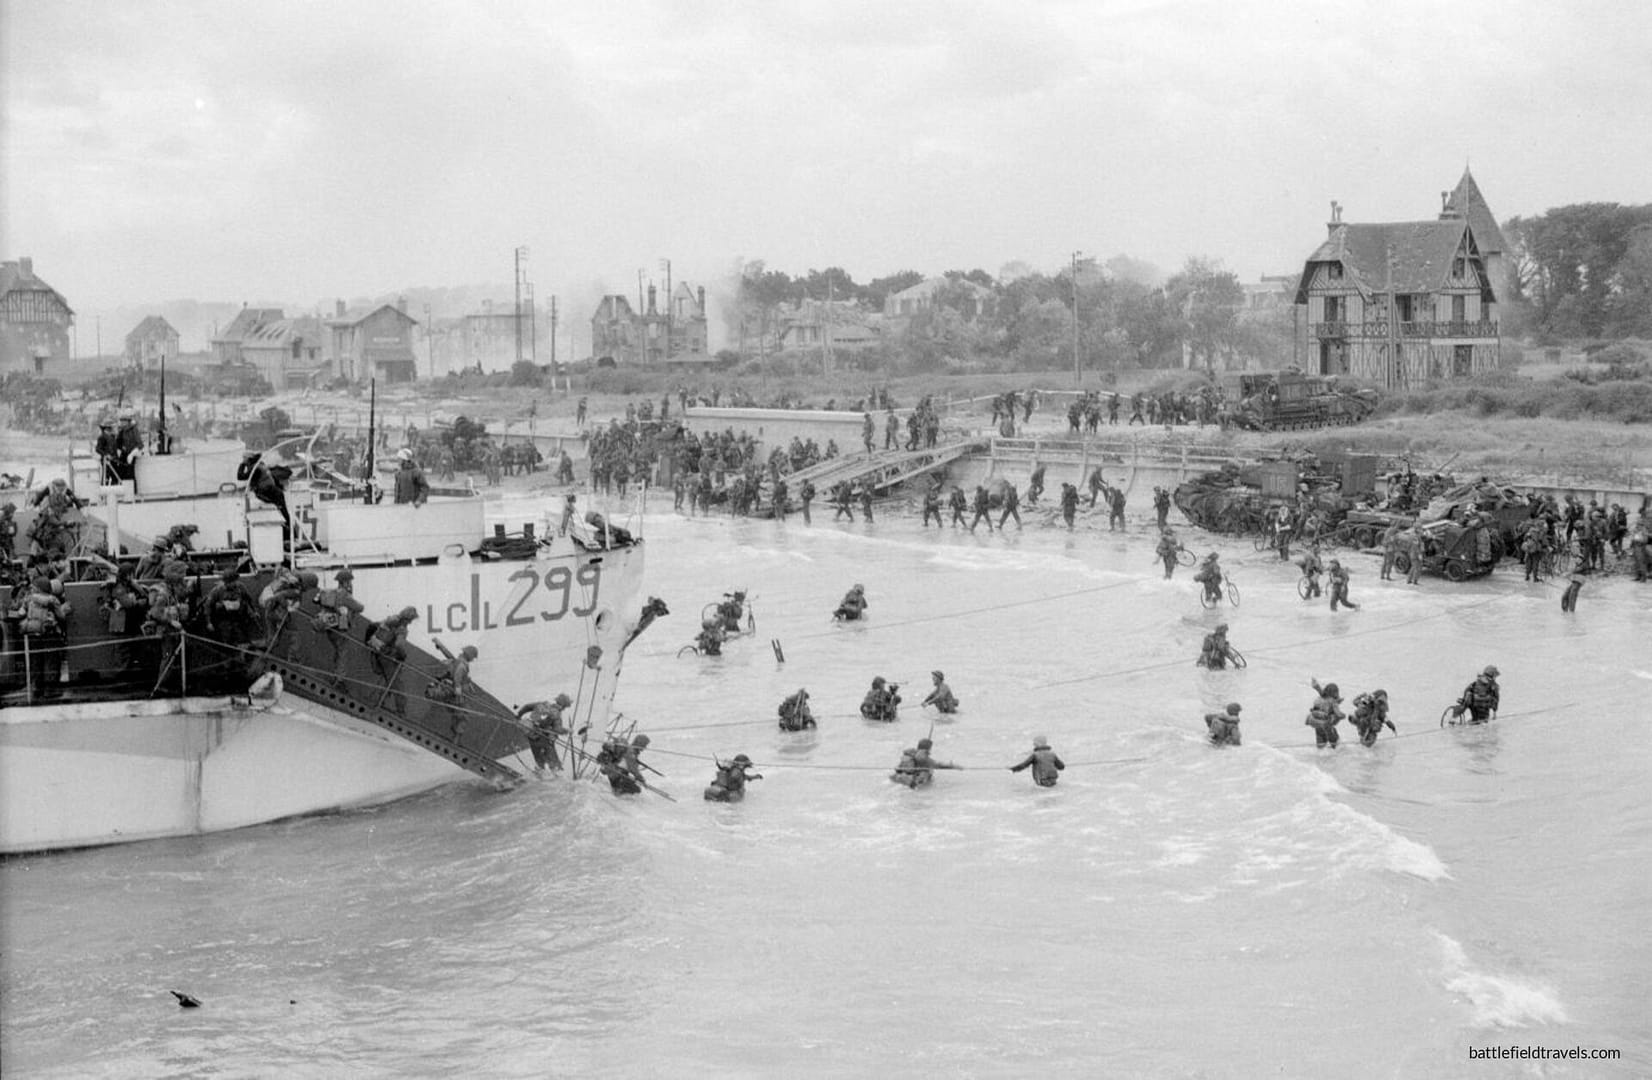
Sword Beach
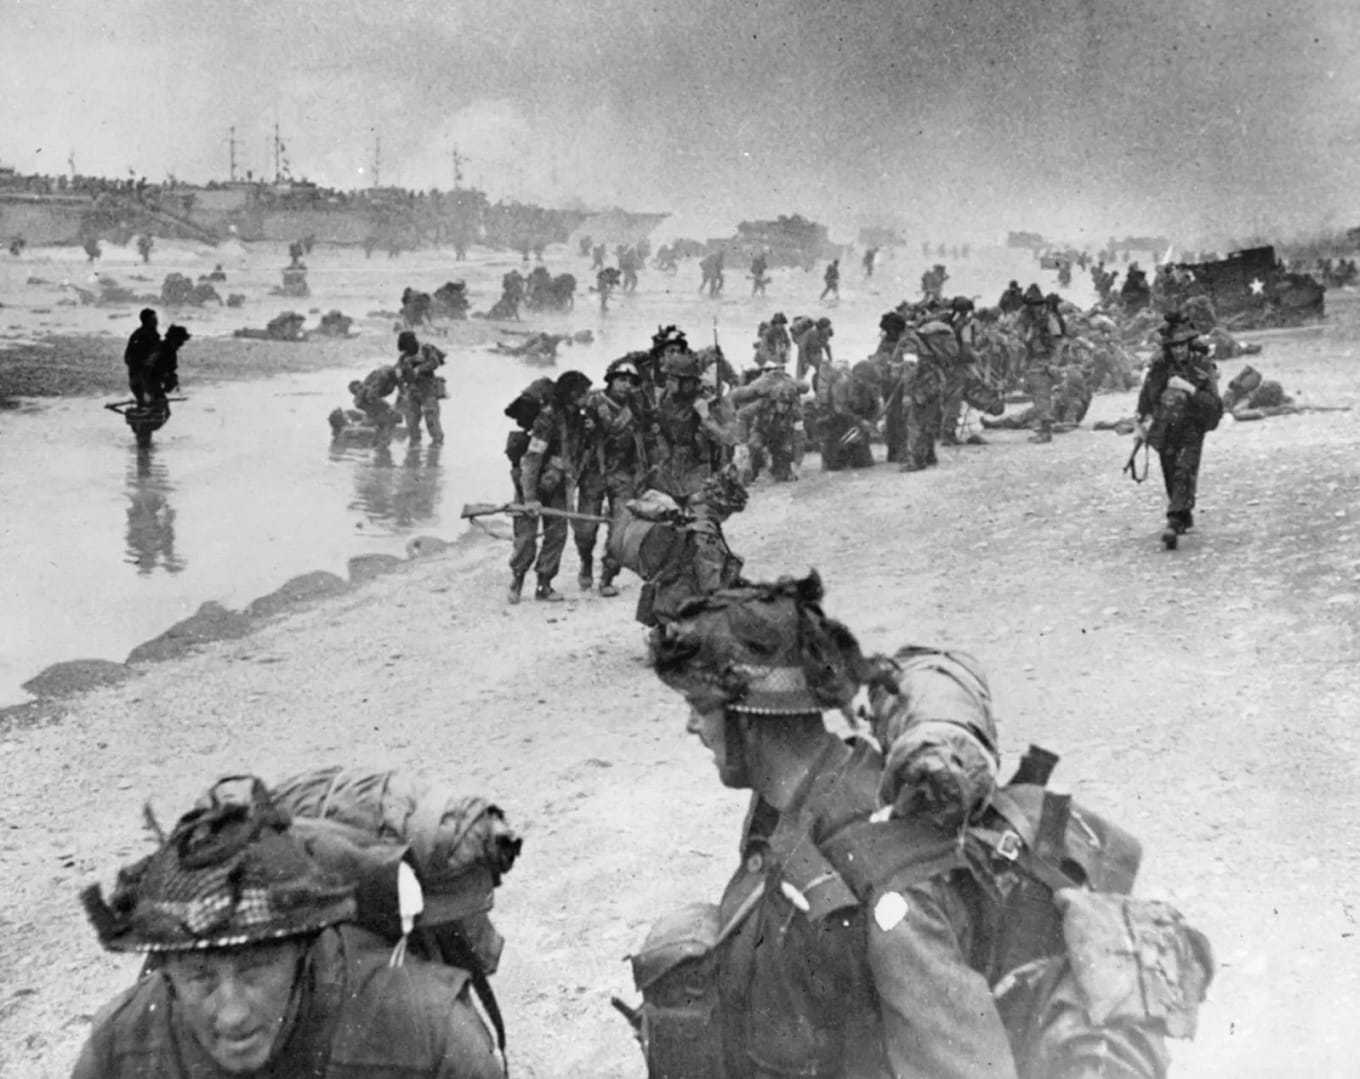
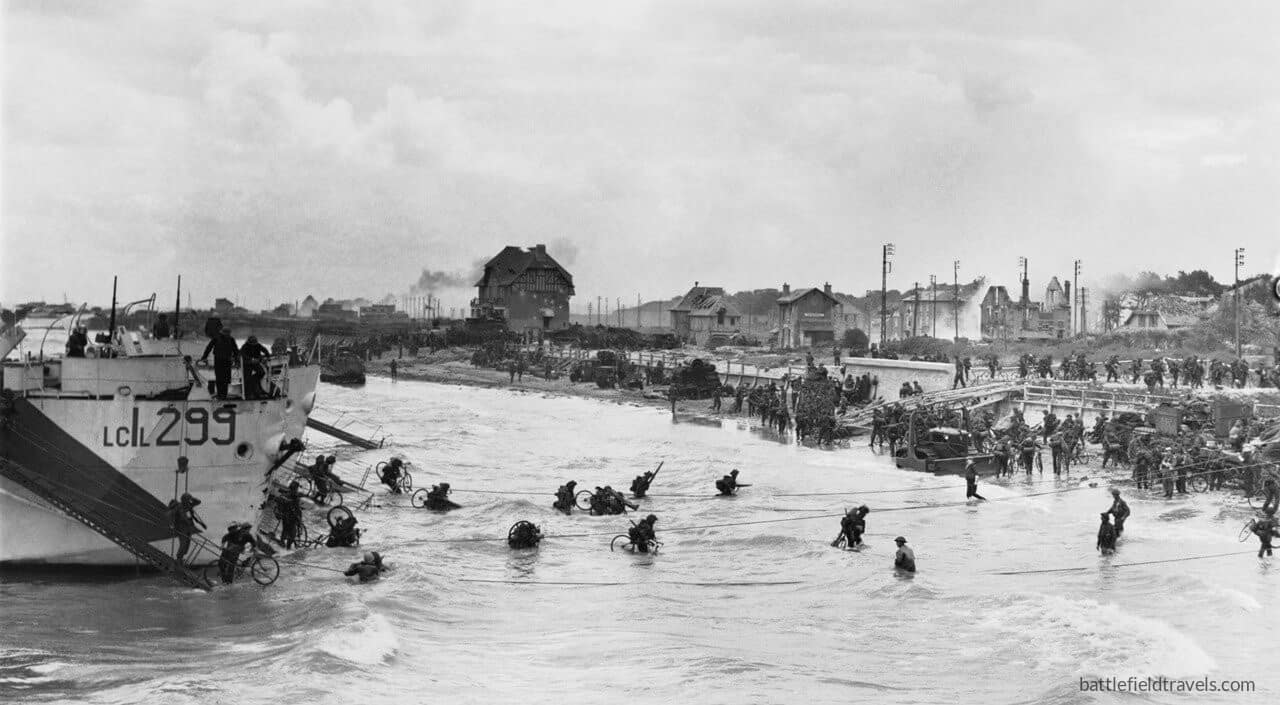
At the eastern end of the amphibious assault, the British 3rd Infantry Division landed at Sword Beach. Its objectives extended well beyond clearing the immediate coastal defences. British forces were to advance toward Caen and, crucially, link with the 6th Airborne Division holding the bridges and defensive positions east of the Orne.
The link with the airborne troops was achieved, and was symbolised by the arrival of commandos under Brigadier Lord Lovat at Pegasus Bridge. Caen, however, remained in German hands. The failure to capture the city on D-Day helped shape the fighting that followed, as German armoured formations concentrated against the eastern side of the Allied lodgement.
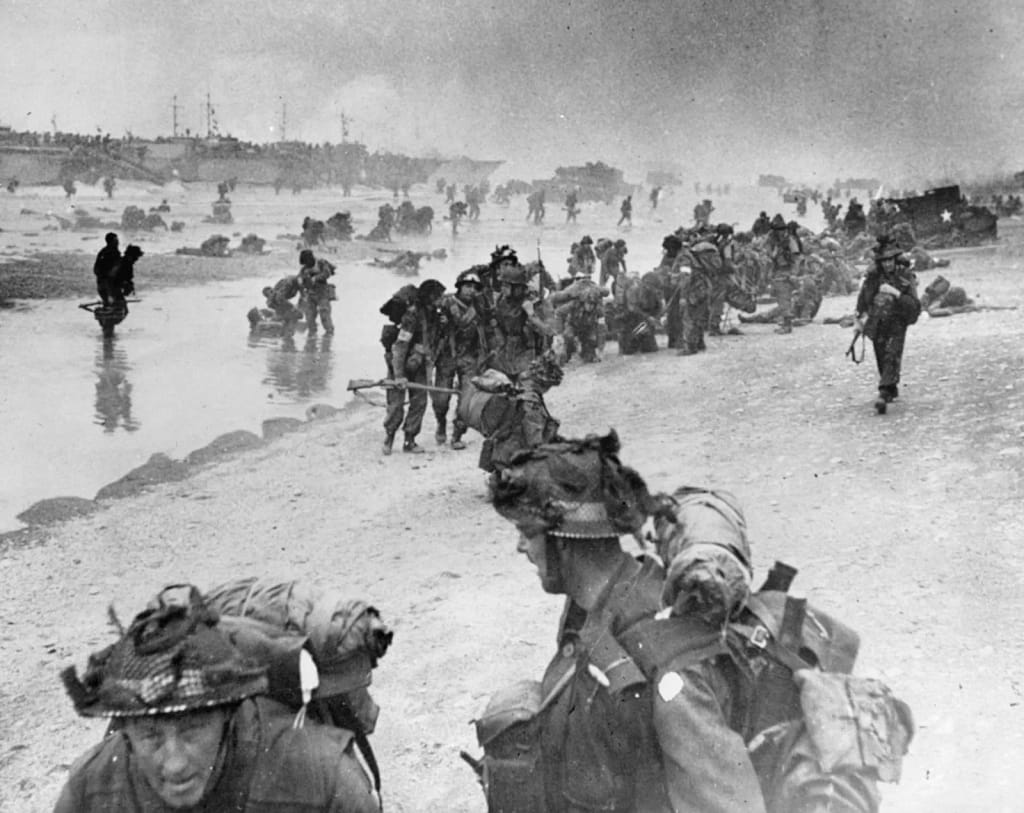
By the end of D-Day
By nightfall on 6 June, Allied forces had established themselves along the Normandy coast, but the five assault sectors had not yet become the secure, continuous lodgement envisaged in the invasion plan. The fighting around Carentan, the Cotentin Peninsula and Caen would continue, while the bocage increasingly imposed its own tactical demands. D-Day had succeeded, but the Battle of Normandy had only just begun.
🏛️Weapons & Equipment: World War Two
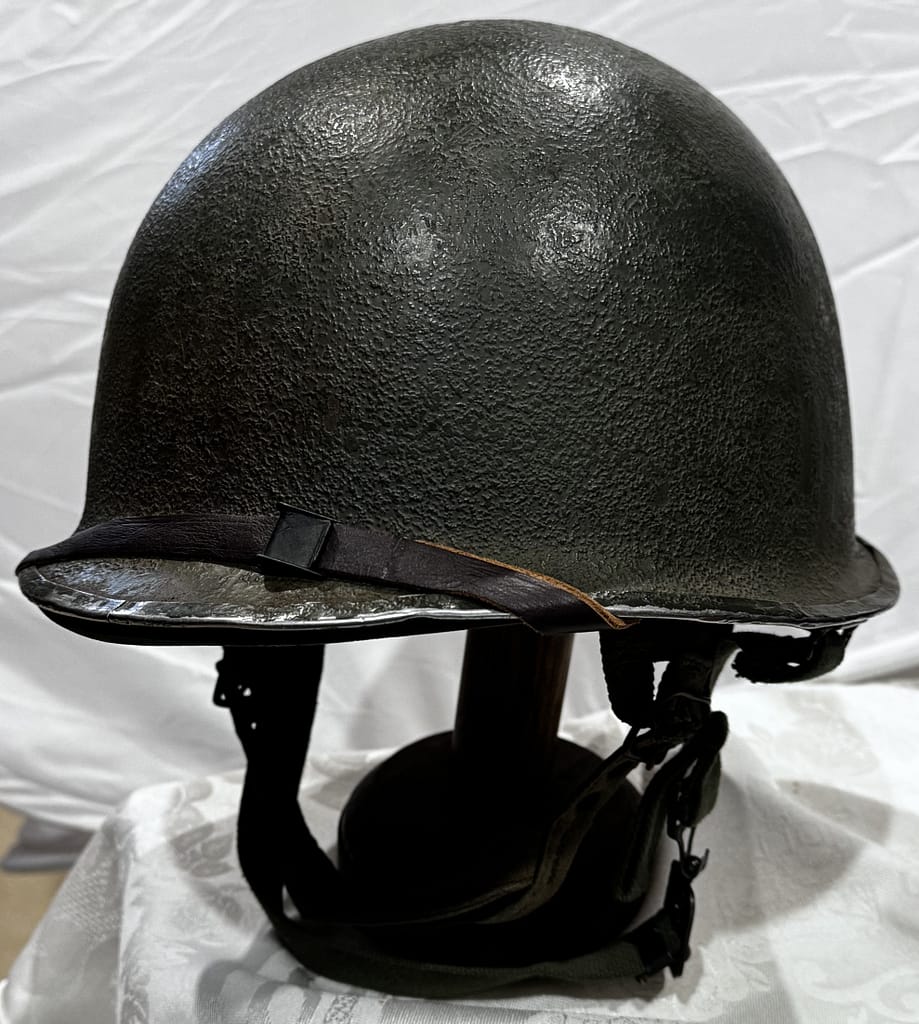
Explore original weapons and equipment from the Second World War, drawn from my personal collection.
Uniforms, helmets, headgear, weapons, equipment from Australia, Britain, United States, Soviet Union, Germany, Japan, Italy, Romania, — personally handled, photographed and examined by me.
📚Recommended Reading: World War Two
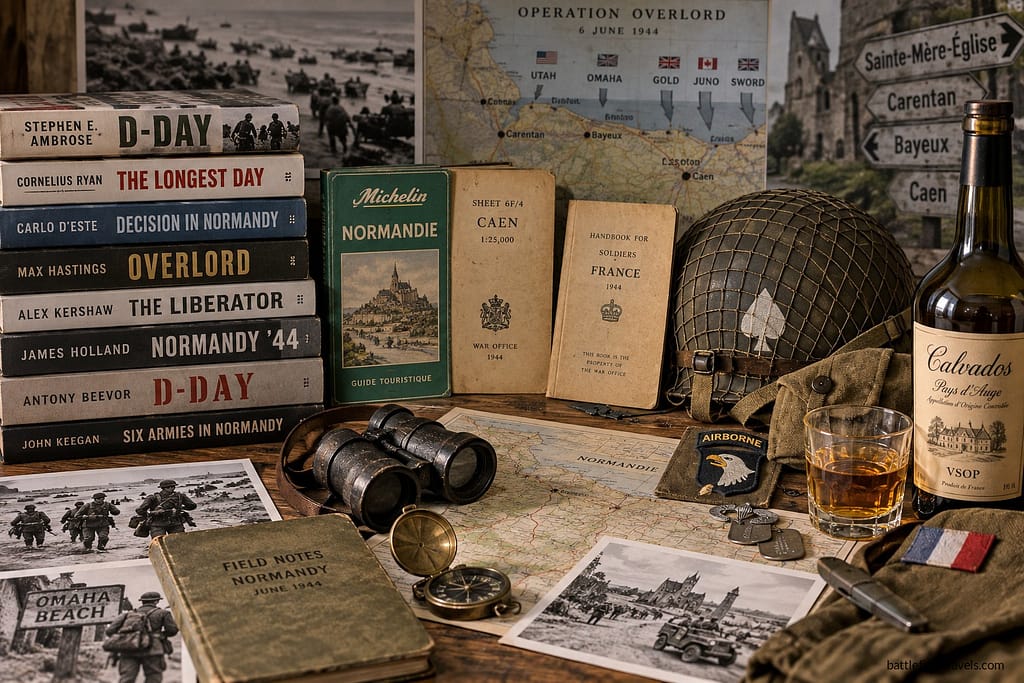
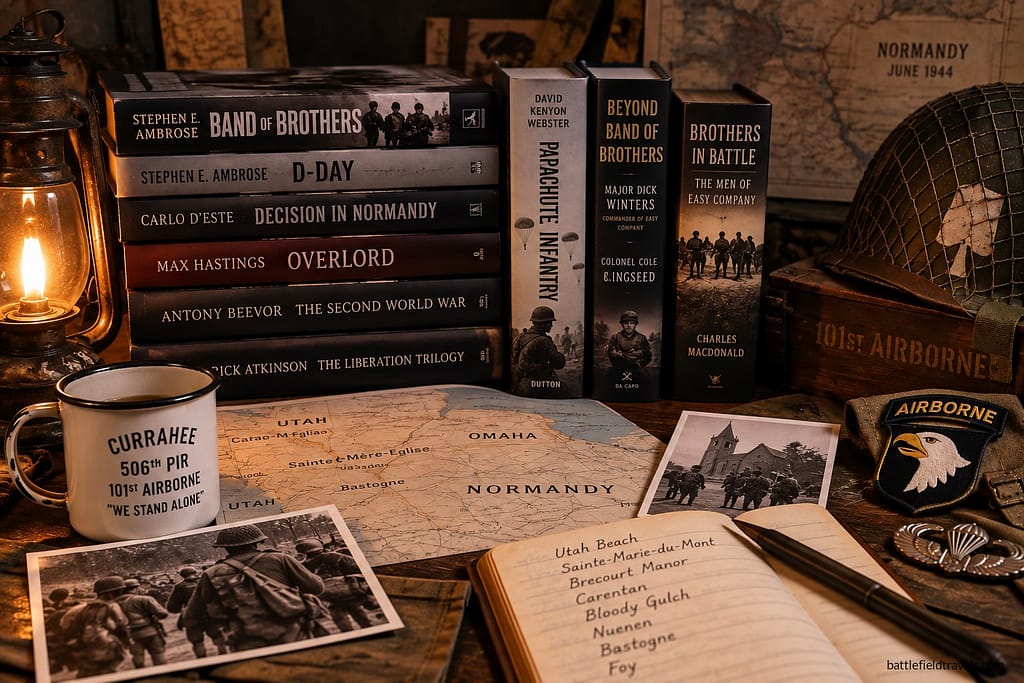
A curated reading list covering the Second World War across all theatres. Explore campaign histories, battlefield studies, biographies, primary accounts and contemporary military writings used in the research behind Battlefield Travels. The list will continue to grow as I publish new studies and draw upon new resources.
❓D-Day and Normandy Campaign Quiz. Test your knowledge!
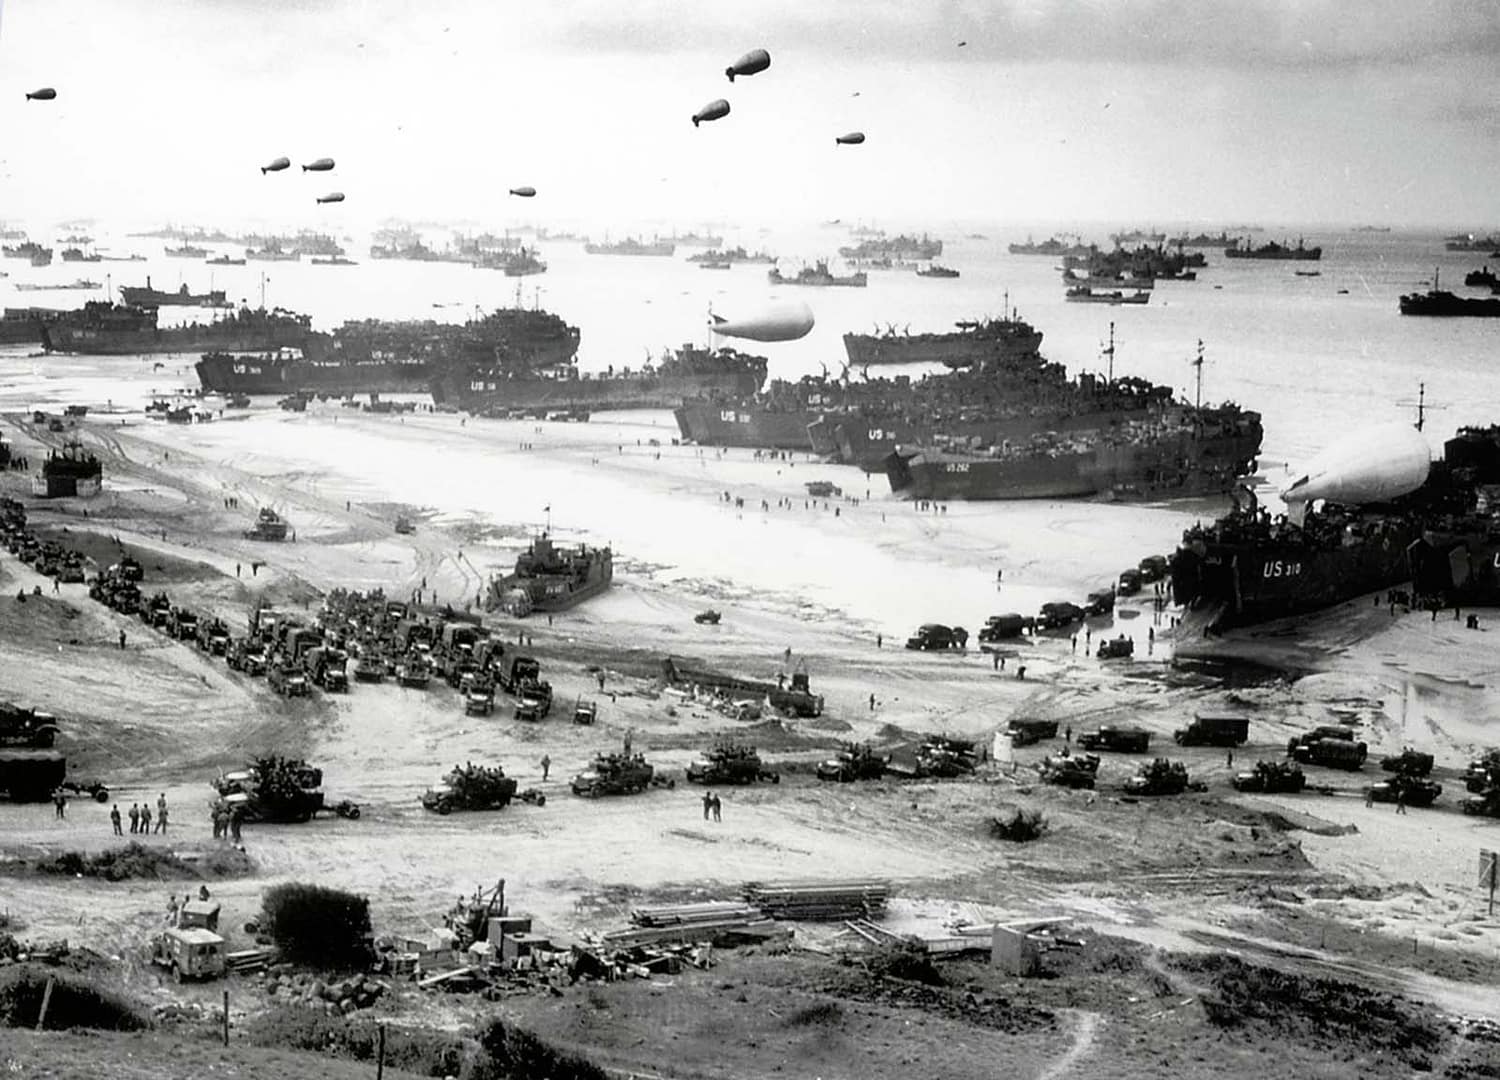
20 questions generated out of a bank of 60. Testing your knowledge of the D-Day landings including the US and British airborne operations, and all five invasion beaches. Score 60% to pass — but expect a challenge!
D-Day and Normandy Campaign Battle Studies
In-depth battlefield analyses based on terrain, primary sources, and on-the-ground exploration.
-
⚔️ D-Day: Ranville, Merville Battery and 6th Airborne Division, 6 June 1944

British 6th Airborne Division’s role on D-Day was multi-faceted. In the opening minutes, glider-borne troops would seize the bridges over the Caen Canal and the River Orne. Soon afterwards, paratroopers would neutralise Merville Battery. Others would destroy key bridges over the Dives and prepare for German counterattacks. The mission was audacious, high risk, and critical…
-
⚔️ D-Day: Pegasus Bridge glider assault,
6 June 1944
In the opening minutes of D-Day, British airborne troops conducted a glider-borne coup-de-main assault to seize the bridges over the Caen Canal and River Orne. Their mission was simple but dangerous: capture the bridges intact and hold them against German counterattacks, thereby securing the eastern flank of the Normandy landings.
-
⚔️ D-Day: Sword Beach landings,
6 June 1944
On 6 June 1944, the British 3rd Division, supported by the 1st Special Service Brigade and 79th Armoured Brigade, stormed Sword Beach, the easternmost Allied landing sector in Normandy. Their success secured the D-Day landing Allied left flank, linked with the airborne lodgement at the Orne, and set the stage for the long struggle for…
-
⚔️ D-Day: Juno Beach landings,
6 June 1944
On 6 June 1944, the 3rd Canadian Infantry Division stormed ashore at Juno Beach, facing some of the strongest German defences in Normandy. Their task was to force a landing on the narrow strip of beach between Courseulles, Bernières, and Saint-Aubin, and then drive inland to cut the Caen–Bayeux road before linking up with the…
-
⚔️ D-Day: Gold Beach landings,
6 June 1944
On 6 June 1944, the British 50th (Northumbrian) Infantry Division landed at Gold Beach, facing fortified villages and determined German resistance. By nightfall, they had secured a foothold, linked with Canadian forces at Juno, and pushed inland toward Bayeux. Within days, the artificial Mulberry harbour was providing vital sustainment to the Normandy campaign.
-
⚔️ D-Day: Omaha Beach landings,
6 June 1944
Omaha Beach makes a powerful impression. When you visit the beach, you know that this is where Robert Capa took those famous photos of American soldiers assaulting through the obstacle belt, and where the dramatic first 20 minutes of Saving Private Ryan was set. It also becomes clear how important the five beach exits were…
-
⚔️ D-Day: US Ranger assault on Pointe du Hoc,
6 June 1944
Pointe du Hoc, a prominent headland between Utah and Omaha Beaches, was a critical objective on D-Day. The German position was equipped with a battery of 155mm howitzers capable of targeting the American landing beaches. The mission to assault Pointe du Hoc was assigned to the 2nd and 5th Ranger Battalions. The Rangers would scale…
-
⚔️ D-Day: Utah Beach landings,
6 June 1944
In the early hours of D-Day, 6 June 1944, 13,200 paratroopers of the 82nd and 101st Airborne Divisions landed behind Utah Beach to secure the beach landing sites and prevent German interference. A few hours later, the US 4th Infantry Division stormed ashore on Utah Beach. The amphibious forces landed about 2,000 yards south of…
-
⚔️ D-Day: Brecourt Manor assault, Easy Company, 506th PIR,
6 June 1944
Here on 6 June 1944, Lieutenant Richard ‘Dick’ Winters, acting company commander for Easy Company, 506th Parachute Infantry Regiment, 101st Airborne Division, led a force of 23 paratroopers in a successful assault on a German force that outnumbered them more than 5 to 1. Easy Company’s action that day was depicted in the Steven Spielberg/Tom…
-
⚔️ D-Day: 101st Airborne Division and the Battle of Bloody Gulch,
13 June 1944
The Battle of Bloody Gulch was fought on 13 June 1944, just west of Carentan, Normandy. The battle followed immediately after 101st Airborne Division’s capture of Carentan on 12 June. Lightly armed American paratroopers from 506th (PIR) Parachute Infantry Regiment and 501st PIR faced a major armoured counterattack by the 17th SS Panzergrenadier Division and…
-
⚔️ D-Day: Battle of Carentan,
10-13 June 1944
After the successful D-Day landings on June 6, the Allies needed to link the Utah and Omaha beachheads, build forces to cut off the Cotentin Peninsula, and be prepared for the expected German counterattack that they knew was coming. The key to all of that was the town of Carentan on the Cotentin – a…
-
⚔️ D-Day: US Airborne Operations, Sainte-Mere-Eglise,
6 June 1944
As a former 82nd Airborne Division paratrooper, the town of Sainte-Mere Eglise in the Cotentin Peninsula of Normandy holds a special place for me. In the early hours of 6 June 1944, ahead of the Normandy Beach landings, the US 82nd and 101st Airborne Divisions parachuted into this area. The 82nd was to seize the…
-
⚔️ D-Day: Battle for La Fière Causeway,
6-9 June 1944
The final act of Steven Spielberg’s 1998 movie ‘Saving Private Ryan’ is set in the fictional French town of Ramelles, as a mixed group of paratroopers defends a bridge over the Merderet River against German armoured counter-attacks. That scene is based on real events that happened right here at La Fiere Bridge. I was a…




Authored by Mick Prictor, a retired military officer with 40 years’ service, and a military historian specialising in terrain-focused analysis of tactics, doctrine, and command decision-making in land warfare. His work draws on extensive battlefield fieldwork—more than 280 sites worldwide—and one of the world’s largest private collections of historic military arms, uniforms, and equipment. About me
⚔️ Go deeper — Members get exclusive access to the Deep Research Collection, Field Notes, and monthly Research Dispatches. Try membership free for 7 days, cancel anytime. From $9/month.
Explore Related Themes
Armies: American Army • British Army • Canadian Army • German Army
Methods: Mechanised Warfare • Amphibious Operations • Encounter Battle • Ambush • Airborne operations
Further Study: World War Two Reading List
D-Day was 6 June 1944, when Allied forces launched Operation Overlord with airborne and amphibious landings in Normandy, France. American troops landed at Utah and Omaha Beaches, British forces at Gold and Sword, and Canadians at Juno, while British and American airborne divisions landed behind the beaches to secure bridges, causeways, road junctions and other key objectives.
The five Allied landing beaches were Utah, Omaha, Gold, Juno and Sword, extending along roughly 80 kilometres of the Normandy coast. American forces assaulted Utah and Omaha, British forces Gold and Sword, and Canadian forces Juno. Each beach presented different terrain, German defences and tactical problems, from the bluffs and draws overlooking Omaha to the flooded ground behind Utah.
Terrain influenced almost every stage of the fighting. Cliffs, beach exits, flooded fields, causeways, rivers, villages and the Norman bocage restricted movement and frequently channelled troops into predictable routes. At La Fière, for example, control of a narrow causeway across flooded ground became critical, while at Omaha the few draws leading through the coastal bluffs strongly influenced the battle to get off the beach.
No. D-Day was the opening day of the Normandy campaign, not its conclusion. After establishing the beachheads, Allied forces still had to link them together, secure ports and key towns, and expand the lodgement against determined German resistance. Fighting continued through the summer, including the battles around Caen, Operation Cobra and the Falaise Pocket, before the German position in Normandy collapsed in August 1944.
Subscribe to Battlefield Travels and receive a free E-Book Battlefield Guide
Unlock expert battlefield analysis, campaign reconstructions, and historical insights drawn from firsthand exploration and primary sources.
🗺️ You’ll receive:
🎖️ Exclusive historical insights you won’t find elsewhere
📘 A free eBook: 10 Tips for Exploring Historic Battlefields
📰 New battlefield studies straight to your inbox as they are published

⚔️ Go deeper — Members get exclusive access to the Deep Research Collection, Field Notes, and monthly Research Dispatches. Try membership free for 7 days, cancel anytime. From $9/month.