Skip to content
Home » Museum

Museum

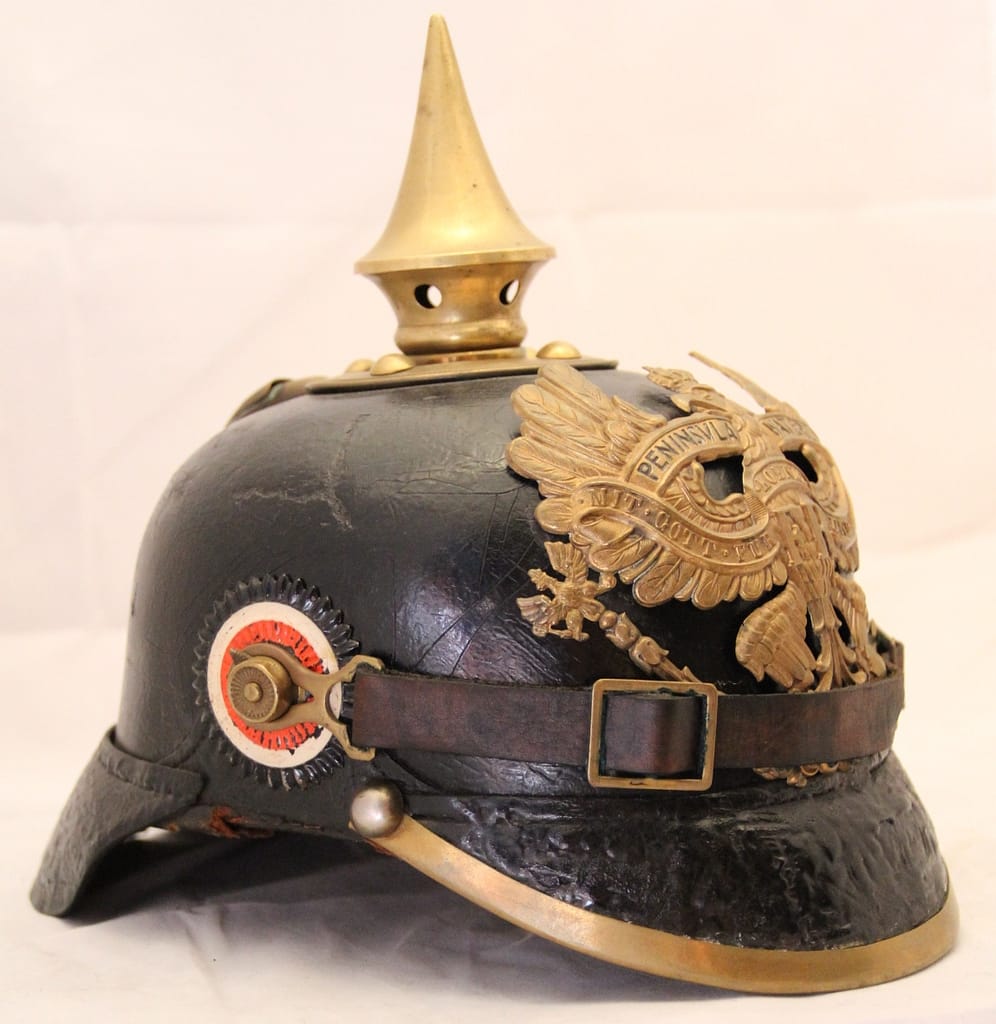
WW1 Imperial German Model 1895 Pickelhaube, 73rd Hanoverian Fusilier Regiment (Ernst Junger)
WW1 Imperial German Model 1895 Pickelhaube, 73rd Hanoverian Fusilier Regiment — the regiment in which Ernst Jünger served and about which he wrote Storm of Steel

My WW1 collection is enormous – hundreds of uniforms, headgear items, combat equipment. Here are just a few pieces.

👉 Explore the companion collection: PART 1. ALLIED POWERS →

The First World War traumatised the nations of Europe – they were never the same again. The armies of 1918 looked very different from those that mobilised in 1914. Brightly coloured uniform items like the French madder red trousers and the Austro-Hungarian pike-grey uniforms gave way to drab greys, khakis and greens that provided at least some camouflage on the deadly battlefield. Napoleonic holdovers like the French curaissier uniforms of 1914 were gone. The soft and often decorative forms headgear that all armies used in 1914 was replaced by protective steel helmets, starting the French Adrian helmet in 1915, and culminating in the silica-nickel-steel German Model 1916/17/18 helmets.

While the basic infantry rifle that most countries remained unchanged throughout the war, the crew-served and heavy weapons saw significant advancement and vastly expanded scale of issue. The Lewis Gun, Browning Automatic Rifle, Madsen Light Machine Gun, and MG08/15 all provided the infantry with mobile firepower that could move with them in the advance. Grenades became a dominant weapon system in trench fighting and bifurcated into ‘defensive’ grenades (large shrapnel with wide lethal zone) and ‘offensive’ grenades (mode explosive and lighter shrapnel). Gas warfare developed rapidly from 1915 onwards, and so did the individual gasmask that every soldier carried.

Trench warfare created new demands for equipment such as lightweight entrenching tools, trench fighting knives and improvised maces . The trench periscope allowed soldiers to view across no-mans land without exposing themselves to enemy fire, and the next logical development was periscope rifle mounts for firing from below cover.

The enormous wartime production of weapons and equipment ensured that First World War matériel remained in widespread service during the Russian Civil War and in numerous inter-war conflicts worldwide.

This selection of WW1 uniforms, weapons and equipment showcases original items from my personal collection.


Weapons and equipment of the Central Powers. All from my personal collection.


IMPERIAL GERMAN


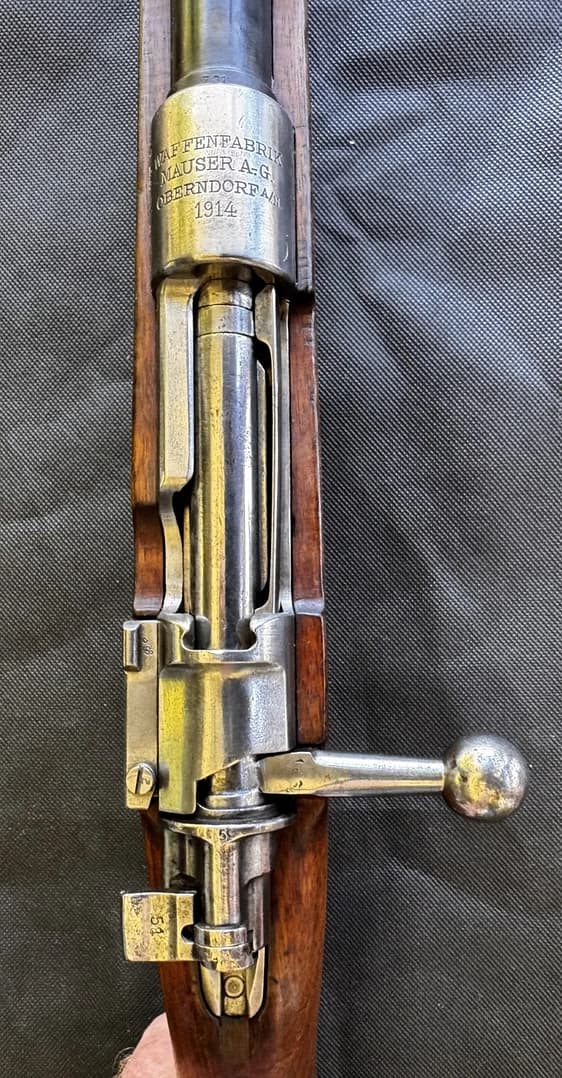
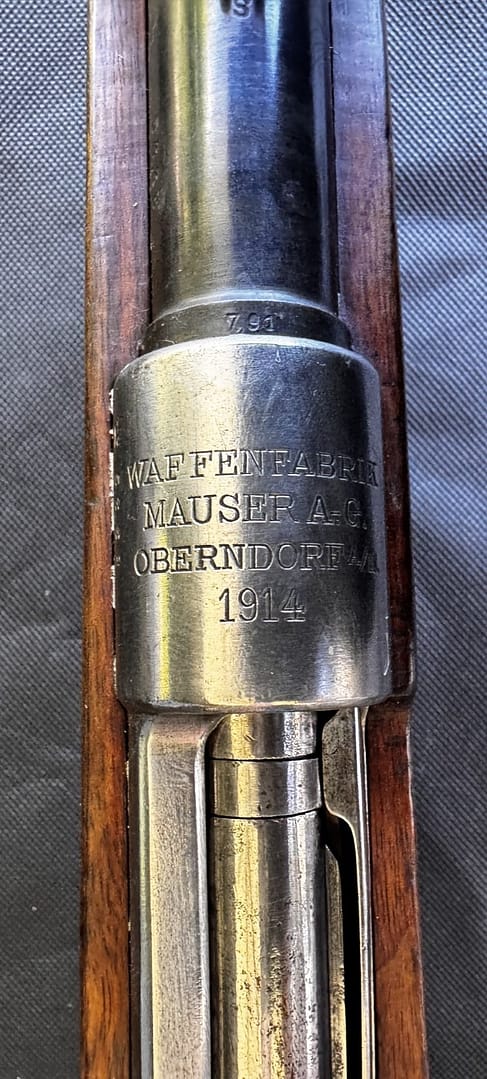
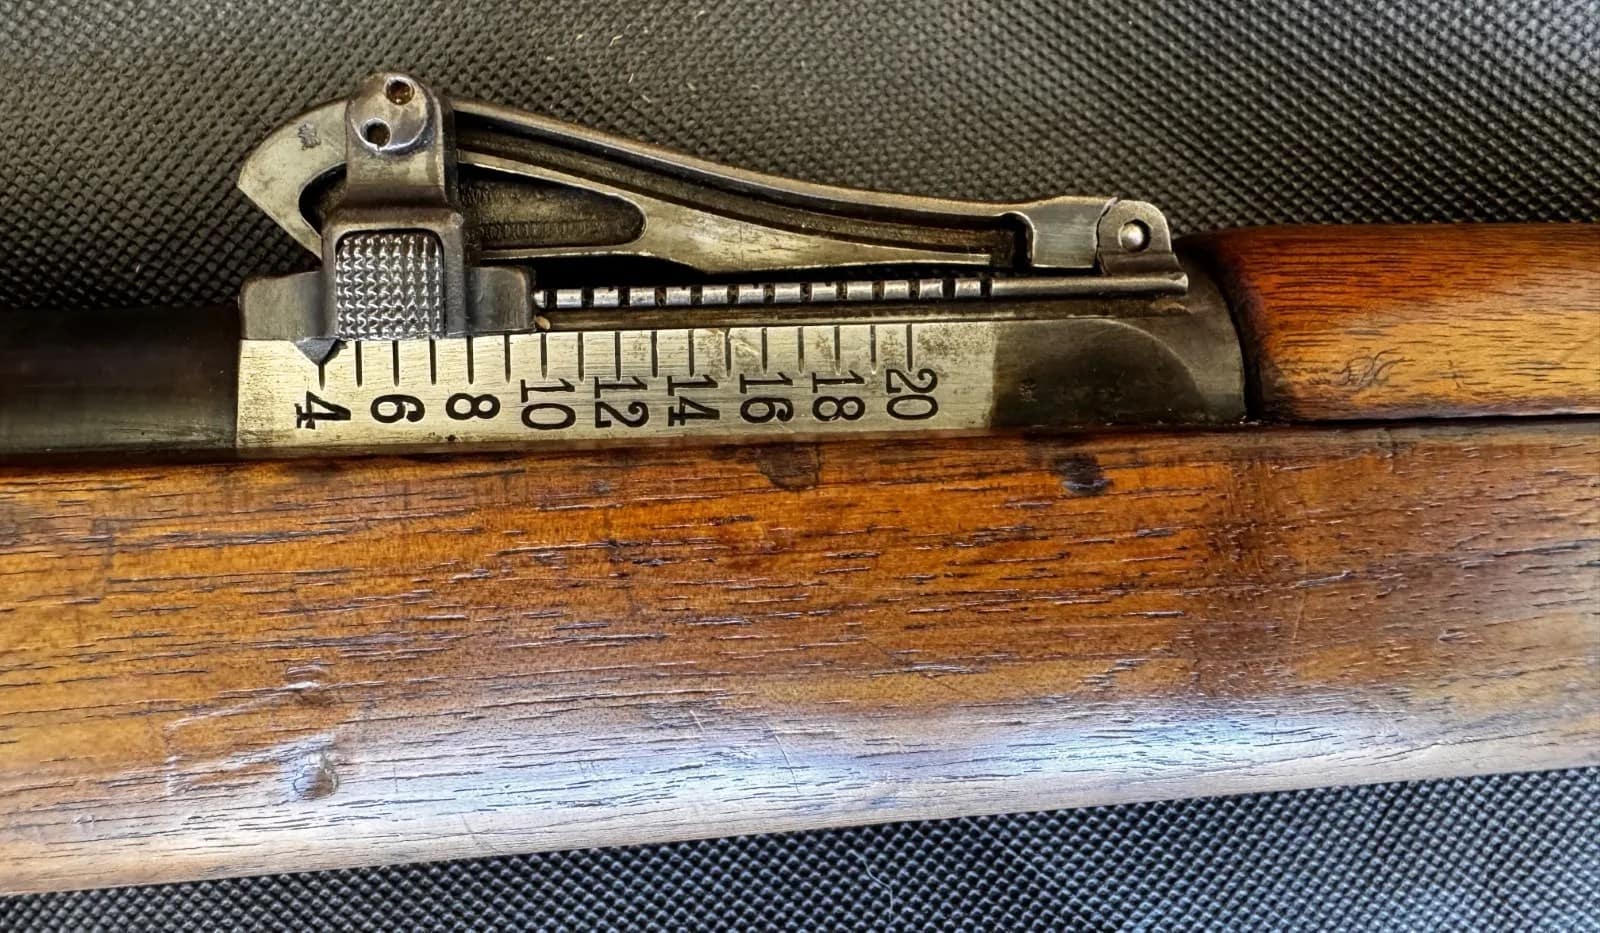
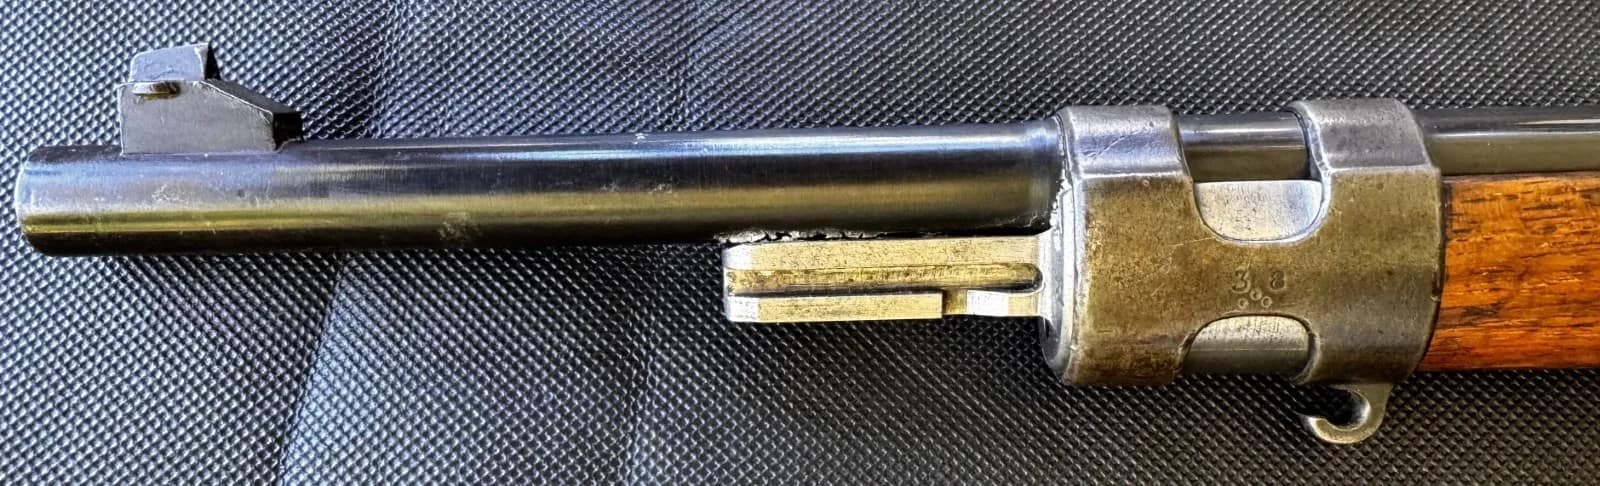
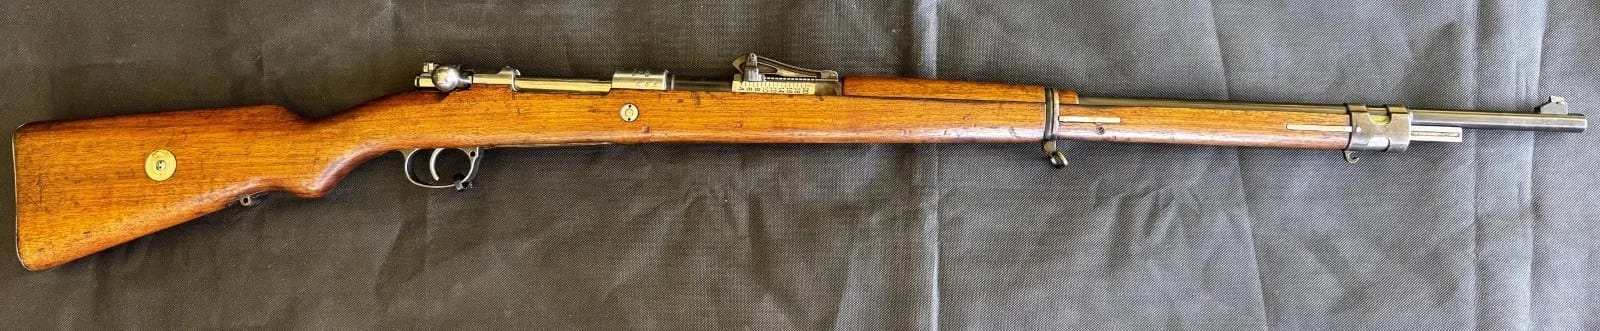
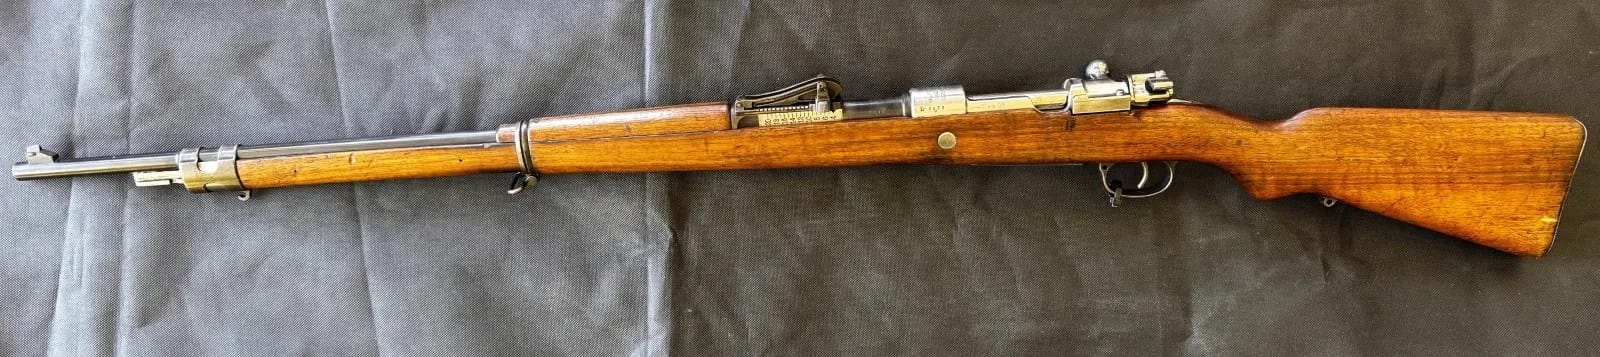
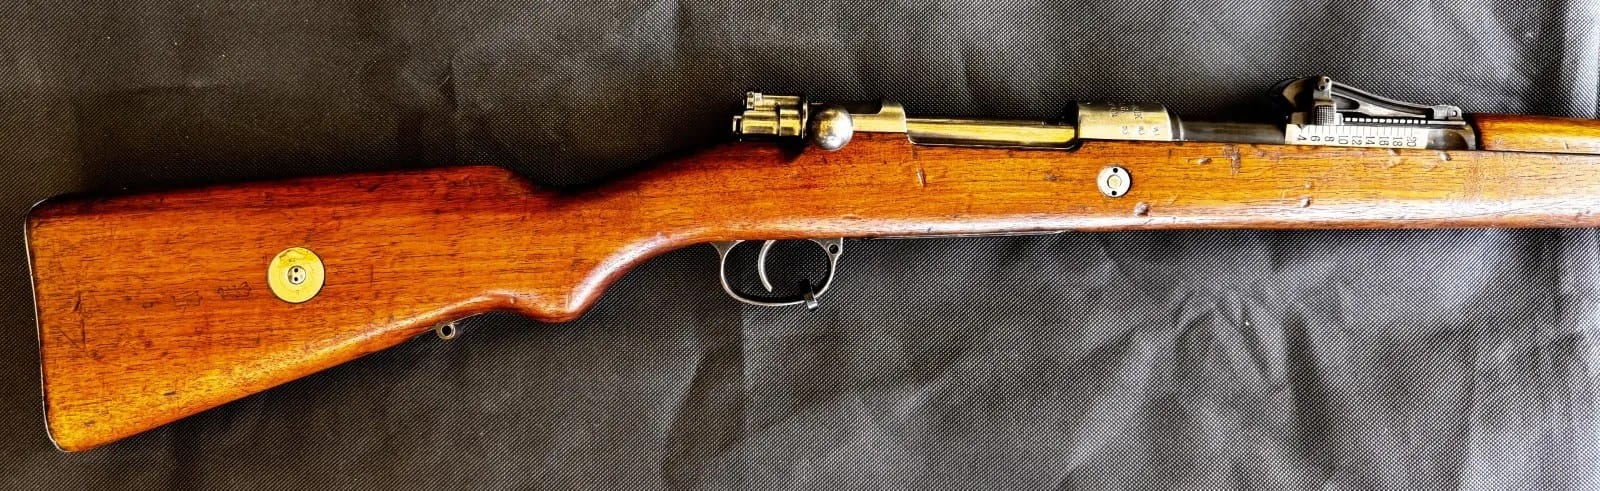
WW1 German Gewehr 98 Rifle. Mauser, Oberndorf 1914

The Mauser Gewehr 98 was the standard service rifle of the Imperial German Army during the First World War, produced by Mauser at Oberndorf and other arsenals. Chambered in 7.92×57mm, it featured a strong bolt action, long barrel, and excellent accuracy, reflecting German emphasis on marksmanship.
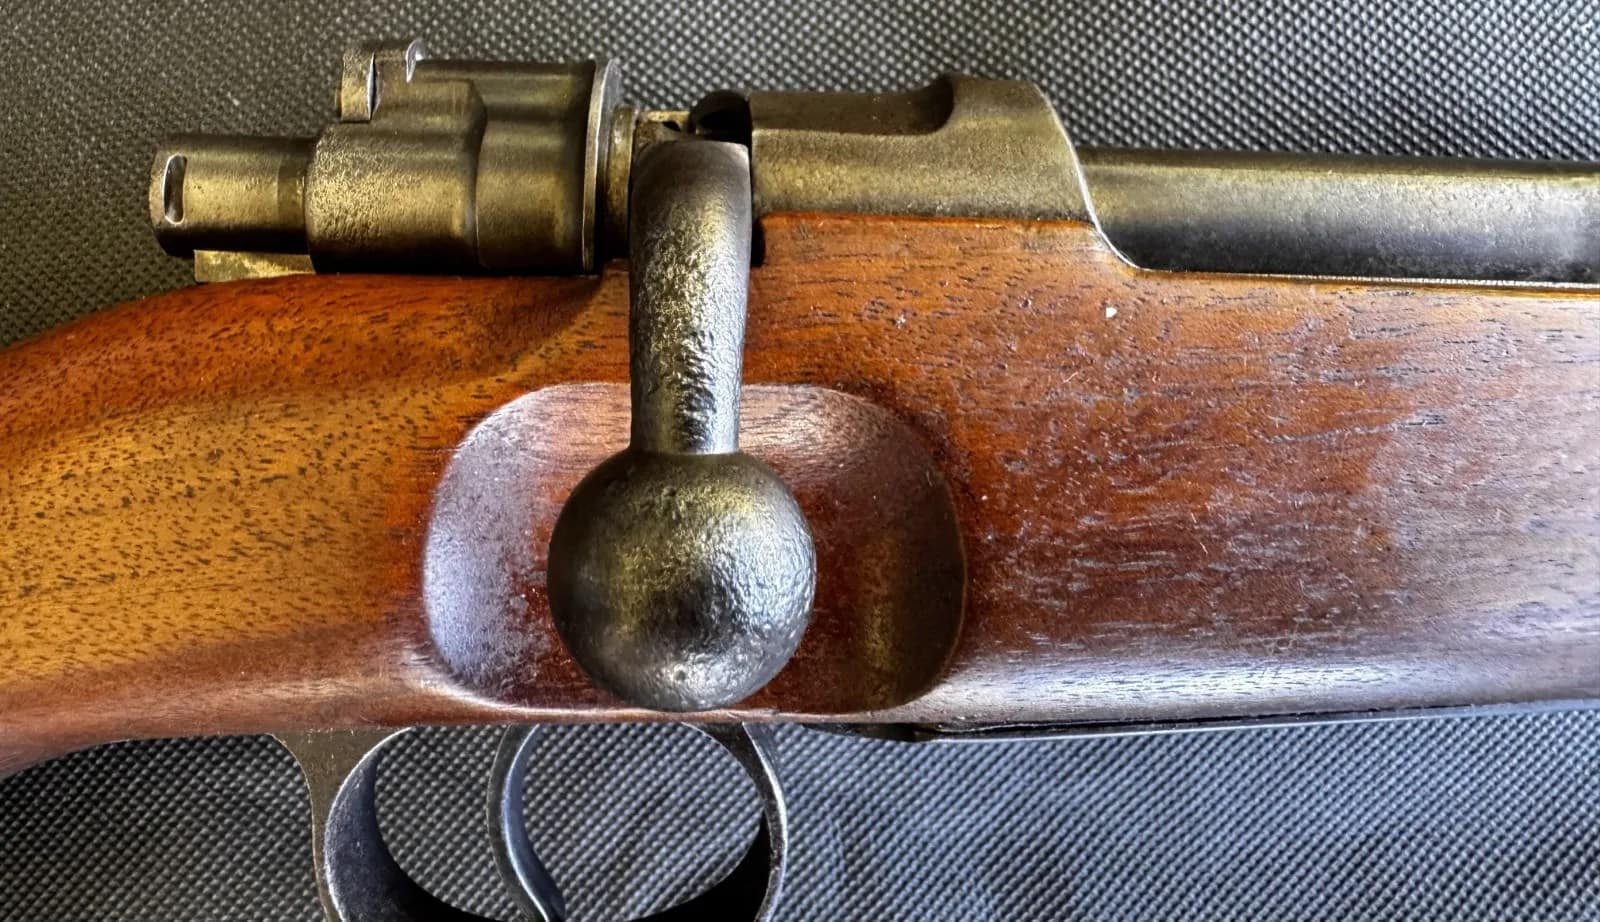
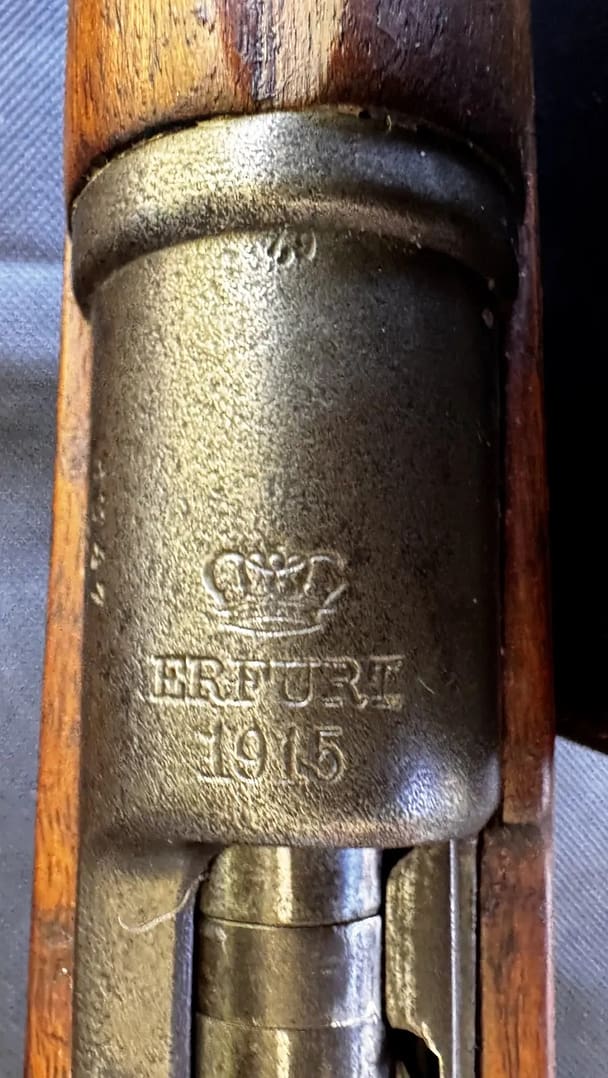
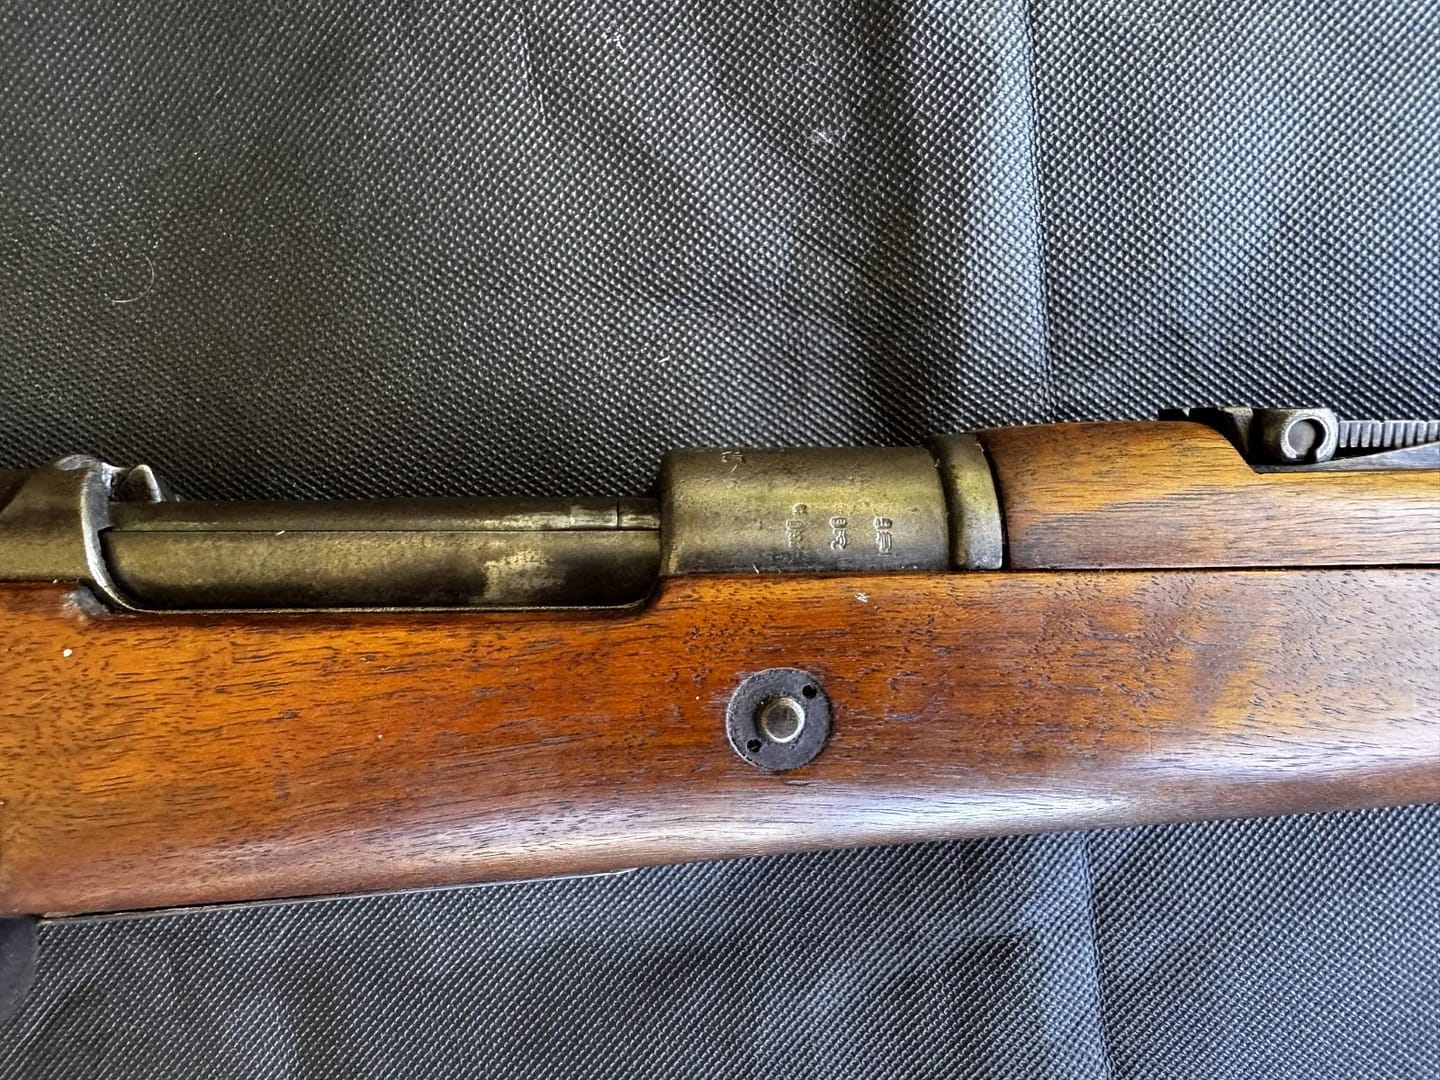
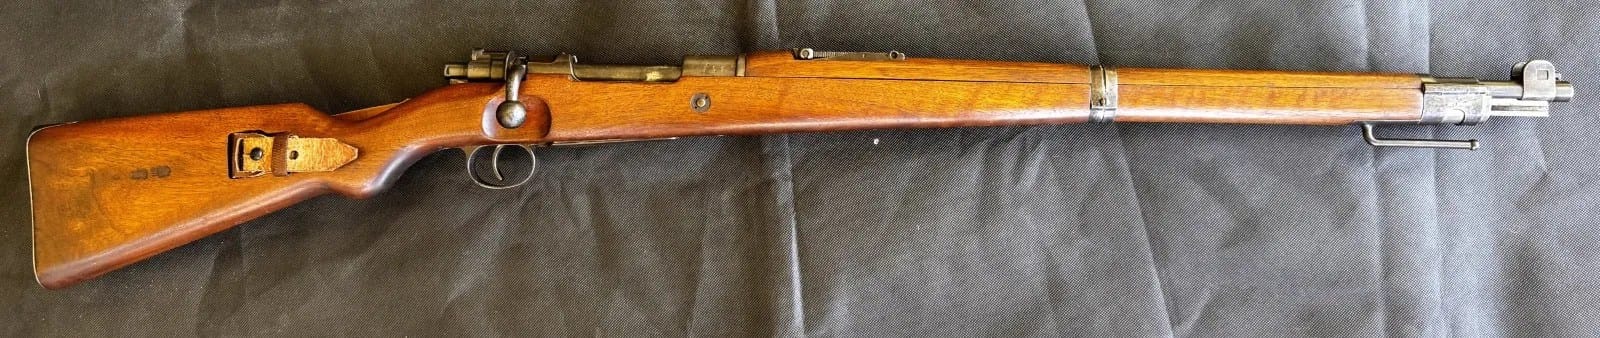
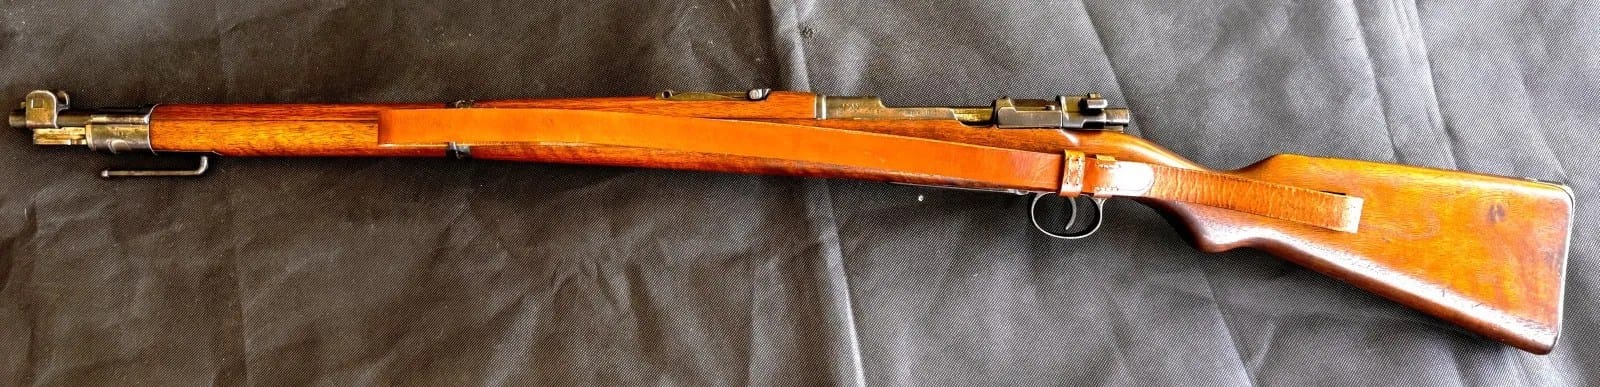
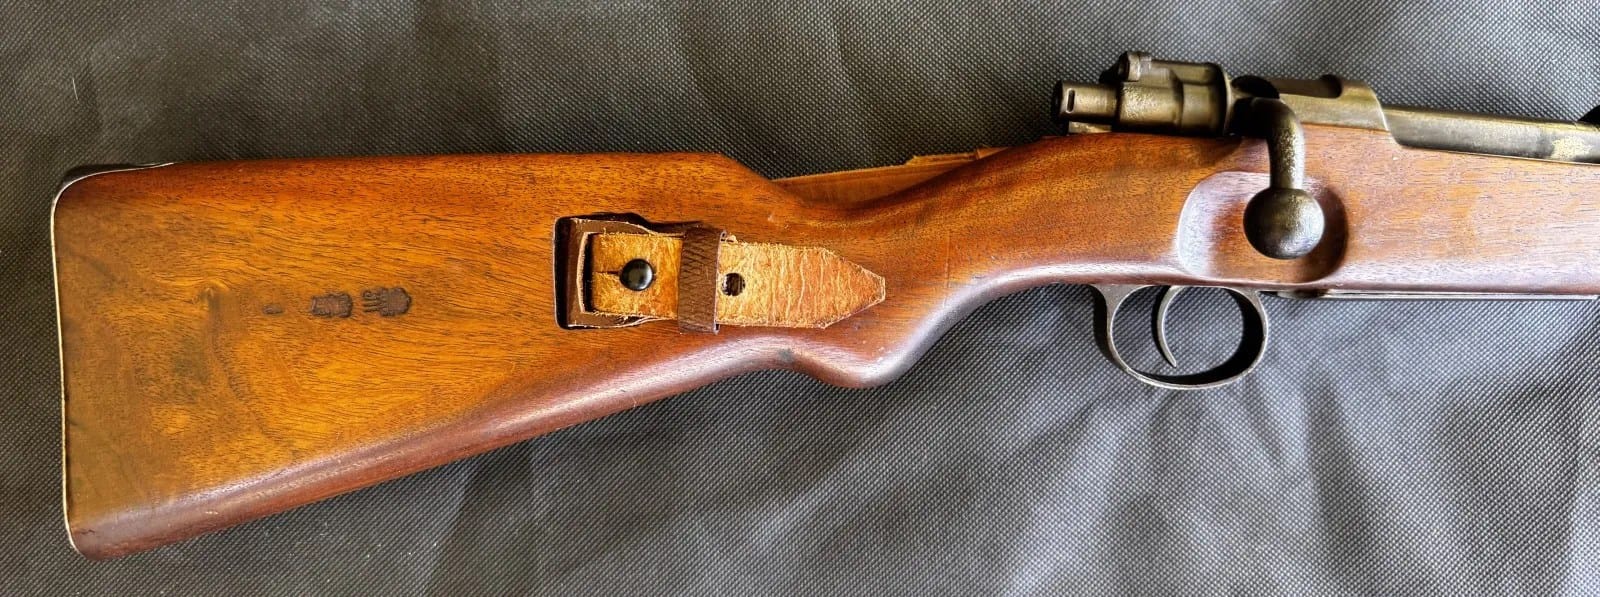
WW1 German Karabiner 98AZ (Kar AZ), Erfurt 1915

The Karabiner 98AZ was a shortened Mauser carbine issued to German cavalry, artillery, engineers, and other specialist troops during the First World War. Chambered in 7.92×57mm, it featured a turned-down bolt handle, stacking hook, and side-mounted sling arrangement suited to mounted and mobile troops. Introduced before the war and widely issued from 1914 onward, the Kar 98AZ balanced compact handling with the reliability of the Mauser bolt-action system.
WW1 German Grabenpanzer (Trench armour) + Stirnpanzer (Helmet front plate). From my personal collection.

This rare example of German personal armour illustrates attempts to provide additional protection for soldiers exposed to intense small-arms and shrapnel fire on the Western Front. The Grabenpanzer, a steel breastplate issued in limited numbers from 1916, was intended primarily for sentries, machine-gun crews, and troops operating in exposed trench positions. The Stirnpanzer, a detachable steel brow plate worn on the Stahlhelm, offered additional frontal protection but was heavy and unpopular for prolonged wear. Together, these items reflect the defensive character of trench warfare and the constant search for practical solutions to battlefield lethality.


WW1 uniform of the Kaiserliche Schutztruppe für Deutsch-Südwestafrika

This First World War uniform of the Kaiserliche Schutztruppe für Deutsch-Südwestafrika includes a distinctive slouch hat and leather equipment set worn by German colonial forces in present-day Namibia. The Schutztruppe combined European military traditions with adaptations for service in harsh colonial environments, reflecting the unique character of Germany’s overseas forces. Such uniforms illustrate the global reach of the First World War and the role of colonial troops in campaigns fought far beyond Europe.


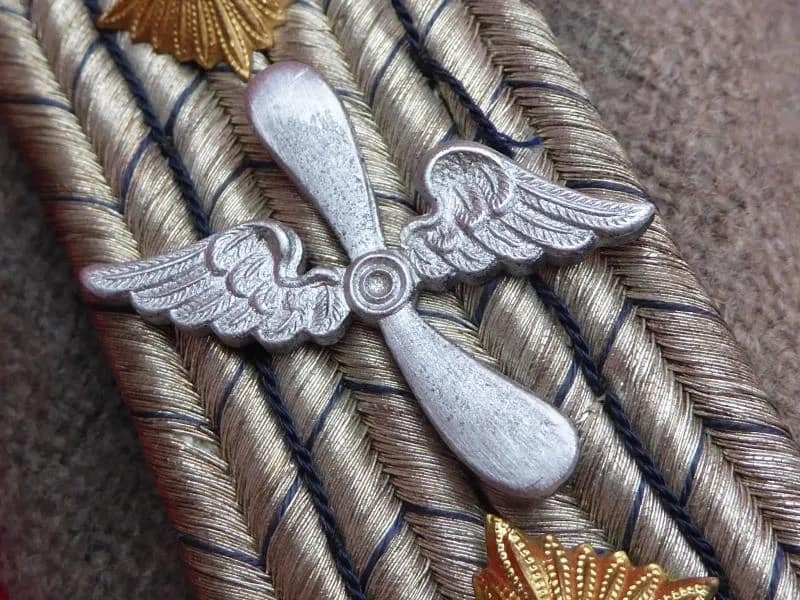
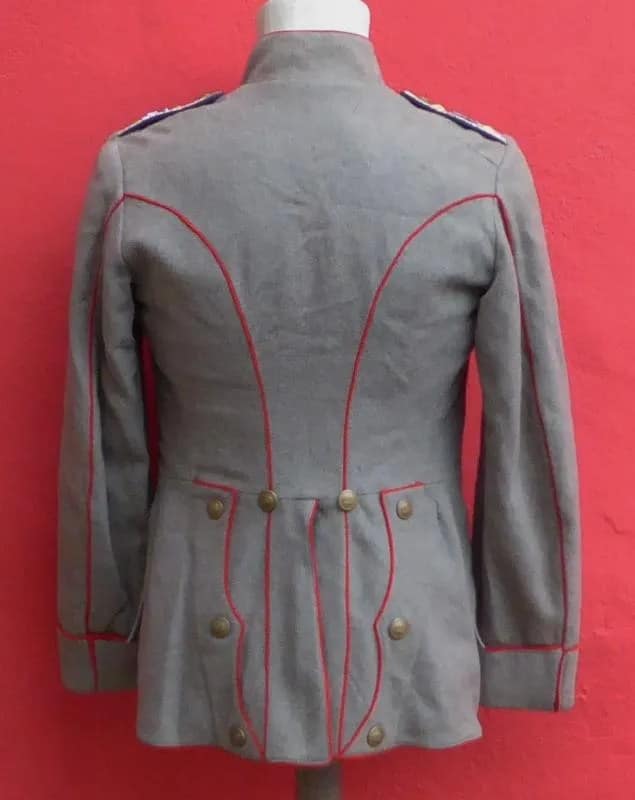
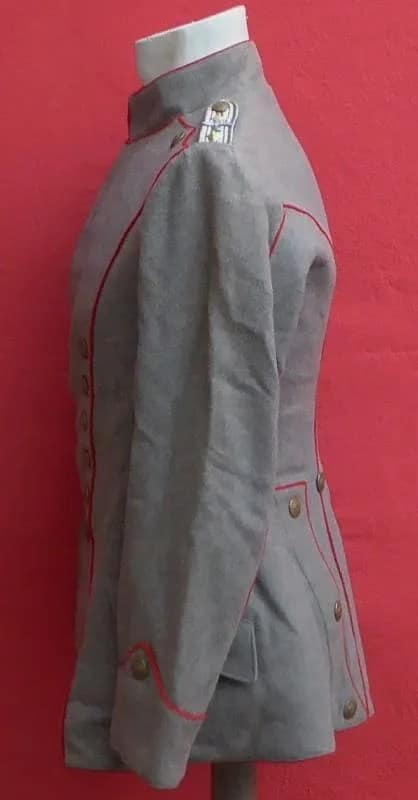
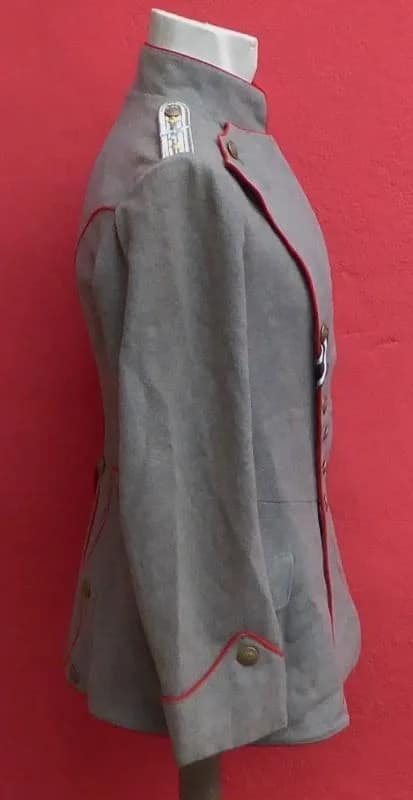
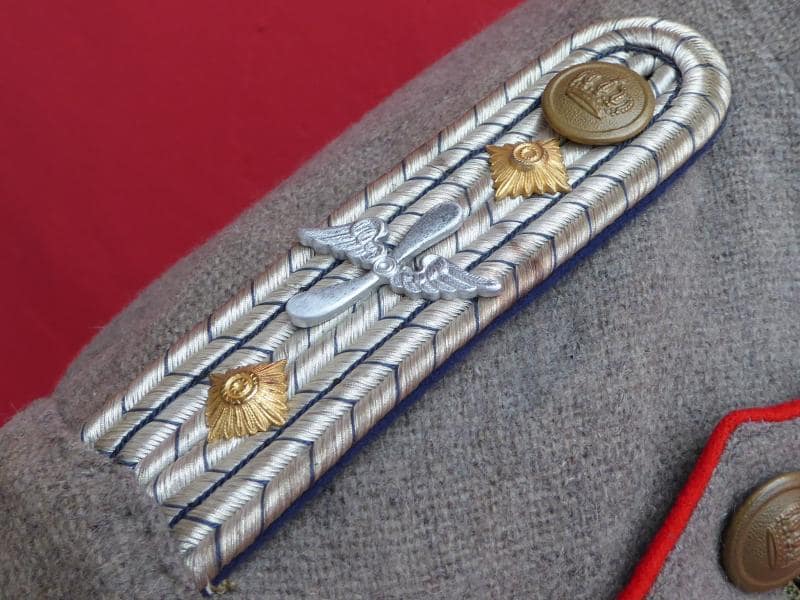
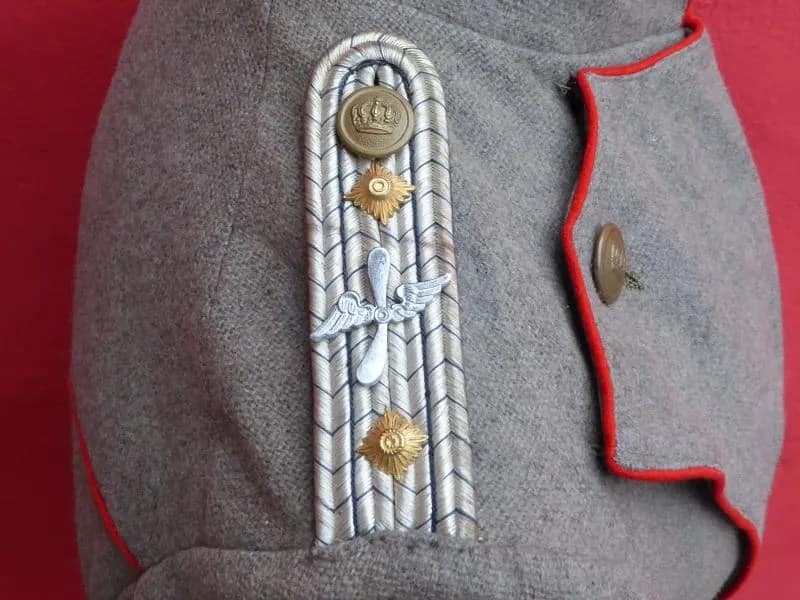
WW1 Imperial German Model Fliegerbluse (Pilot tunic), Uhlan pattern tunic (Uhlanka)

This Imperial German Fliegerbluse is a privately purchased pilot’s uniform. The owner was almost certanly a former cavalryman who continued to wear his stylish Uhlanka when he transferred to the Imperial German Air Service.
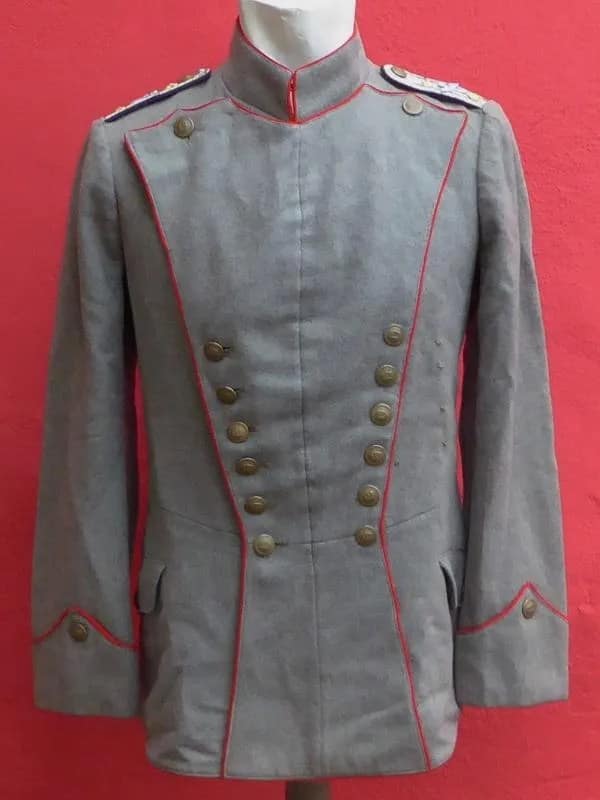
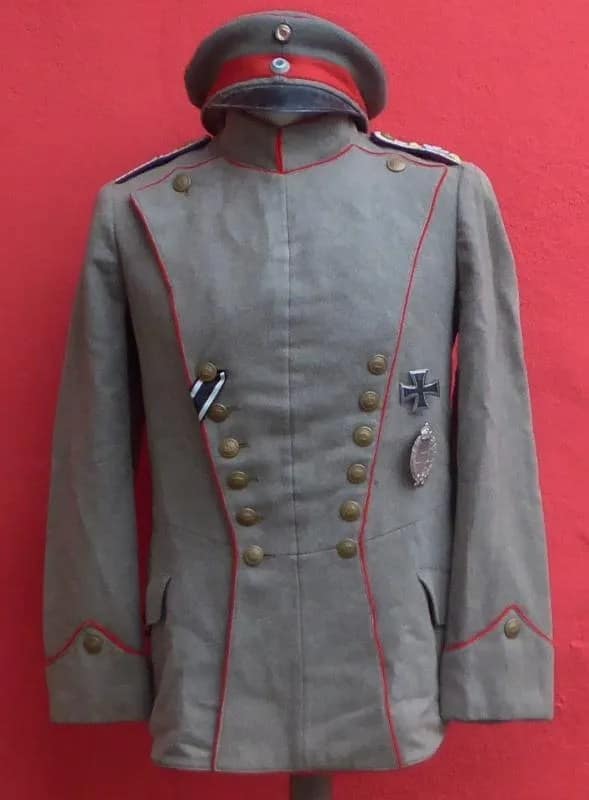
WW1 Imperial German Model 1907/10 tunic for an Offizierstellerverter, Infantry Regiment 141. From my personal collection.

This Imperial German Model 1907/10 tunic is attributed to an Offizierstellvertreter of Infantry Regiment 141, a senior non-commissioned rank roughly equivalent to a Warrant Officer Class One in Commonwealth armies. The tunic reflects the feldgrau field dress adopted by the German Army before the First World War, emphasising practicality and concealment. Rank insignia and regimental distinctions illustrate the structure and professional cadre that underpinned the Imperial German Army during the conflict.


WW1 Imperial German Model 1915 Feldbluse, 18th Foot Artillery Regiment. From my personal collection.

This Imperial German Model 1915 feldbluse is attributed to the 18th Foot Artillery Regiment and represents the simplified field tunic introduced during the First World War. Designed to reduce production time and material use, the feldbluse reflects the shift toward more practical wartime uniforms. The feldgrau colour and streamlined features illustrate Germany’s adaptation to the demands of industrialised warfare and prolonged conflict.


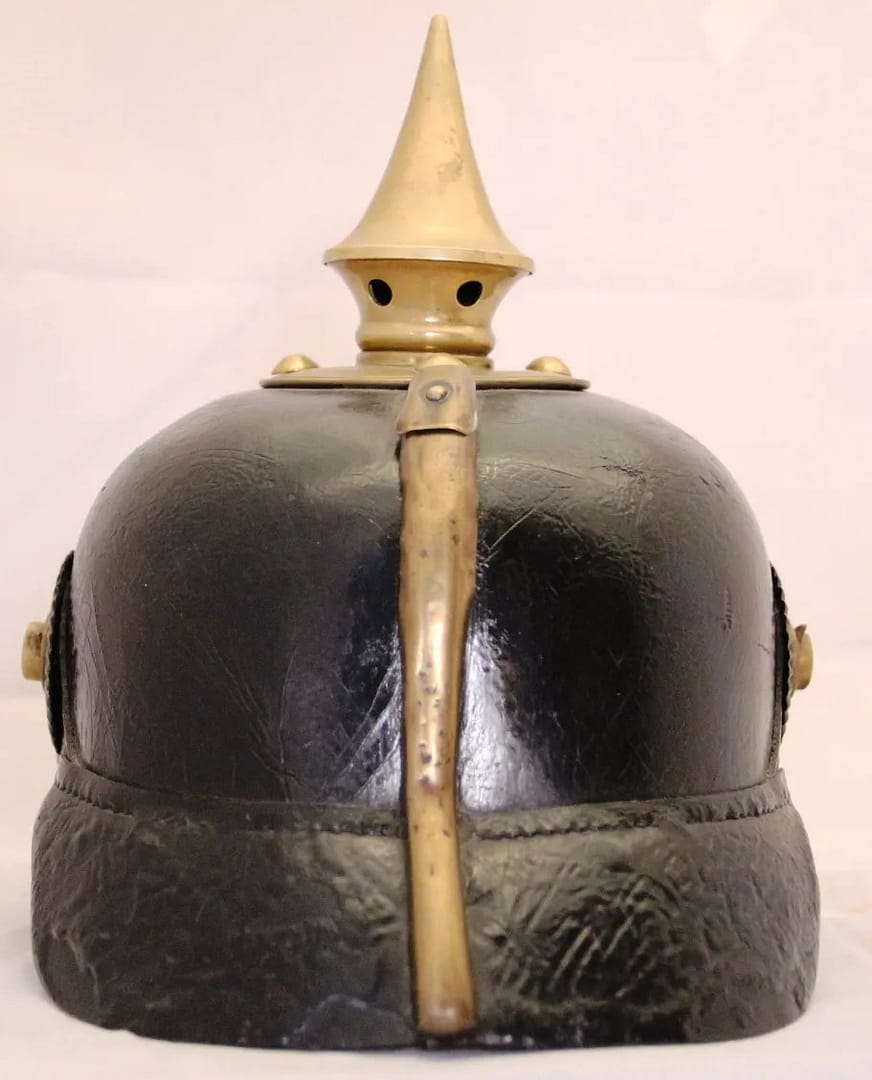
WW1 Imperial German Model 1895 pickelhaube. Fusilier Regiment 73, with PENINSULA WATERLOO bandeau. From my personal collection.

Model 1895 pickelhaube . Fusilier Regiment 73, with PENINSULA WATERLOO bandeau, original chinstrap. Ernst Junger Regiment


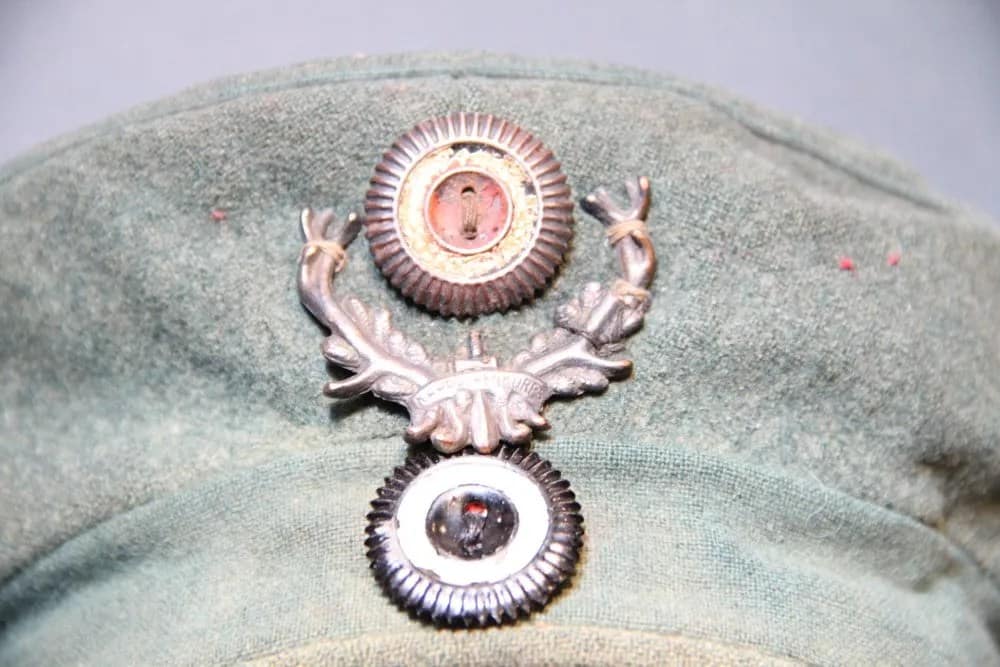
Extremely rare – WW1 Imperial German Model 1907/10 Kager Kratzchen Karpathenkorps. From my personal collection.

This exceptionally rare Model 1907/10 Krätzchen field cap is fitted with the distinctive antler badge of the German IV Reserve Corps, known as the Karpathenkorps, a formation created in 1915 for operations in the harsh mountain terrain of the Carpathians. The Krätzchen was widely worn by German troops in the early years of the war, valued for its practicality and comfort in field conditions. The antler emblem symbolised the corps’ mountain identity and elite status within the Imperial German Army. Surviving examples with original insignia are scarce, reflecting both wartime wear and the demanding operational environments in which these troops served.

WW1 Imperial German Model 1913 Feldgrau Fliegerhelm (pilot helmet). Marked Flieger Bekl Doberitz 1917. From my personal collection.

Model 1913. Feldgrau Fliegerhelm Marked Flieger Bekl Doberitz 1917


#1. WW1 Imperial German Model 1916 Camouflaged Stahlhelm. From my personal collection.

Model M1916. Jagged zig zag camo, vivid yellow ochre front, full M16 liner, three pads, dark sweatstained, no pull throughs, three pillows, original chinstrap,


#2. WW1 Imperial German Model 1917 Camouflaged Stahlhelm. From my personal collection.

M1917. zig zag camouflage, faded and worn colours, M17 liner ring, white pads, dark sweatstained, no pullthroughs, three pillows, remnant of drawstring, M1915 chinstrap chinstrap, BF64


#3. WW1 Imperial German Model 1916 Camouflaged Stahlhelm. From my personal collection.

M1916. Rectangular block camo, deep rich colours, very well preserved, three pads, one pad has both tongues broken off, no pillows, M91 chinstrap mounts, G62


#4. WW1 Imperial German Model 1916 Camouflaged Stahlhelm. From my personal collection.

Model 1916. Linear camo, M16 liner band, three brown pads, one pad has slightly cracked away and has old stitched string repair, no pillows, original M1895 chinstrap, BF62. evidence of mail home labels on front and on top


#5. WW1 Imperial German Model 1916 Camouflaged Stahlhelm. From my personal collection.

Model 1916. Camouflage, dull angular camo, mottled patina, M16 liner three pads, no tear throughs, drawstring, three pillows, original chinstrap, one liner pad loose, chinstrap, SI66


#6. WW1 Imperial German Model 1918 Camouflaged Stahlhelm. From my personal collection.

Model 1918. Dull angular canouflage, oil spot staining on right rear, M18 liner ring and chinstrap attachments, no liner, no chinstrap ET64.

Note that helmet #6 and helmet #7 were almost certainly painted by the same person, or at least by teh same German unit. The camouflage patterns are almost identical. I purchased these two helmets at least 10 years apart in different parts of the world.


#7. WW1 Imperial German Model 1916 Camouflaged Stahlhelm. From my personal collection.

Model 1916. Angular camouflage, all colours faded to dark patina, excellent M1916 liner band, three pads, no tearthroughs, drawstring, three pads, no chinstrap, marked ‘GULAWA’ ??? G62

Note that helmet #6 and helmet #7 were almost certainly painted by the same person, or at least by teh same German unit. The camouflage patterns are almost identical. I purchased these two helmets at least 10 years apart in different parts of the world.


#8. WW1 Imperial German Model 1918 Camouflaged Stahlhelm. From my personal collection.

Model 1918. Rich deep block camouflage, excellent preservation, chip on front, full liner, three white pads, no pullthroughs, three pillows, fitted with M91 chinstrap rather than M1918 chinstrap original drawstring TJ66


#9. WW1 Imperial German Model 1917 Camouflaged Stahlhelm. From my personal collection.

M1917. Angular camouflage, M17 liner band, two pads – one attached still with pillow, one loose, original drawstring, one pad attached, one loose, no chinstrap, SI66


#10. WW1 Imperial German Model 1917 Camouflaged Stahlhelm. From my personal collection.

Model 1917. Block camouflage, M1917 liner band, no pads or chinstrap, one M91 chinstrap loop SI66


#11. WW1 Imperial German Model 1916 Camouflaged Stahlhelm. From my personal collection.

Model 1916. Curved camouflage, vertical split front, no liner band or chinstrap, SI66, excellent condition


#12. WW1 Imperial German Model 1917 Camouflaged Stahlhelm. From my personal collection.

Model 1917. Angular diamond camouflage, full M1917 liner, with band, three white pads, three pillows, no pullthroughs, no chinstrap, ET62, Helmet is squashed laterally, particularly dented on right side


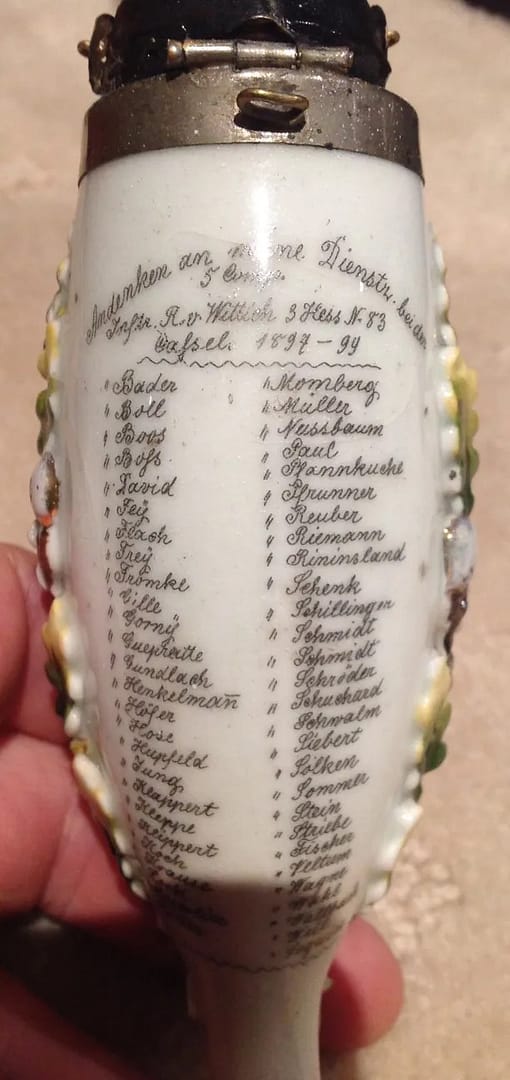
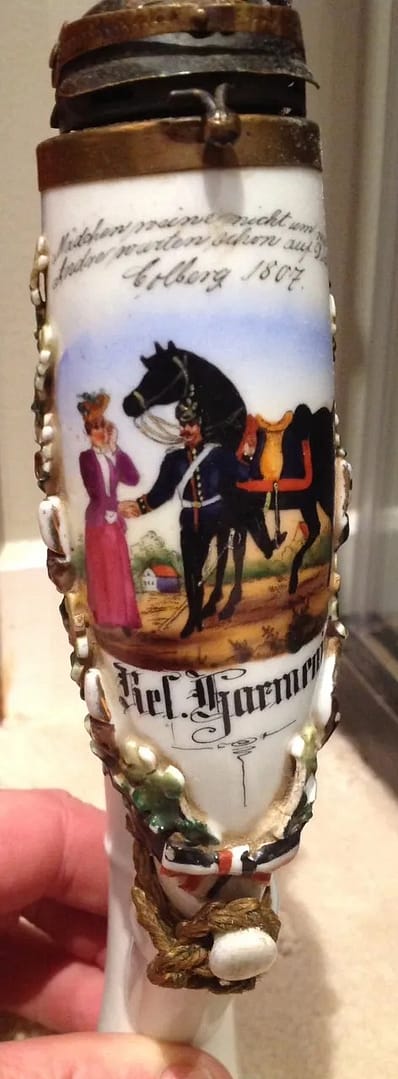
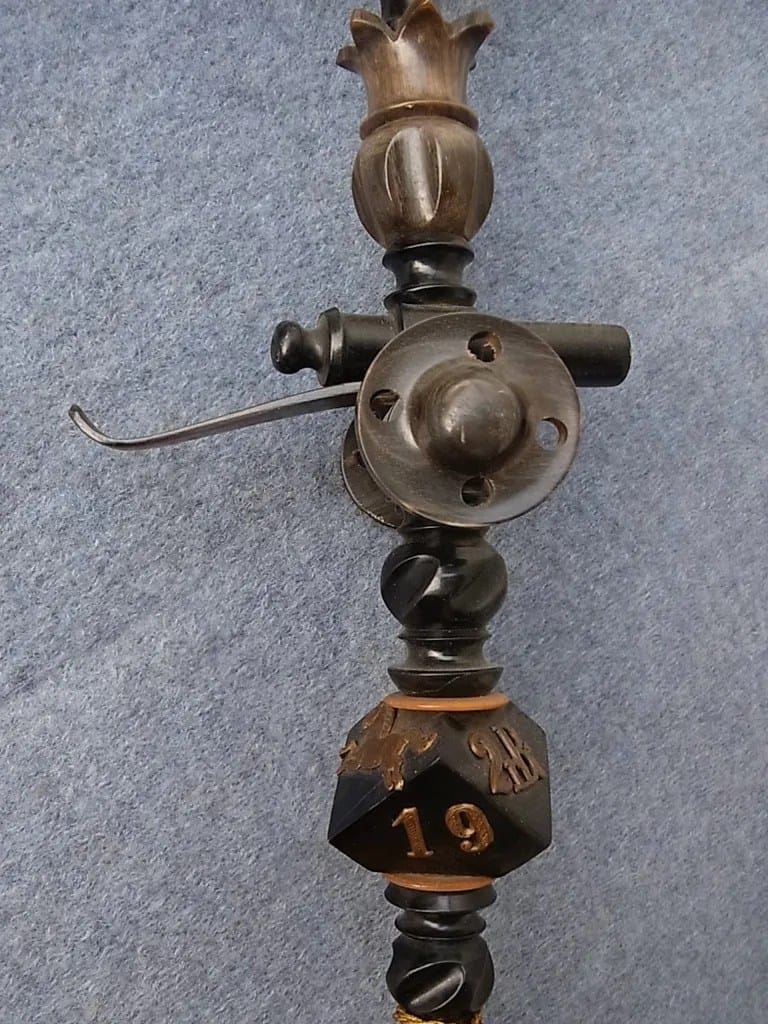
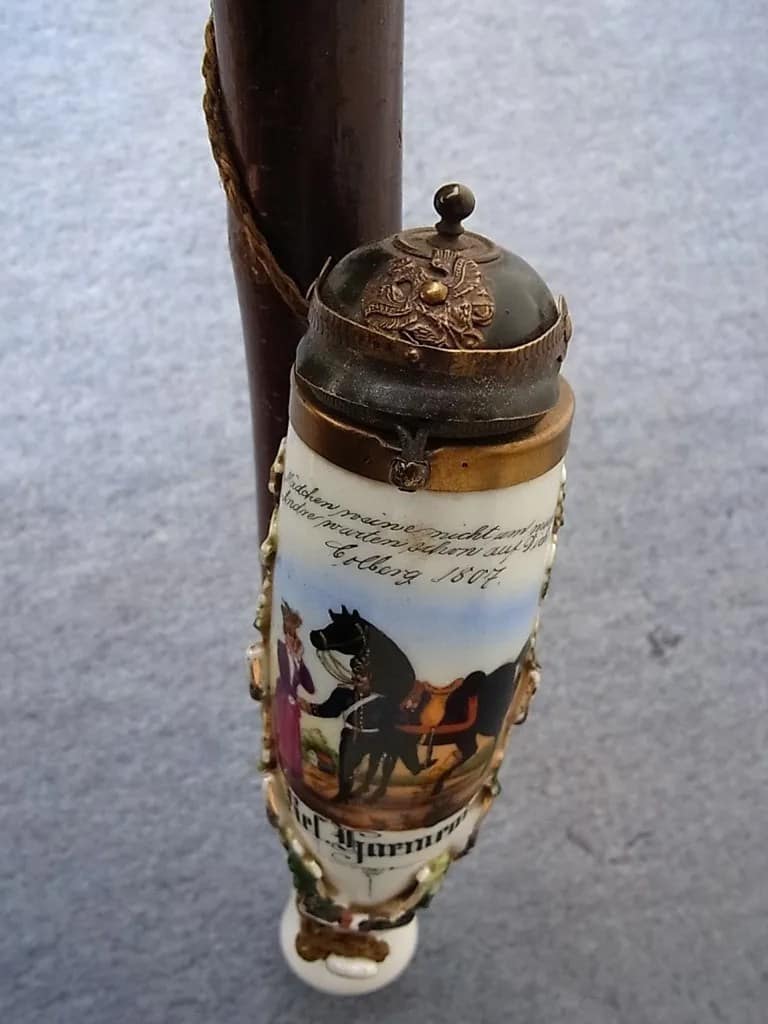
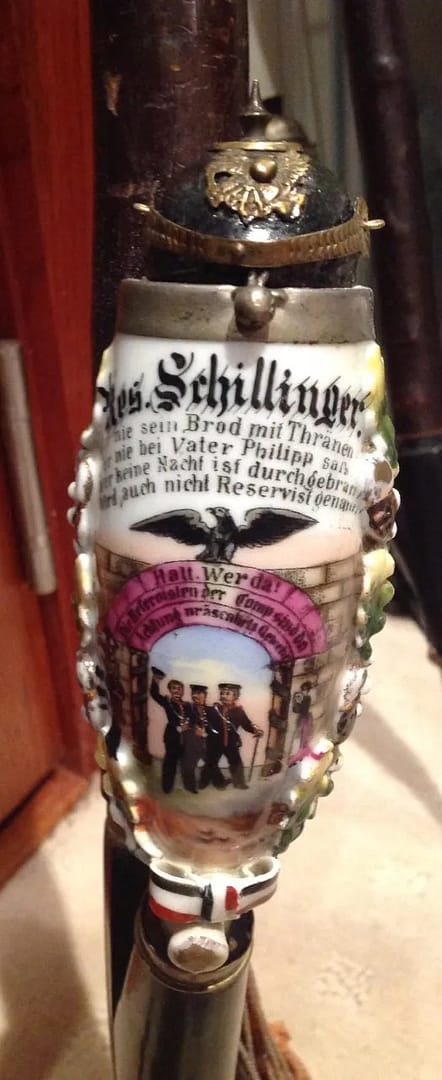
WW1 German Reservistenpfeife (Regimental pipe). Infanterie Regiment Nr 83 Hesse. Reservist Schillinger 5th Companie. From my personal collection.

German Regimental pipe provide a fabulous insight into the pre-war life of German Army reservists. German soldiers were particuafly fond of Regimental souvenirs like beer steins and elaborate tobacco pipes. These items were decorated with regimental elelents reflecting the type of unit, and bore complete details of the compaines, regiments, and names of the individuals in the companies. In this case: Reservist Schillinger of teh 5th Company , 83 Hesse Reserve Infantry Regiment.
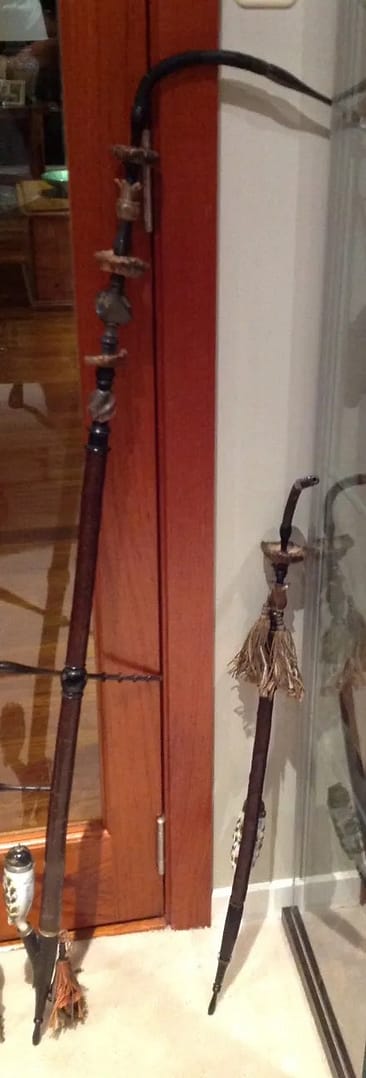
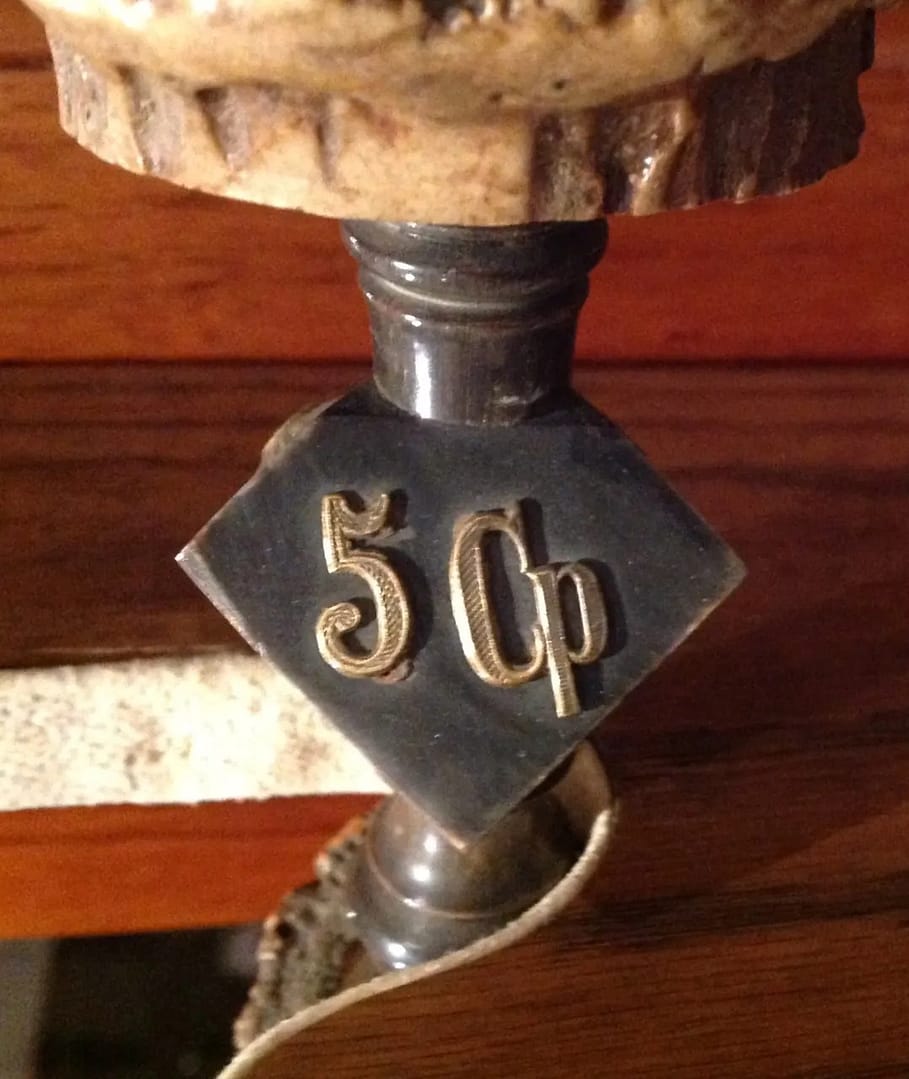
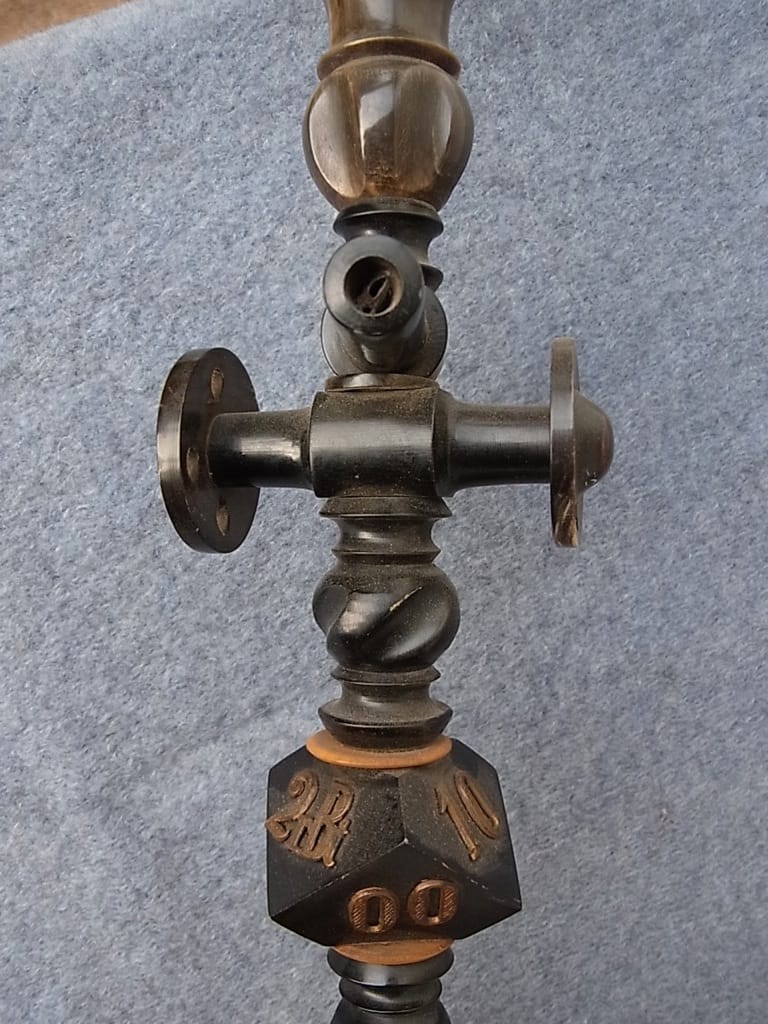
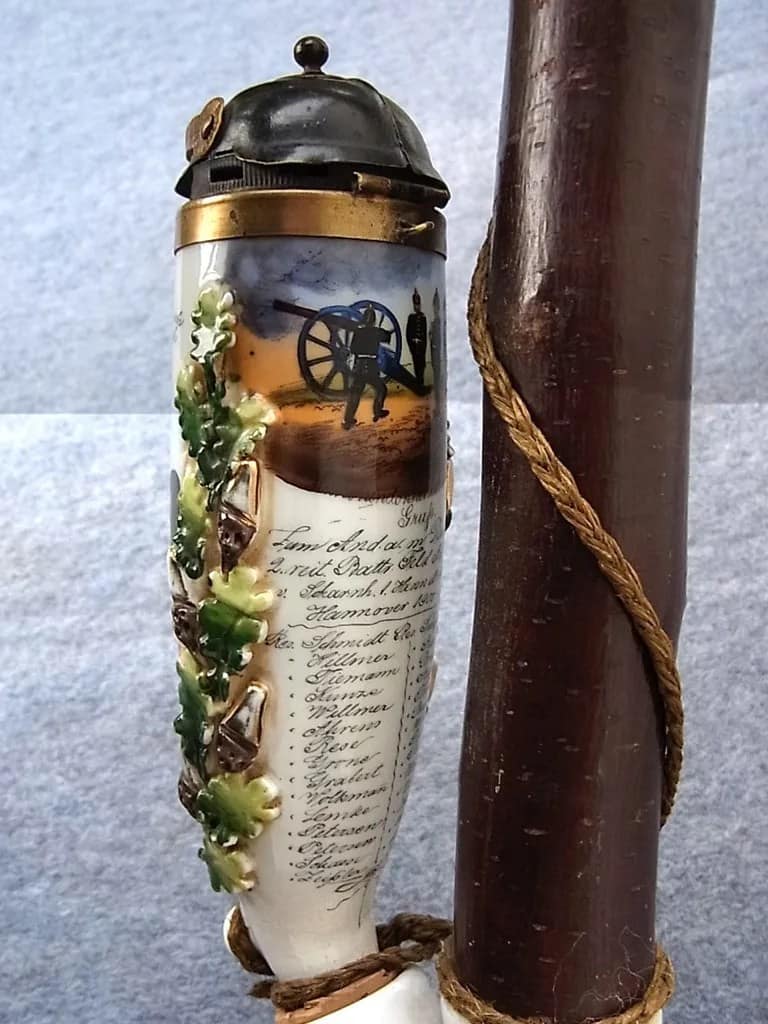
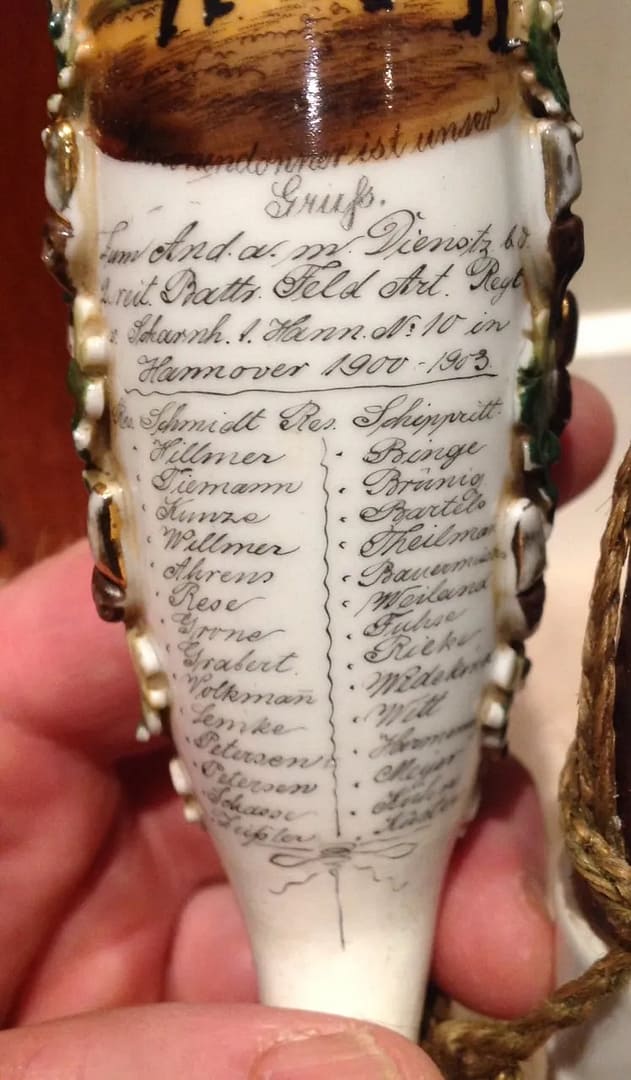
WW1 German Reservistenpfeife (Regimental pipe). 2nd Battery, Hannoverian 10th Artillery Regiment 1900-1903. From my personal collection.

German Regimental pipe provide a fabulous insight into the pre-war life of German Army reservists. German soldiers were particuafly fond of Regimental souvenirs like beer steins and elaborate tobacco pipes. These items were decorated with regimental elelents reflecting the type of unit, and bore complete details of the compaines, regiments, and names of the individuals in the companies. In this case: 2nd Battery, Hannoverian 10th Artillery Regiment 1900-1903.

AUSTRIA-HUNGARY


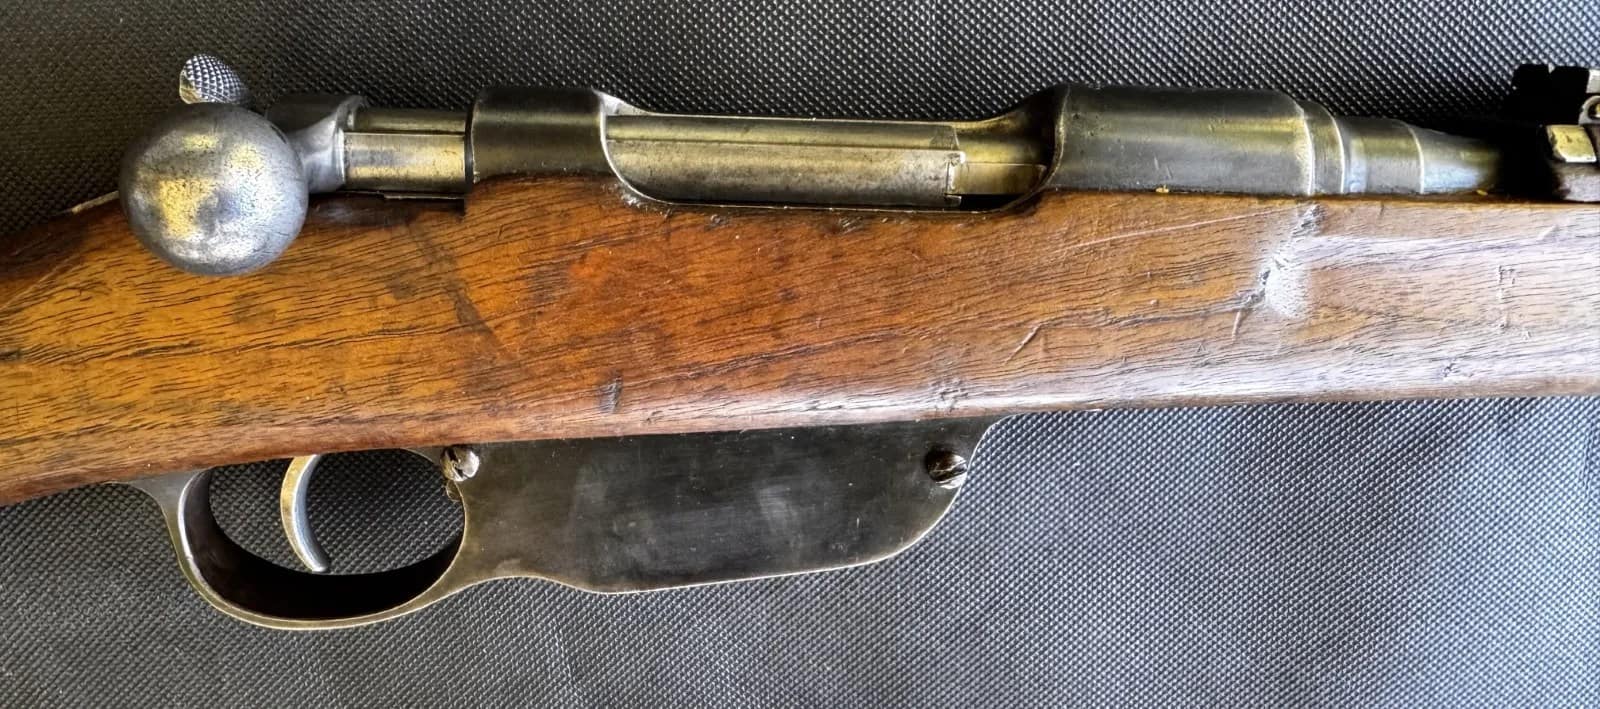
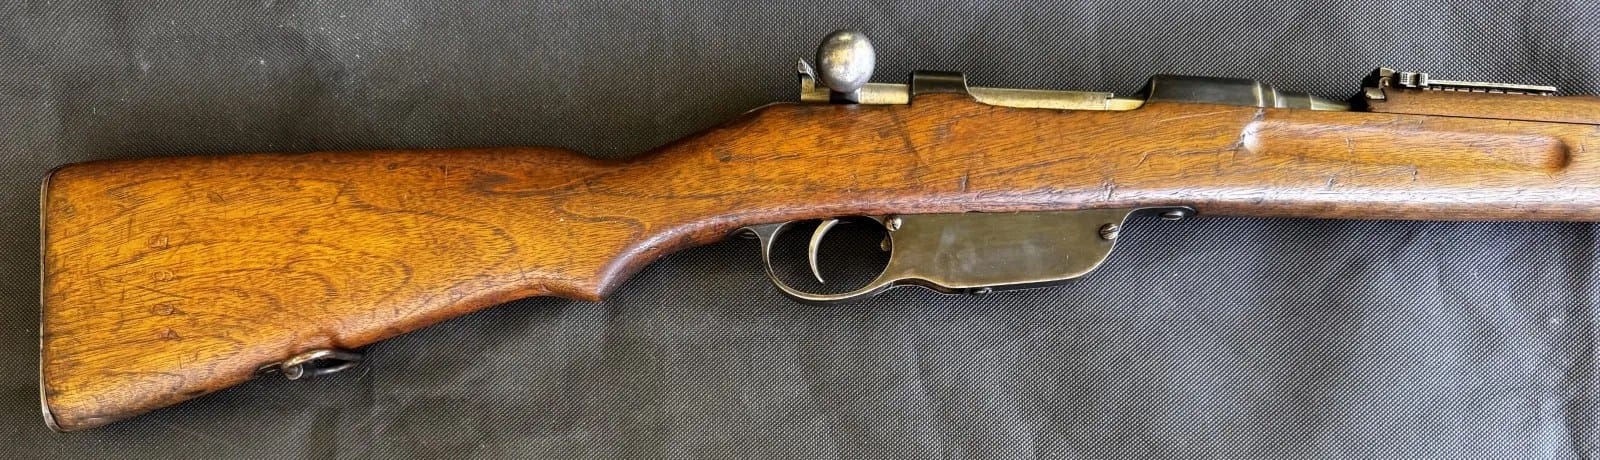
WW1 Austro-Hungarian Mannlicher Model 1895 Straight-Pull Rifle, From my personal collection

The Mannlicher Model 1895 was the standard service rifle of the Austro-Hungarian Army during the First World War. Designed by Ferdinand Mannlicher, it featured a distinctive straight-pull bolt action that allowed rapid cycling and was chambered in 8×50mmR, later updated to 8×56mmR. Widely issued to infantry and support troops, the rifle served on multiple fronts and became synonymous with Austro-Hungarian forces during the conflict.


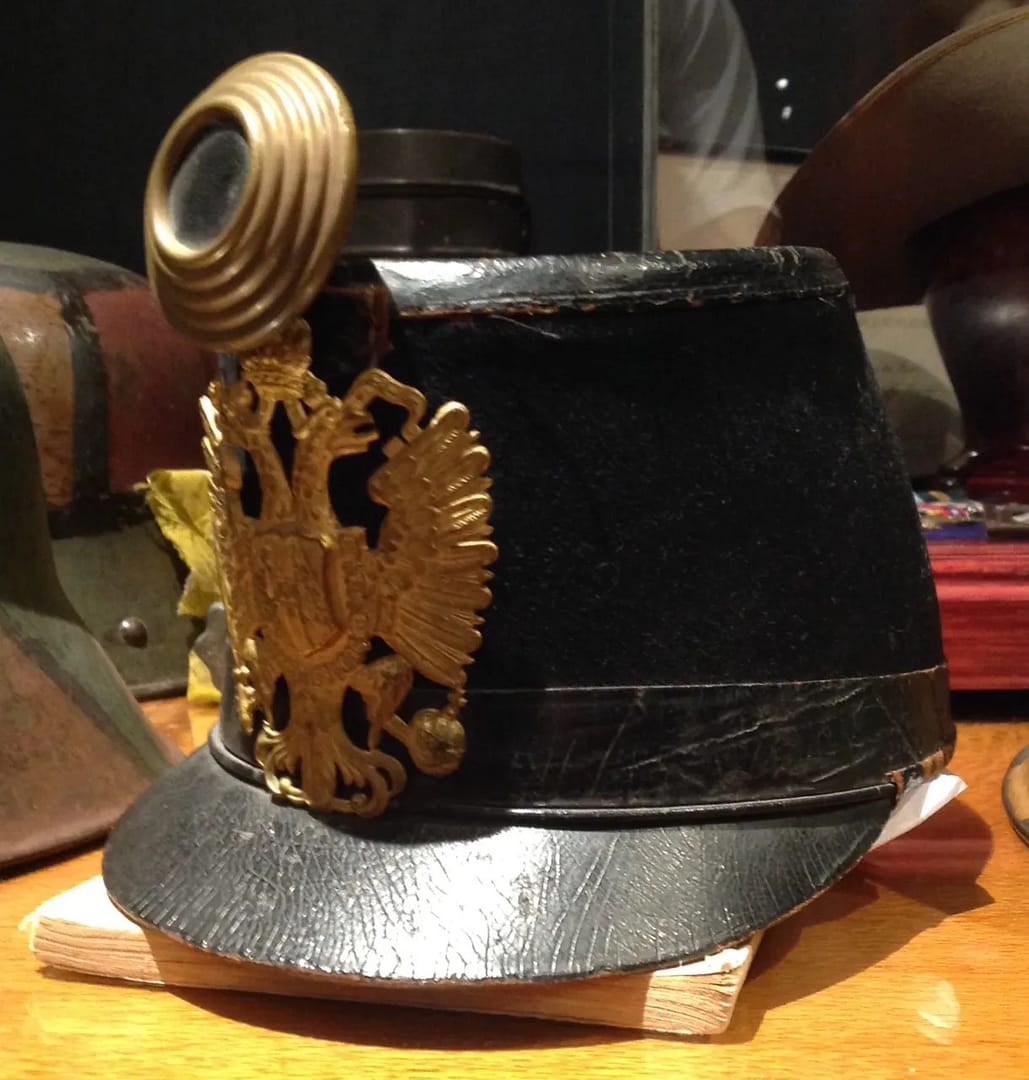
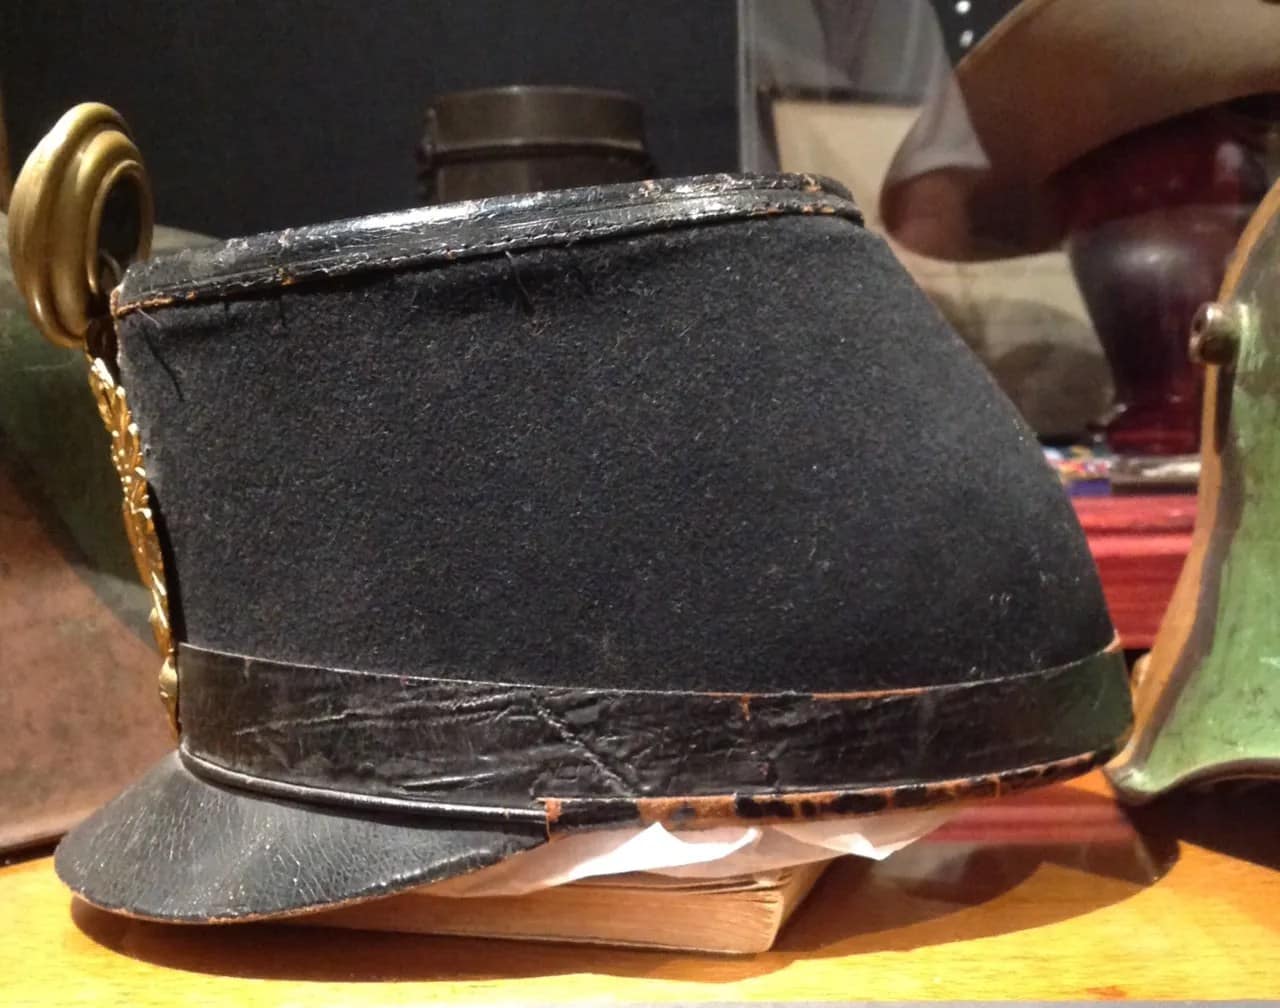
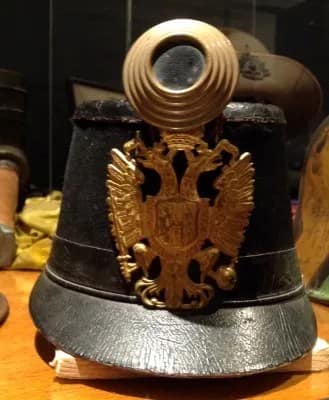
WW1 Austro-Hungarian Enlisted Mans Tschako, From my personal collection

The Austro-Hungarian enlisted man’s Tschako was a distinctive service headdress worn by infantry and other line troops in the early stages of the First World War. Derived from nineteenth-century parade and service dress, it combined traditional appearance with practical field use before widespread adoption of steel helmets. Constructed from stiffened cloth or felt with a front plate bearing imperial insignia, it identified branch and allegiance within the k.u.k. Army. As trench warfare intensified from 1915, the Tschako was increasingly replaced by the steel helmet, reflecting the shift toward modern battlefield protection requirements.
WW1 Austro-Hungarian M1917 helmet, From my personal collection

This Austro-Hungarian Model 1917 steel helmet represents the adoption of modern head protection by the Austro-Hungarian Army during the later stages of the First World War. Influenced by German helmet designs, it was introduced to protect soldiers from shell fragments and battlefield debris. The helmet reflects the broader shift toward steel protection across European armies as the realities of industrialised warfare reshaped equipment and soldier survivability.


WW1 Austro-Hungarian M1917 helmet, From my personal collection

Model 1917. Nice Austrian feldbrun, some rust staining across top, excellent liner, with pads and pillows, chinstrap stubs


WW1 Austro-Hungarian Model 1916 infantry tunic. Coarse feldgrau wool. From my personal collection.

This Austro-Hungarian Model 1916 infantry tunic, made from coarse feldgrau wool, represents the simplified field dress introduced during the later years of the First World War. Designed for practicality and mass production, the tunic reflects the material shortages and industrial pressures faced by the Austro-Hungarian Army. Its subdued colour and utilitarian construction illustrate the adaptation of uniforms to the demands of prolonged modern warfare.


WW1 Austro-Hungarian Model 1916 infantry tunic. Coarse feldgrau wool. From my personal collection.

Austro-Hungarian Model 1915 infantry tunic, EM feldgrau, 14th Infantry Regt, black collar tabs, white cellulose stars


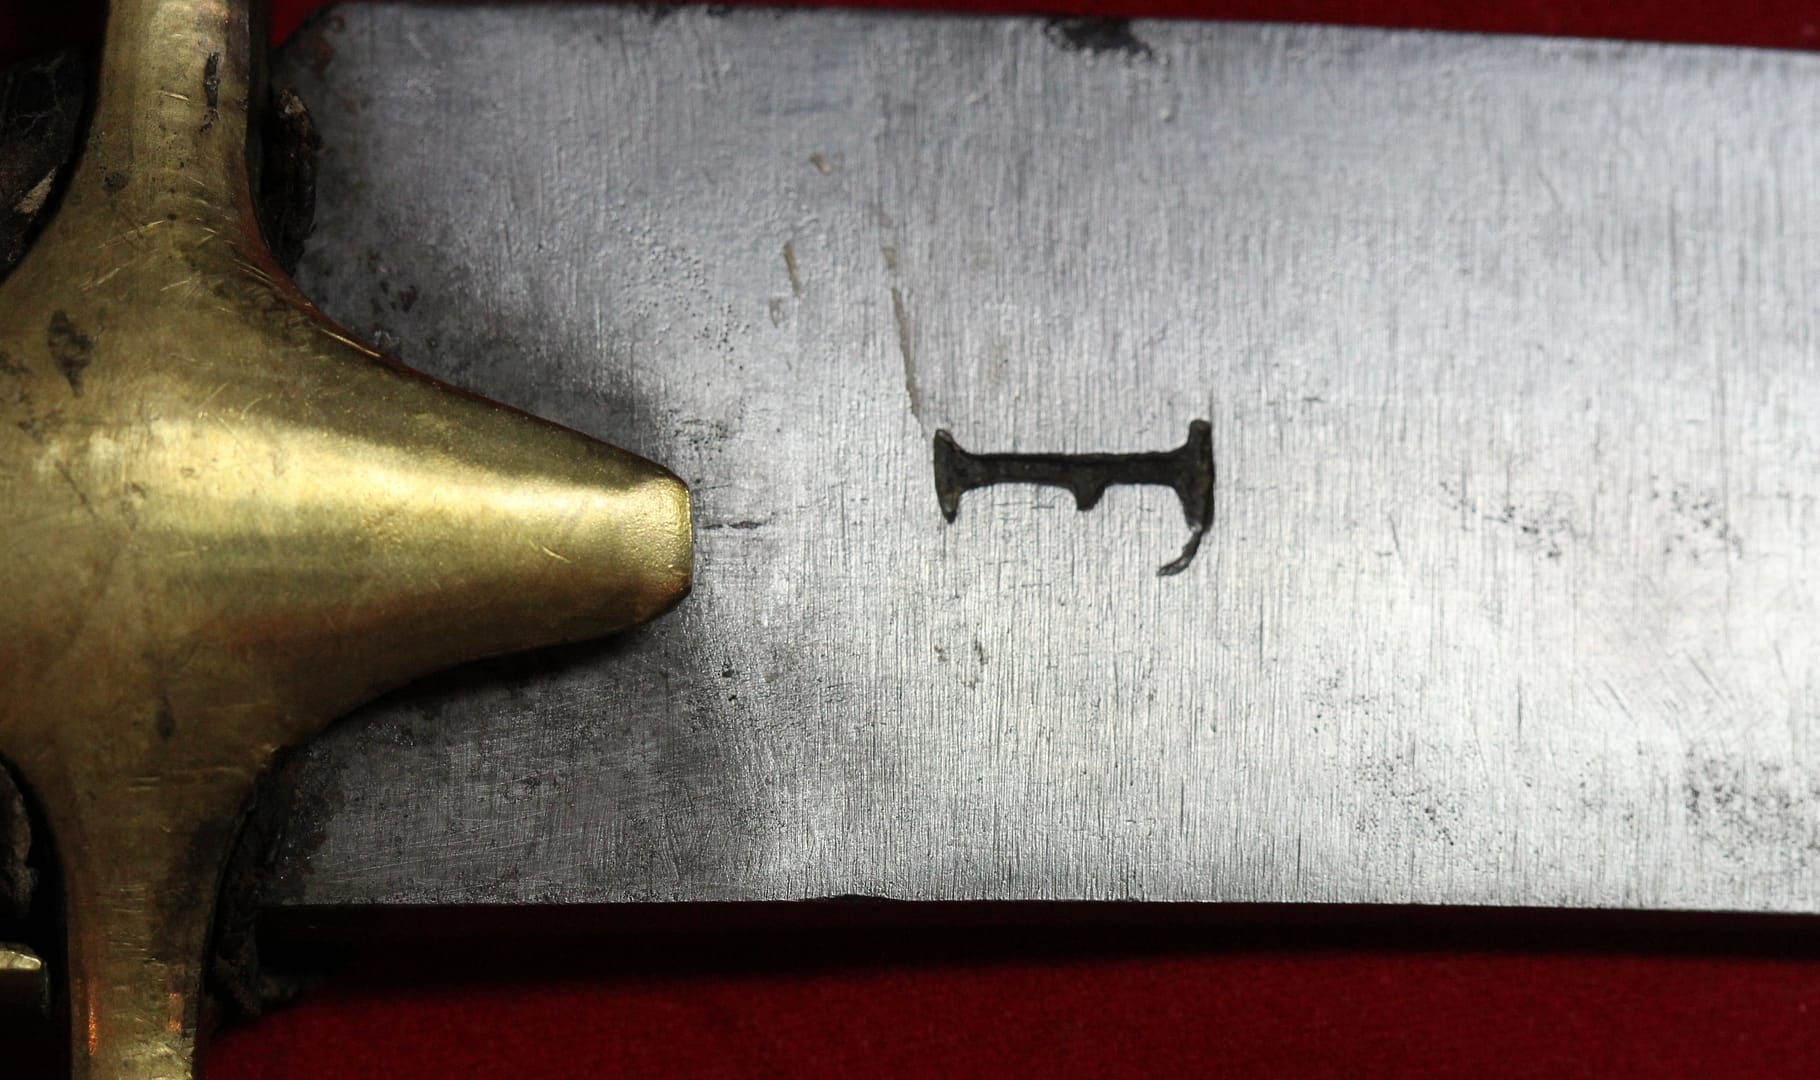
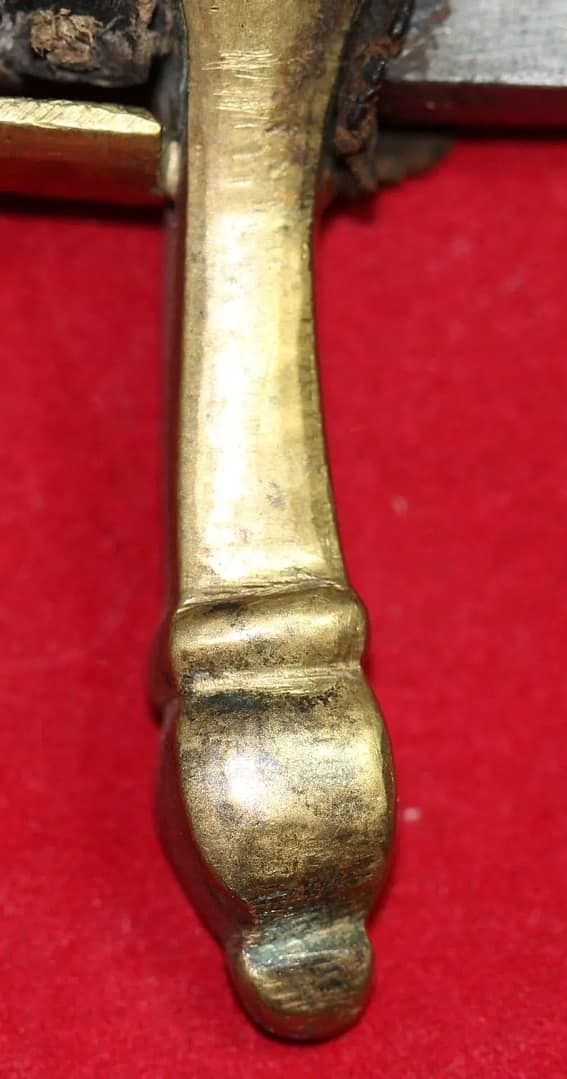
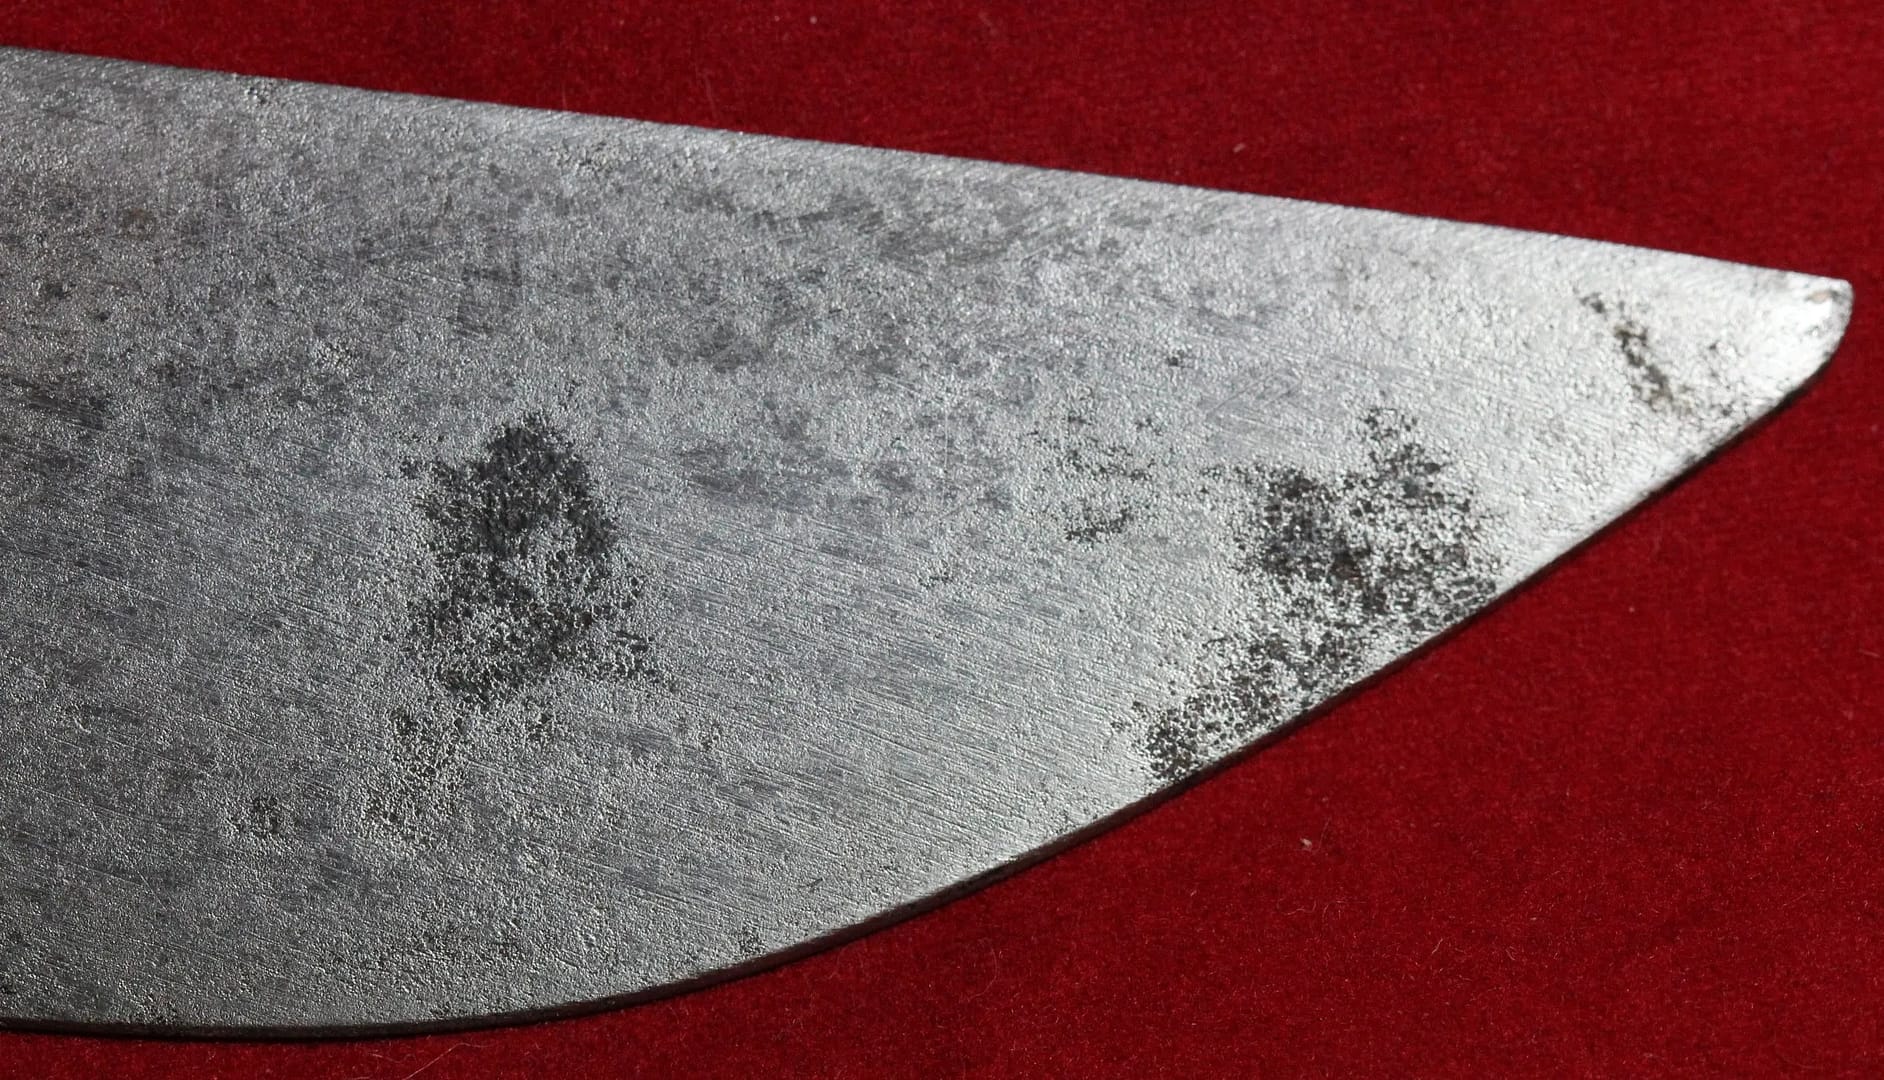
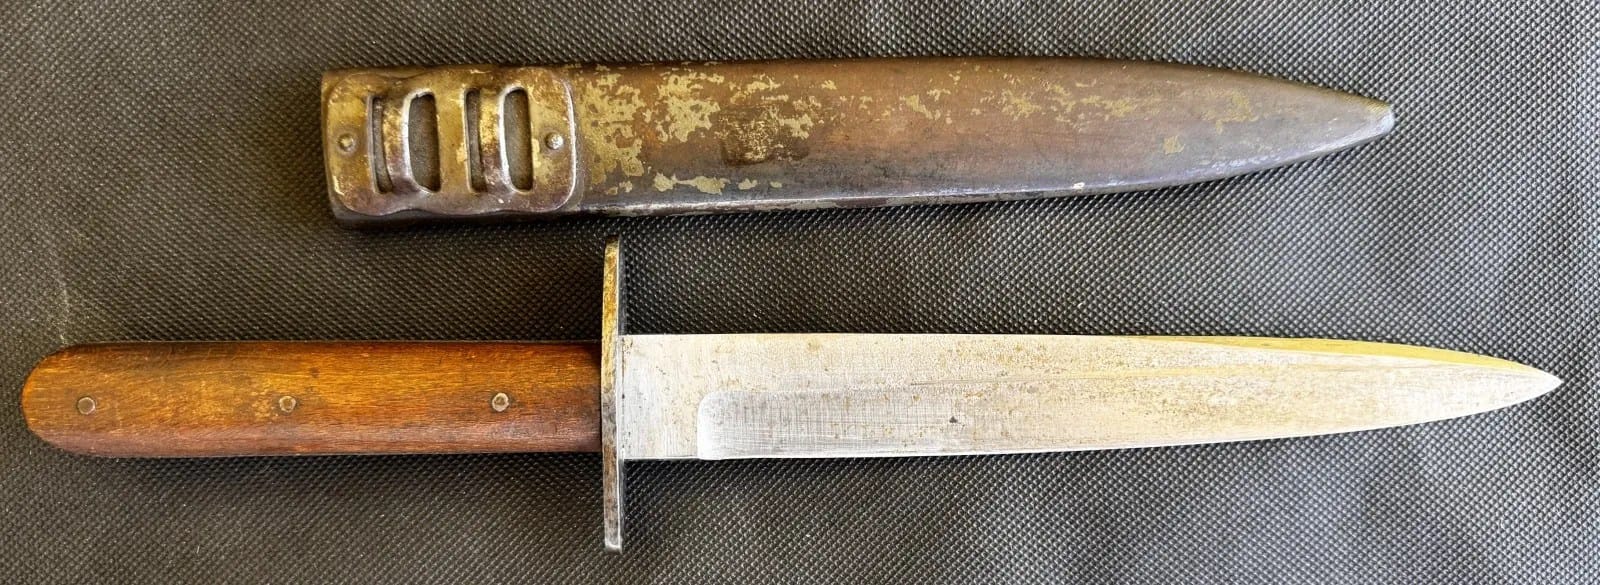
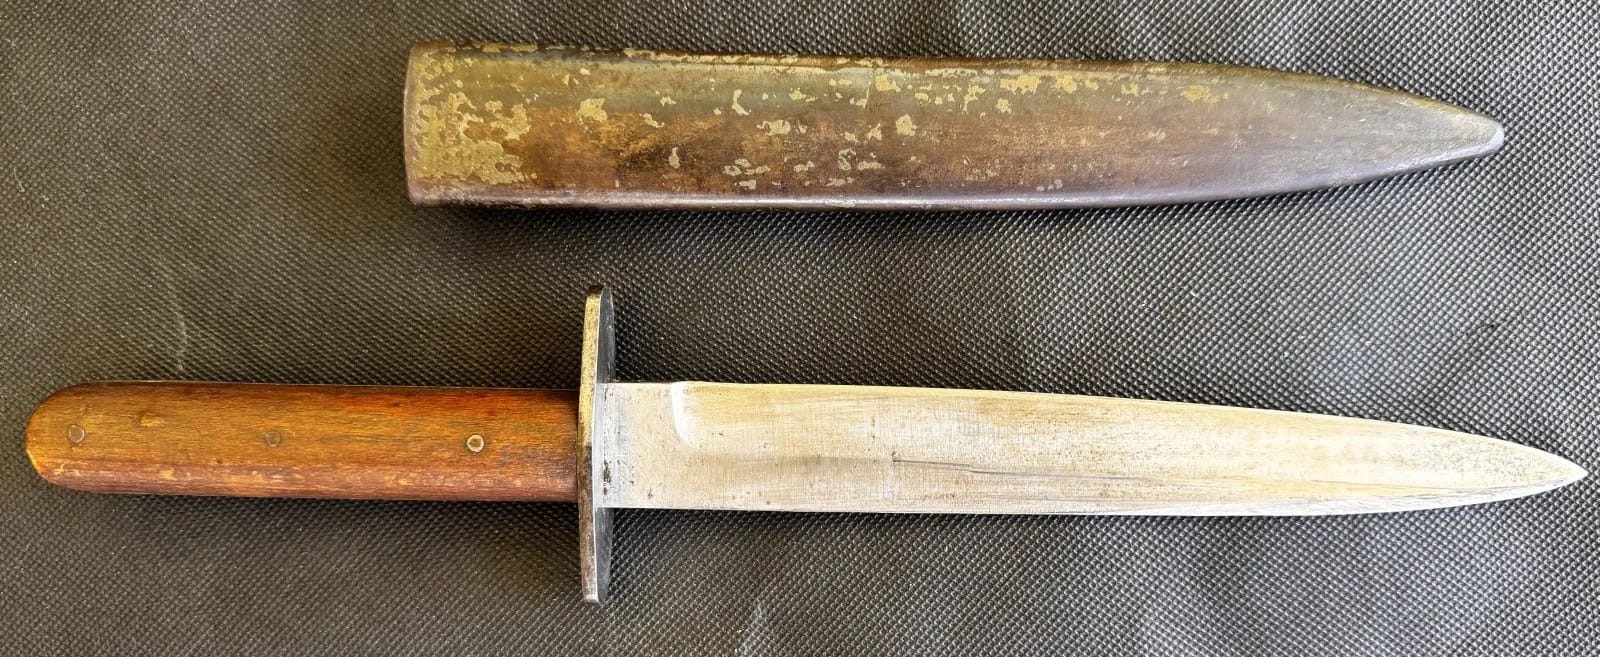
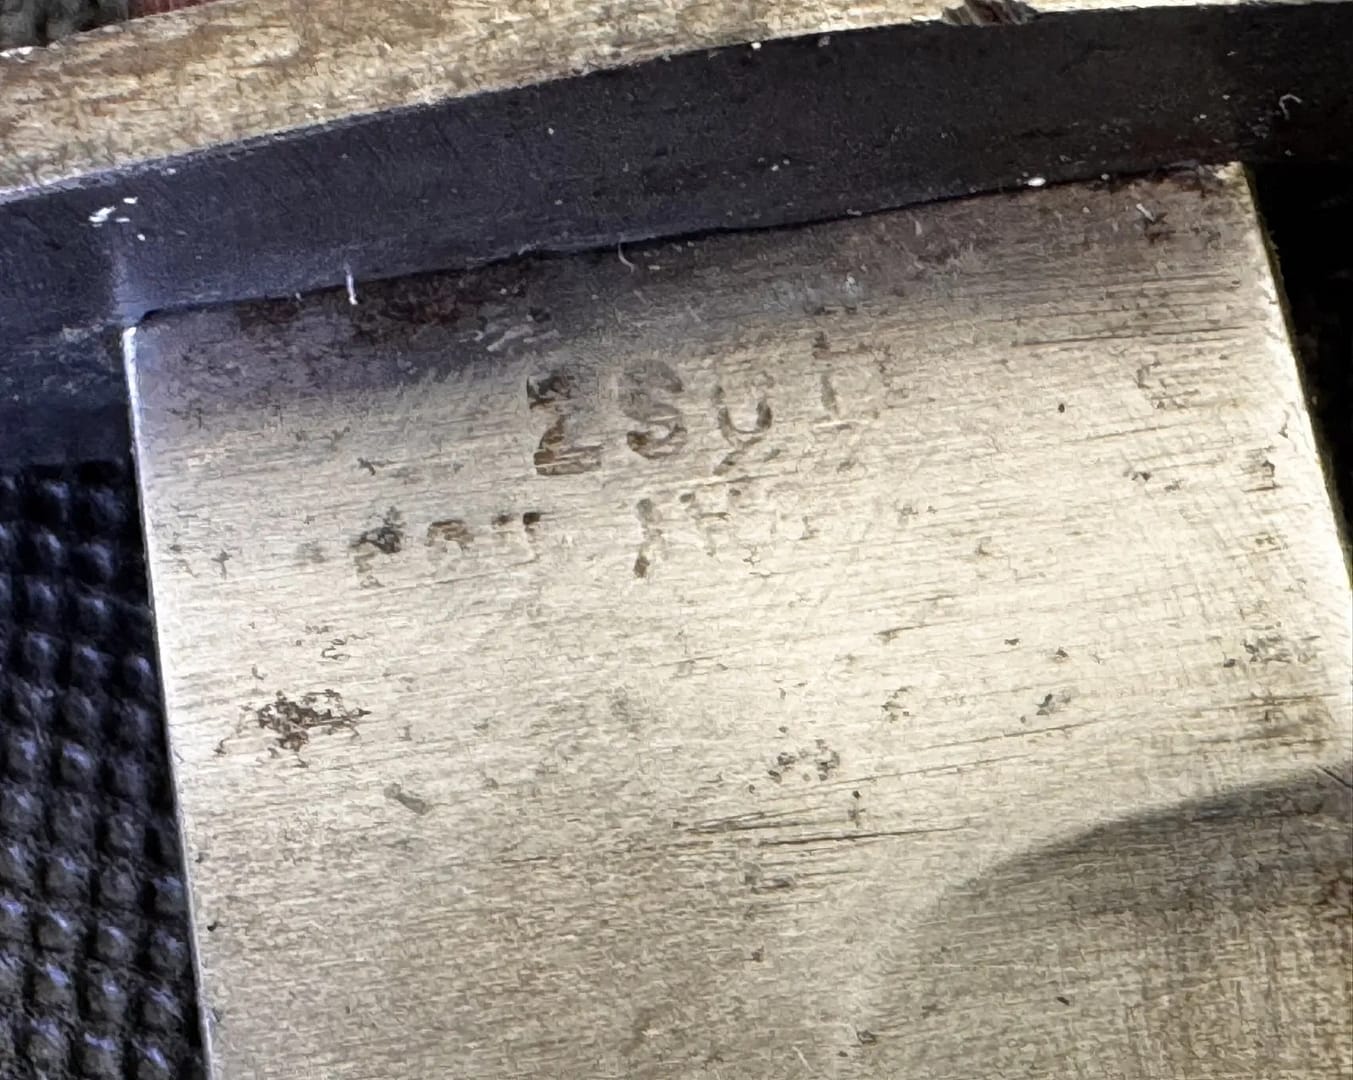
WW1 Austro-Hungarian trench dagger. From my personal collection.

This Austro-Hungarian trench fighting dagger reflects the brutal close-quarters combat that characterised much of the First World War. Designed as a compact stabbing weapon, it was intended for use in raids, patrols, and defensive fighting within trench systems. Such daggers were often privately purchased or locally produced and carried alongside standard equipment.
OTTOMAN EMPIRE


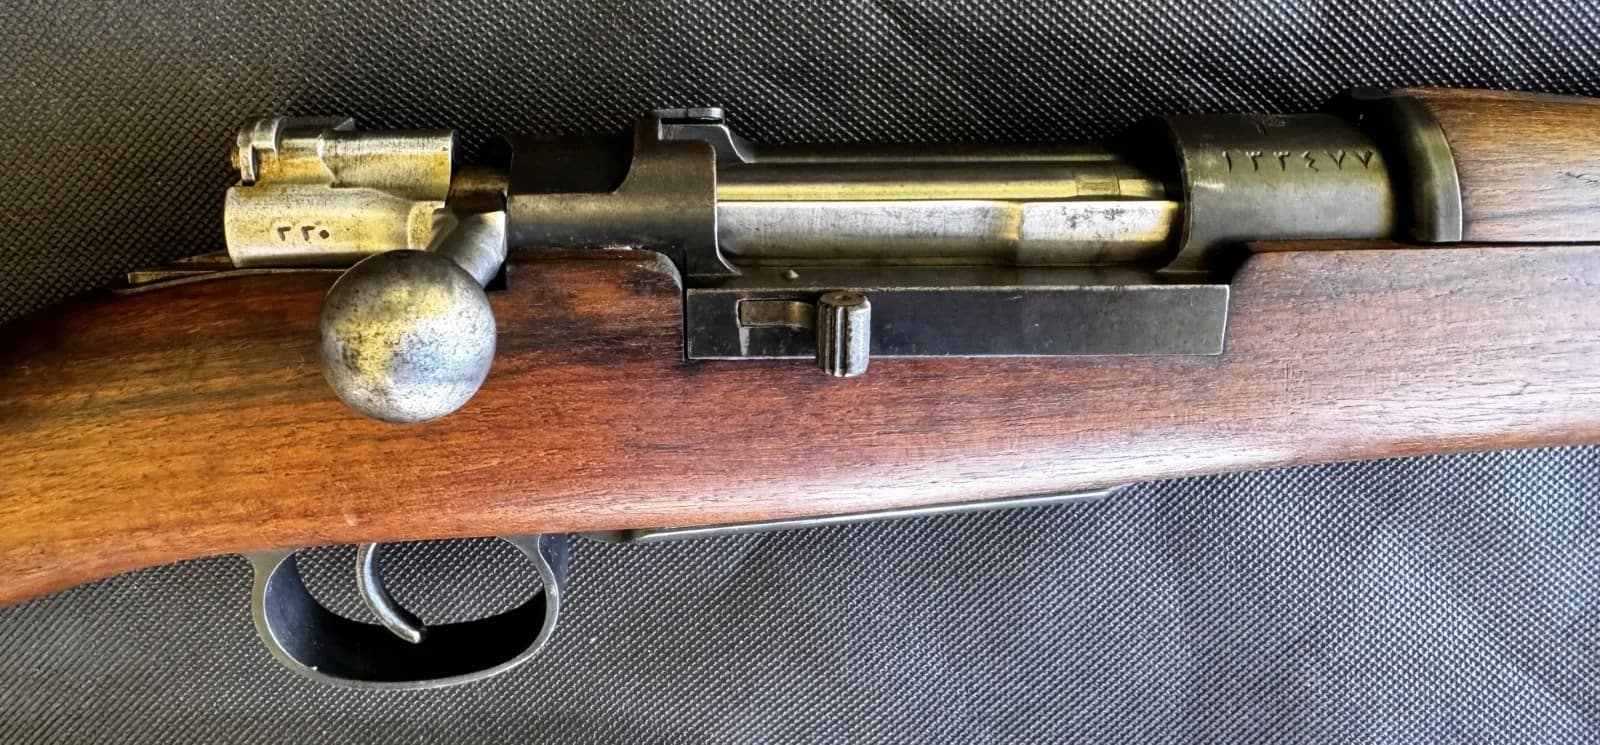
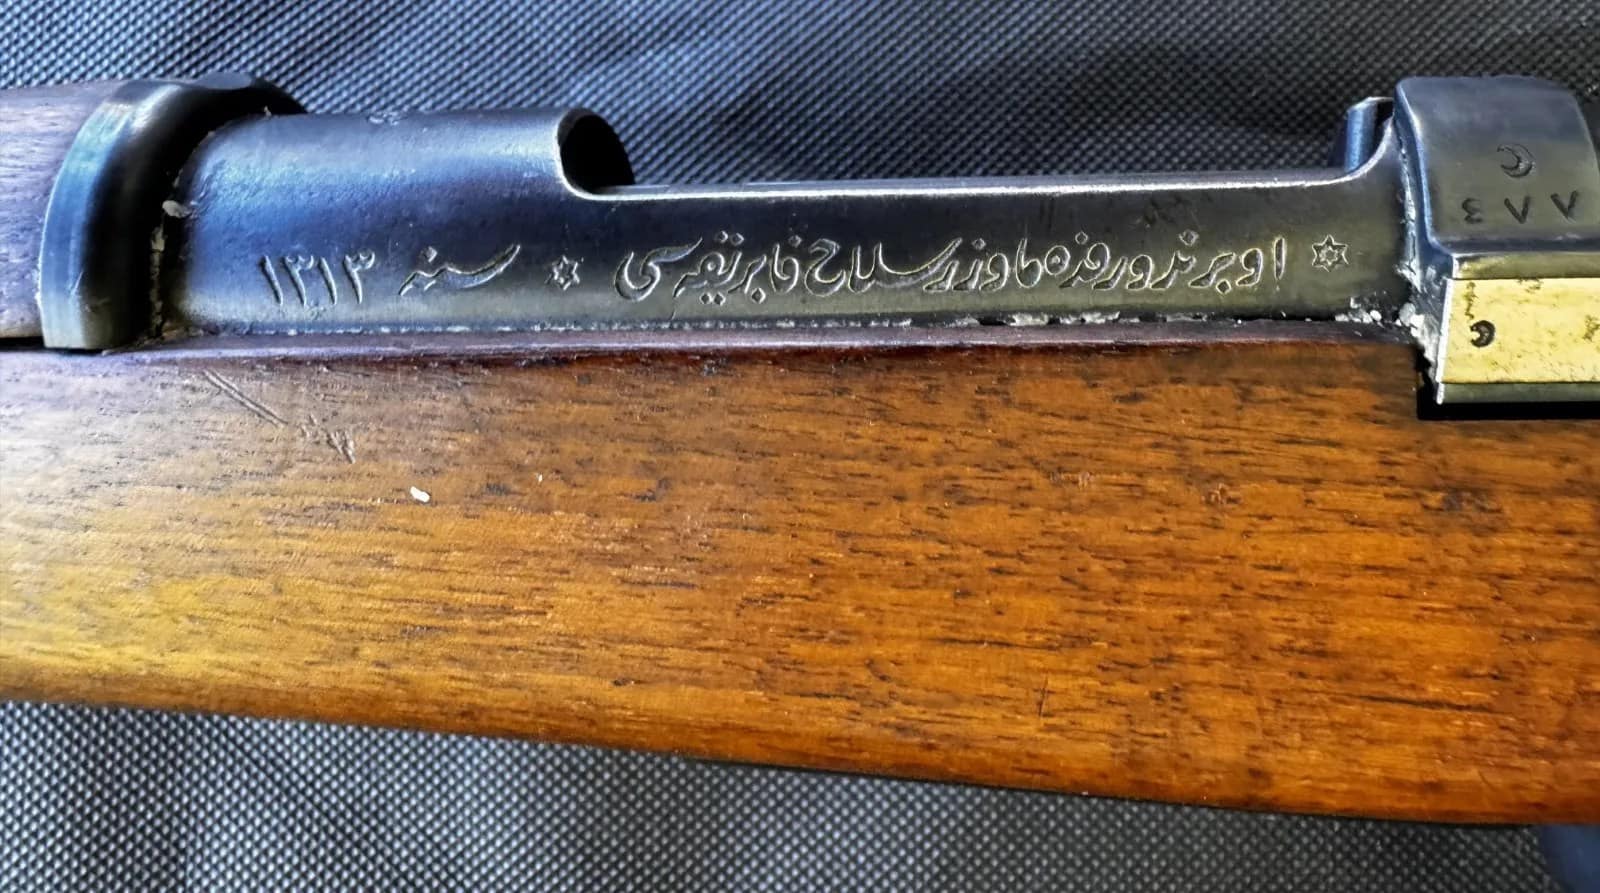
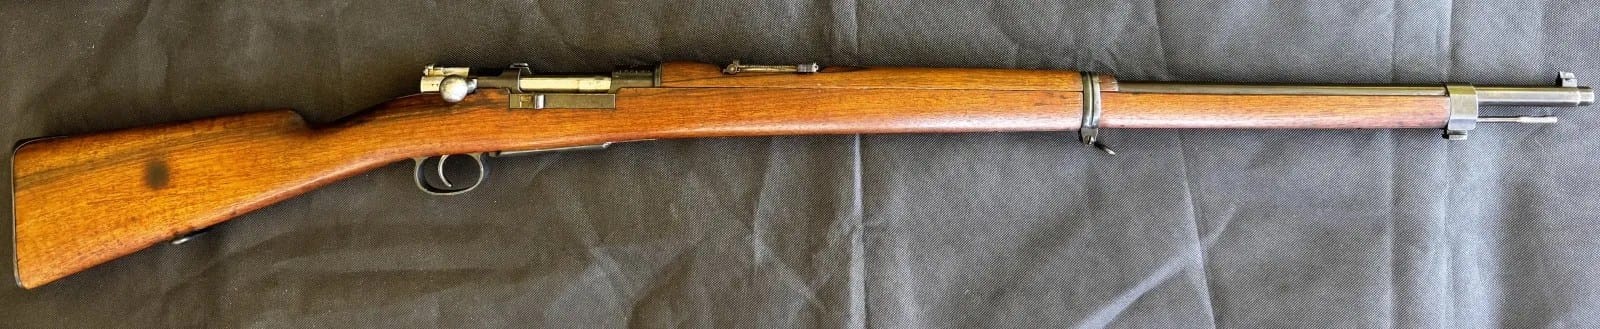
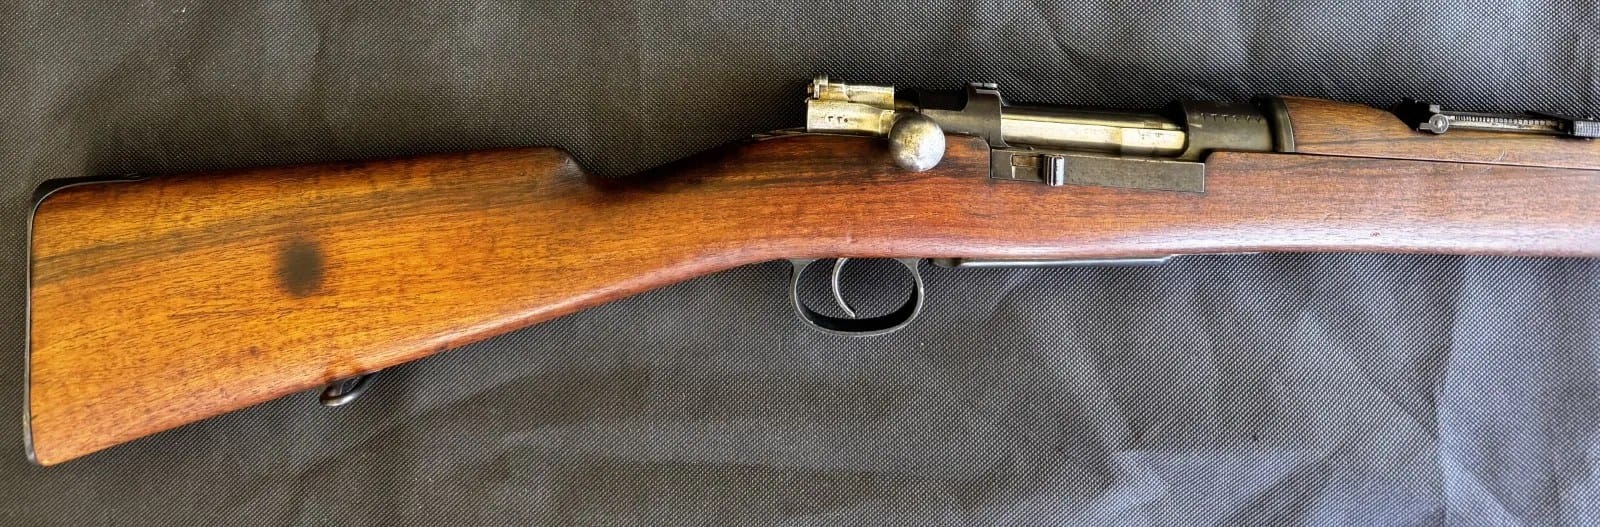
WW1 Ottoman Model 1893 Mauser Rifle.

The Ottoman Model 1893 Mauser was a bolt-action infantry rifle produced by Mauser in Germany for the Ottoman Empire, chambered in 7.65×53mm. It represented a major step in modernising Ottoman infantry armament in the late nineteenth century, featuring a strong bolt system and smokeless powder cartridge. Rifles of this type saw extensive service in the Balkan Wars and the First World War, equipping Ottoman forces across multiple fronts.

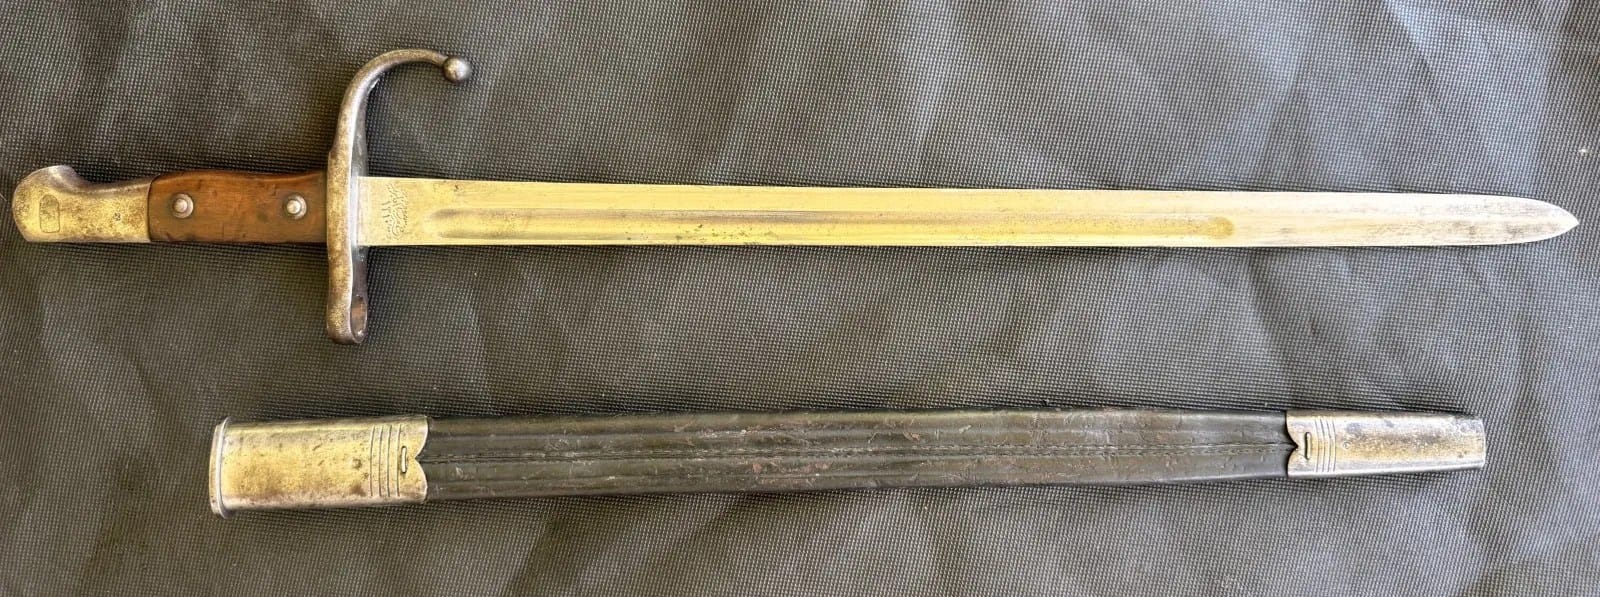
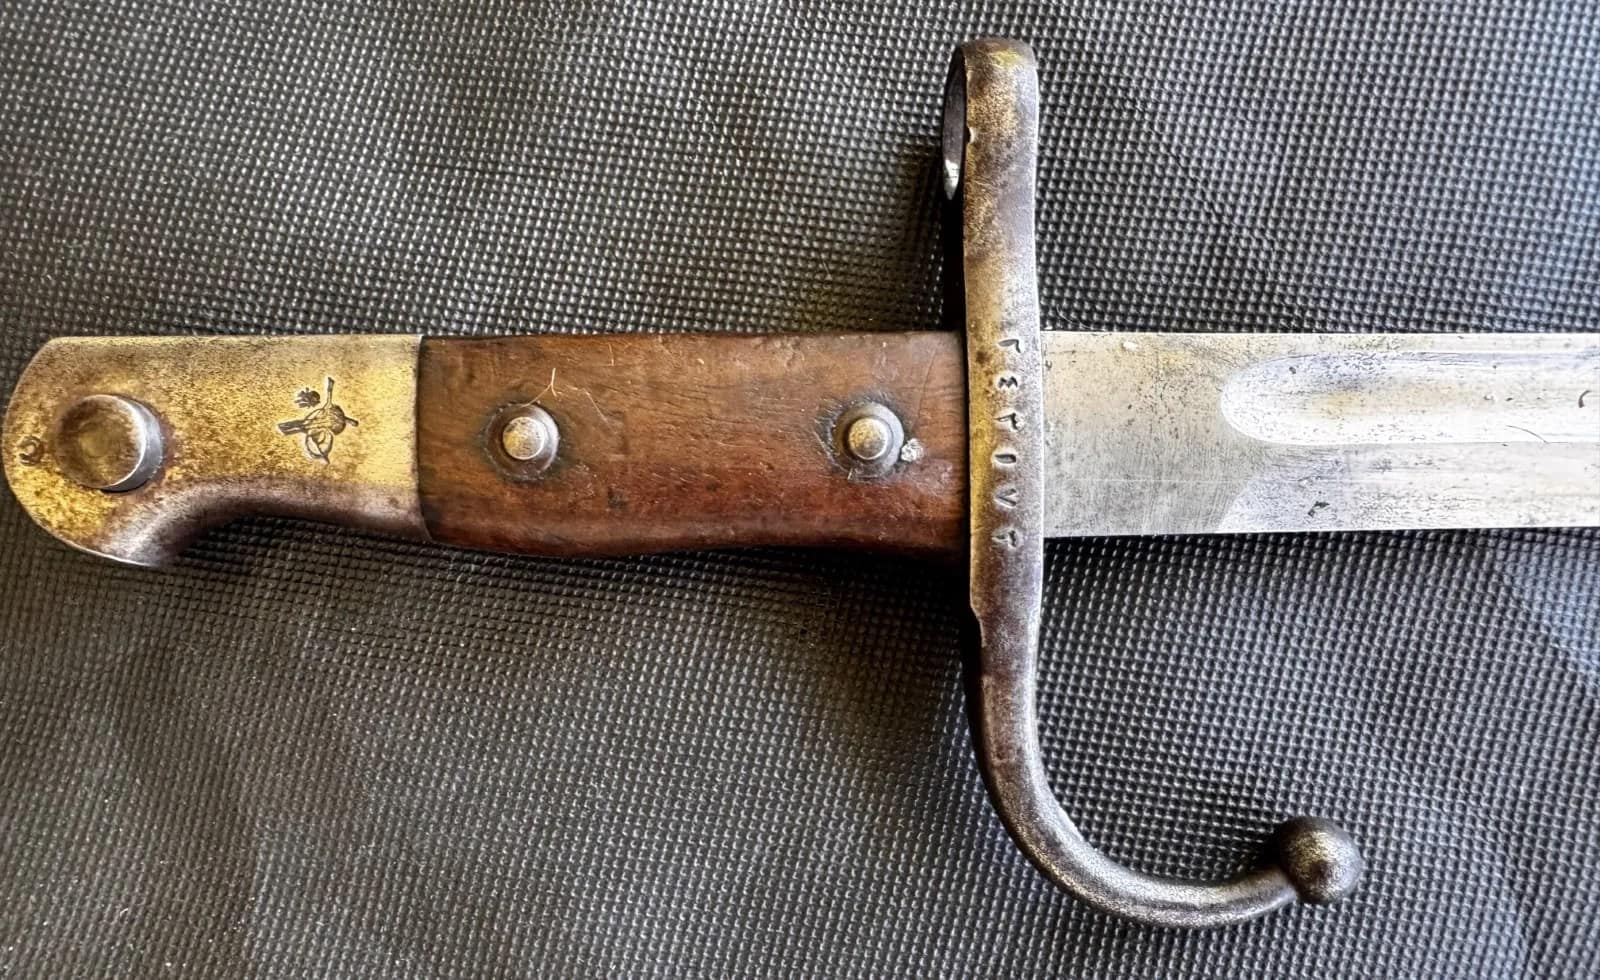
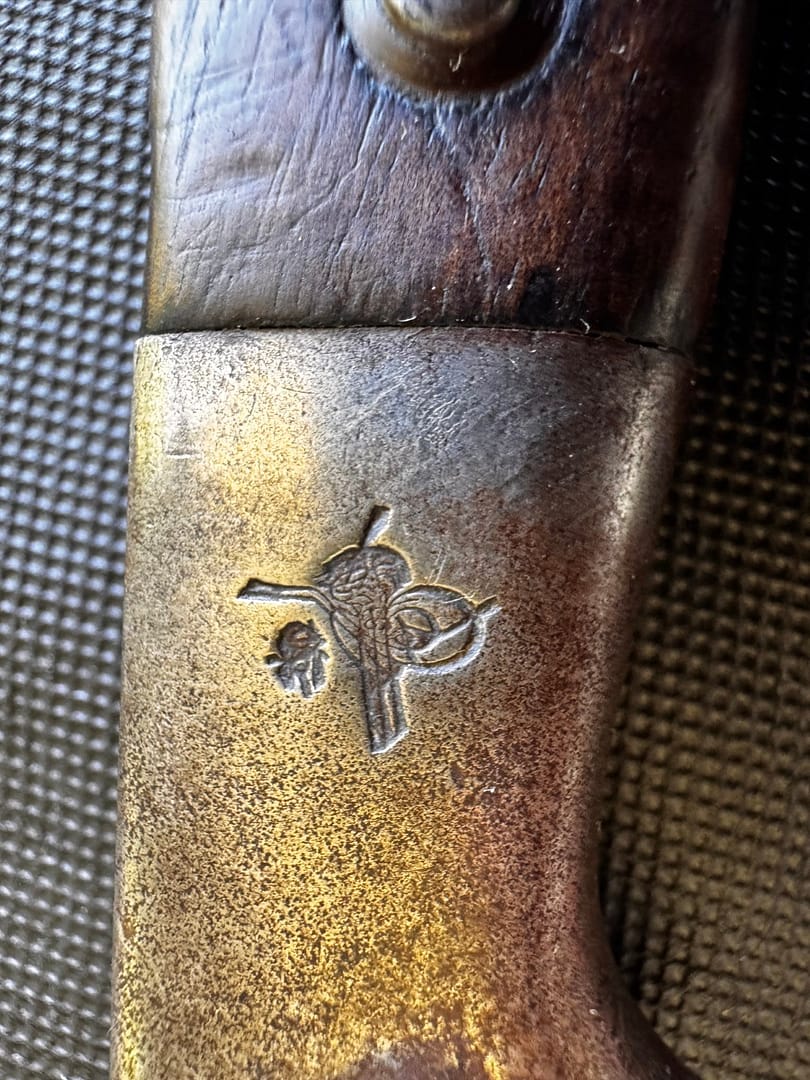
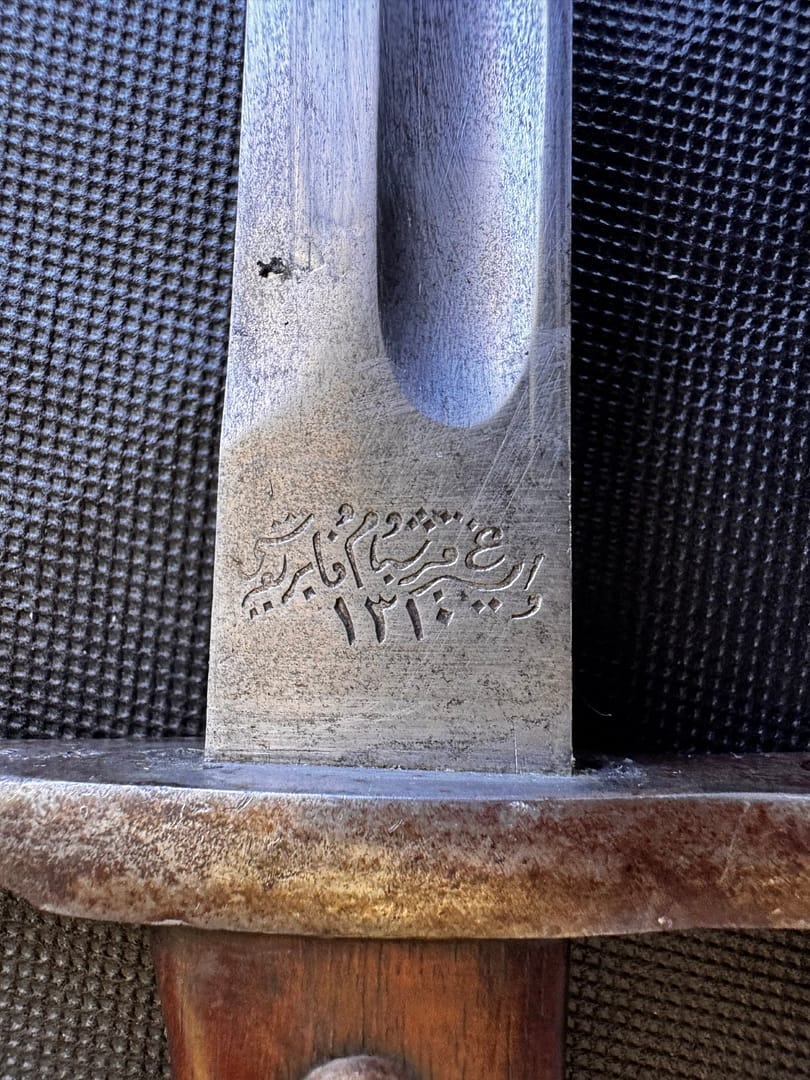
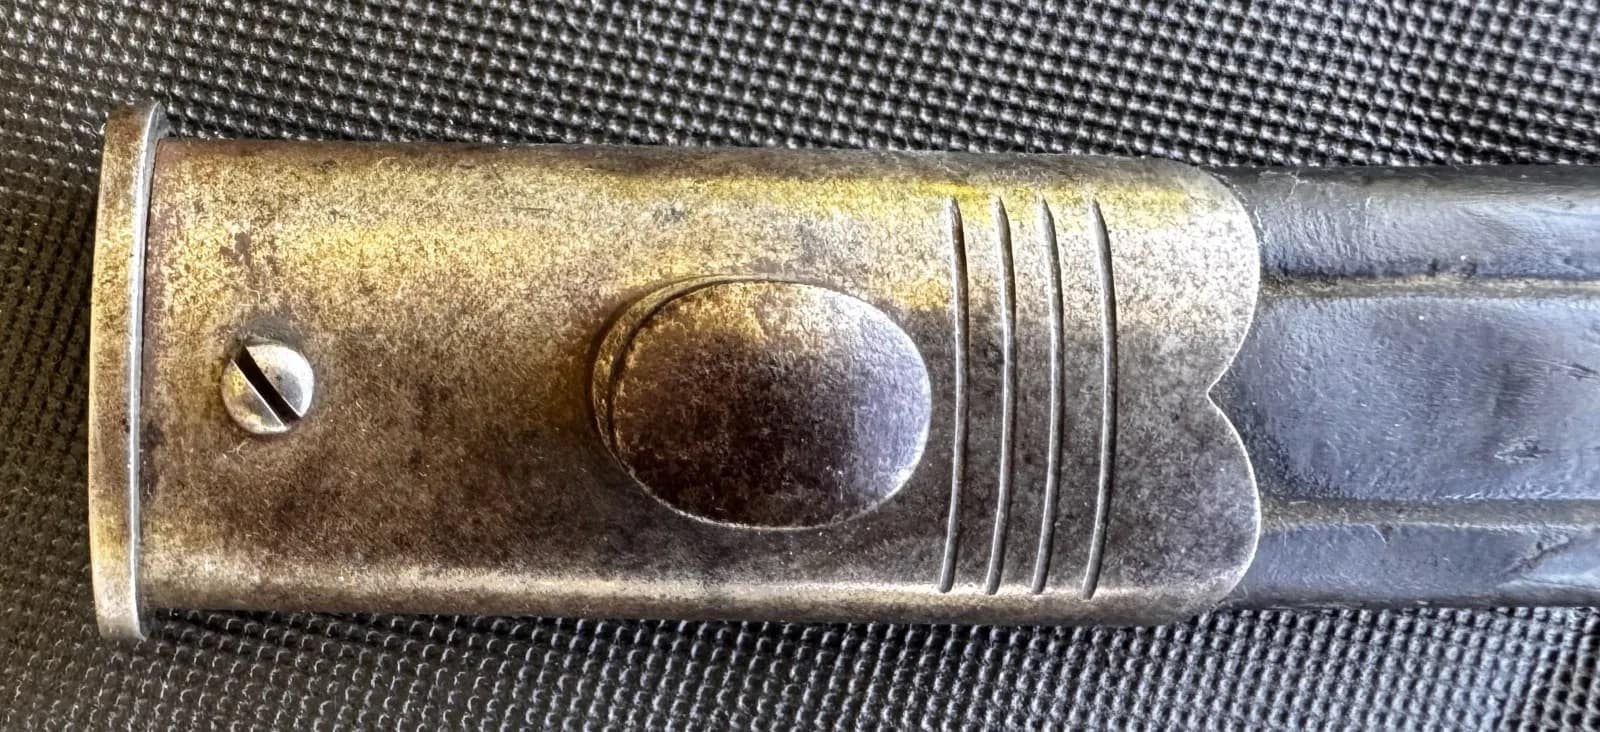
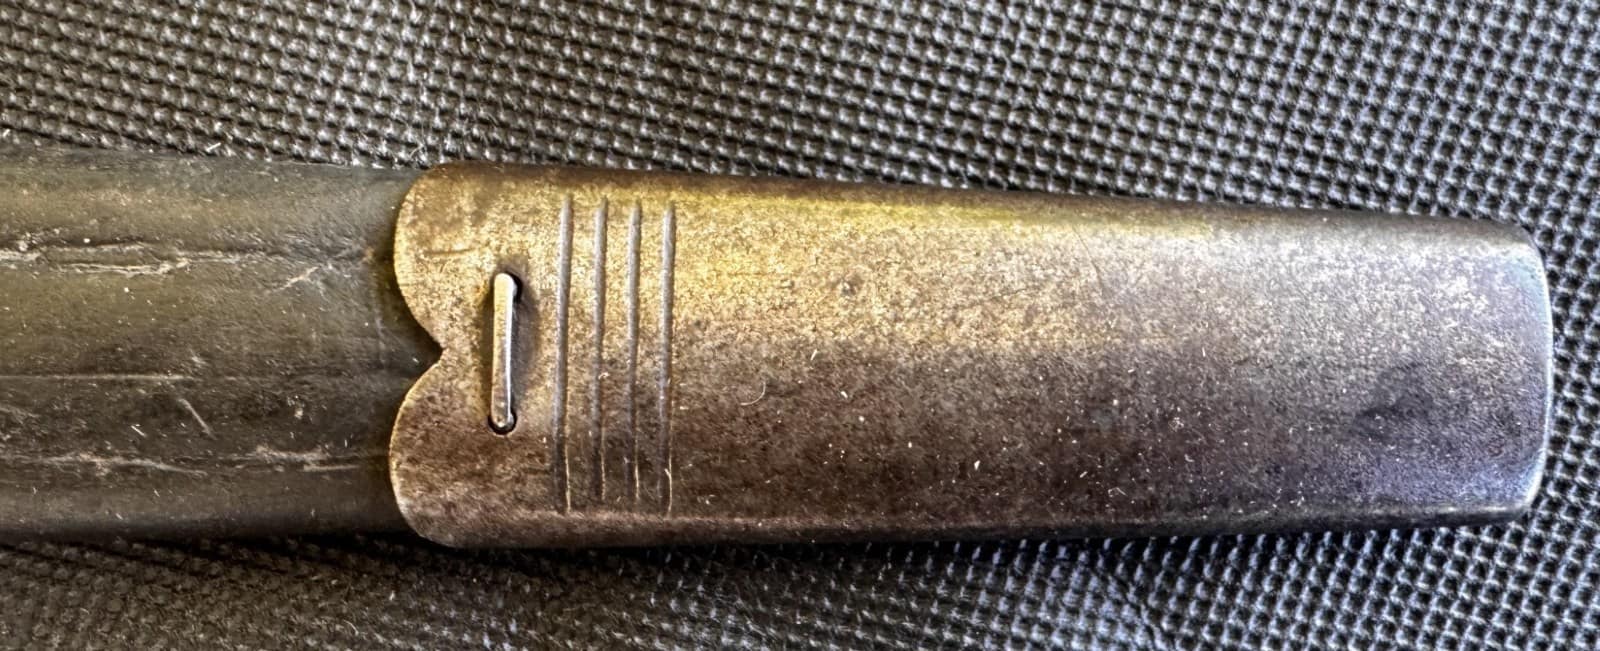
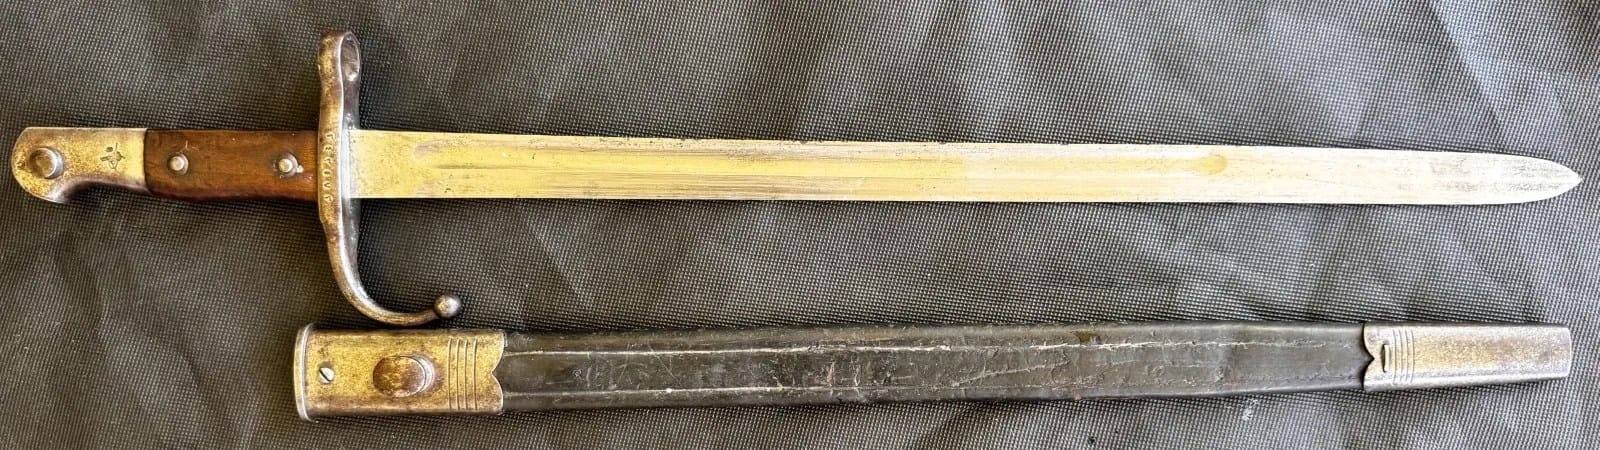
WW1 Ottoman Model 1893 Mauser bayonet. From my personal collection.

WW1 Ottoman Model 1893 Mauser bayonet

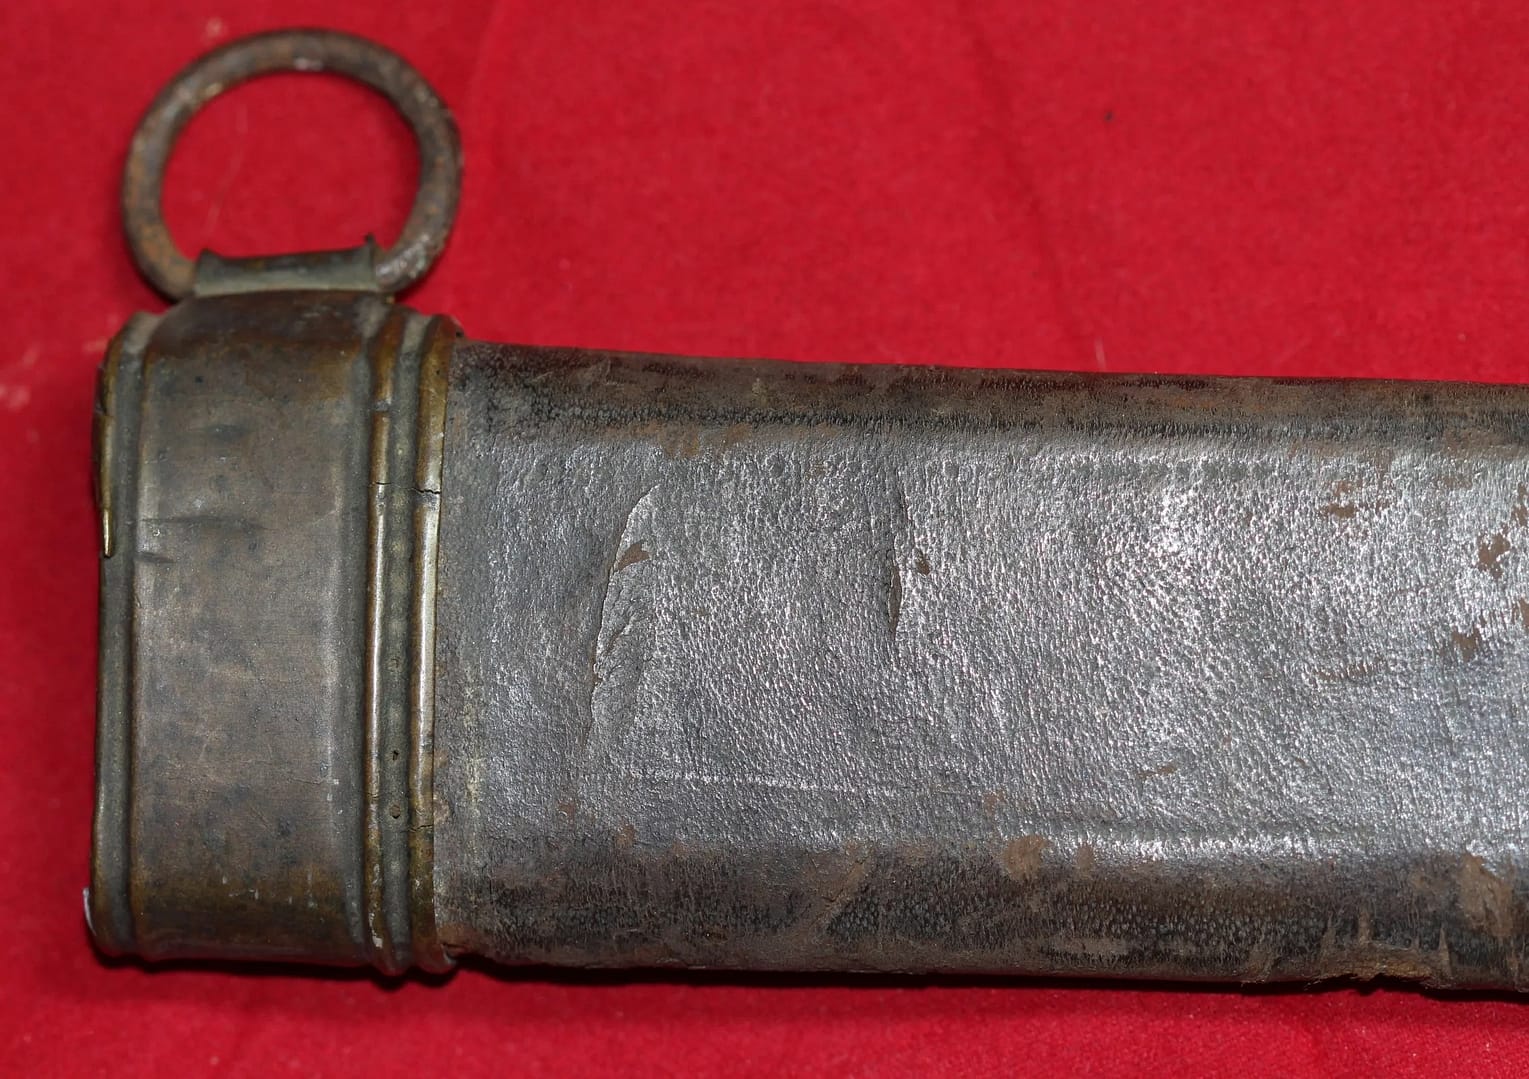
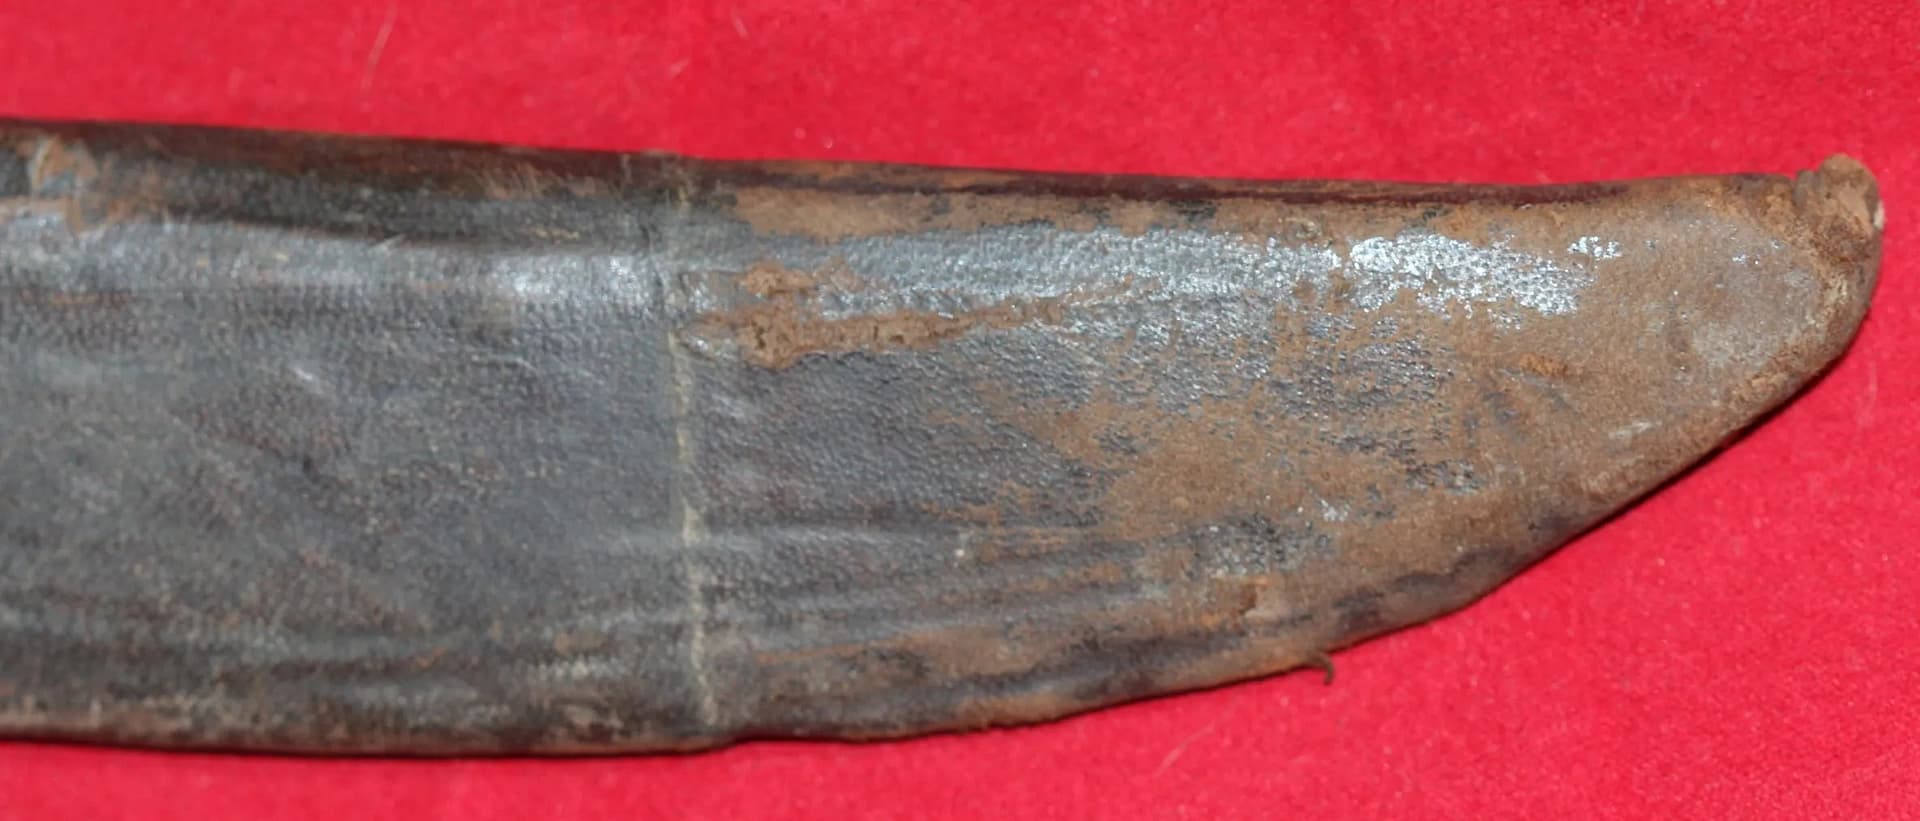
WW1 Ottoman Enlisted soldier belt. From my personal collection.

WW1 Ottoman Enlisted soldier belt, made to a similar pattern as the German soldier’s belt.


World War One weapons and equipment FAQ

What weapons were most commonly used during the First World War?

Infantry soldiers were primarily armed with bolt-action rifles such as the Lee-Enfield, Mauser, Mosin-Nagant, and Lebel. These were supported by machine guns, grenades, and bayonets. Artillery was the dominant weapon of the war, while new technologies such as tanks, aircraft, and chemical weapons transformed the battlefield.

Why was artillery so important in the First World War?

Artillery caused the majority of battlefield casualties and shaped operations across all fronts. Heavy guns, field artillery, and howitzers were used for bombardment, counter-battery fire, and defensive barrages. The scale of artillery firepower reflected the industrial nature of the conflict and the importance of fire support in trench warfare.

What role did machine guns play?

Machine guns such as the German MG08 and British Vickers provided sustained automatic fire and made frontal assaults extremely costly. Machine guns were sited to employ enfliade (along teh long axis of the target) grazing fire (close to teh ground so any human in the beaten zone will be hit) from a defilade position (covered from view and fire). Machine guns could also be fired from predictive tables, much like artillery is fired.

Why were steel helmets introduced?

Steel helmets were adopted to protect soldiers from shell fragments and debris, which became major causes of injury in trench warfare. Designs such as the French Adrian, British Brodie, and German Stahlhelm reflected different national approaches to battlefield protection.

What uniforms were worn during the war?

Uniforms evolved rapidly as armies adapted to modern warfare. Bright pre-war uniforms were replaced by more practical field dress in subdued colours such as khaki, feldgrau, and horizon blue. Uniforms reflected both national traditions and the need for concealment on the battlefield.

How did equipment change during the war?

Soldiers’ equipment evolved to meet the demands of trench warfare, including the introduction of steel helmets, improved webbing systems, gas masks, and specialised tools. These changes reflect the adaptation of armies to industrialised, high-intensity conflict.

Are the artefacts shown on this page original items?

All artefacts shown are from my personal collection and photographed firsthand. They represent original weapons and equipment used by soldiers during the First World War.


Subscribe to Battlefield Travels and receive a free E-Book Battlefield Guide

Unlock expert battlefield analysis, campaign reconstructions, and historical insights drawn from firsthand exploration and primary sources.

🗺️ You’ll receive:

🎖️ Exclusive historical insights you won’t find elsewhere

📘 A free eBook: 10 Tips for Exploring Historic Battlefields

📰 New battlefield studies straight to your inbox as they are published


Selected works on the Anglo-Zulu War

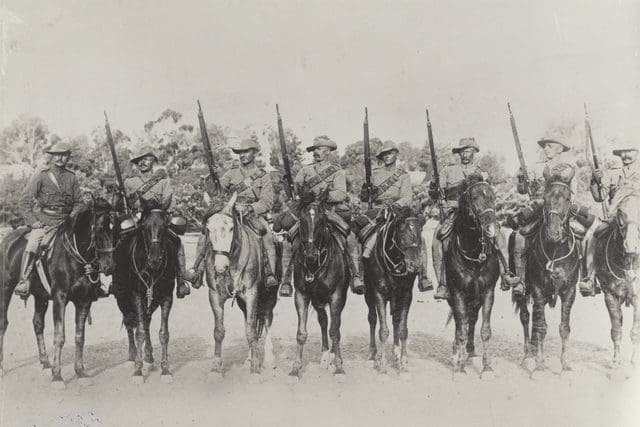
Anglo-Boer War - Captain (Capt) Edward Richman, and seven men of the 2nd South Australian (Mounted Rifles) Contingent. Image @ Australian War Memorial
Anglo-Boer War – Captain (Capt) Edward Richman, and seven men of the 2nd South Australian (Mounted Rifles) Contingent. Image @ Australian War Memorial

Understanding the conflict through contemporary and modern historians

The literature of the Second Boer War is unusually rich, drawing together eyewitness accounts, early narrative histories, and modern scholarly reassessments of strategy, politics and terrain. For anyone seeking to understand the war in depth — whether as a historian, battlefield traveller, or student of small-unit evolution — the works of the major commentators form an indispensable foundation.

Among the contemporary voices, Bennett Burleigh’s The Natal Campaign offers one of the clearest frontline perspectives from a seasoned war correspondent, capturing both the friction of operations and the landscape in which they were fought. Winston Churchill’s London to Ladysmith provides a vivid account of movement, captivity and escape, as well as early reflections on British operational shortcomings. Arthur Conan Doyle’s The Great Boer War, though occasionally coloured by patriotic sentiment, remains a remarkably detailed and readable overview of the conflict’s opening phases.

Twentieth-century historians broadened the scale and sharpened the analysis. Byron Farwell brought narrative clarity; Thomas Pakenham produced a sweeping, meticulously researched synthesis that remains the standard single-volume account; and John Laband’s The Transvaal Rebellion provides one of the most terrain-aware examinations of the Natal theatre. More recently, Bill Nasson’s The War for South Africa stands out for its balanced treatment of Boer, British, and African experiences, situating the war within a larger regional and social context.

Taken together, these authors illuminate different dimensions of the conflict: the lived experience of battle, the political stakes, the evolution of tactics, and the enduring importance of ground — from the Tugela River crossings to the Ladysmith approaches and the exposed summit of Spion Kop. Their works complement the battlefield studies presented on this site, offering readers essential background, critical perspectives, and a deeper understanding of how this war shaped the transition from Victorian to modern combat.


Reading

The reference collection below includes the key books and references I have used in preparing for and undertaking studies of the Anglo-Zulu War battlefields.

Anglo-Boer War

Note that many of the early works are also available for download via Gutenburg, Internet Archive or other sources listed on the Primary Sources page.

The Natal Campaign by Bennet Burleigh

Bennet Burleigh’s The Natal Campaign is a riveting account of the 1879 Anglo-Zulu war in South Africa. From the Battle of Isandlwana to the siege of Eshowe, Burleigh’s reporting brings to life the heroism and tragedy of this brutal conflict. Drawing upon interviews with soldiers and eyewitnesses, Burleigh delivers a vivid and unforgettable portrait of war in colonial Africa.

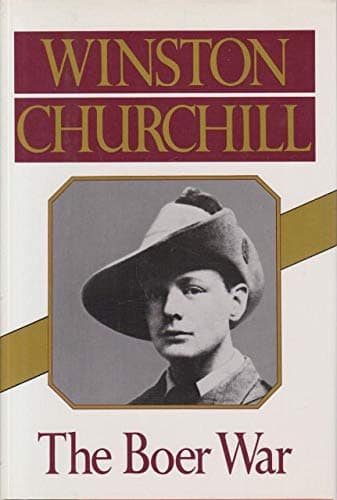
The Boer War (London to Ladysmith via Pretoria) by Winston S. Churchill

Like almost everything Churchill wrote, the style makes for compelling reading. Churchill was in the thick of it. He survived the armoured train ambush at Chieveley, was imprisoned by the Boers, and made a daring escape across the border into what is now Mozambique. A month later he was back at the fron t with Redvers Buller at the Battle of Spion Kop, personally reconnoitring the situation on the summit and reporting it to General Warren. A brilliant account!!

The Great Boer War by Arthur Conan Doyle

The Great Boer War by Arthur Conan Doyle is a detailed and compelling account of the South African conflict between the British Empire and the Boer Republics (1899–1902). Drawing from firsthand observations and thorough research, Doyle provides a vivid narrative of military strategies, key battles, and the broader political implications of the war. This historical work stands as an essential read for those interested in military history and British imperialism.

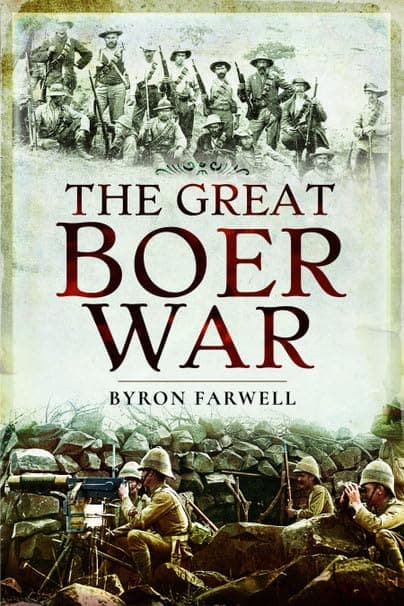
The Great Boer War by Byron Farwell

Byron Farwell traces the war’s origins, the slow mounting of the British efforts to overthrow the Afrikaners, the bungling and bickering of the British command, the remarkable series of bloody battles that almost consistently ended in victory for the Boers over the much more numerous British forces, political developments in London and Pretoria, the sieges of Ladysmith, Mafeking and Kimberley, the concentration camps into which Boer families were herded and the exhausting guerrilla warfare of the last few years when the Boer armies were finally driven from the field.

The Boer War by Thomas Pakenham

Thomas Pakenham, whose narrative is based on firsthand but largely unpublished sources, has written the first full-scale documentary history of the war to be attempted since 1910. He has combed the original British documents in the Public Record Office and the material in South African archives, and has traced the private papers of most of the principals (for example, he found the letters of Sir Redvers Buller—the British commander-in-chief in 1899—hidden under the billiard table at Buller’s house in Devon). He also unearthed new material from the trunkloads of Lord Roberts’s papers, discovered a massive secret journal of the war compiled by the War Office Intelligence Department, and found the private letters from the War Minister, Lord Lansdowne, and other members of the Cabinet.


Frequently asked questions – Boer War

What are the best introductory books on the Second Boer War?

Excellent starting points include Byron Farwell’s The Great Anglo-Boer War and Thomas Pakenham’s The Boer War. Both offer clear narrative overviews and accessible analysis of strategy, politics and the evolution of the conflict.

Which modern historians provide the most comprehensive analysis?

Bill Nasson’s The War for South Africa is widely regarded as one of the most balanced and authoritative modern studies, offering perspectives from British, Boer and African sources. John Laband also provides detailed, terrain-aware work on the campaigns in Natal.

Are contemporary accounts still useful for understanding the war?

Yes. Eyewitness works by Bennett Burleigh, Winston Churchill and Arthur Conan Doyle remain valuable for their immediacy and detail. While coloured by the biases of their time, these books provide first-hand impressions of mobility, morale and battlefield conditions.

Why do historians disagree about the causes and conduct of the Boer War?

Interpretations differ because the war sits at the intersection of imperial ambition, regional politics, race, economics and emerging modern military practice. Historians place different weight on these factors, leading to varied conclusions about British strategy and Boer resistance.

How has modern scholarship changed our understanding of the conflict?

Recent work incorporates a broader range of sources, including African perspectives, guerrilla warfare studies, social history and environmental factors. This has deepened understanding of logistics, rural devastation, and the transition from conventional to guerrilla fighting.

Subscribe to Battlefield Travels and receive a free E-Book Battlefield Guide

Unlock expert battlefield analysis, campaign reconstructions, and historical insights drawn from firsthand exploration and primary sources.

🗺️ You’ll receive:

🎖️ Exclusive historical insights you won’t find elsewhere

📘 A free eBook: 10 Tips for Exploring Historic Battlefields

📰 New battlefield studies straight to your inbox as they are published


1871-Martini-Henry-Mk-1-Afghan-d
1871 Martini Henry Mk-1 Afghan War

Overview of the 2nd Anglo-Afghan War

The Second Anglo-Afghan War (1878–1880) arose from British concerns about the expansion of Russian influence in Central Asia and the strategic need to secure India’s northwestern frontier. When Kabul admitted a Russian mission but refused a British one, the Government of India launched a three-pronged invasion through the Khyber, Kuram, and Kandahar axes. Early operations saw British and Indian forces defeat Afghan armies at Ali Masjid, Peiwar Kotal, and Charasiab, compelling the Afghan government to accept the Treaty of Gandamak and a British diplomatic presence.

The assassination of the British mission in Kabul triggered a renewed campaign, including the storming of the Bala Hissar and subsequent fighting around the capital. Ayub Khan’s advance from Herat culminated in the British defeat at Maiwand in July 1880, one of the most significant reverses suffered by British forces in the nineteenth century. General Roberts’ rapid march from Kabul and victory at Kandahar restored British control. The war concluded with Abdur Rahman installed as Amir and Afghanistan accepting British oversight of foreign relations, establishing the country as a buffer between the Russian Empire and British India.

Weapons and Military Technology

The conflict reflects the challenges of industrial-era armies operating in difficult terrain against irregular forces. British and Indian troops were primarily equipped with the Martini-Henry rifle, supported by mountain artillery and modern logistical systems adapted for campaigning in mountainous environments. Afghan forces relied on a mix of traditional weapons and firearms, including locally produced and imported rifles, with the long-barrelled jezail remaining symbolically associated with Afghan marksmanship.

The war demonstrated the importance of mobility, supply, and firepower in frontier warfare, where terrain and climate often shaped operations as much as opposing forces. The artefacts below illustrate the weapons and equipment carried during the campaign, reflecting the meeting of imperial military systems with local fighting traditions. All artefacts shown are from my personal collection and photographed firsthand.

👉 For historical context and battlefield studies, see → Second Anglo-Afghan War Conflict Page


Second Anglo-Afghan War weapons


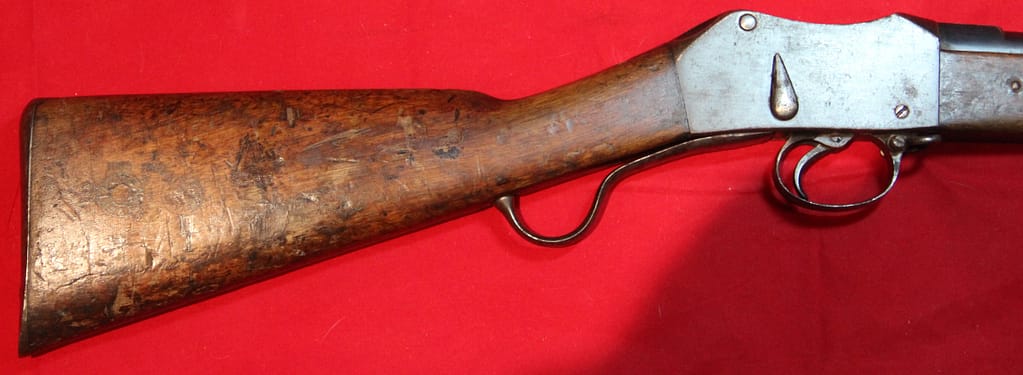
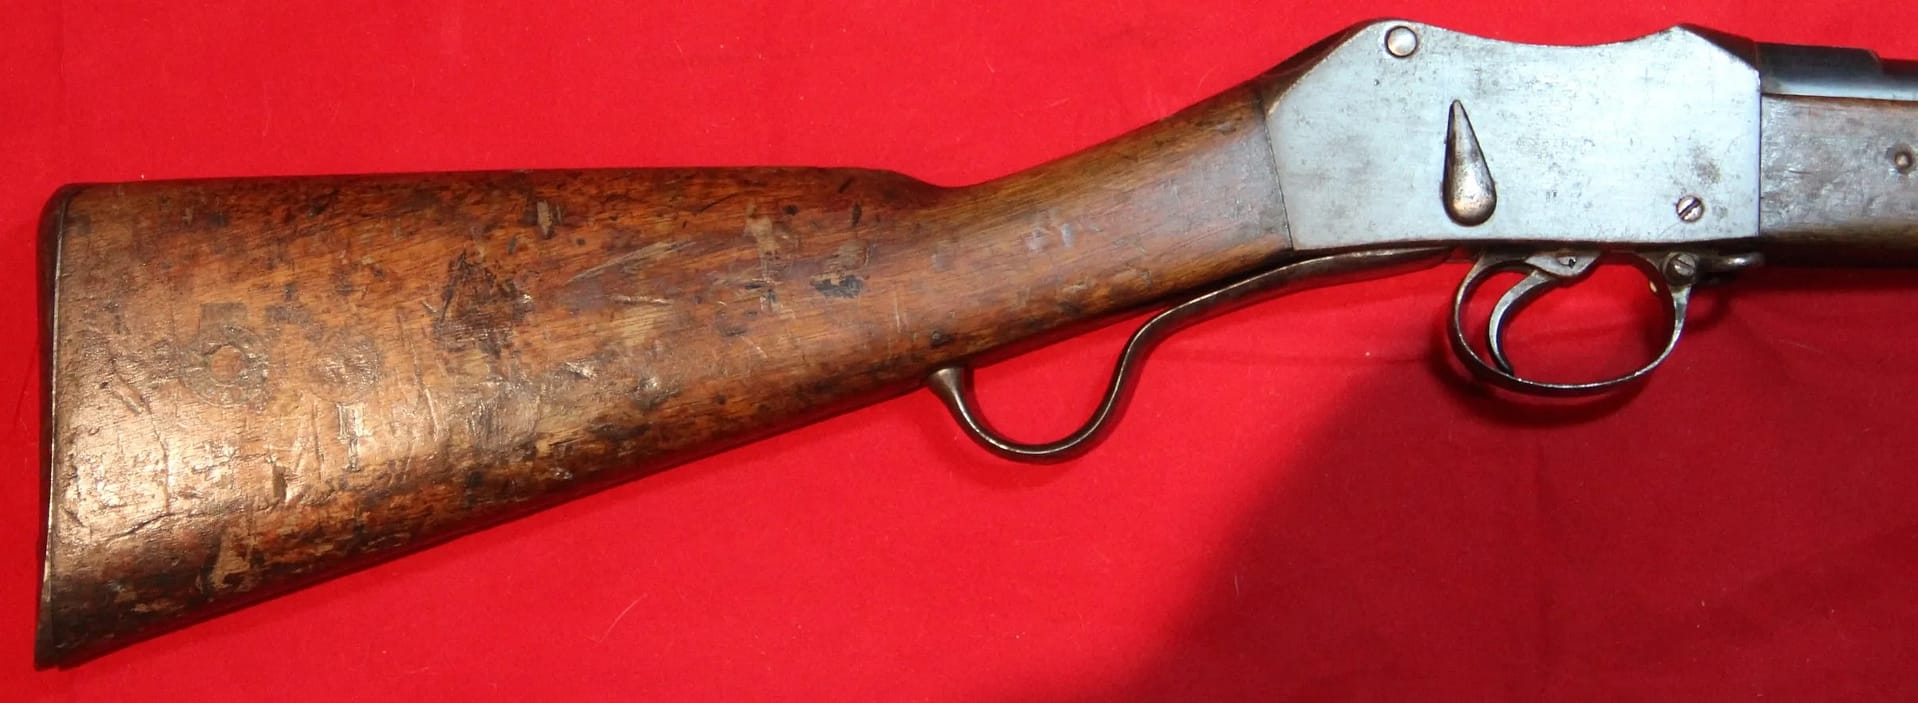
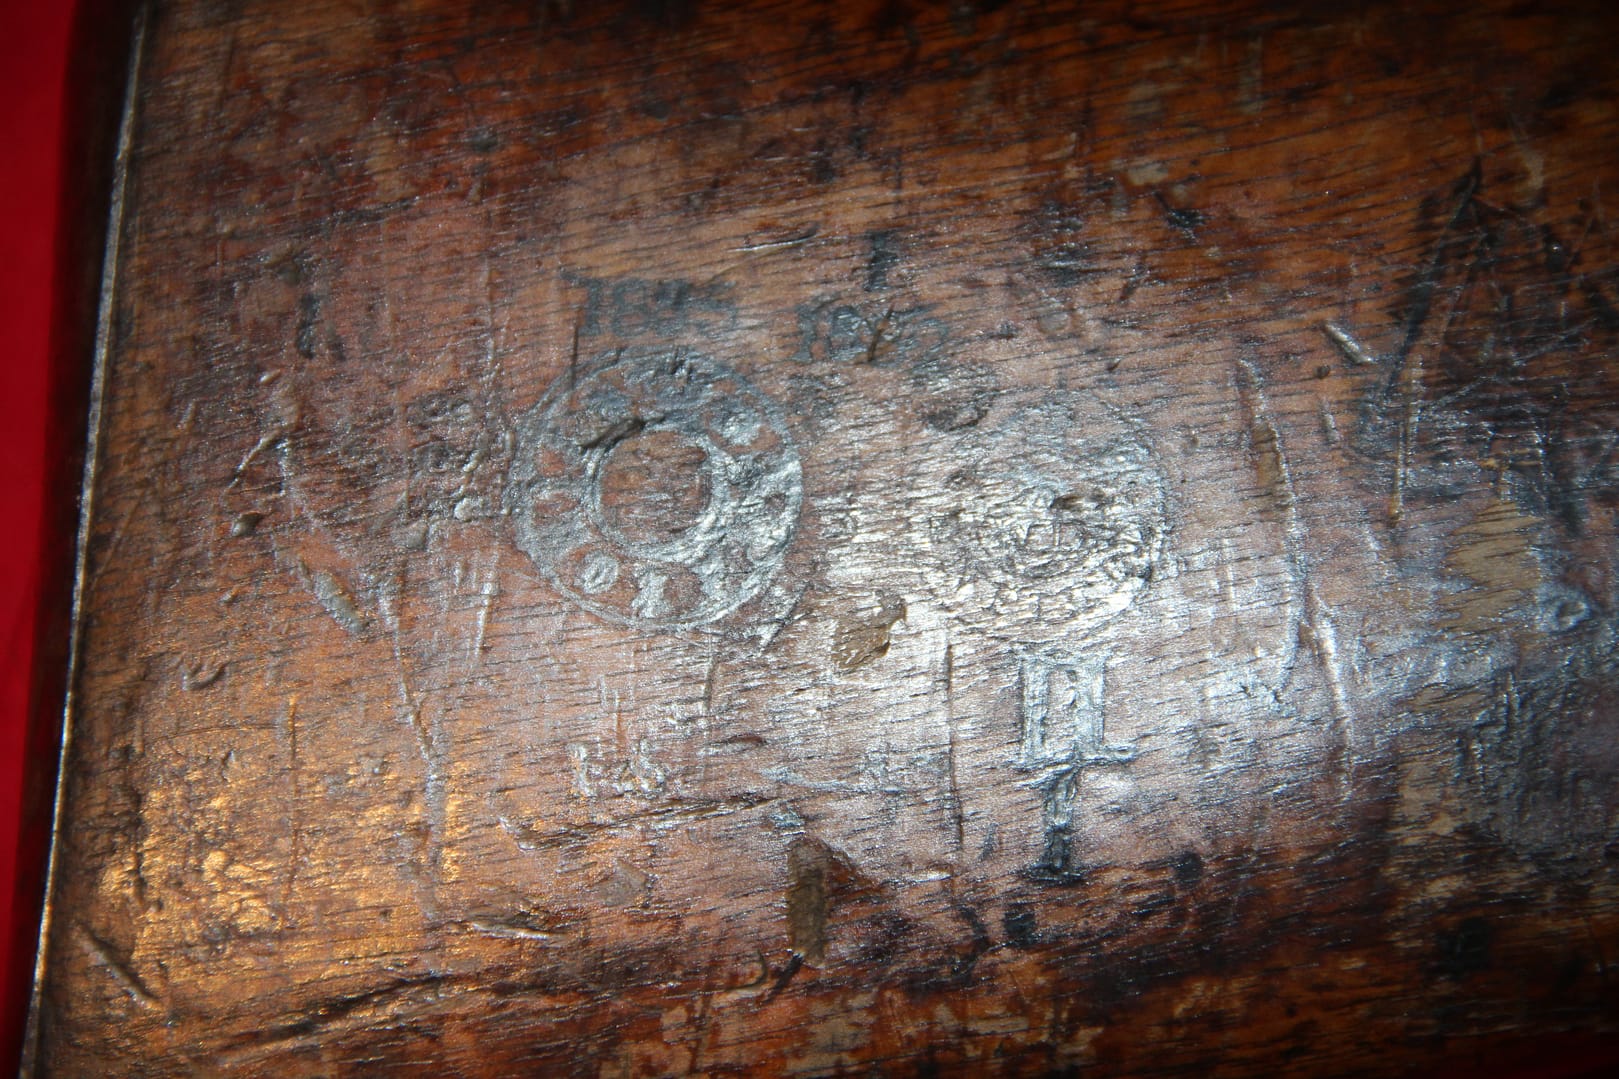
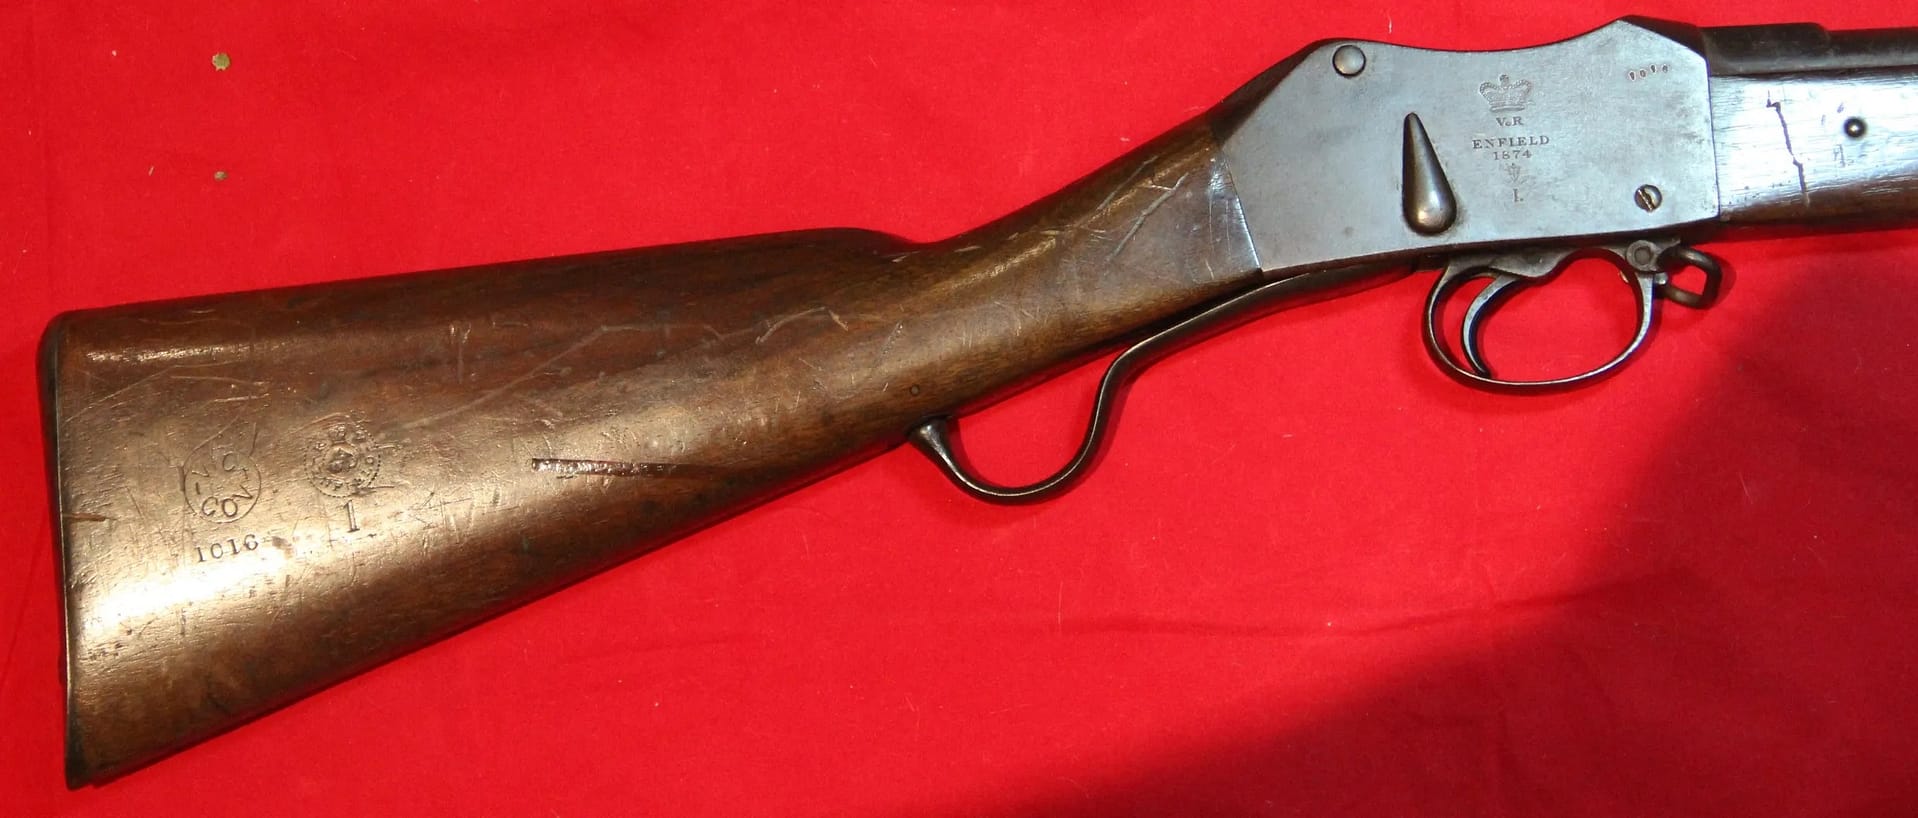
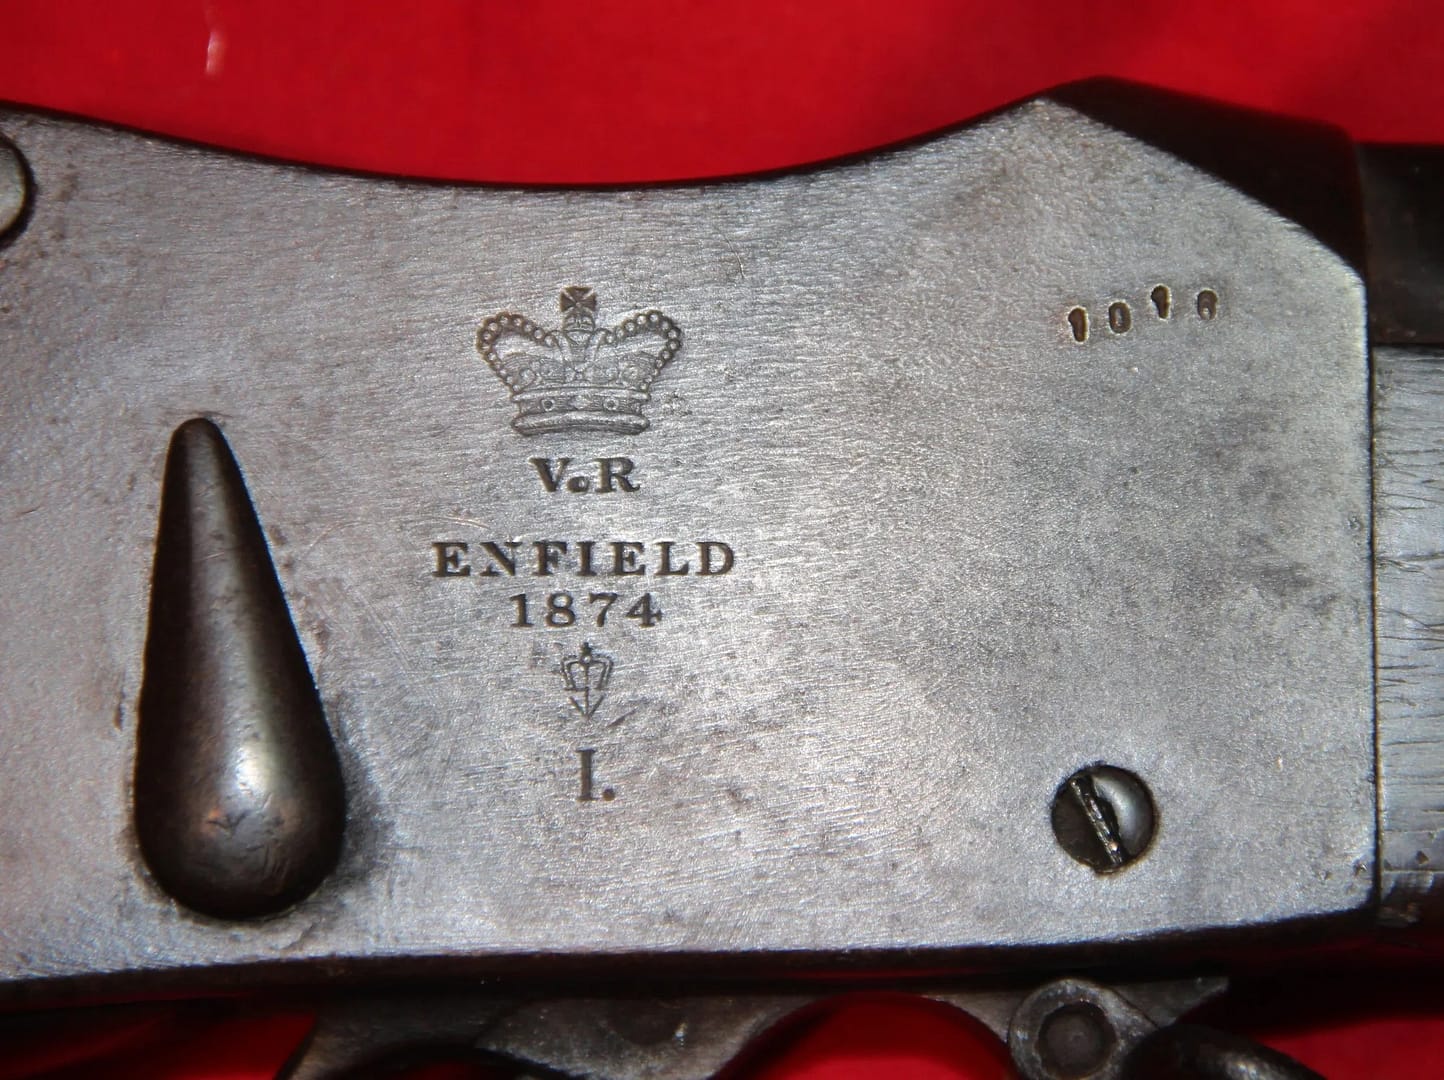
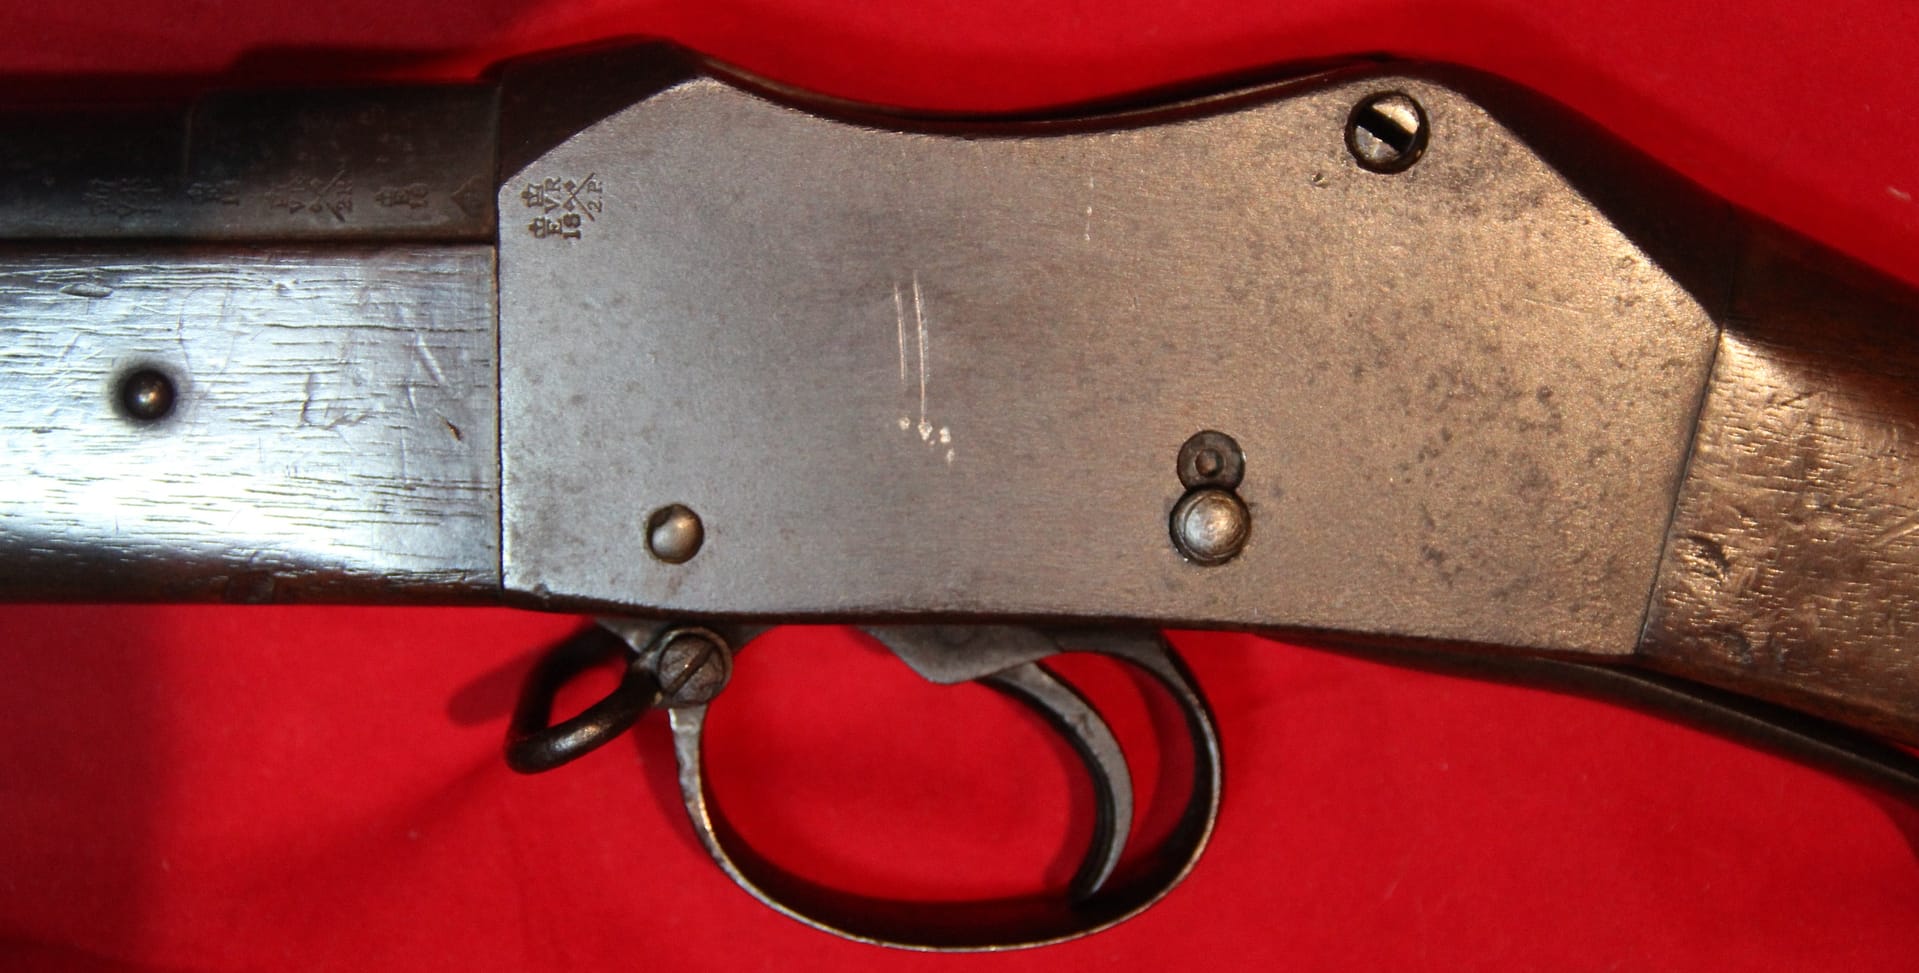
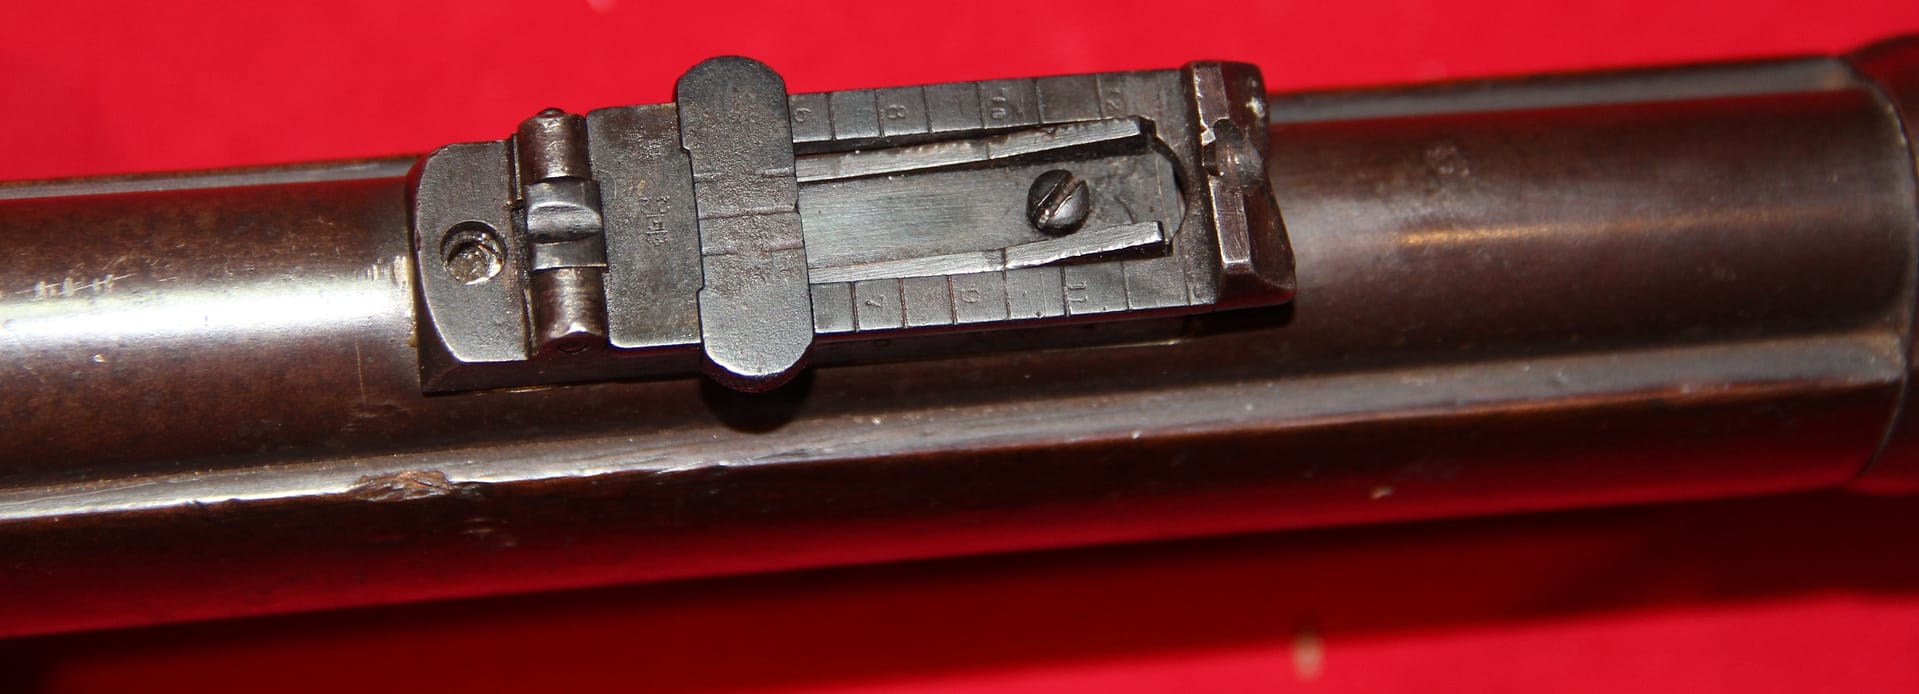
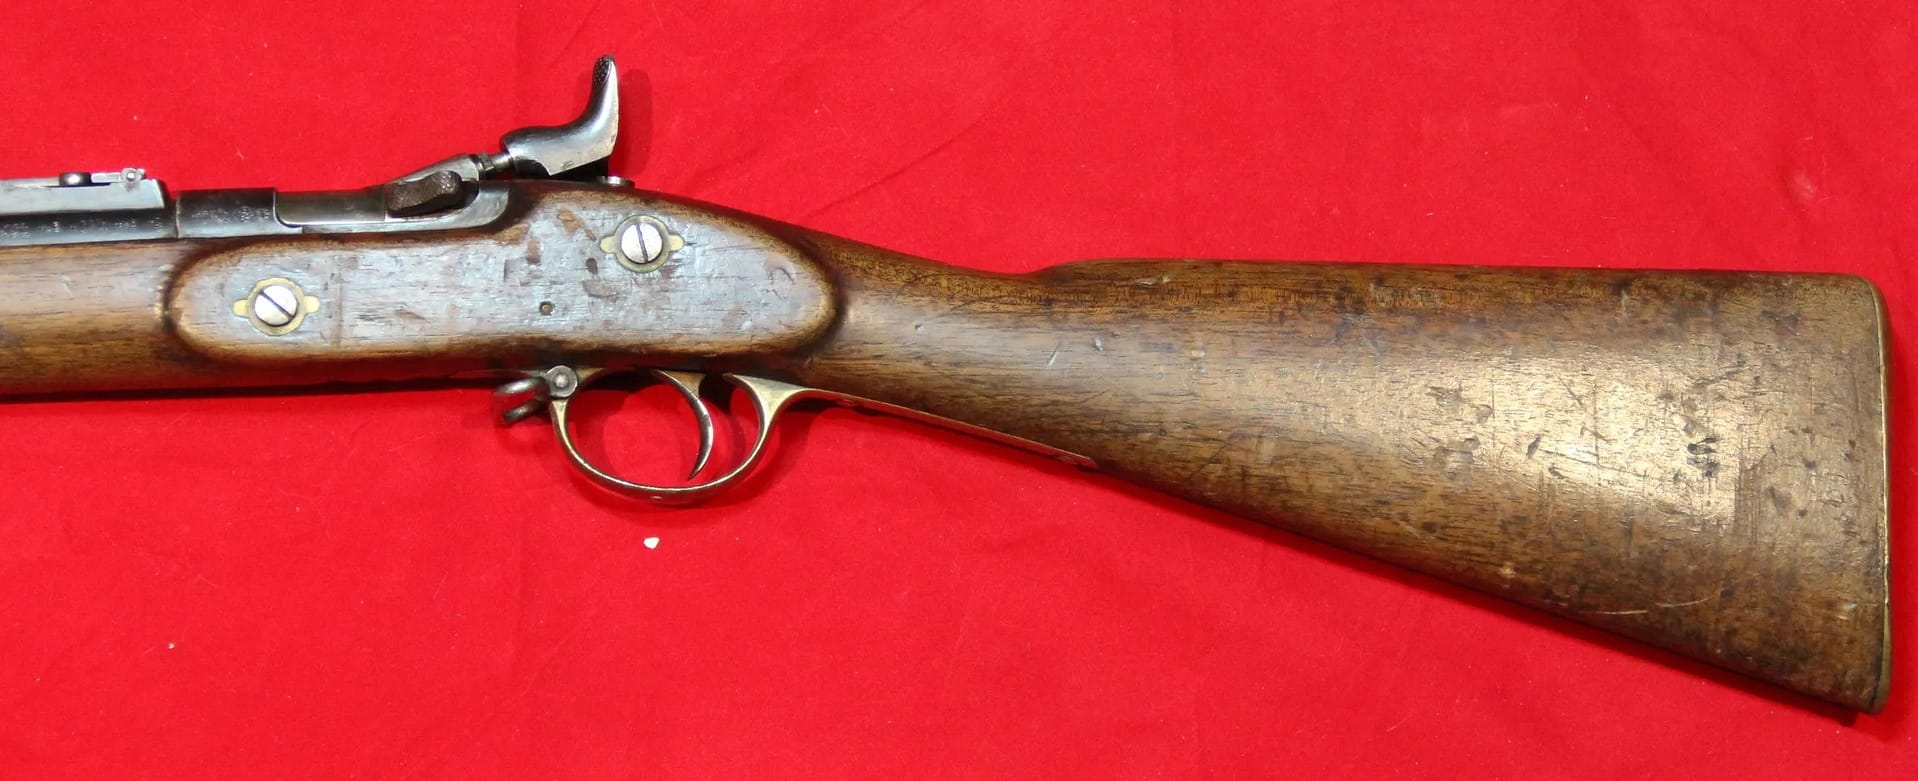
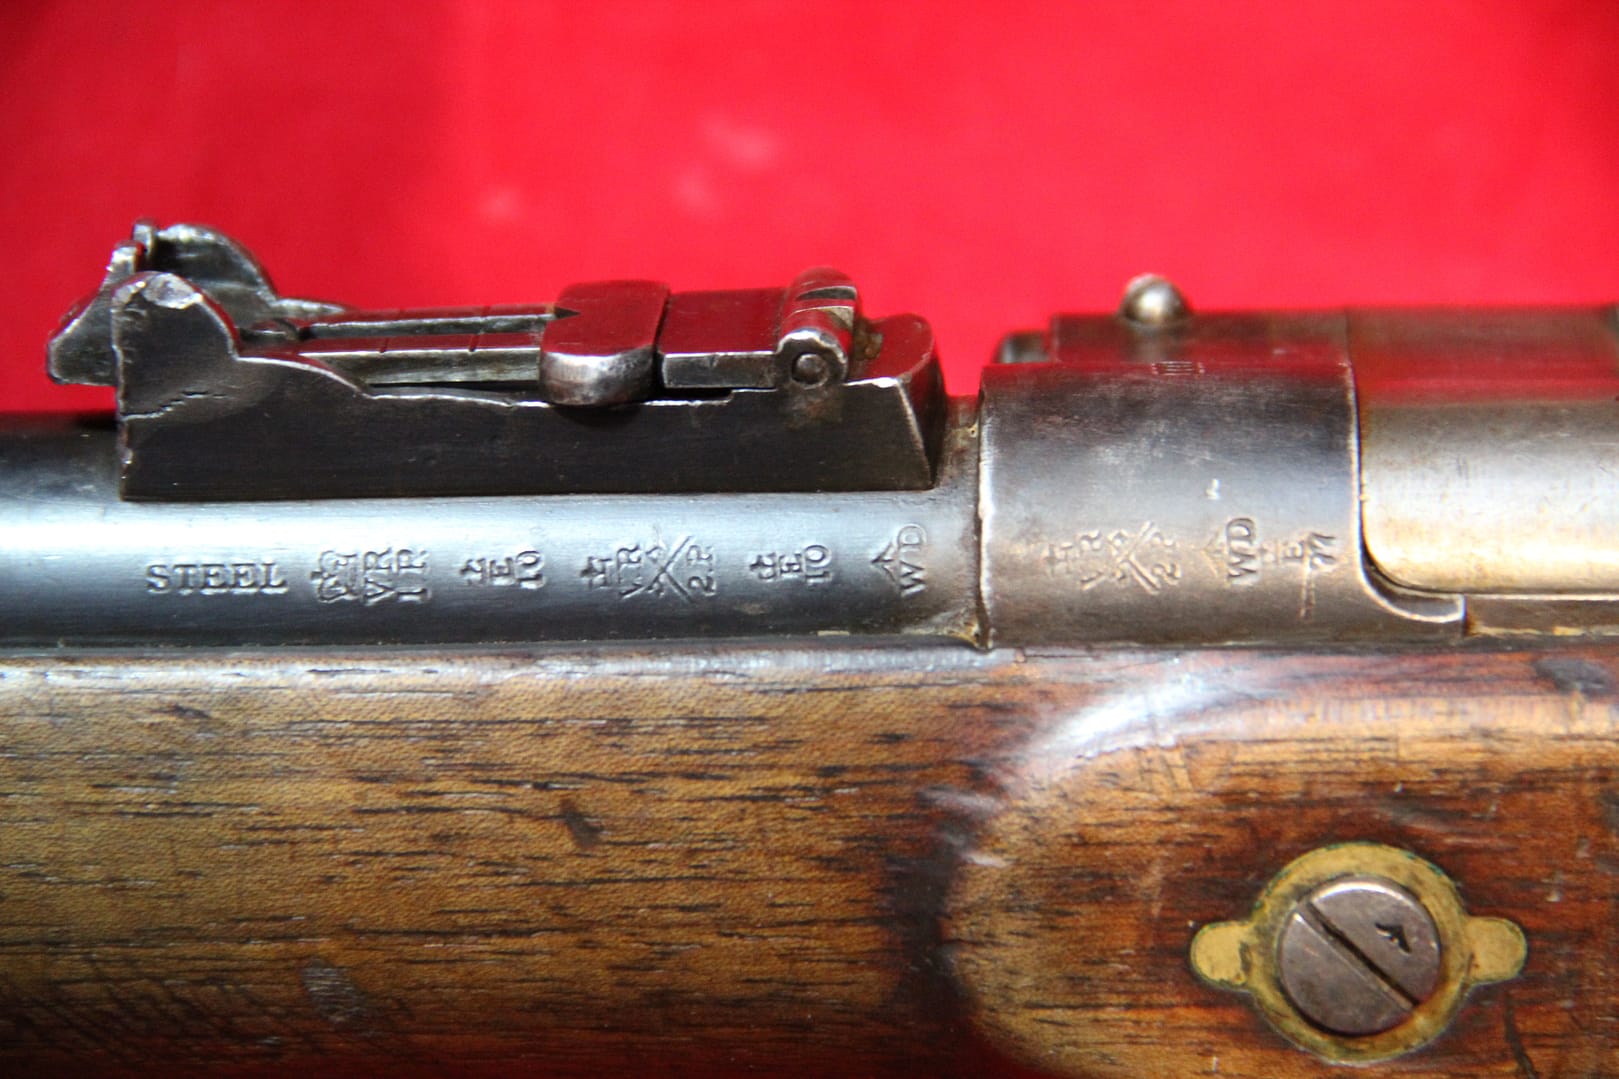
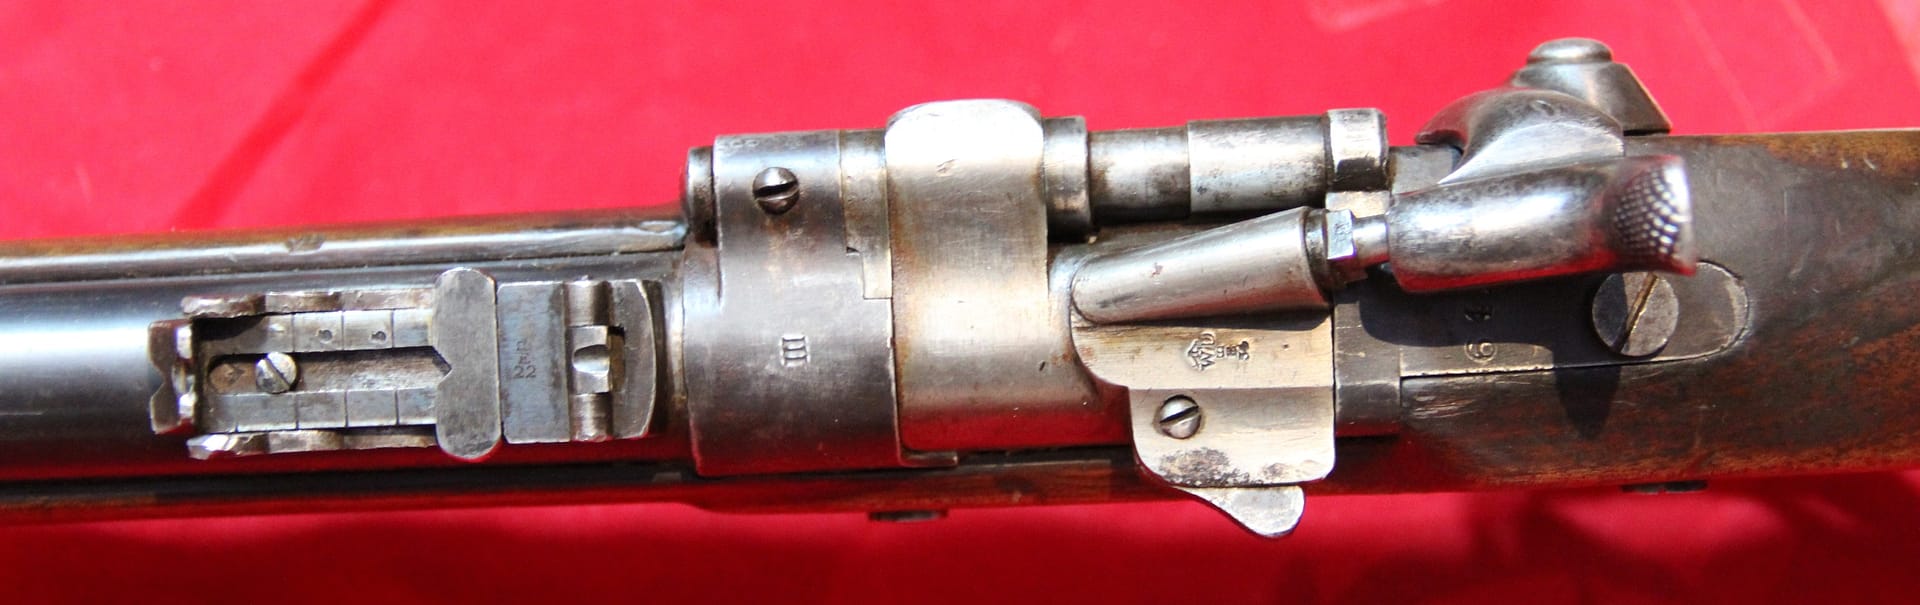
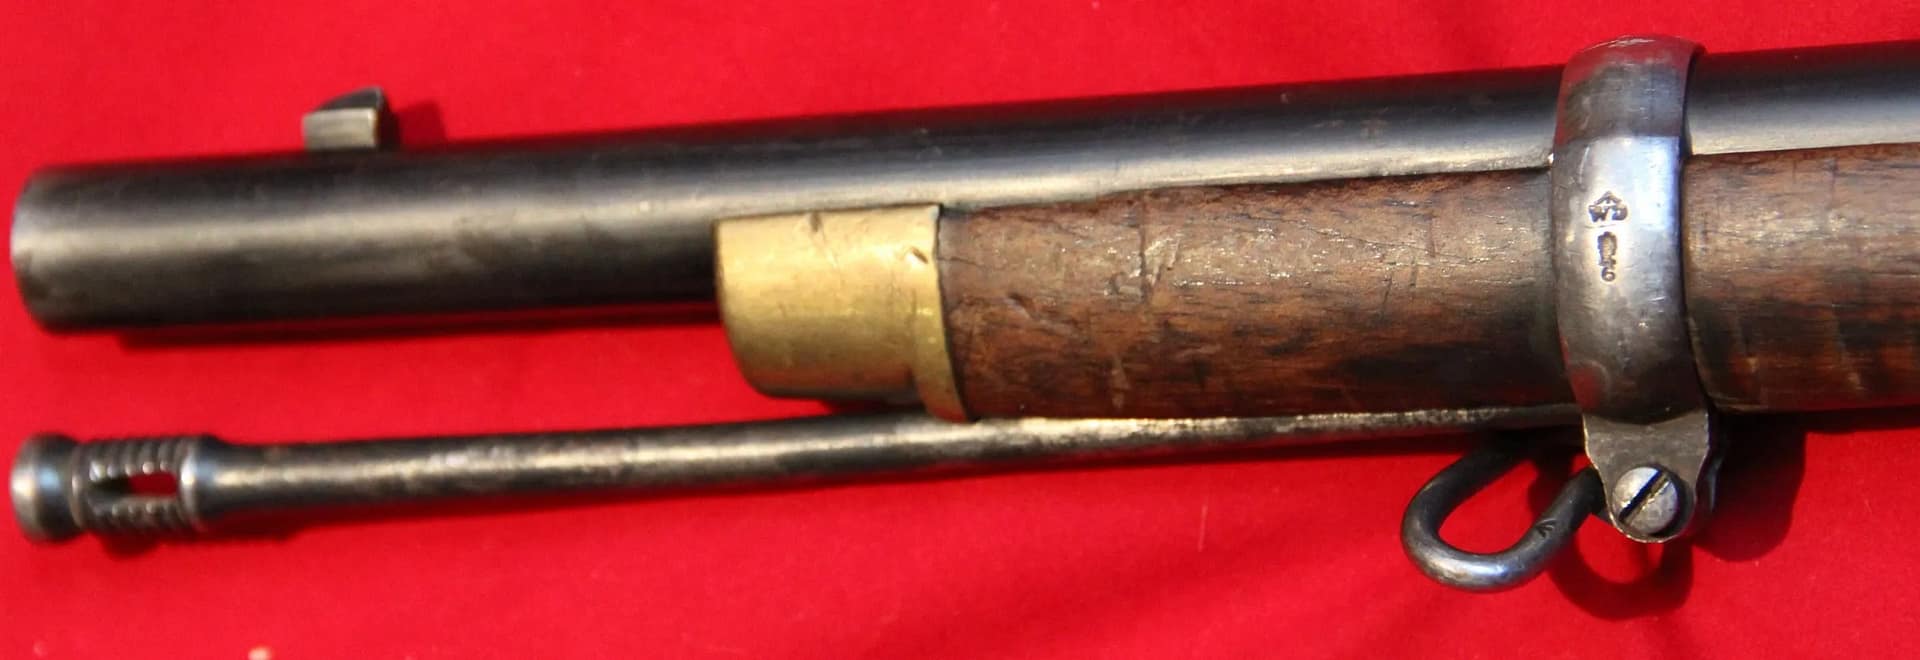
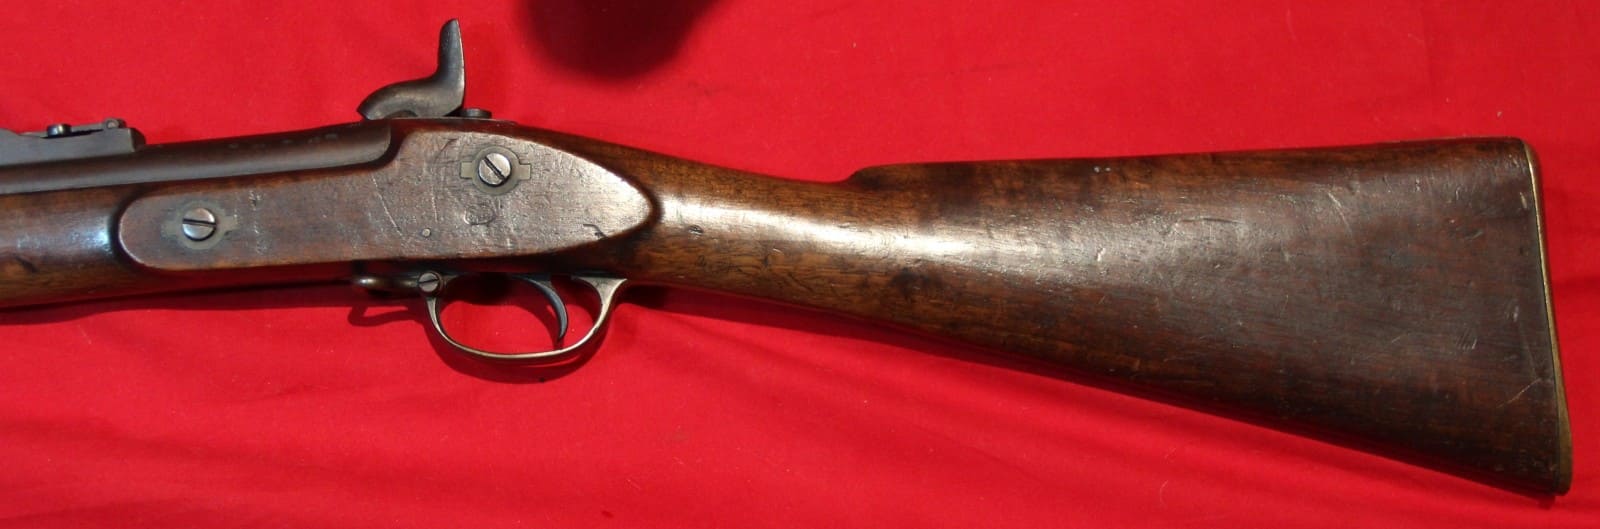
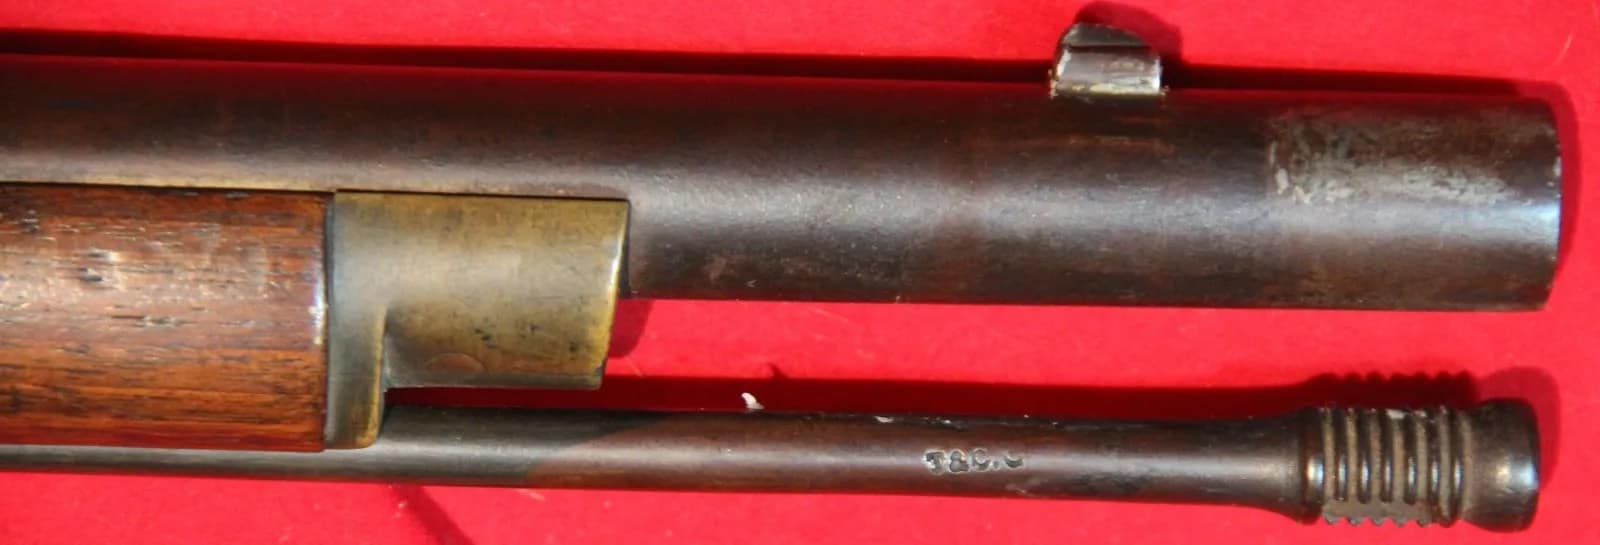
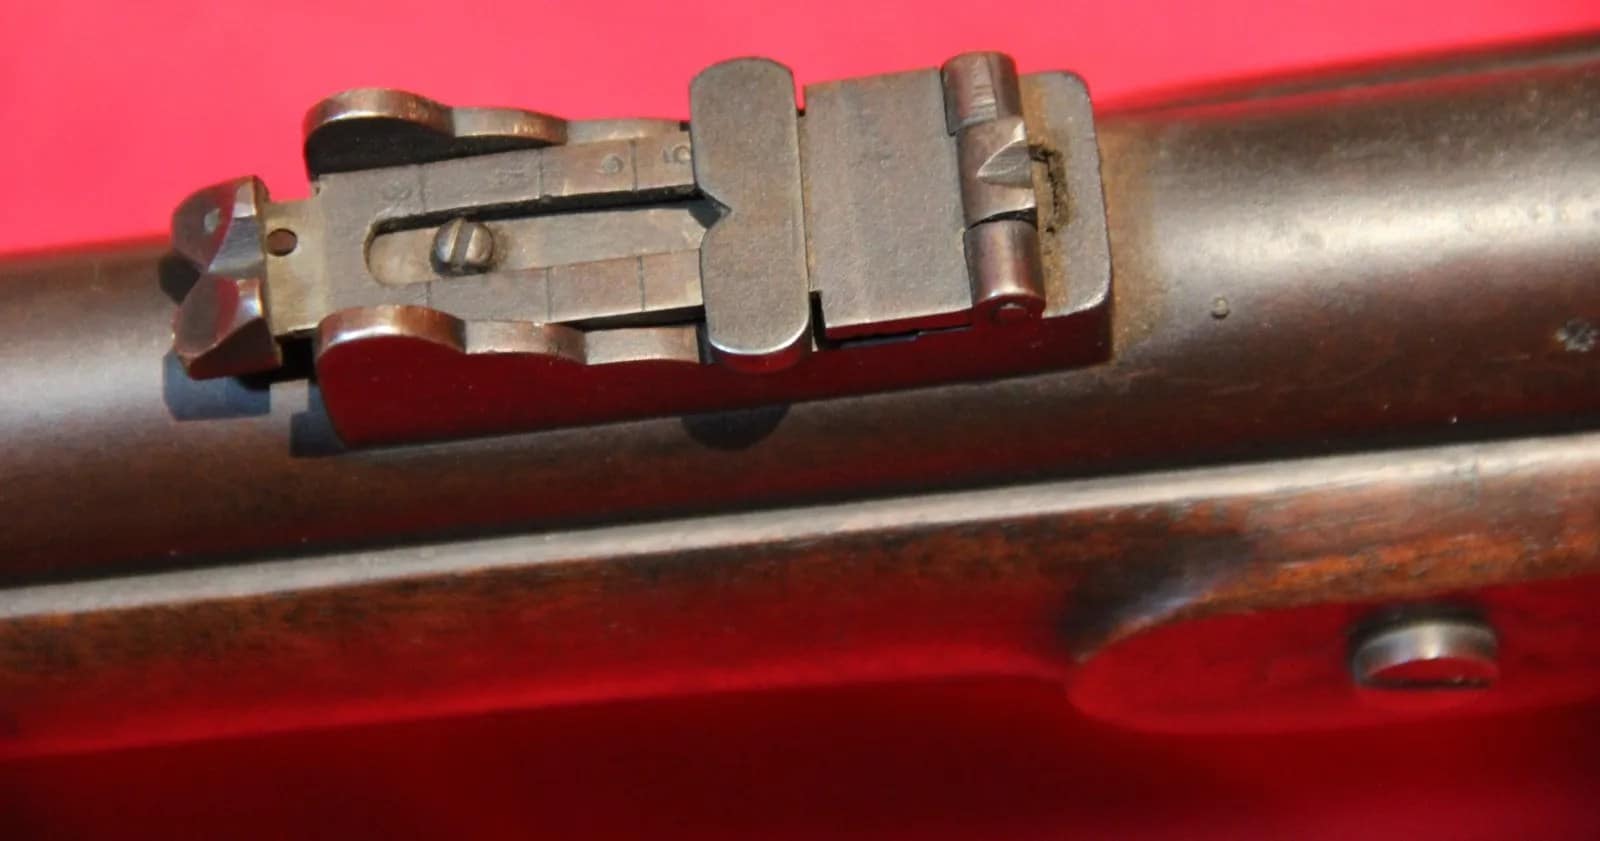
English Model 1871 Mark I Martini-Henry .577/.450 infantry rifle, dated 1875. From my personal collection

The Martini-Henry was the standard British infantry rifle during the Anglo-Zulu War of 1879. A single-shot, falling-block, breech-loading design chambered for the powerful .577/450 cartridge, it offered long-range accuracy and rapid aimed fire in trained hands. Its heavy recoil and black-powder fouling demanded discipline and good maintenance, particularly during sustained action. At battles such as Isandlwana and Rorke’s Drift, the rifle’s strengths and limitations were revealed in close-quarter fighting against fast-moving Zulu formations armed with assegais and shields..


English Model 1871 Mark I Martini-Henry .577/.450 infantry rifle, dated 1874. From my personal collection

The Martini-Henry was the standard British infantry rifle during the Anglo-Zulu War of 1879. A single-shot, falling-block, breech-loading design chambered for the powerful .577/450 cartridge, it offered long-range accuracy and rapid aimed fire in trained hands. Its heavy recoil and black-powder fouling demanded discipline and good maintenance, particularly during sustained action. At battles such as Isandlwana and Rorke’s Drift, the rifle’s strengths and limitations were revealed in close-quarter fighting against fast-moving Zulu formations armed with assegais and shields.


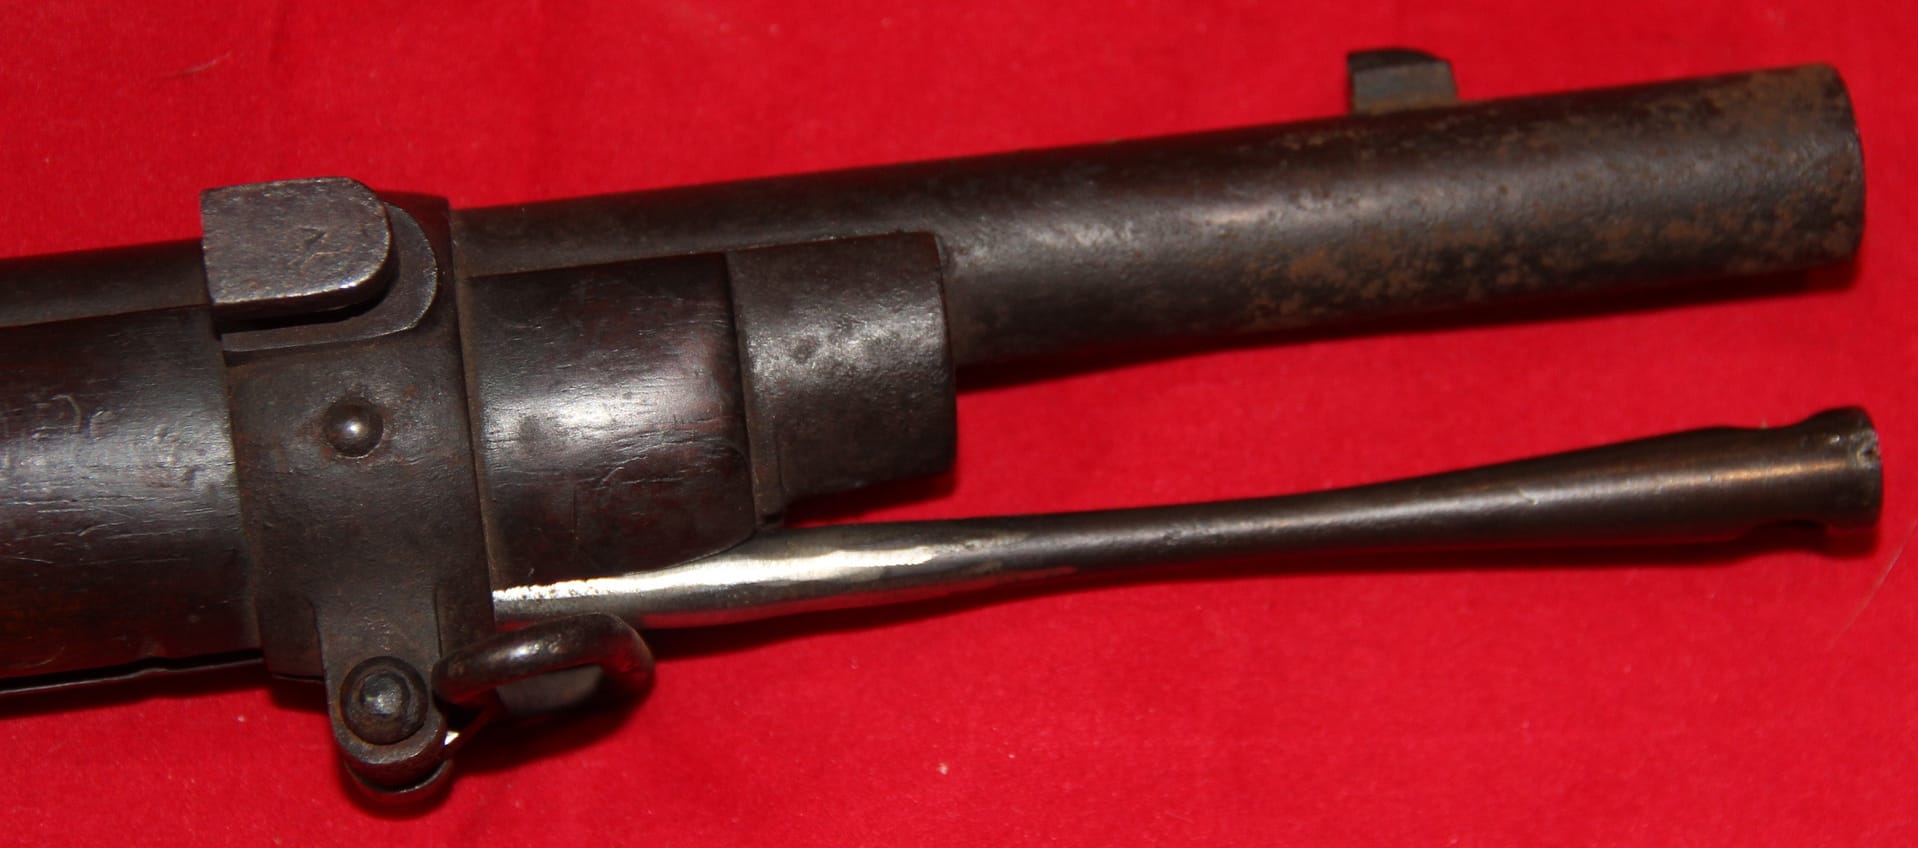
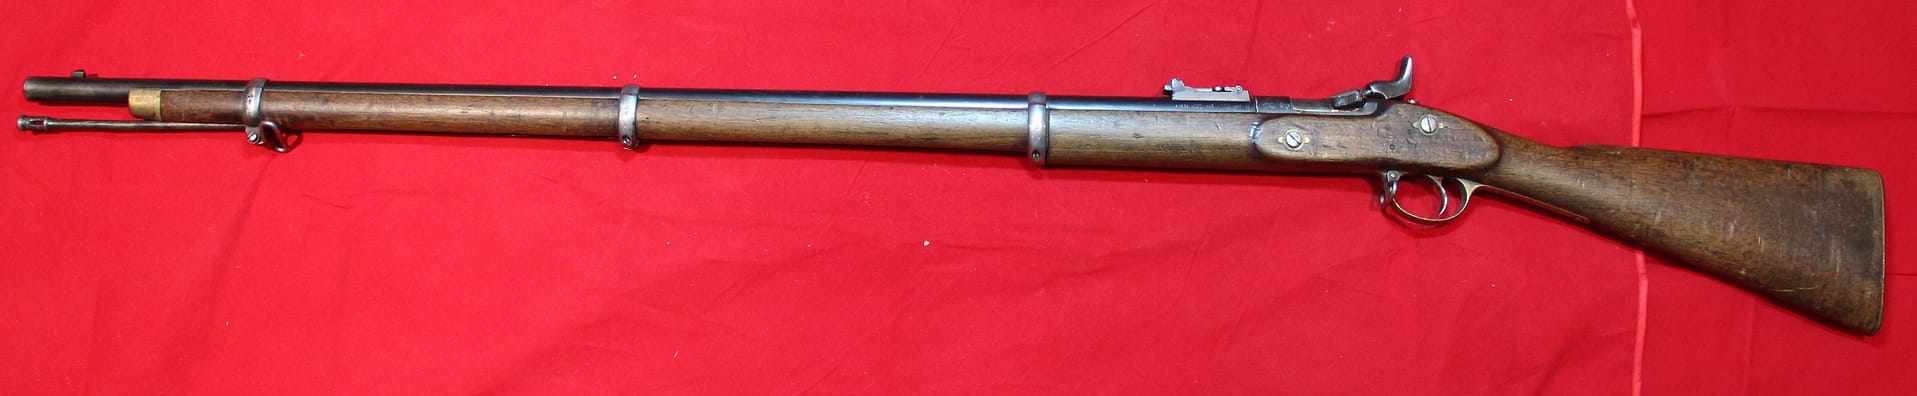
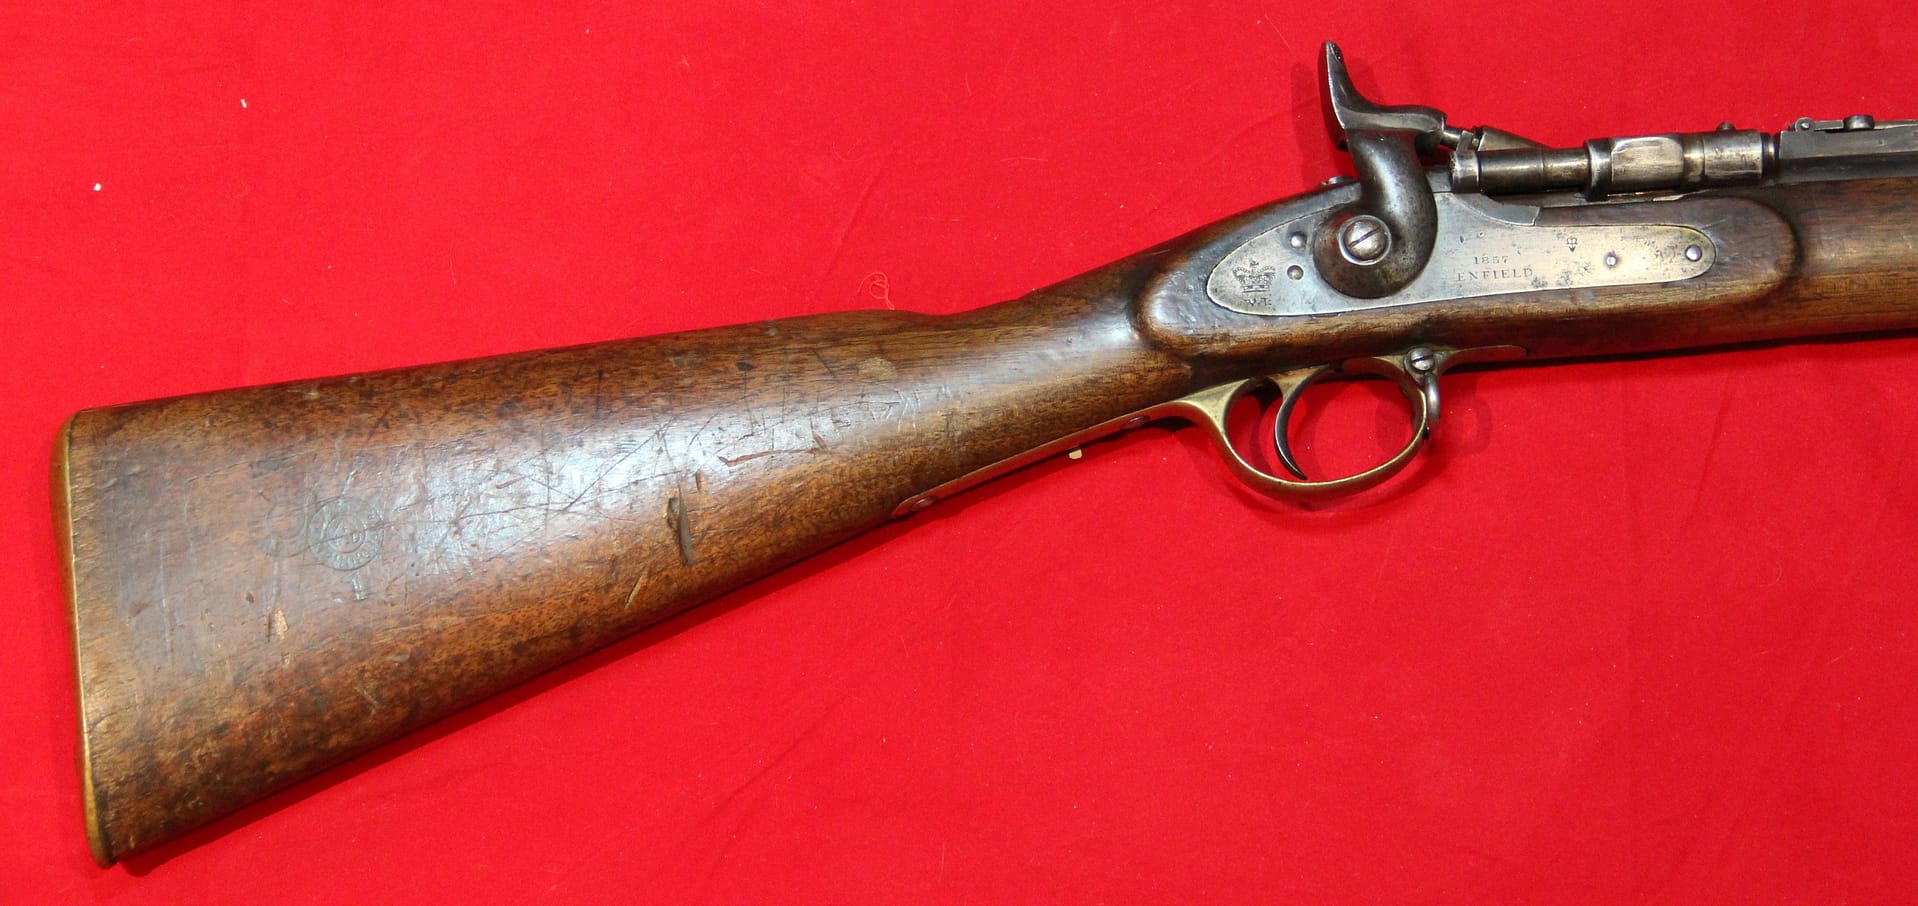
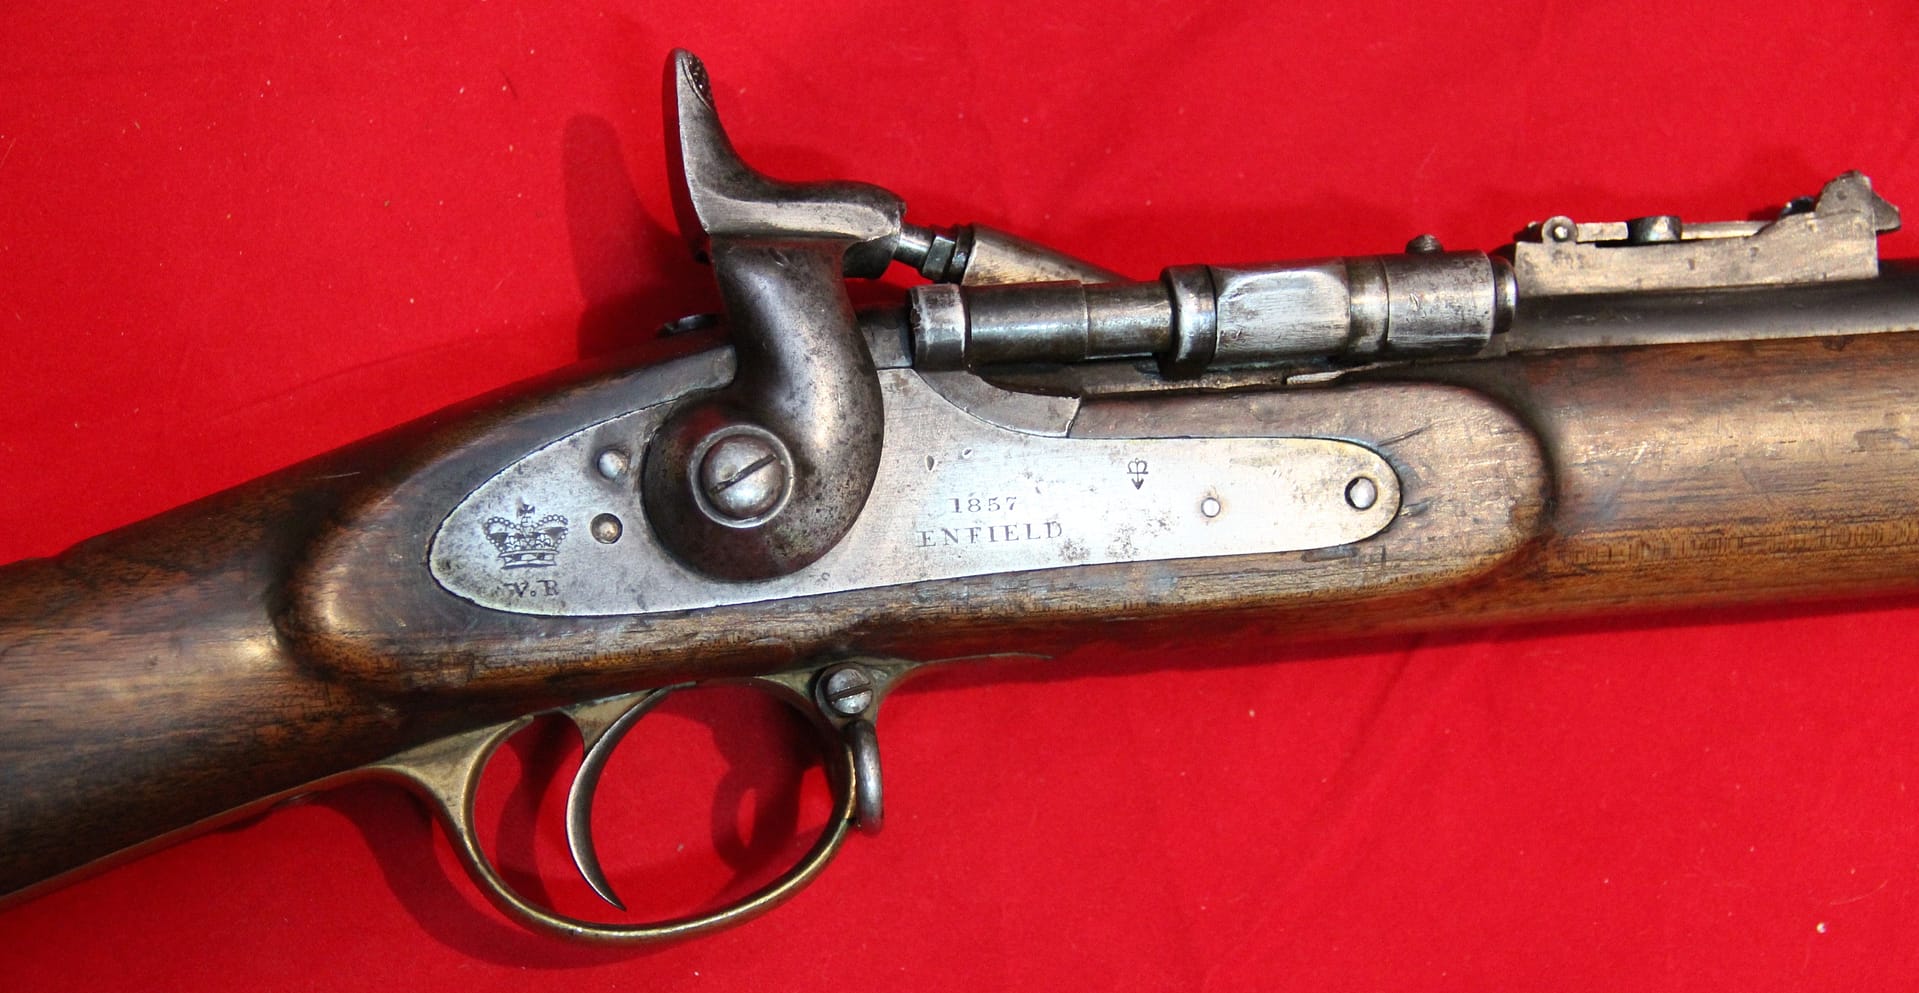
British Model 1857 Snider-Enfield Mark III, Centrefire 0.577″

The 1857 Snider-Enfield rifle-musket was a .577-calibre, rifled, centrefire cartridge rifle widely used by British forces and colonial troops. Initially produced as a conversion of the Pattern 1853 Enfield Rifle, by the Mark III version they were new builds as breech-loaders. Accurate to 600 yards, it offered major improvements in range and reliability. Its greased cartridge controversy helped trigger the 1857 Indian Uprising, making it one of the most consequential small arms of the era.


Pattern 1853 Enfield Rifle-Musket, from my personal collection.

The Pattern 1853 Enfield was a muzzle-loading percussion rifle-musket of .577 calibre, manufactured at the Royal Small Arms Factory, Enfield, and by numerous British contractors. It fired a conical Minié-type bullet and featured rifled grooves that greatly improved accuracy over earlier smoothbore muskets. Widely exported, it became one of the most important infantry weapons of the mid-19th century and saw extensive service in the Crimean War and with both Union and Confederate forces during the American Civil War, as well as in British imperial campaigns. By the time of the Second Anglo-Afghan War, the P53 Enfield was a third-tier weapon used by auxiliary and second line troops.


English Martini-Henry bayonet.

From my personal collection.


Second Anglo-Afghan War Accoutrements


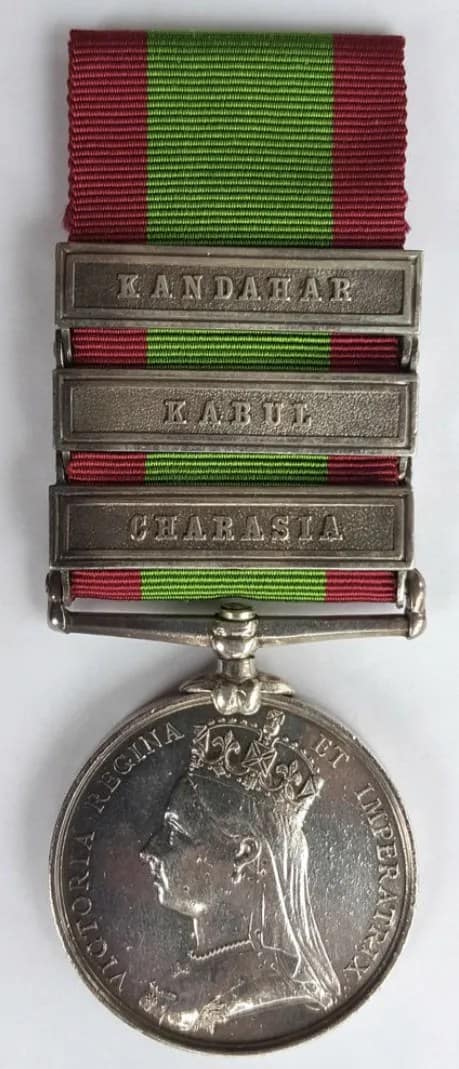
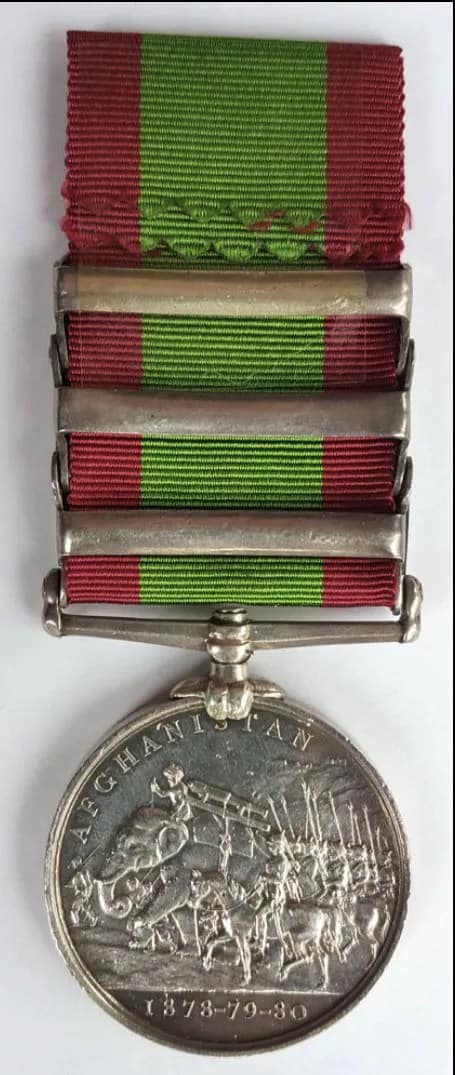
Afghan War medal to 1741 PTE H Maguire, 72nd Highlanders. With Kandahar, Kabul and Charasia clasps

The Afghan War Medal was authorised in 1881 for British and Indian Army personnel who served in the Second Anglo-Afghan War (1878–1880). Struck in silver, it features the diademed effigy of Queen Victoria on the obverse and a fortified mountain scene on the reverse, symbolising operations across the Hindu Kush. The medal was issued with one of several clasps, including Ali Masjid, Peiwar Kotal, Charasia, Kabul, and Kandahar, denoting specific campaigns and actions. A no-clasp medal was awarded to troops on garrison or line-of-communication duties.

Worn on a distinctive green ribbon with broad crimson edges, the medal became one of the most recognisable decorations of late-Victorian frontier warfare, reflecting service in harsh terrain, extreme climates, and sustained expeditionary operations along the North-West Frontier.


What weapons were used during the Second Anglo-Afghan War?

British forces were primarily armed with the Martini-Henry rifle, a powerful single-shot breech-loading firearm, supported by mountain artillery and Gatling guns in some operations. Indian units used a mix of Martini-Henry, Snider breech-loaders, and Pattern 1853 Enfields. Afghan fighters used a mixture of traditional weapons such as swords and knives alongside a wide variety of firearms, including locally made rifles and imported weapons.

What was the Martini-Henry rifle?

The Martini-Henry was the standard British infantry rifle of the late nineteenth century. It fired a large .577/450 cartridge and was known for its range, stopping power, and reliability. The rifle was widely used in imperial campaigns and proved effective in both offensive and defensive operations during the war.

What is a jezail?

The jezail is a long-barrelled rifle traditionally associated with Afghan and North Indian fighters. Often locally manufactured and highly individual in design, jezails were valued for their accuracy and range, particularly when used from defensive positions in mountainous terrain.

What role did artillery play in the conflict?

Mountain artillery was crucial in supporting infantry operations in Afghanistan’s difficult terrain. Lightweight guns could be transported by pack animals and deployed in remote areas, providing fire support during engagements and sieges.

What happened at the Battle of Maiwand?

The Battle of Maiwand in July 1880 was a major British defeat, where Afghan forces under Ayub Khan overwhelmed a British-Indian brigade. The battle demonstrated the challenges of operating in harsh terrain against determined opponents and remains one of the most studied actions of the war.

What was the significance of Roberts’ march to Kandahar?

General Roberts’ march from Kabul to Kandahar in 1880 covered over 500 kilometres in just over three weeks. The operation demonstrated the endurance and mobility of British forces and culminated in victory at Kandahar, restoring British strategic control.

Are the artefacts shown on this page original items?

All artefacts shown are from my personal collection and photographed firsthand. They represent weapons and equipment associated with the Second Anglo-Afghan War period.

Why was Afghanistan strategically important to Britain?

Afghanistan was seen as a buffer between British India and the expanding Russian Empire during the nineteenth century. Control over Afghan foreign policy was viewed as essential to protecting India’s northwest frontier.


Subscribe to Battlefield Travels and receive a free E-Book Battlefield Guide

Unlock expert battlefield analysis, campaign reconstructions, and historical insights drawn from firsthand exploration and primary sources.

🗺️ You’ll receive:

🎖️ Exclusive historical insights you won’t find elsewhere

📘 A free eBook: 10 Tips for Exploring Historic Battlefields

📰 New battlefield studies straight to your inbox as they are published


1756 1st Model Brown Bess 27th Regt
Long Land (1st Model) Pattern 1756 Brown Bess

Overview of the Seven Years War

The Seven Years’ War (1756–1763) was the first truly global conflict of the modern era, fought simultaneously in Europe, North America, the Caribbean, West Africa, and India. Sometimes described as the “first world war,” it pitted Britain and Prussia against France, Austria, Russia, and Spain, with alliances shifting as the struggle spread across continents.

In Europe, the war was defined by Frederick the Great’s campaigns, where the Prussian army fought for survival against numerically superior enemies. Battles such as Chotusitz (1742), Rossbach (1757), Leuthen (1757), and Kunersdorf (1759) demonstrated the discipline, firepower, and tactical innovation that established Prussia as a major power. Britain, meanwhile, waged its own global war at sea and in the colonies, fighting against France in Canada, the Caribbean, and India, including the Battle of Bushy Run (1763) and the Siege of Fort William Henry (1757).

The conflict reshaped the balance of power. Britain emerged as the dominant naval and colonial empire, while Prussia secured its position as a leading European military state. Just as importantly, the war represents the maturity of the 18th-century military system, characterised by professional standing armies, linear tactics, and increasingly standardised weapons and equipment.

Weapons technology

From a technology perspective, the Seven Years’ War represents the mature phase of the smoothbore flintlock era. Armies entered the conflict equipped largely with weapons little changed from earlier wars: smoothbore muskets such as the Brown Bess, socket bayonets, and muzzle-loading artillery formed the backbone of all major armies. Linear tactics, close-order drill, and controlled volleys defined battlefield combat.

By the end of the war, however, most combatants were adapting their weapons and equipment in response to operational experience. British forces shortened the barrels of their muskets after fighting in the forests of North America, improving handling and mobility. Artillery became increasingly important, forming a significantly larger proportion of field forces in 1763 than in 1756. Across Europe, reforms such as those associated with Prince Joseph Wenzel of Liechtenstein in the Austrian artillery arm reflected growing recognition of the decisive role of firepower and mobility.

The uniforms, muskets, artillery, and equipment of this period illustrate both the peak of the linear warfare system and the beginnings of change that would shape later eighteenth-century armies. Studying these artefacts provides insight into how soldiers were equipped, organised, and supplied during one of the defining conflicts of the eighteenth century.

Explore the Seven Years’ War: [Battle Studies] · [Weapons & Equipment] · [Recommended Reading] · [Quiz]

All artefacts shown are from my personal collection and photographed firsthand.


British Weapons of the Seven Years War


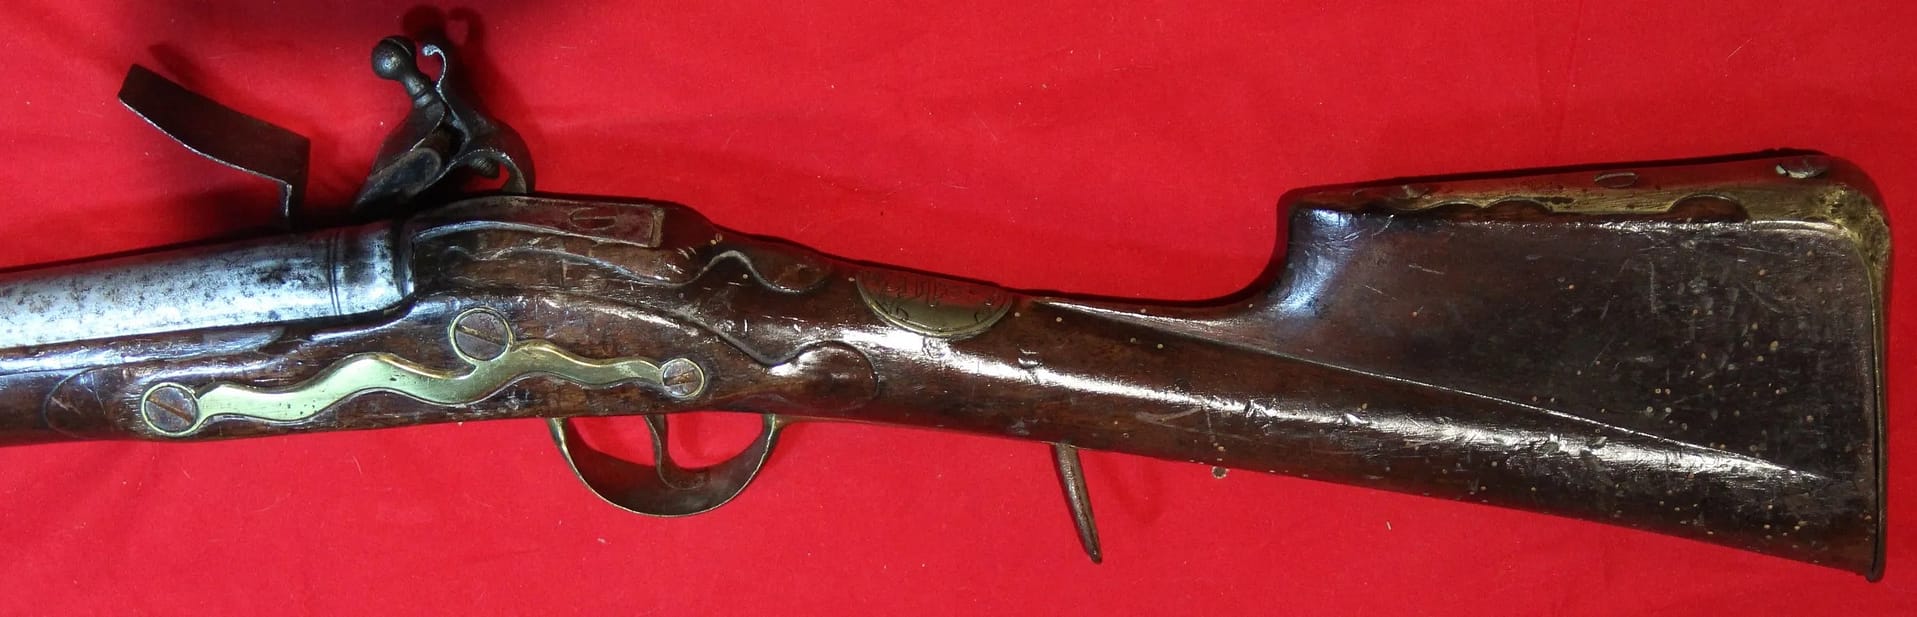
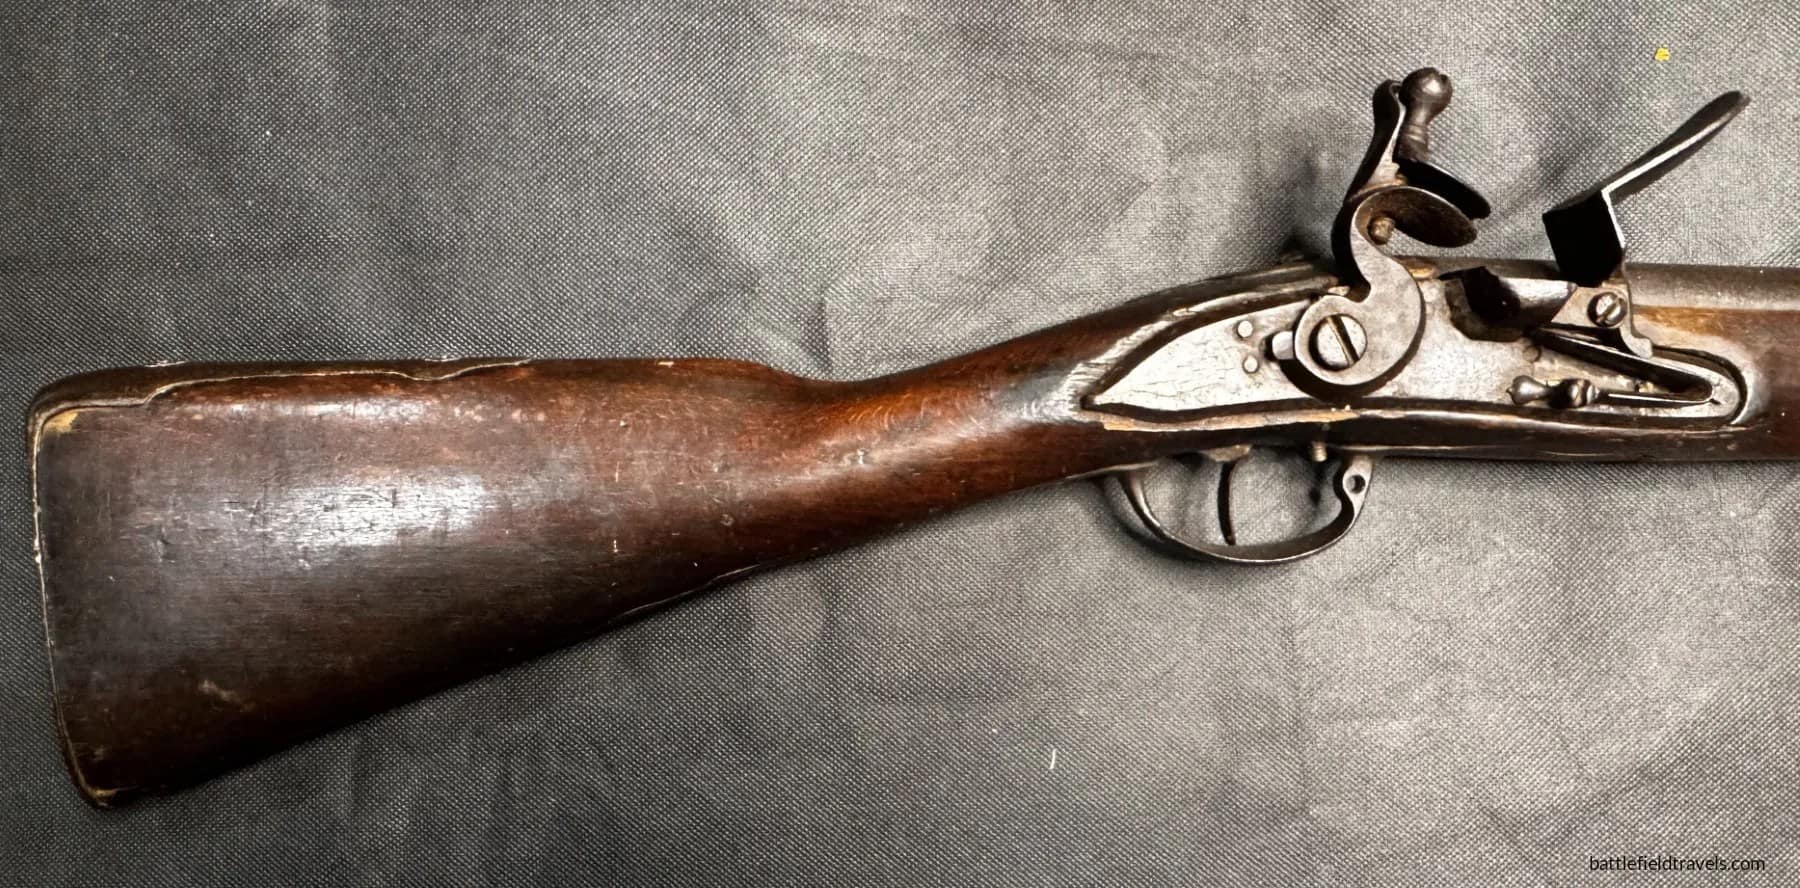
Pattern 1756 Long Land Musket, marked to the 27th Regiment, Enniskillen Fusiliers. From my personal collection.

This Pattern 1756 Long Land musket, marked to the 27th Regiment of Foot (Enniskillen Fusiliers), represents the British Army’s primary infantry weapon during the mid-Seven Years War period. A .75-calibre flintlock with a 46-inch barrel, it incorporated improvements to lock strength, furniture, and bayonet fit over the earlier Pattern 1742. The 27th Foot served extensively in North America—including Louisbourg, Ticonderoga, and Quebec—making marked examples extremely scarce. Regimental branding reflects the period practice of unit-level property control on arms issued for overseas campaigning.


English Long Land Pattern Musket, Pattern 1742, marked Farmer 1748. Probably restocked in beech wood. From my personal collection.

This Pattern 1742 Long Land musket, maker-marked Farmer 1748, represents the principal British infantry firearm of the mid-18th century. A .75-calibre flintlock with a 46-inch barrel, it provided reliable volley fire during the War of Austrian Succession and early Seven Years’ War. Many surviving examples were restocked post-service; this musket shows a later beechwood stock, replacing the original walnut. The Pattern 1742 formed the backbone of British line infantry armament before the evolution of the 1756 and 1769 Brown Bess patterns.


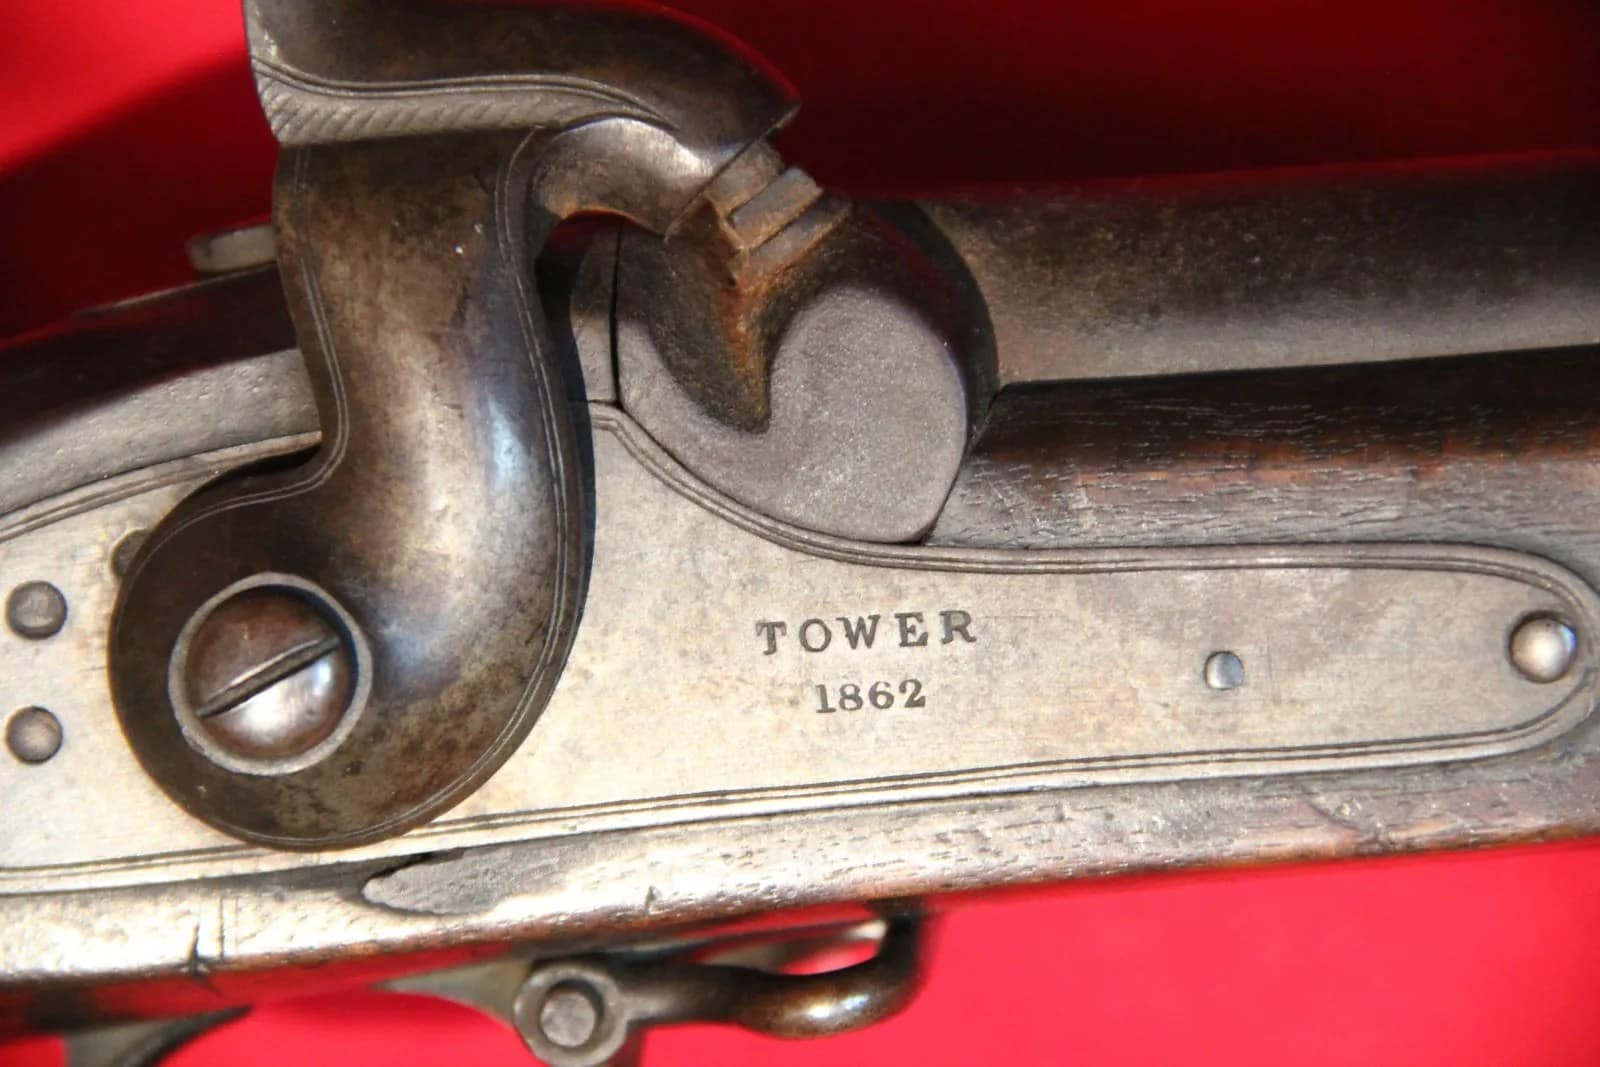
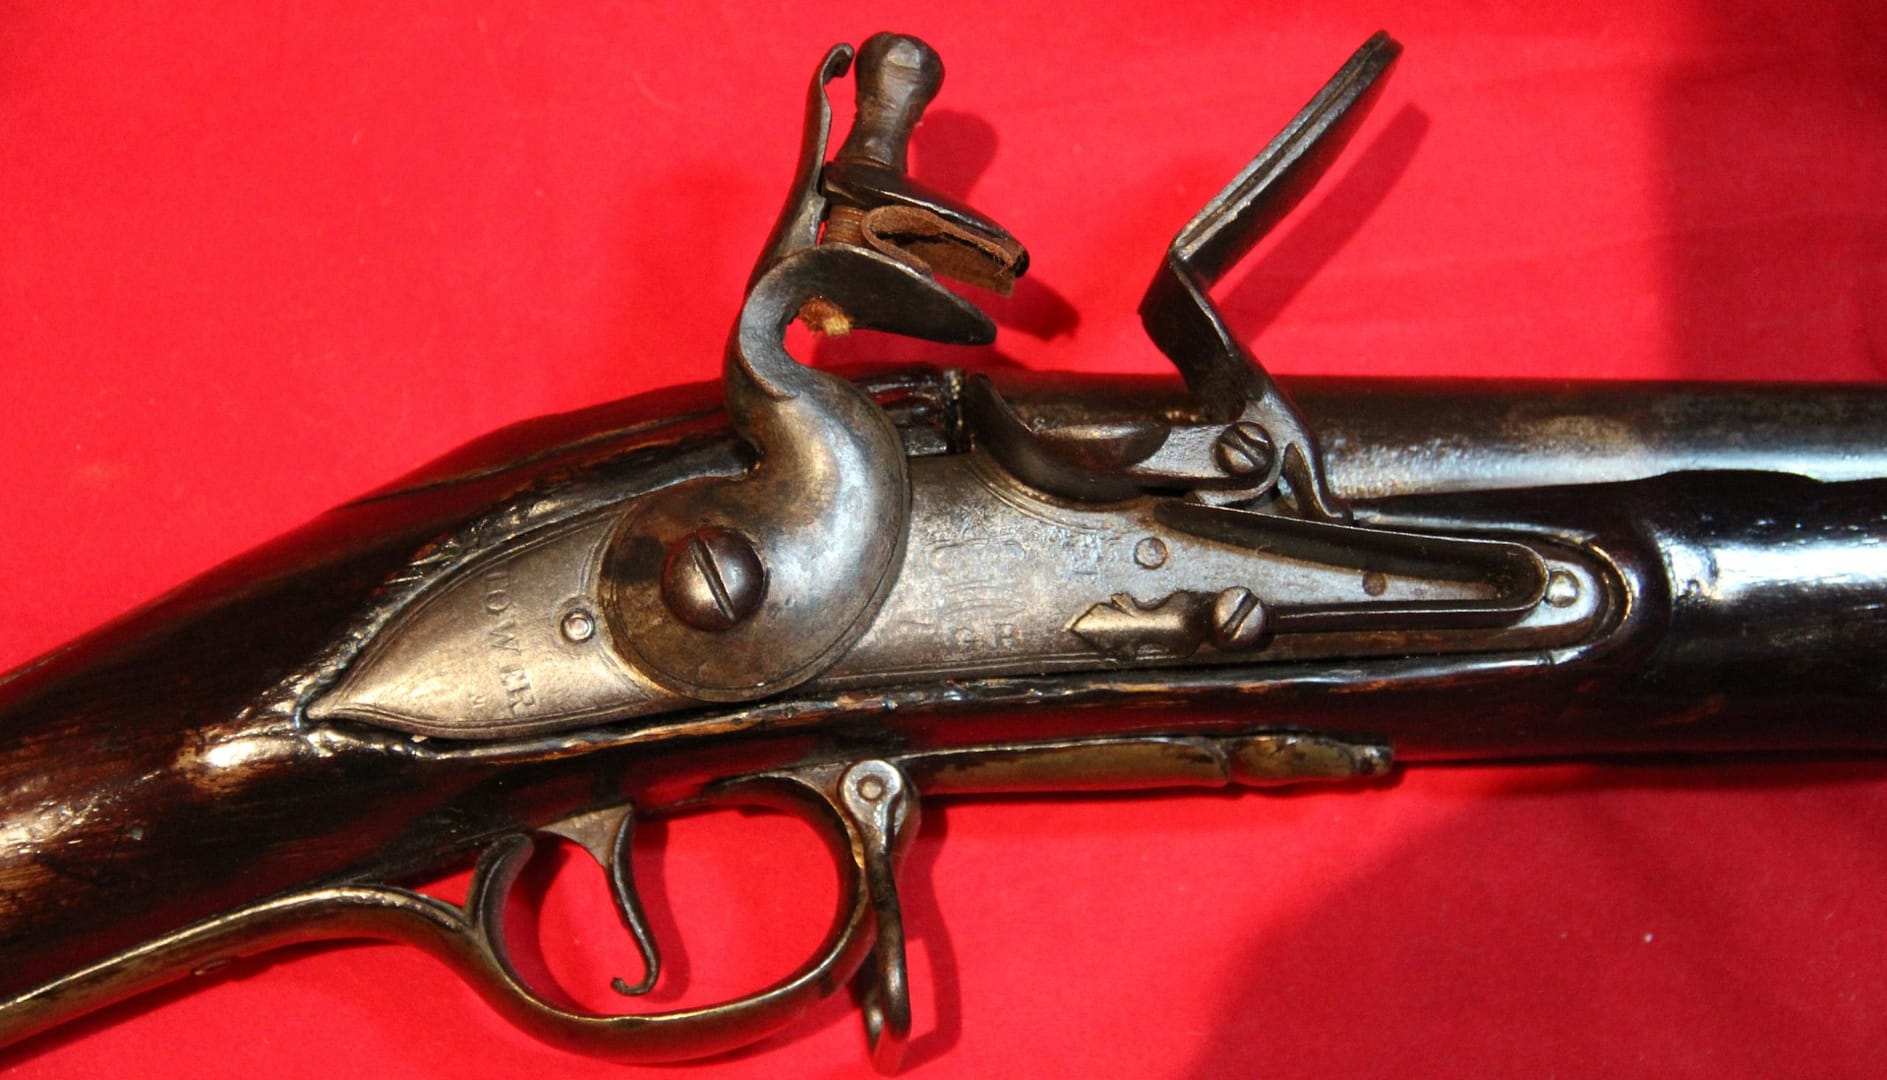
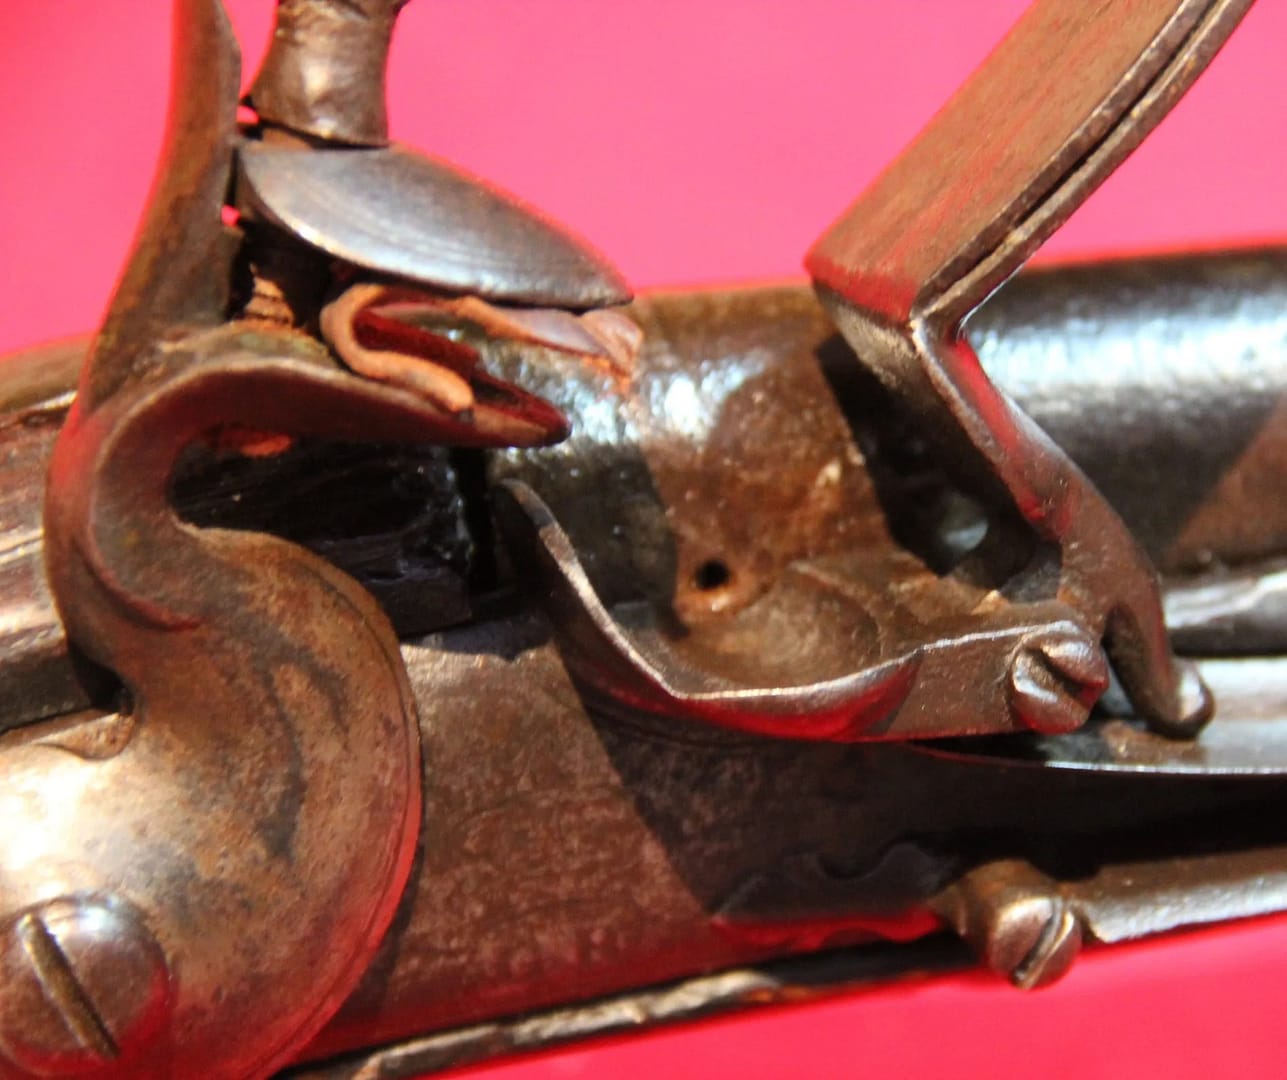
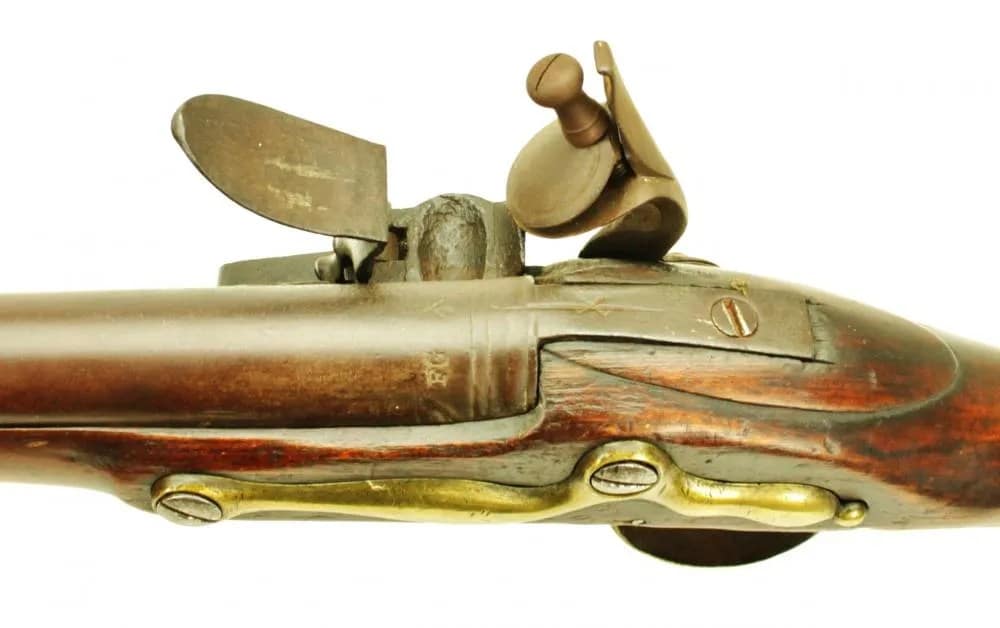
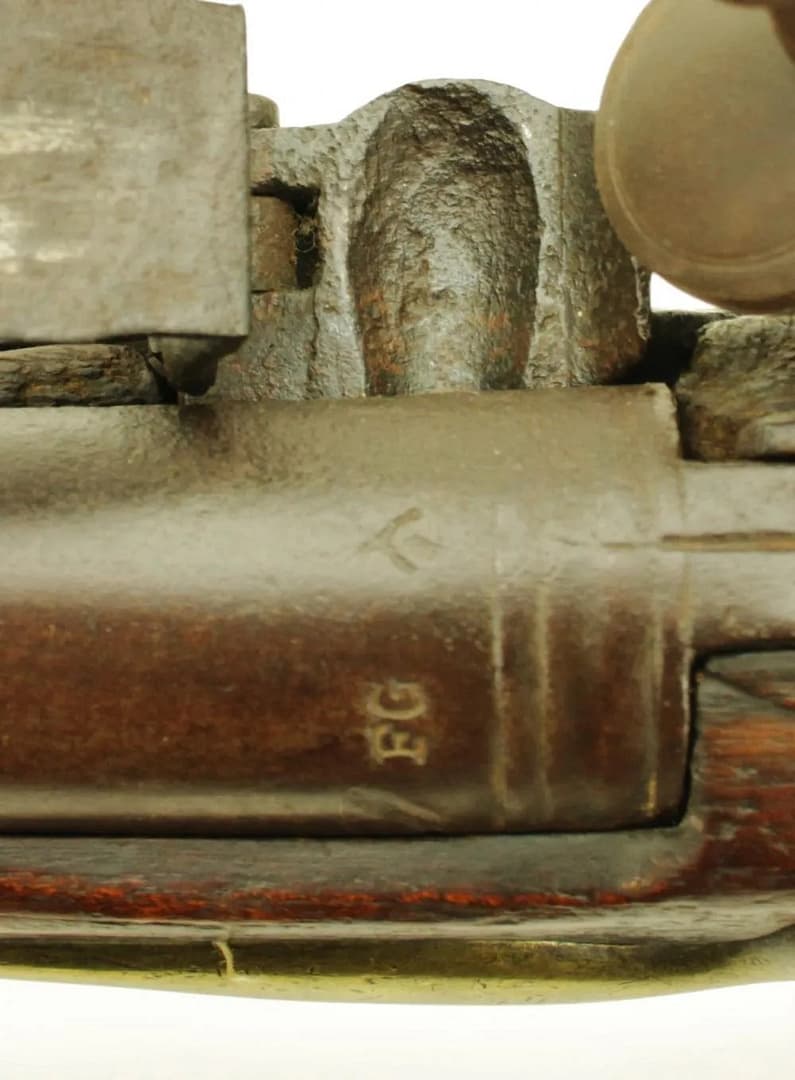
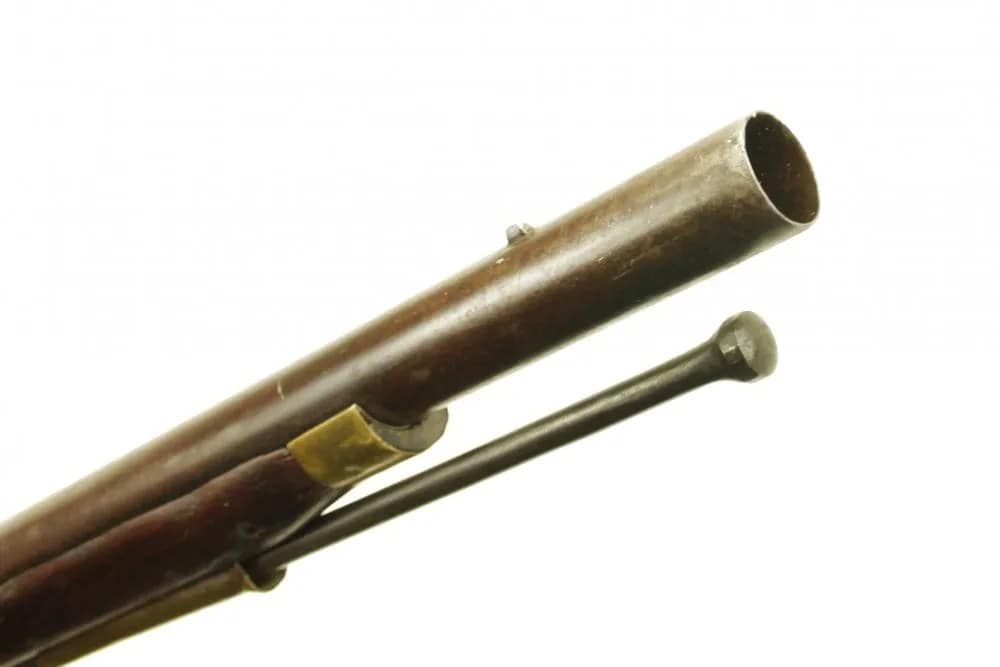
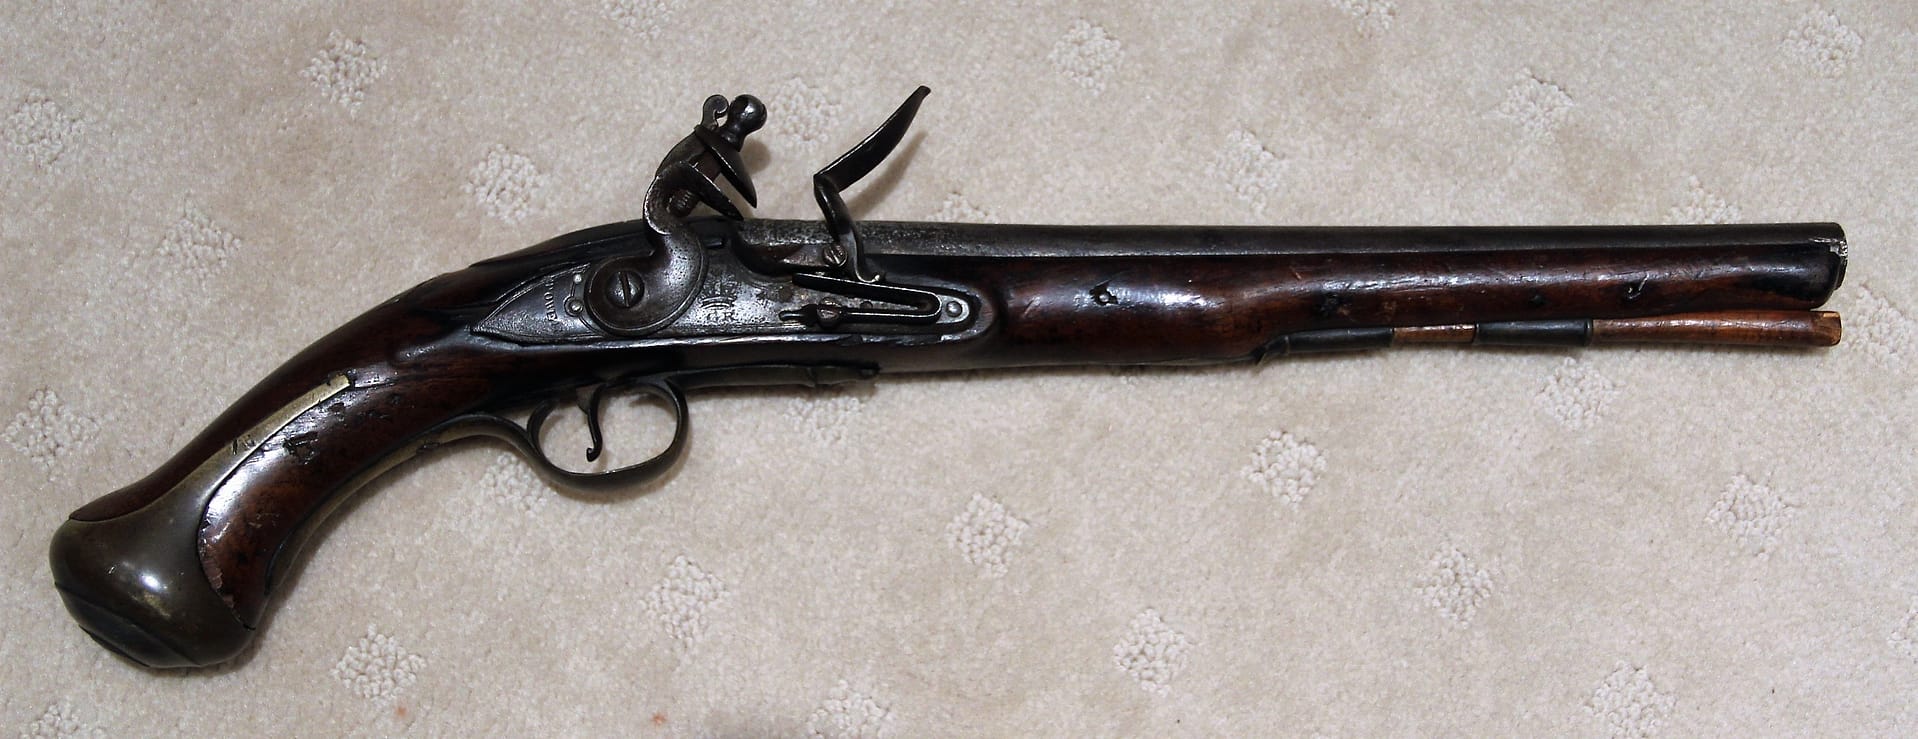
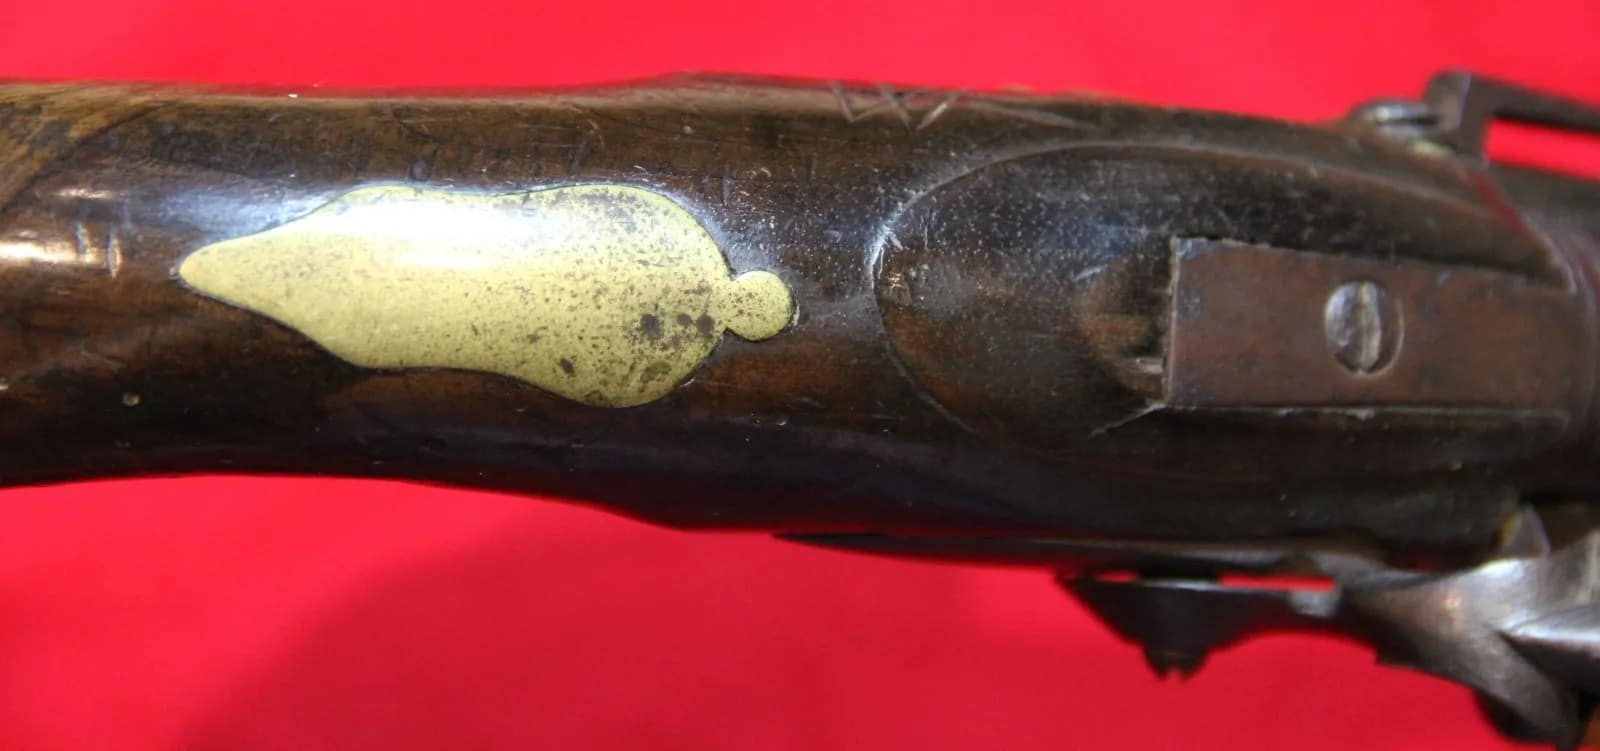
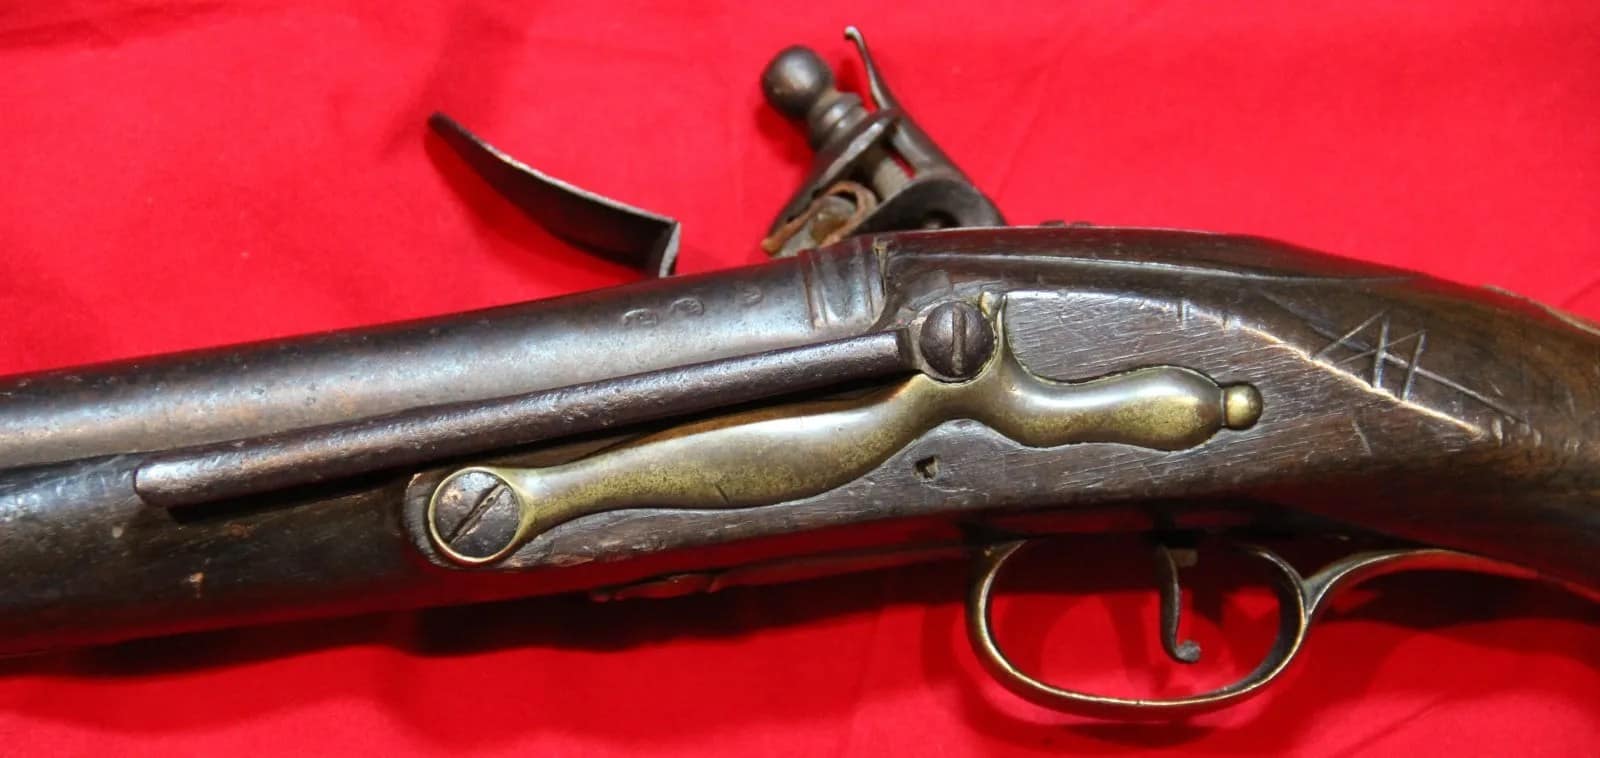
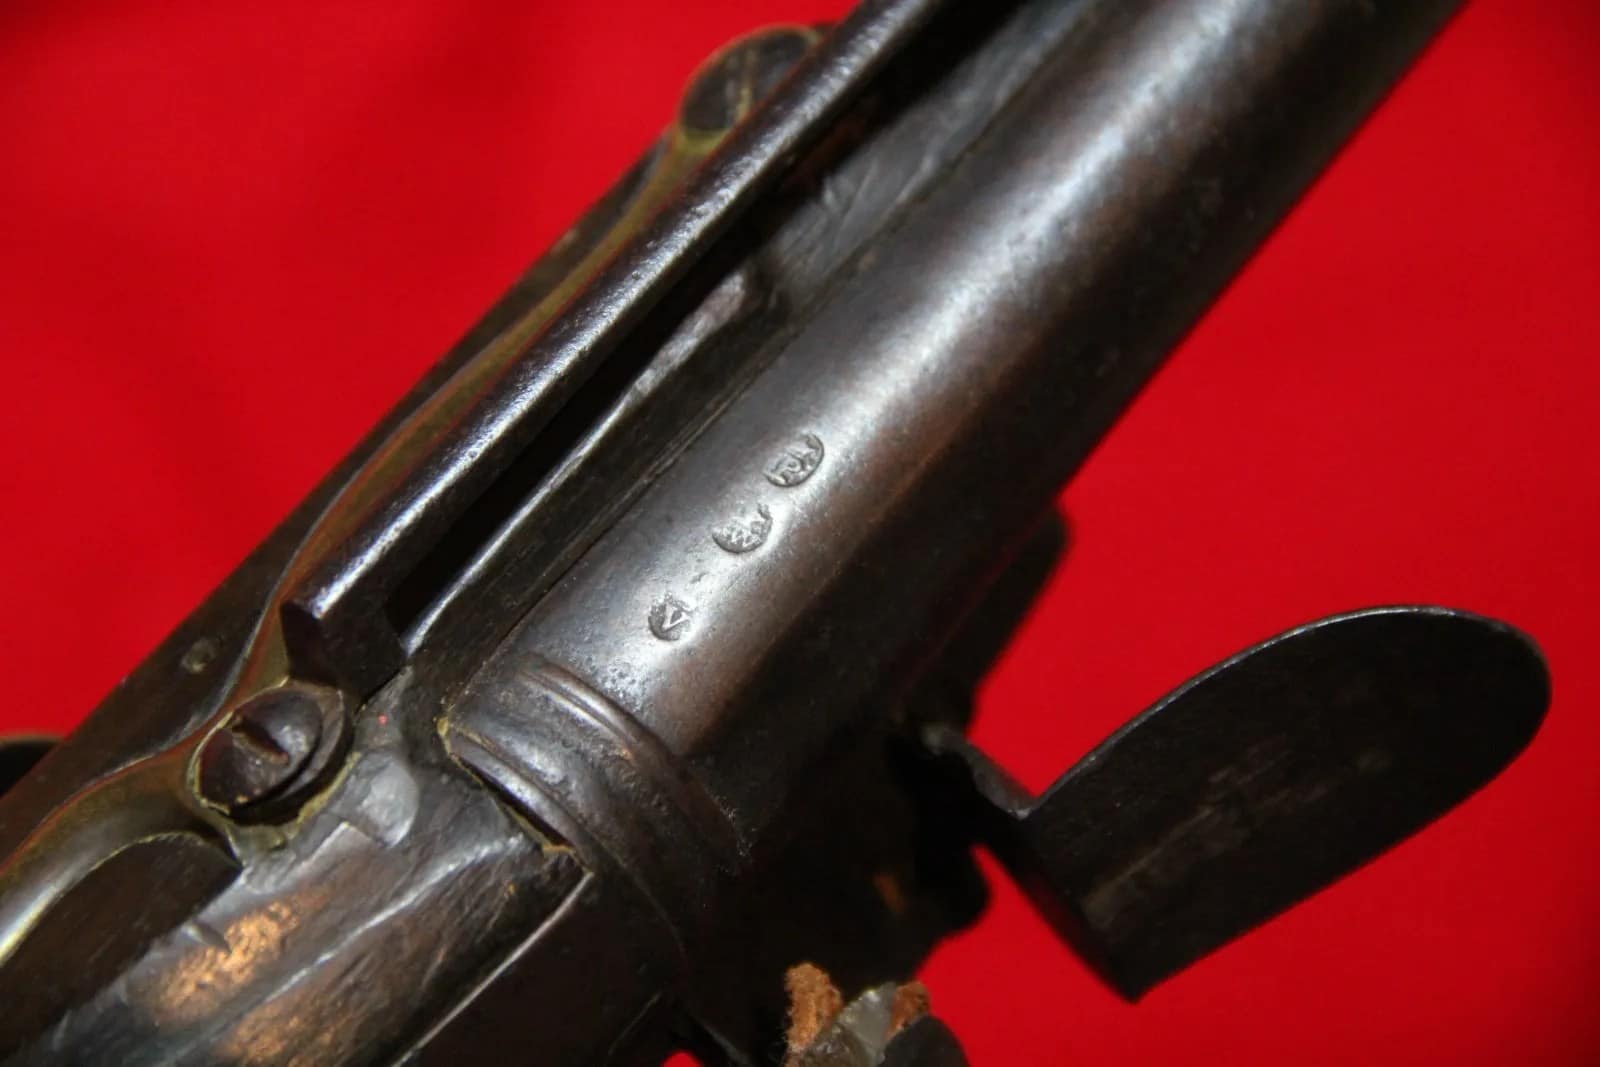
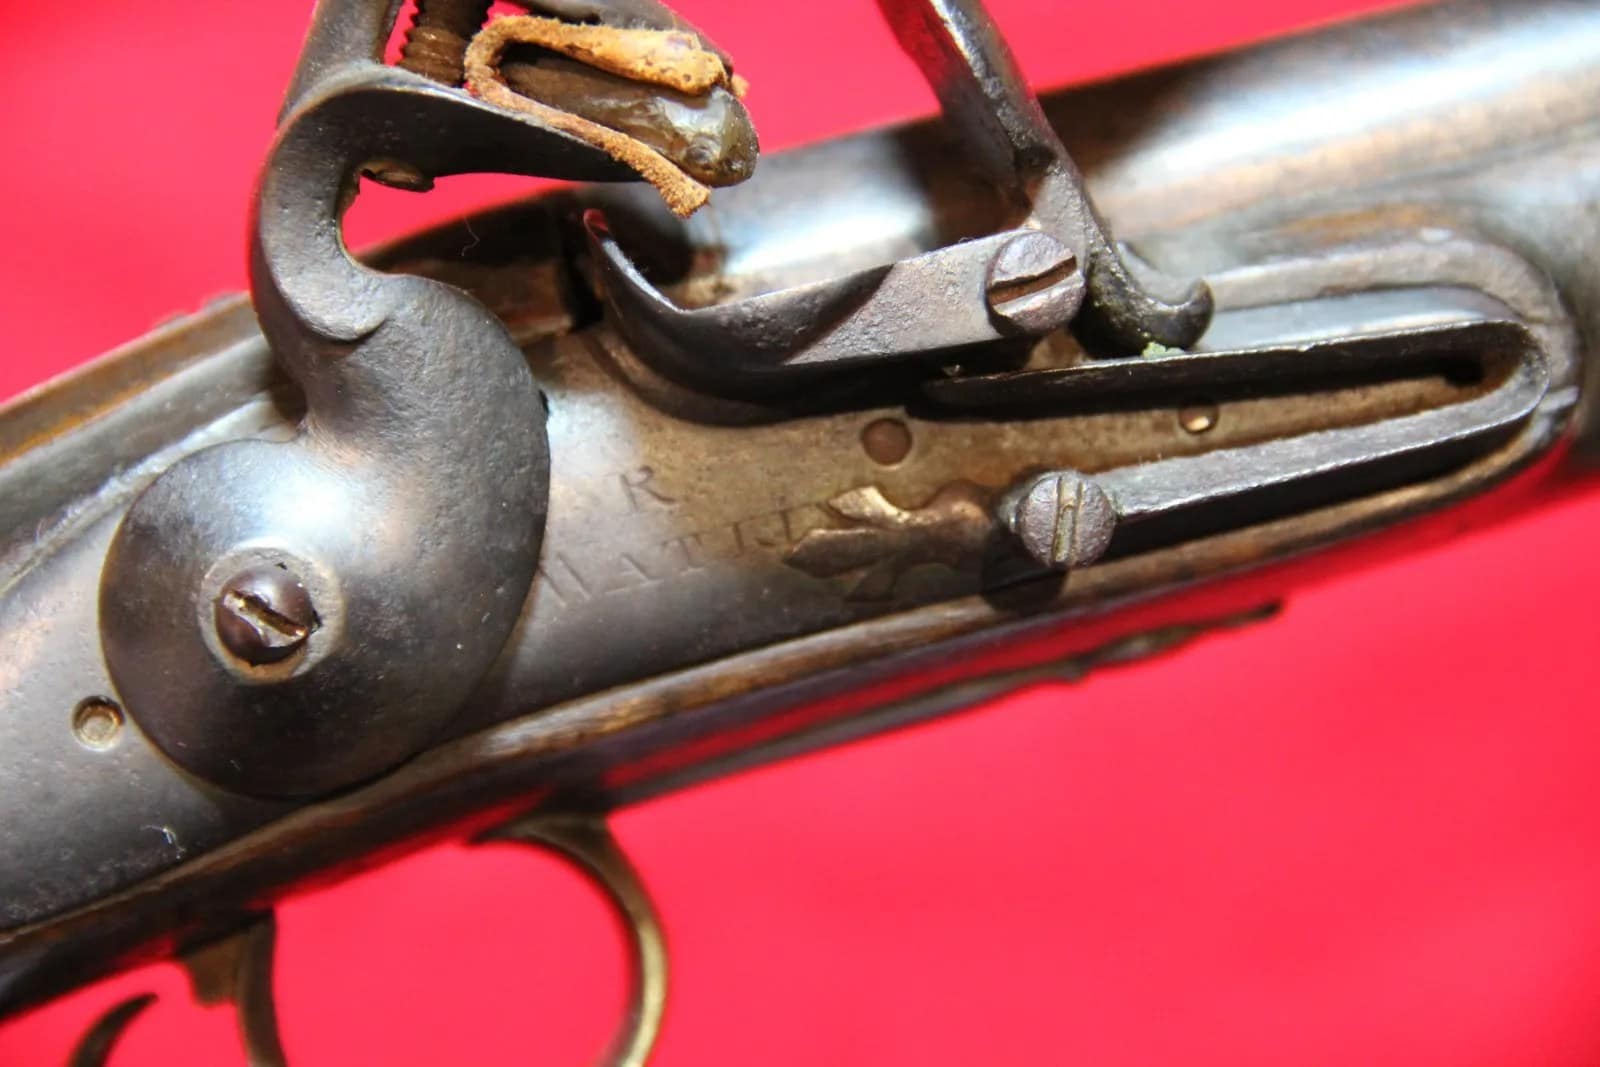
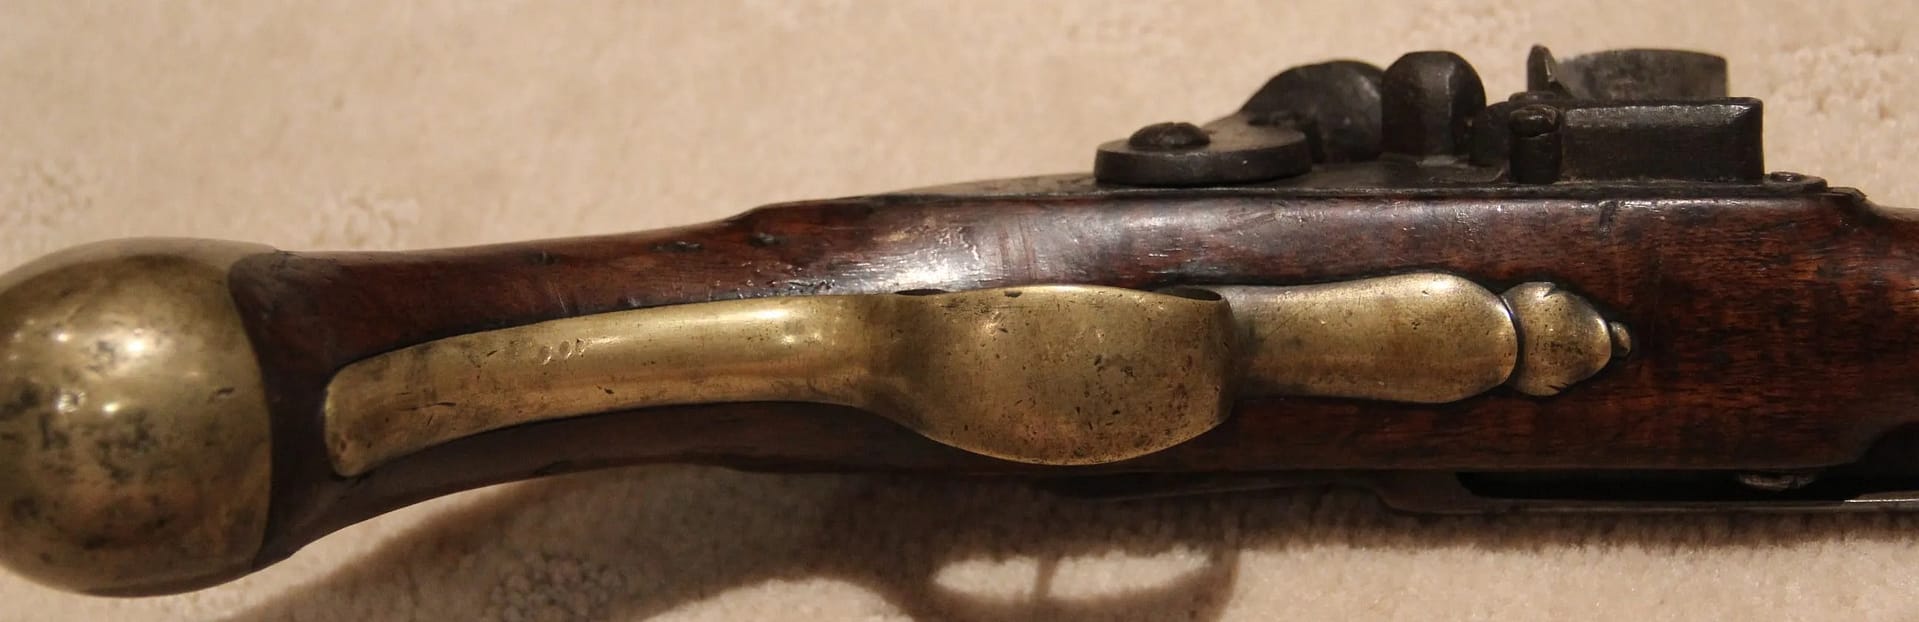
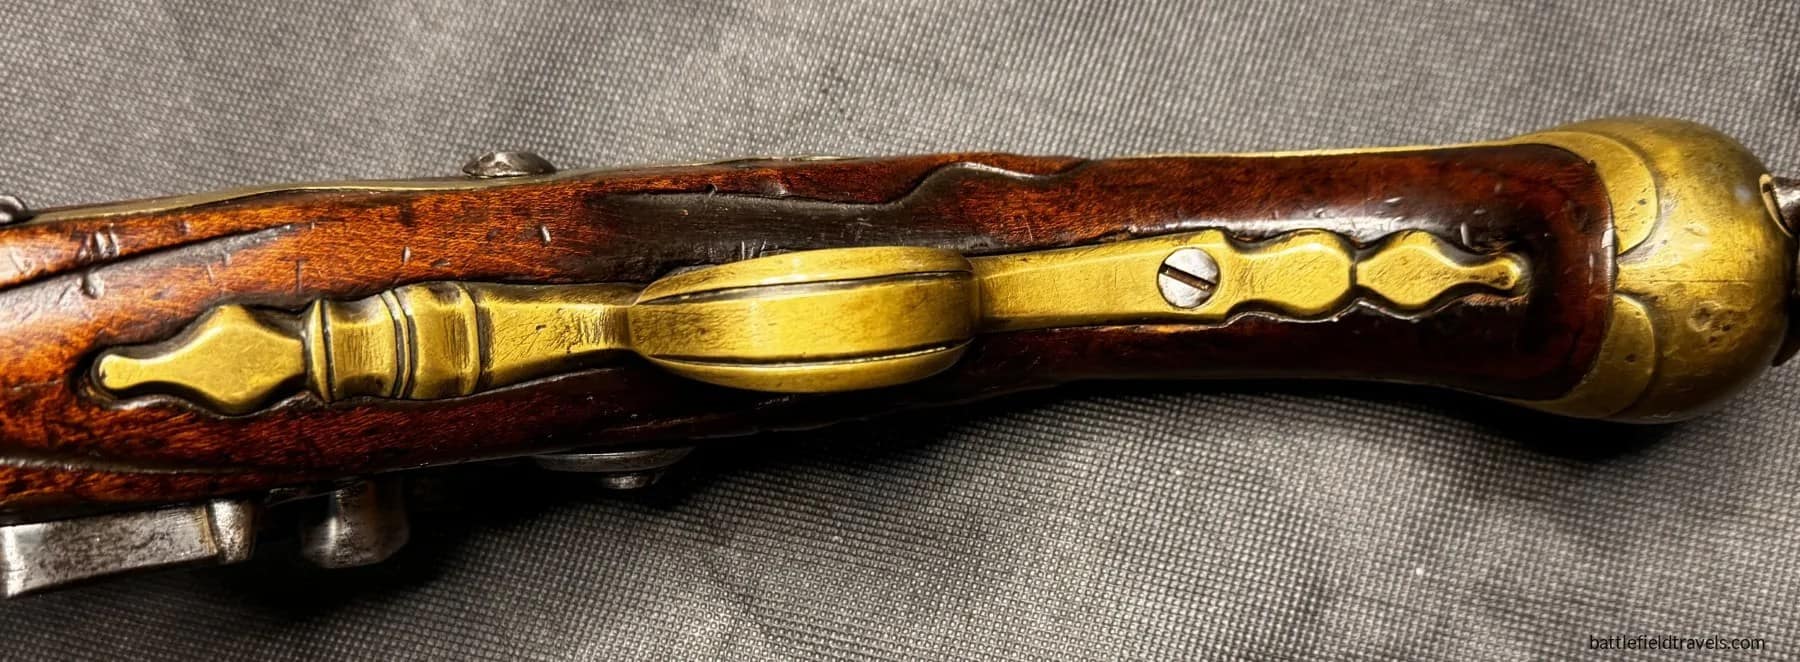
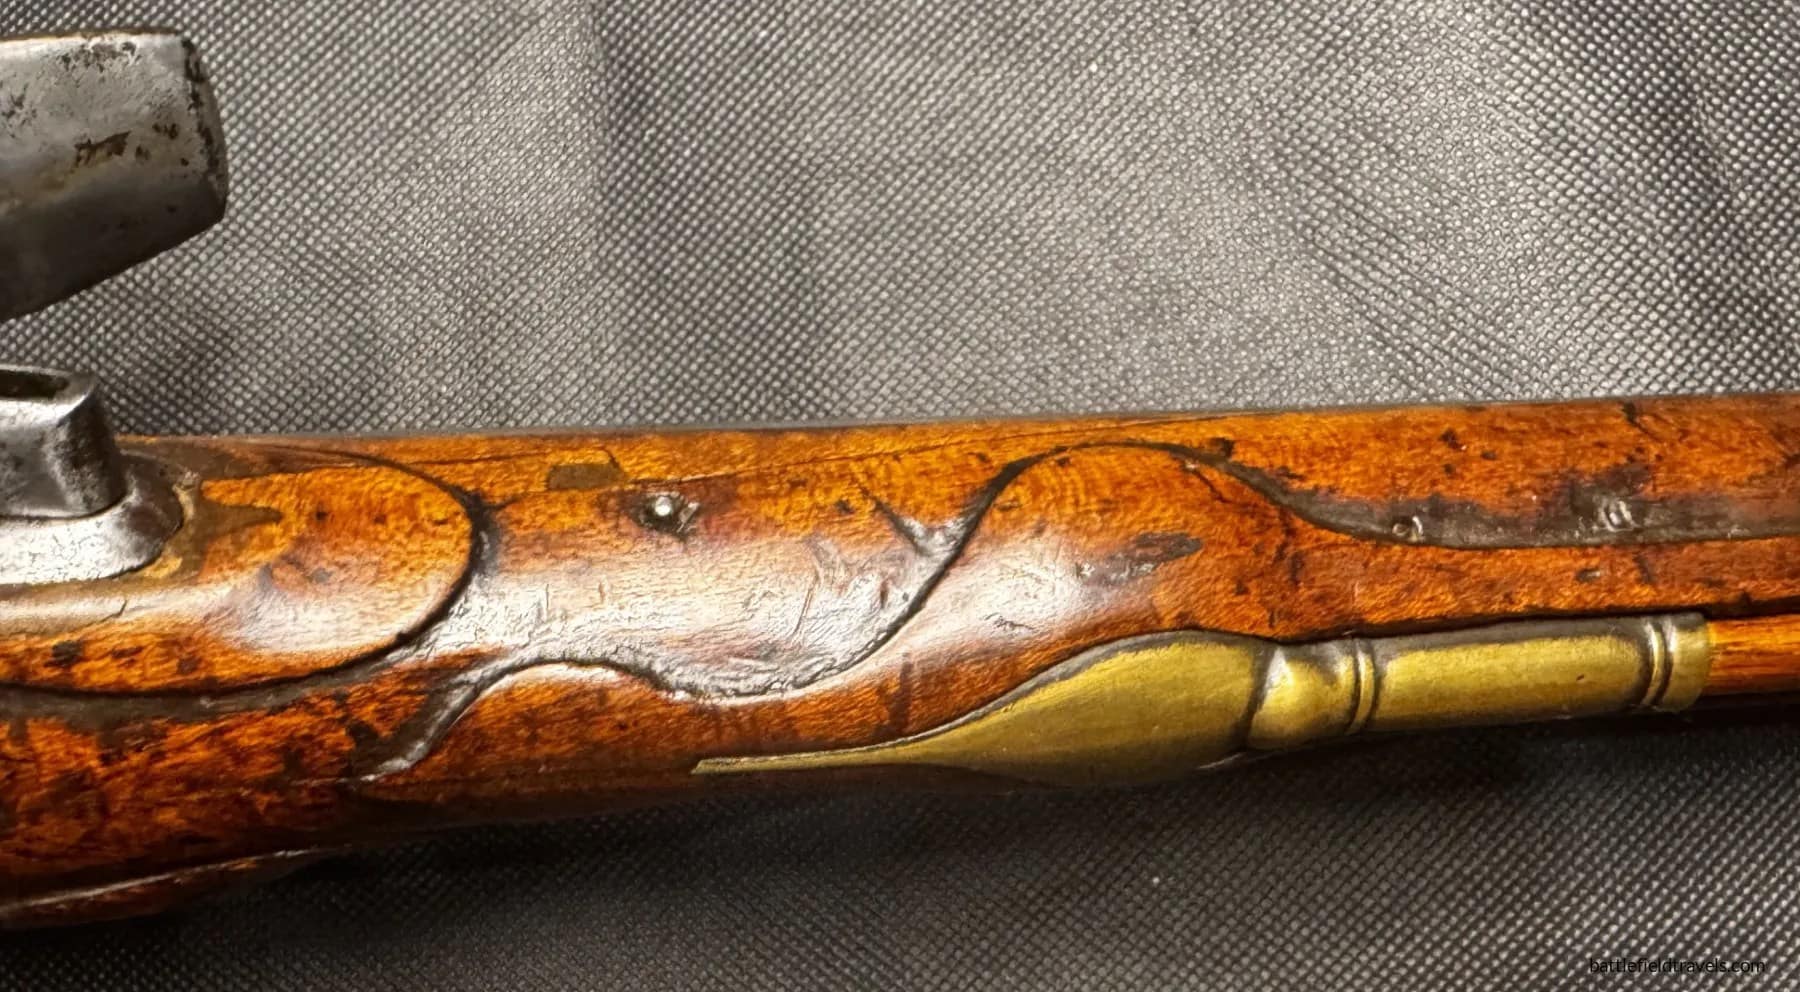
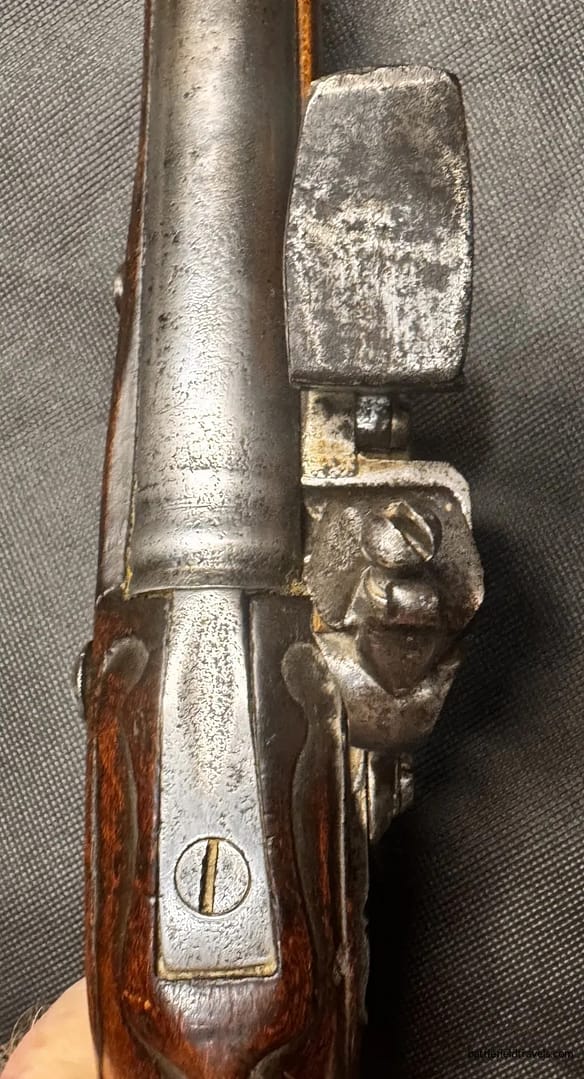
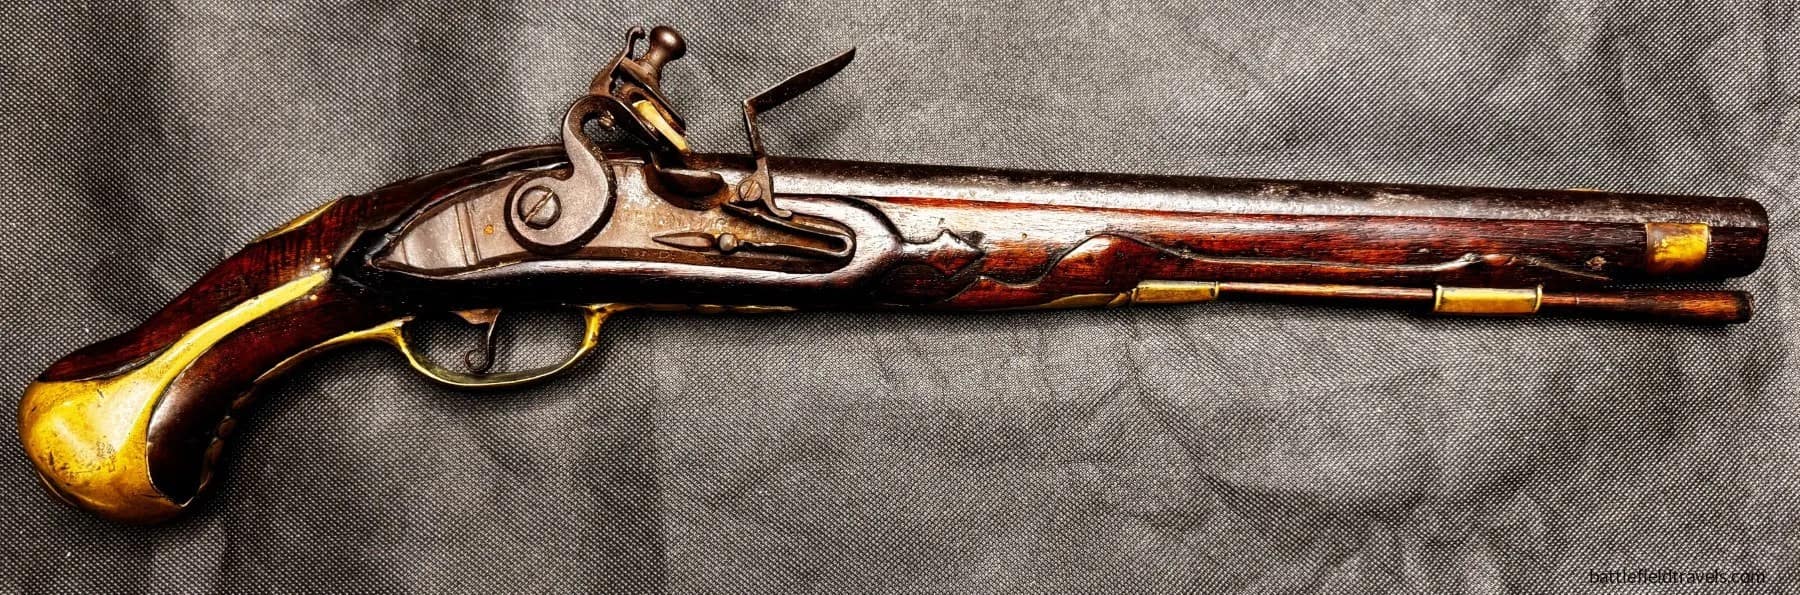
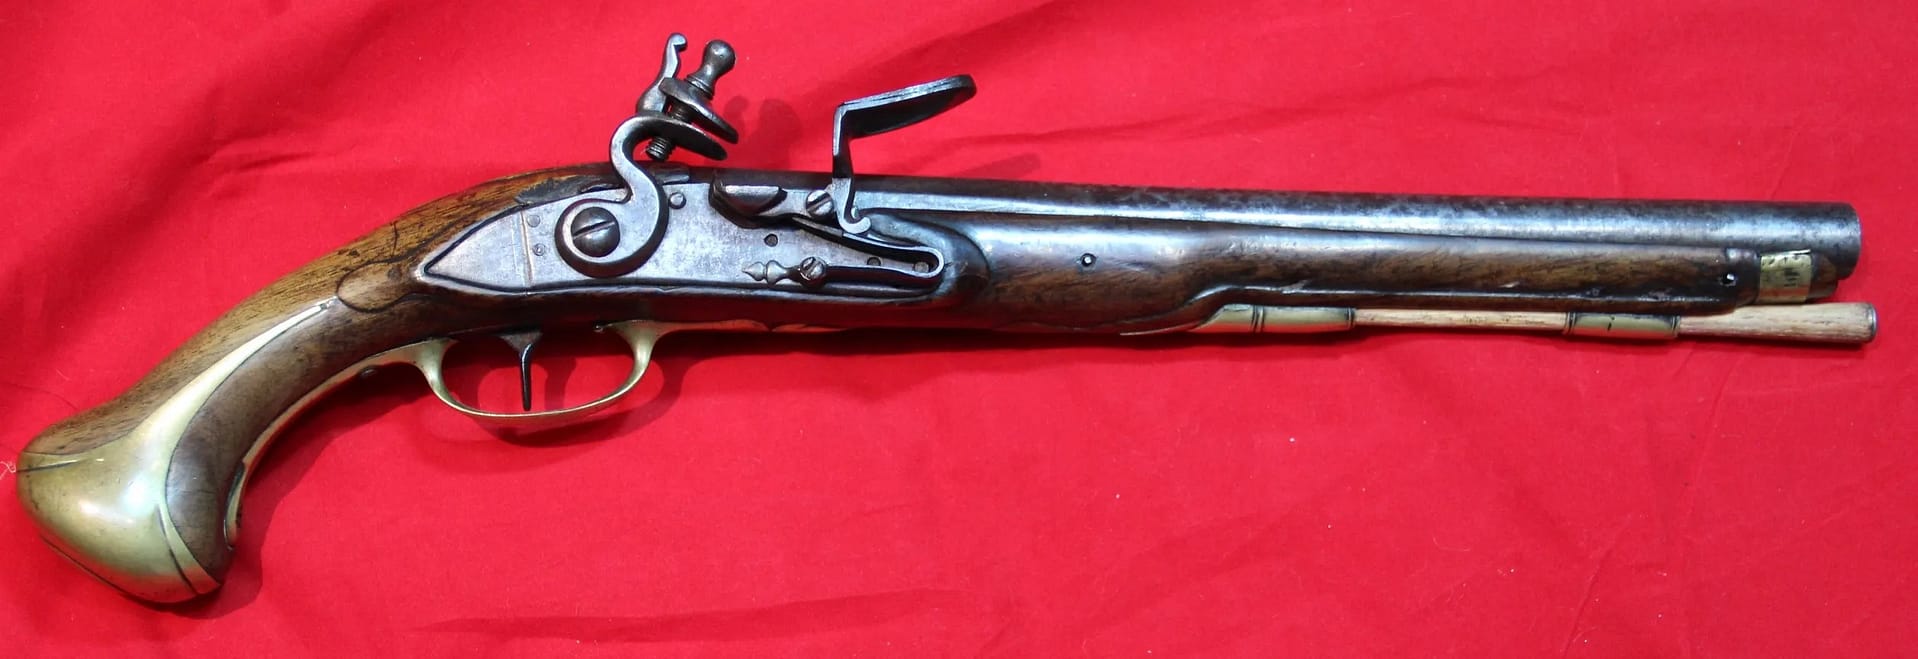
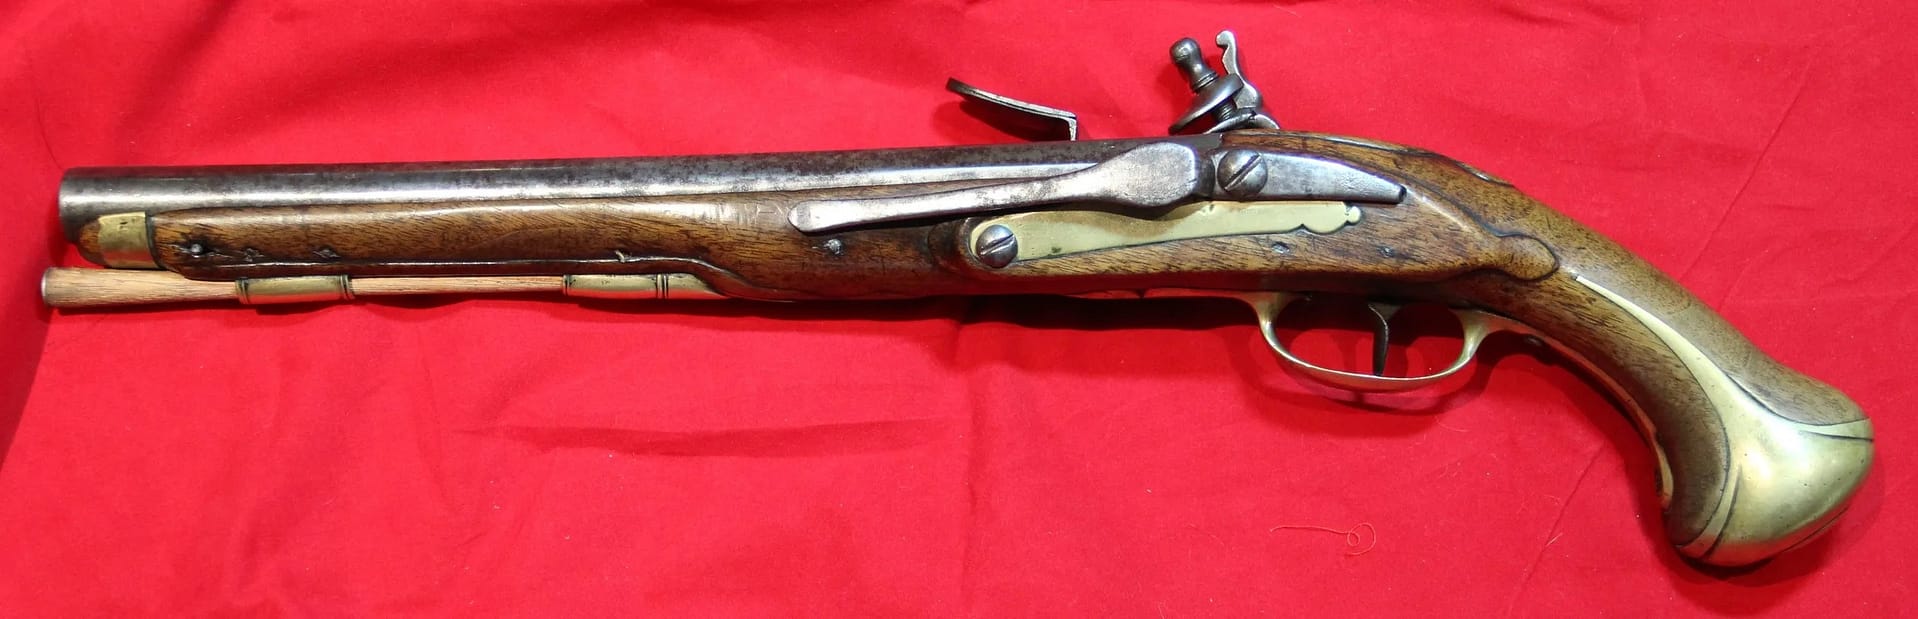
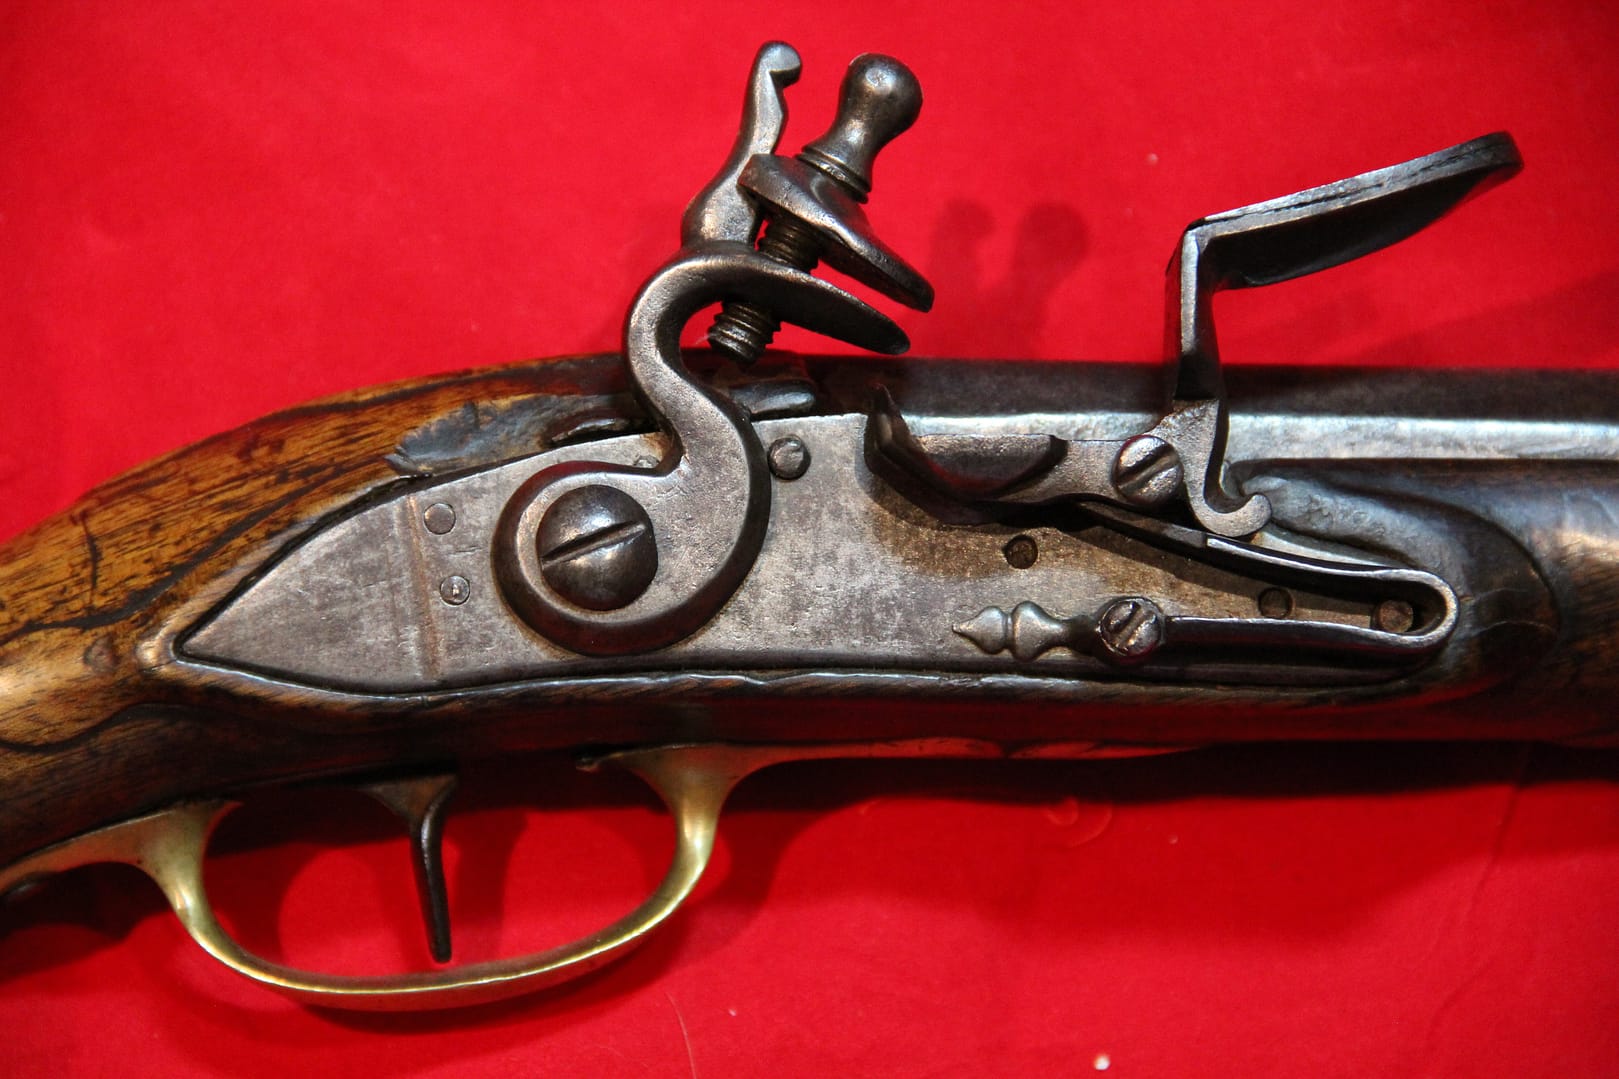
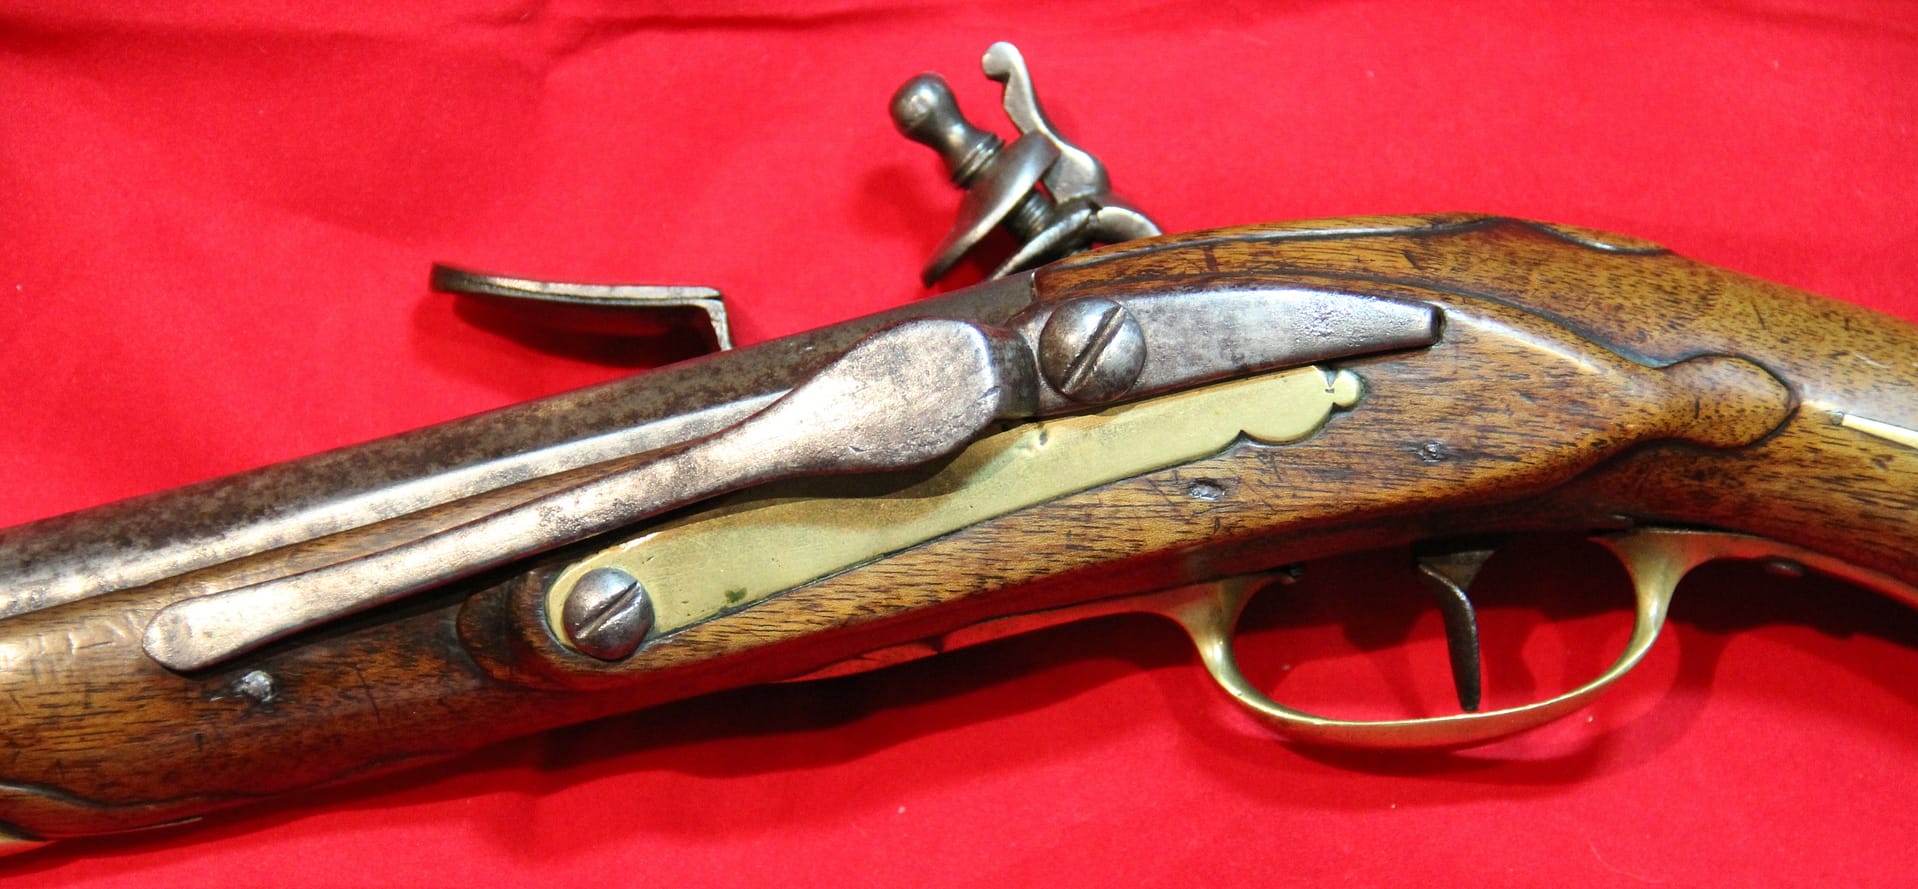
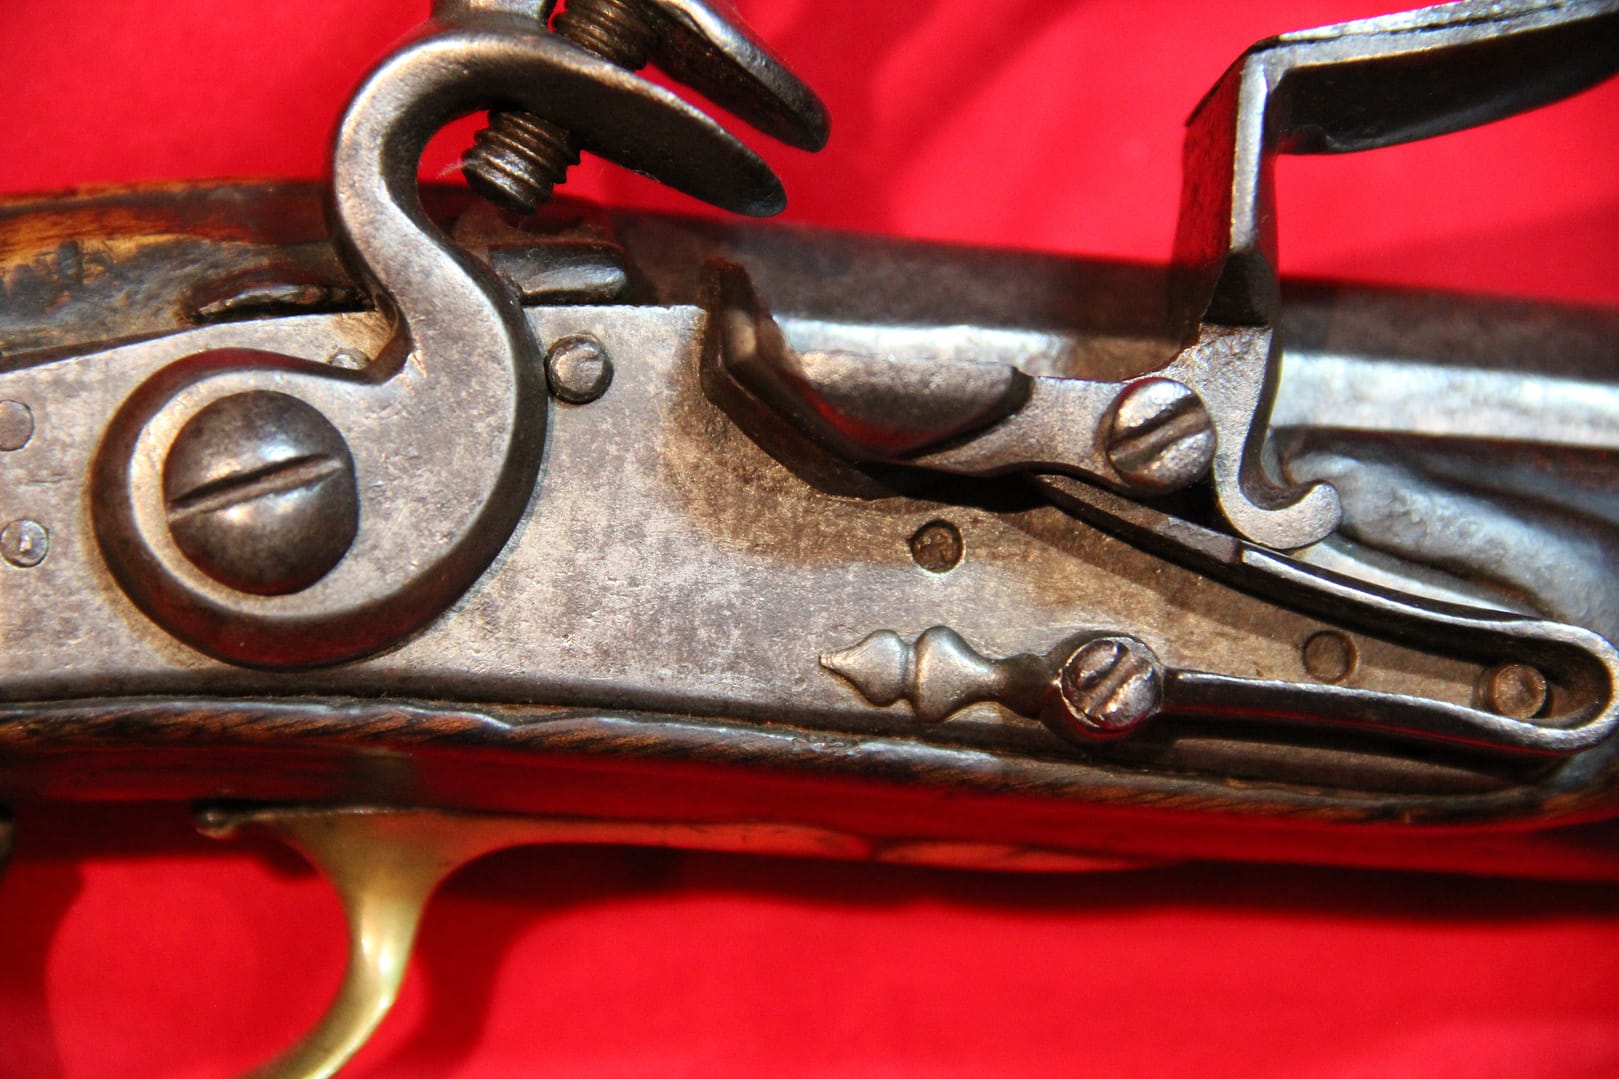
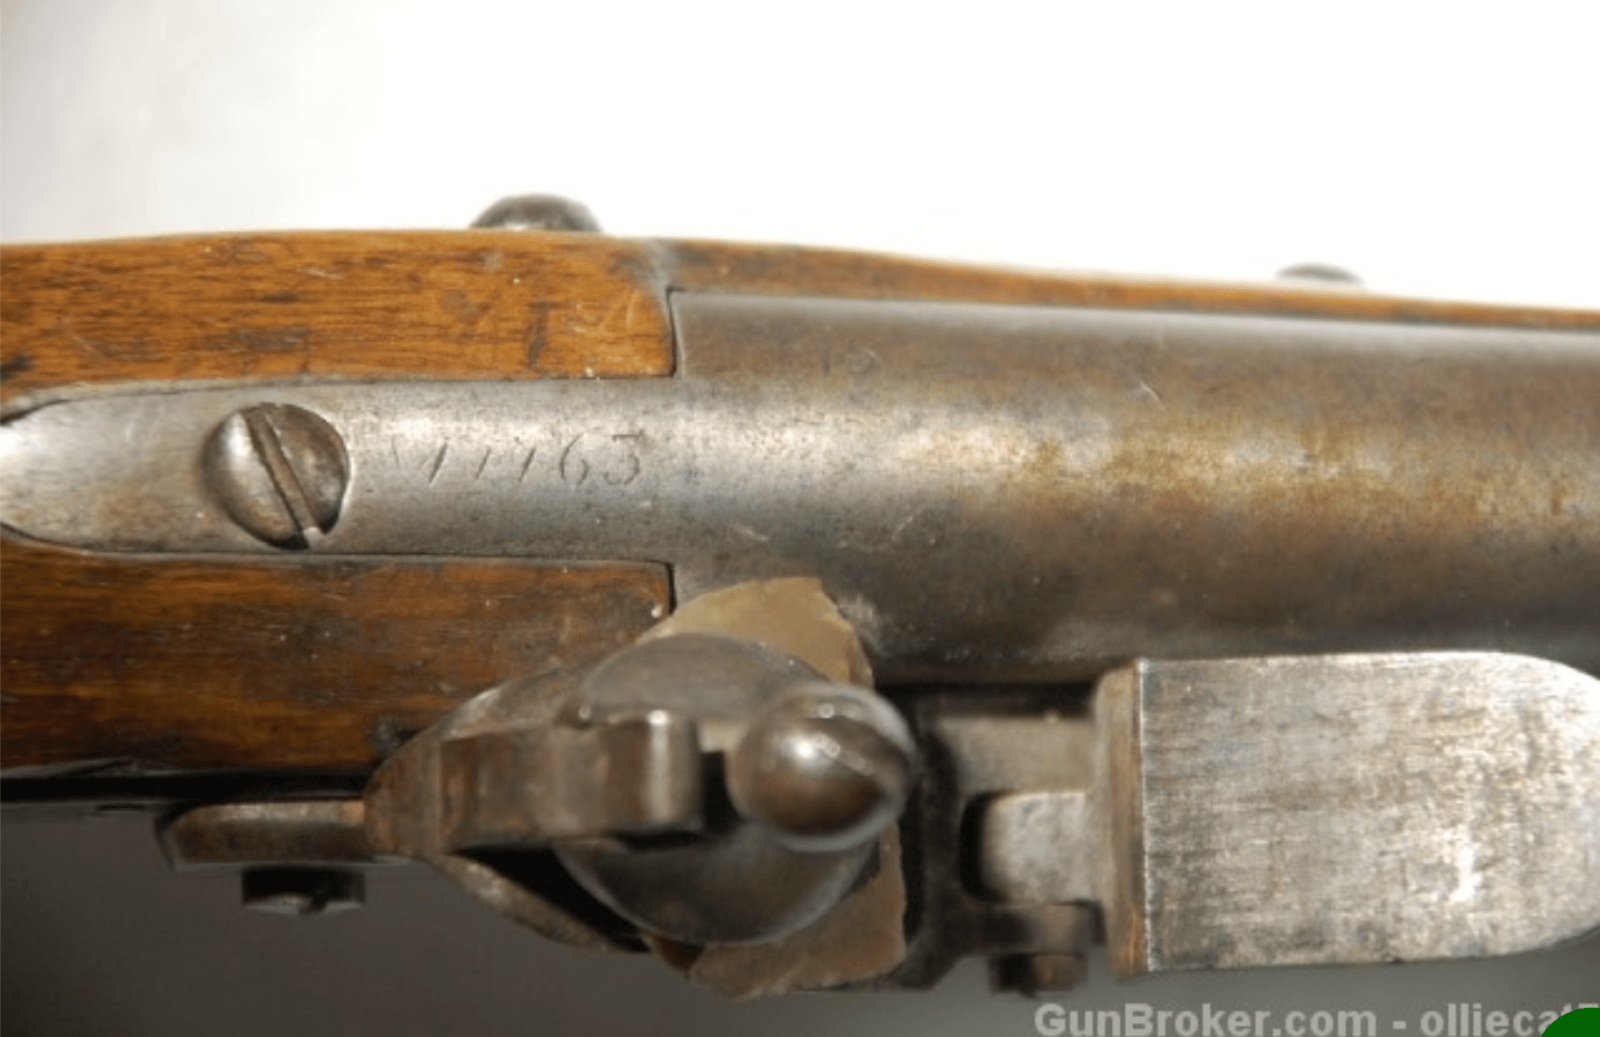
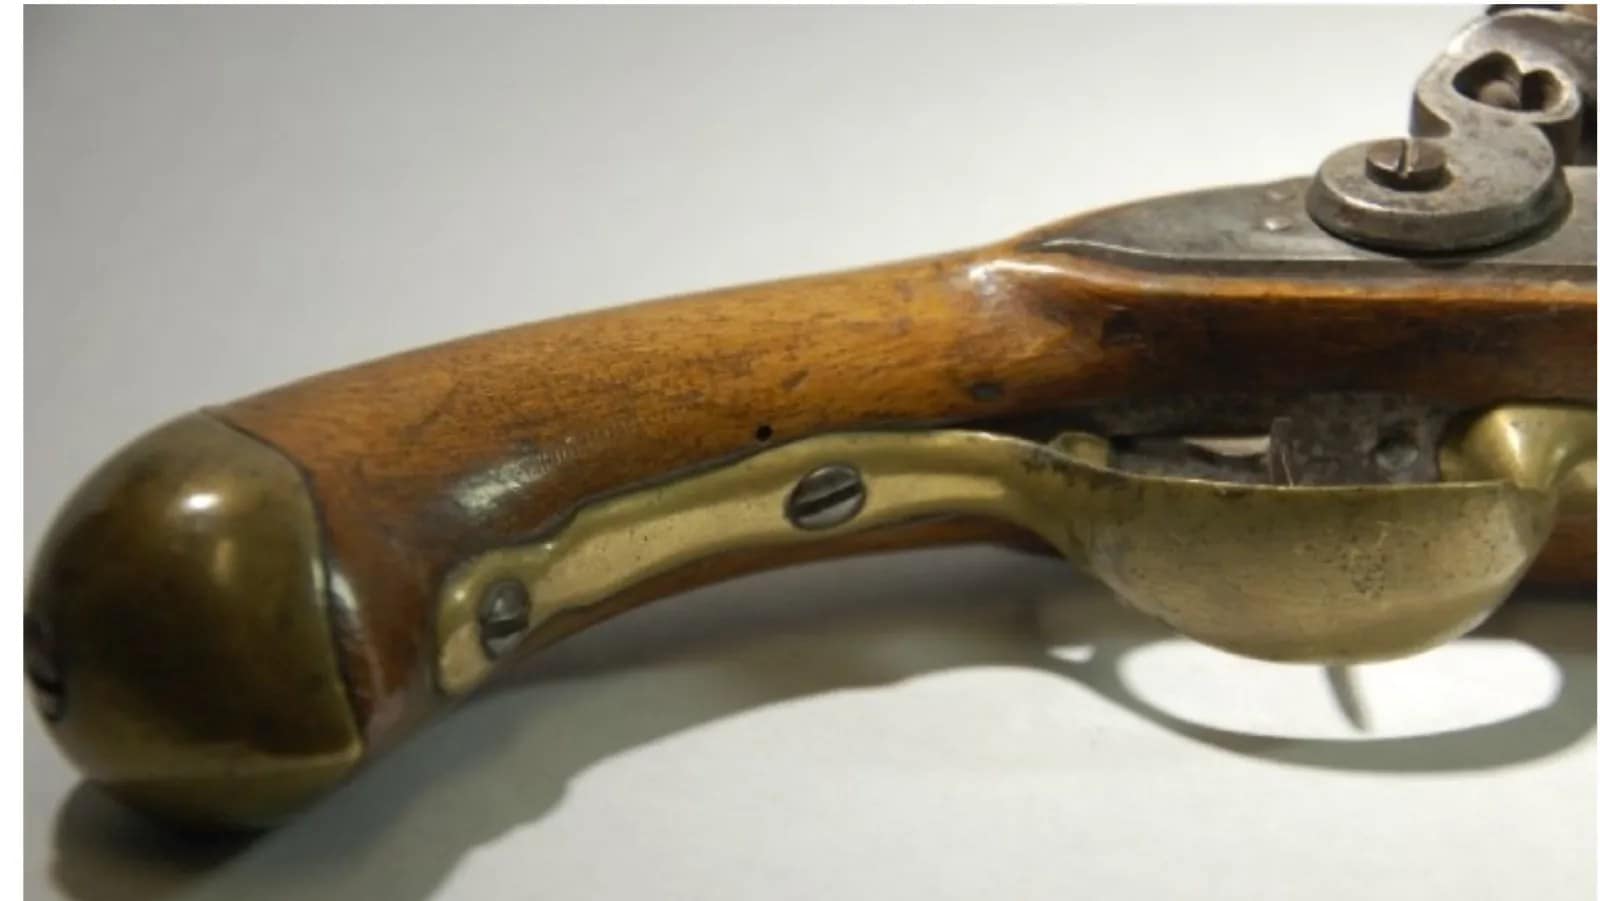
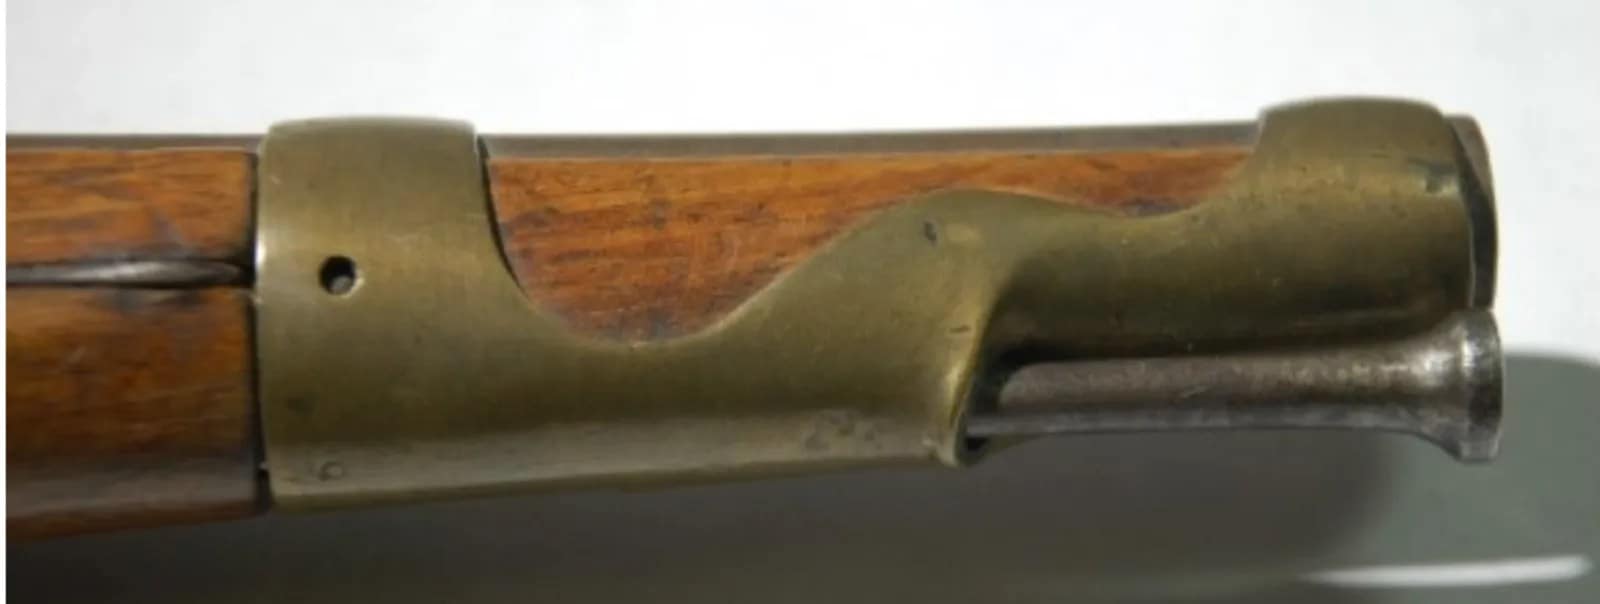
English Model 1756 Long Land Pattern pistol. TOWER. From my personal collection.

The Model 1756 Long Land Pattern pistol was the standard British cavalry and infantry officer’s pistol of the mid-18th century. Marked TOWER, indicating manufacture or assembly at the Tower of London, it featured a large-bore flintlock mechanism, brass furniture, and full walnut stock. Designed for close-range mounted combat, it saw service during the Seven Years War and early American campaigns. Its robust construction made it reliable under field conditions.


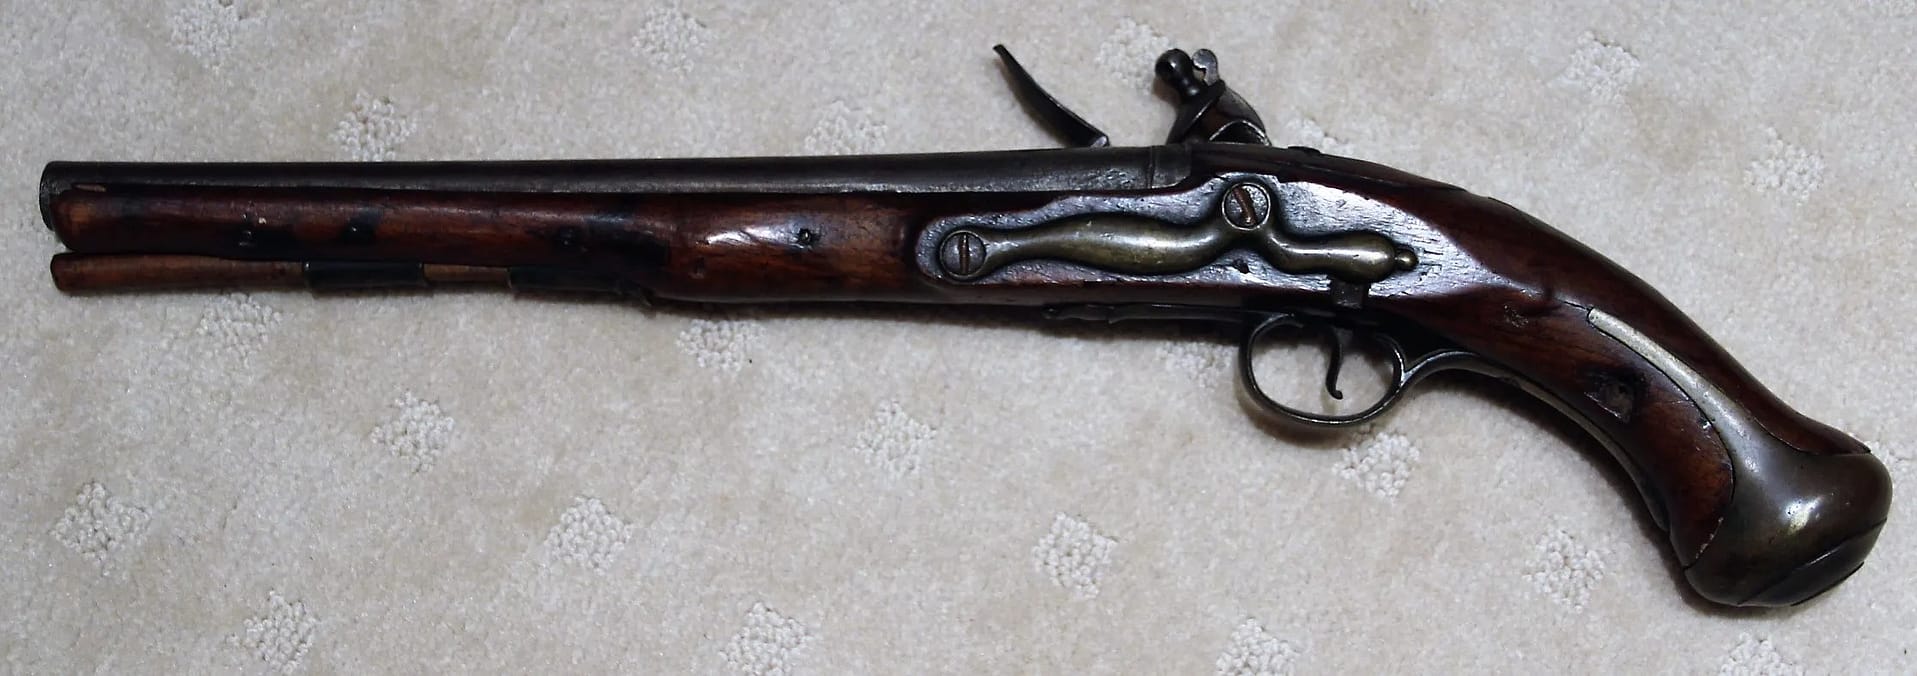
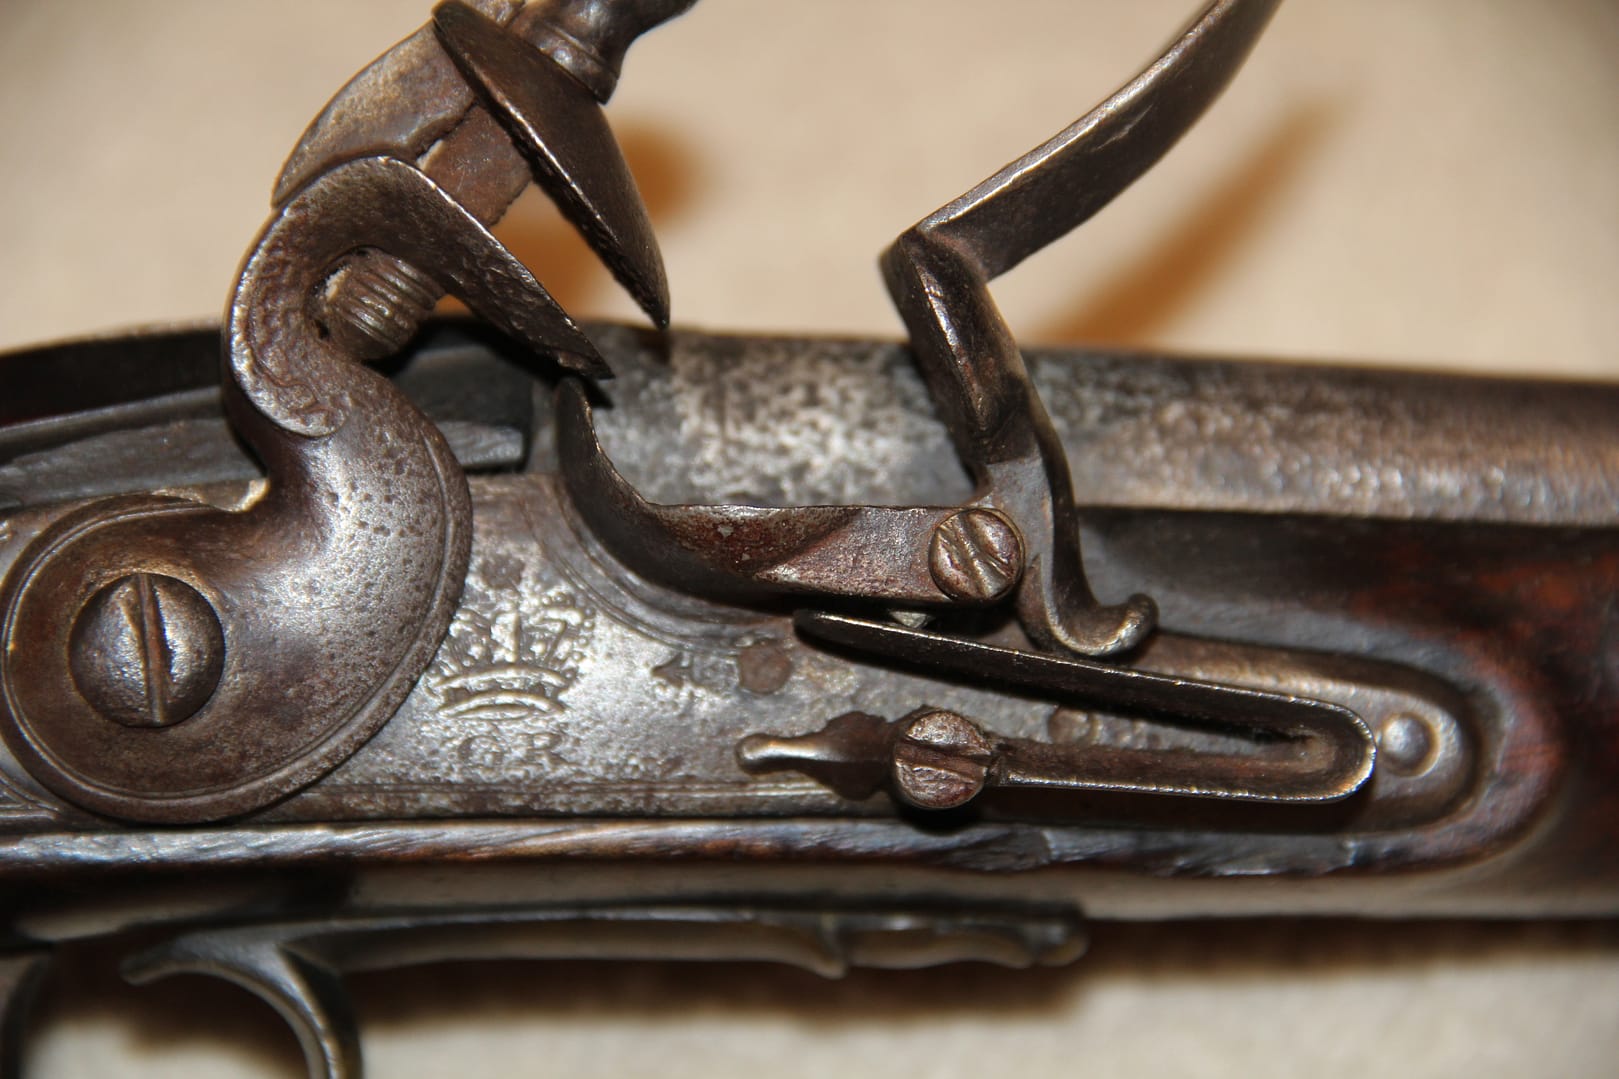
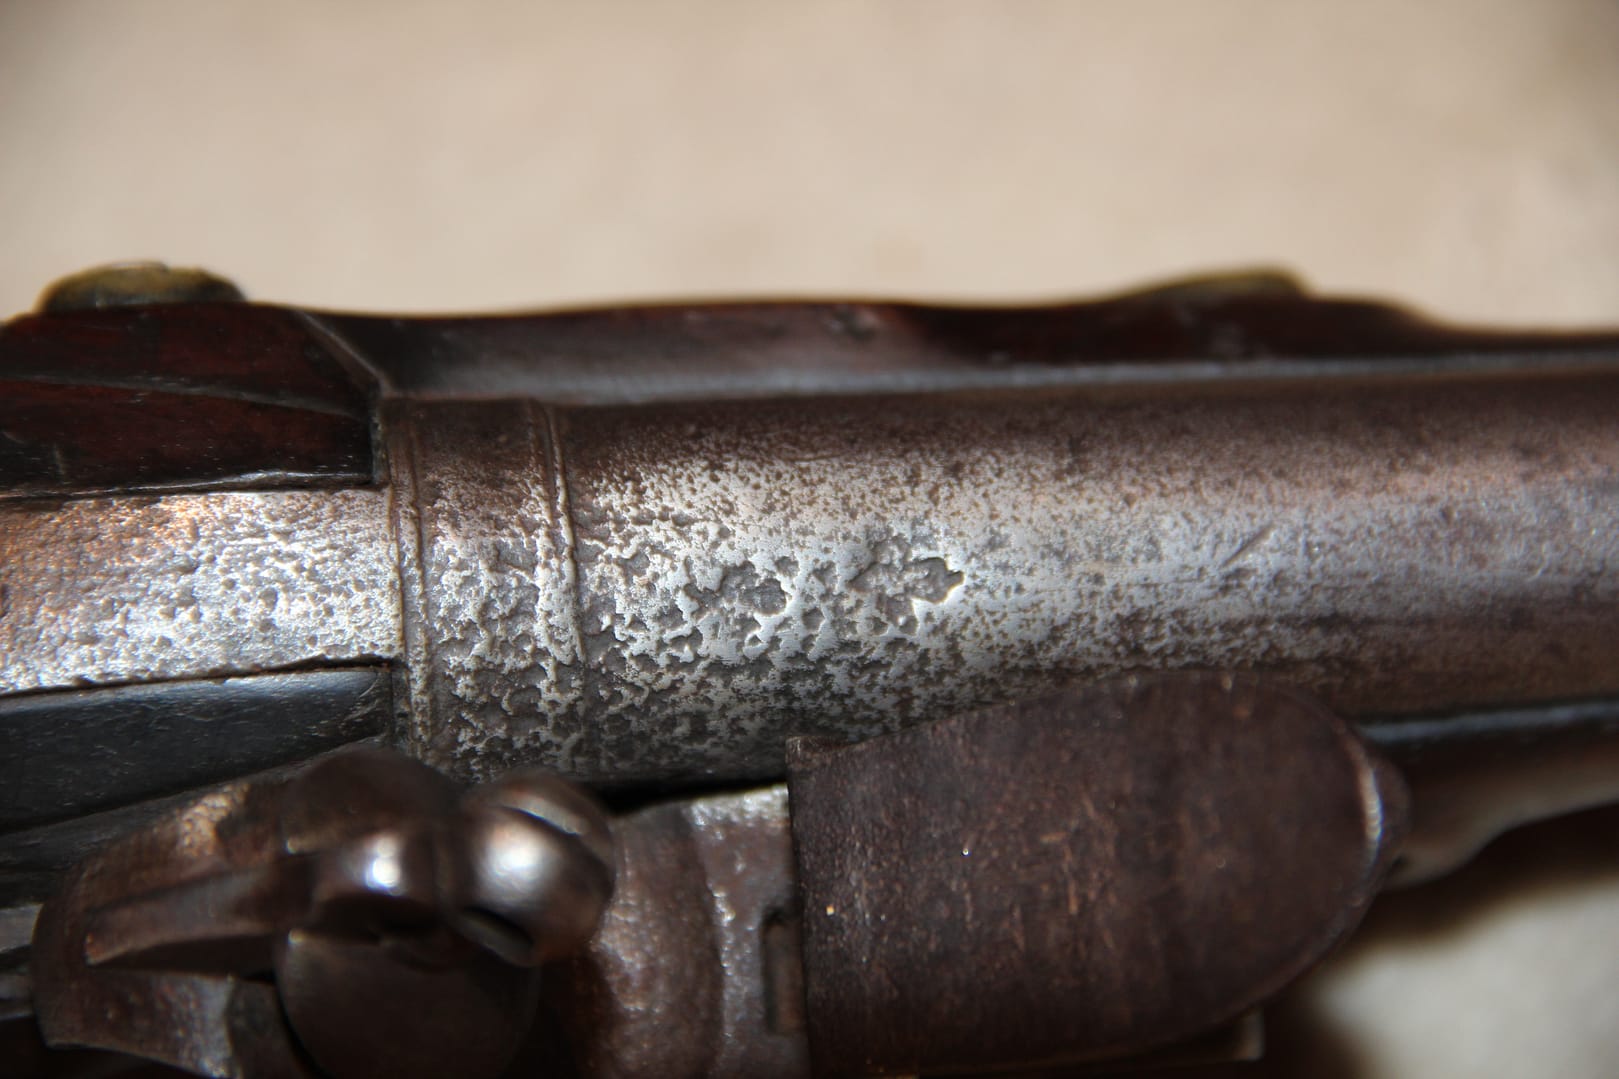
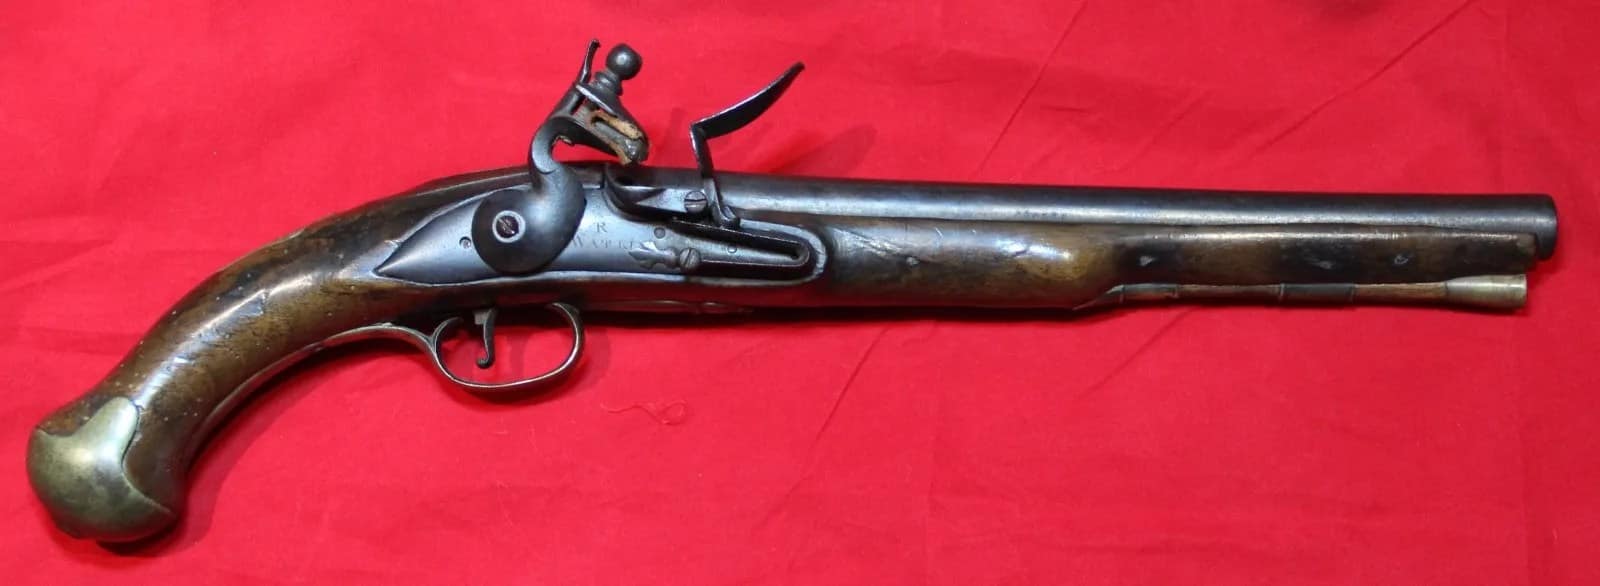
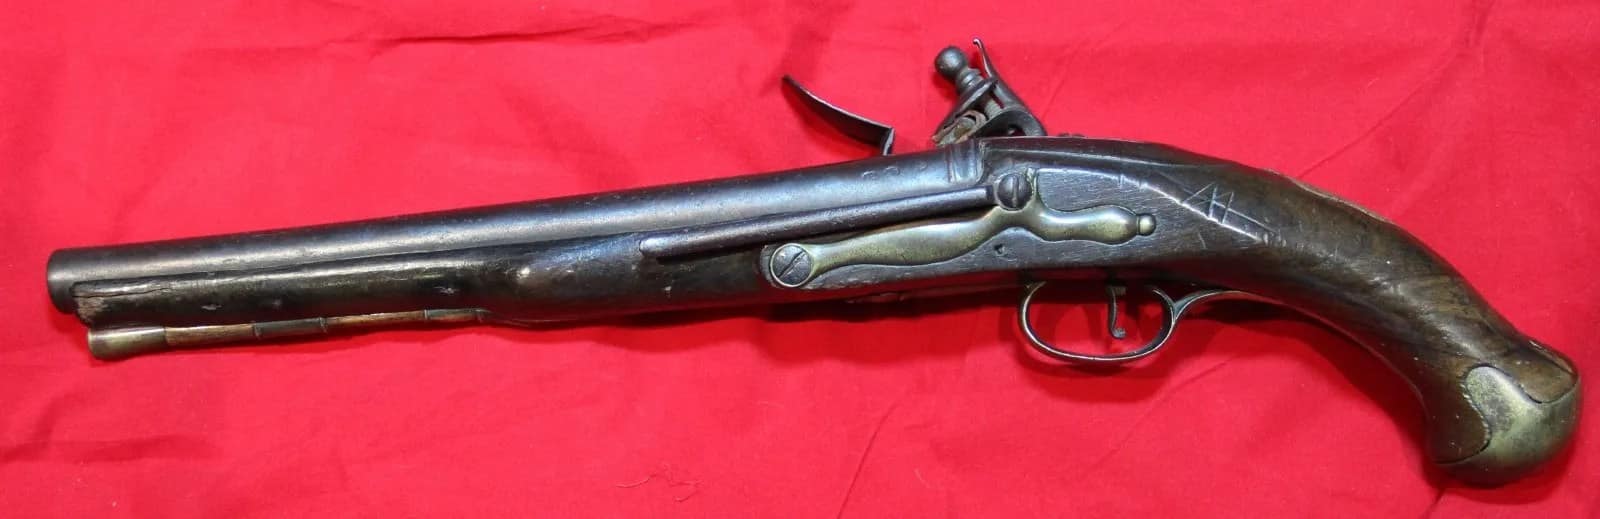
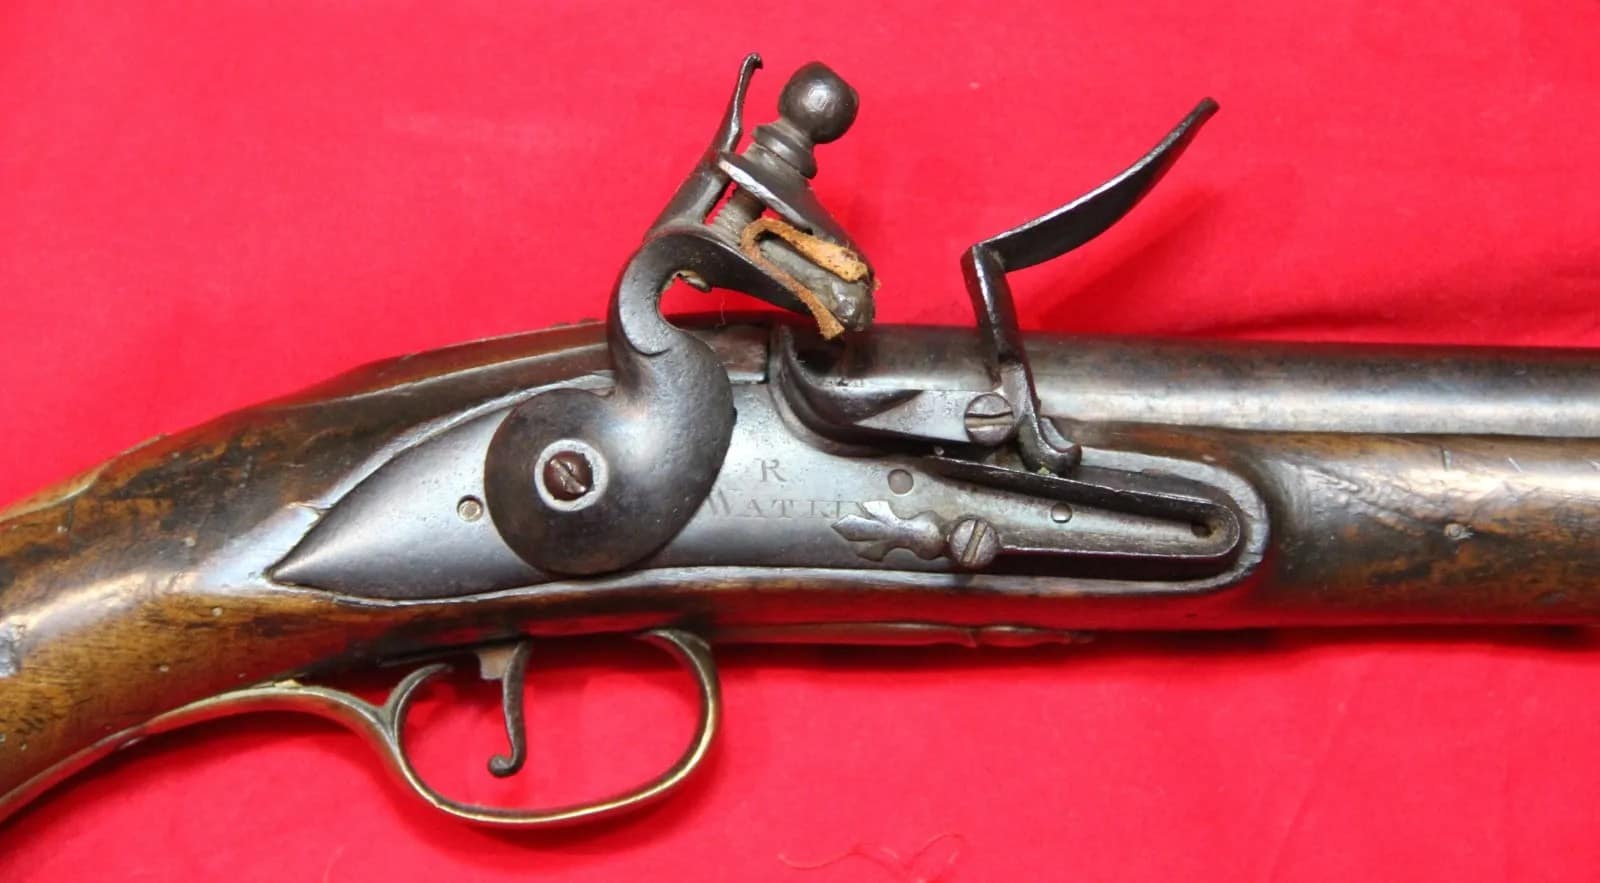
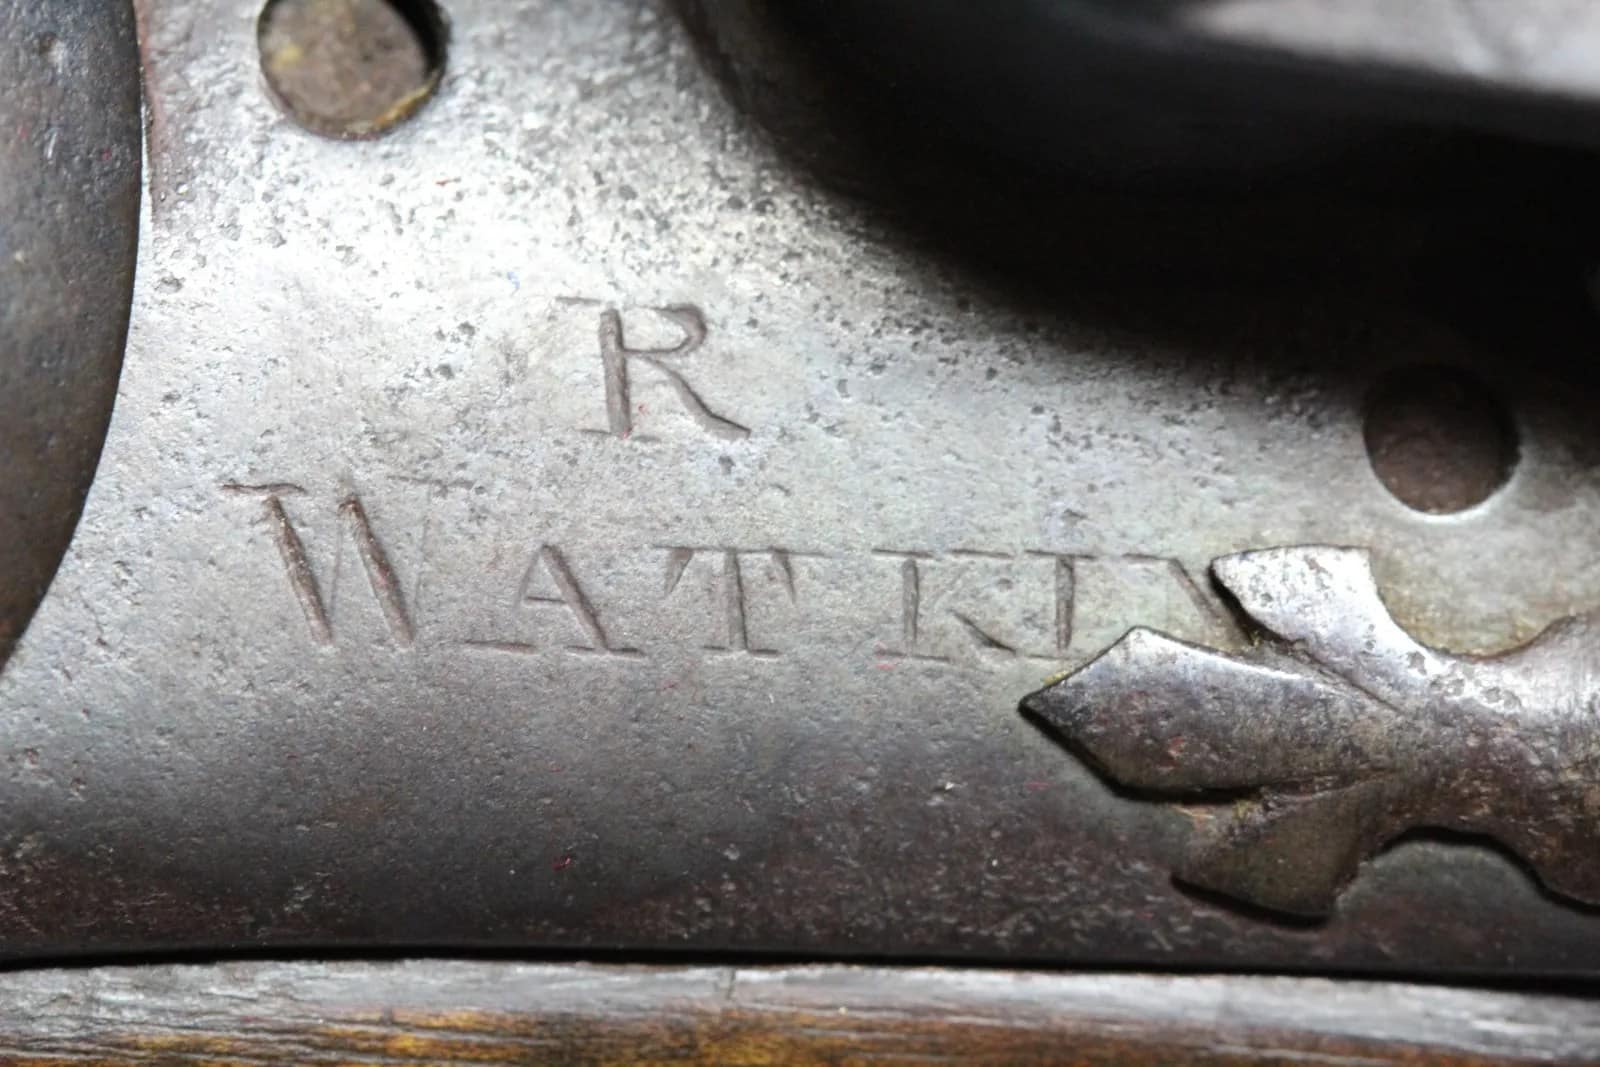
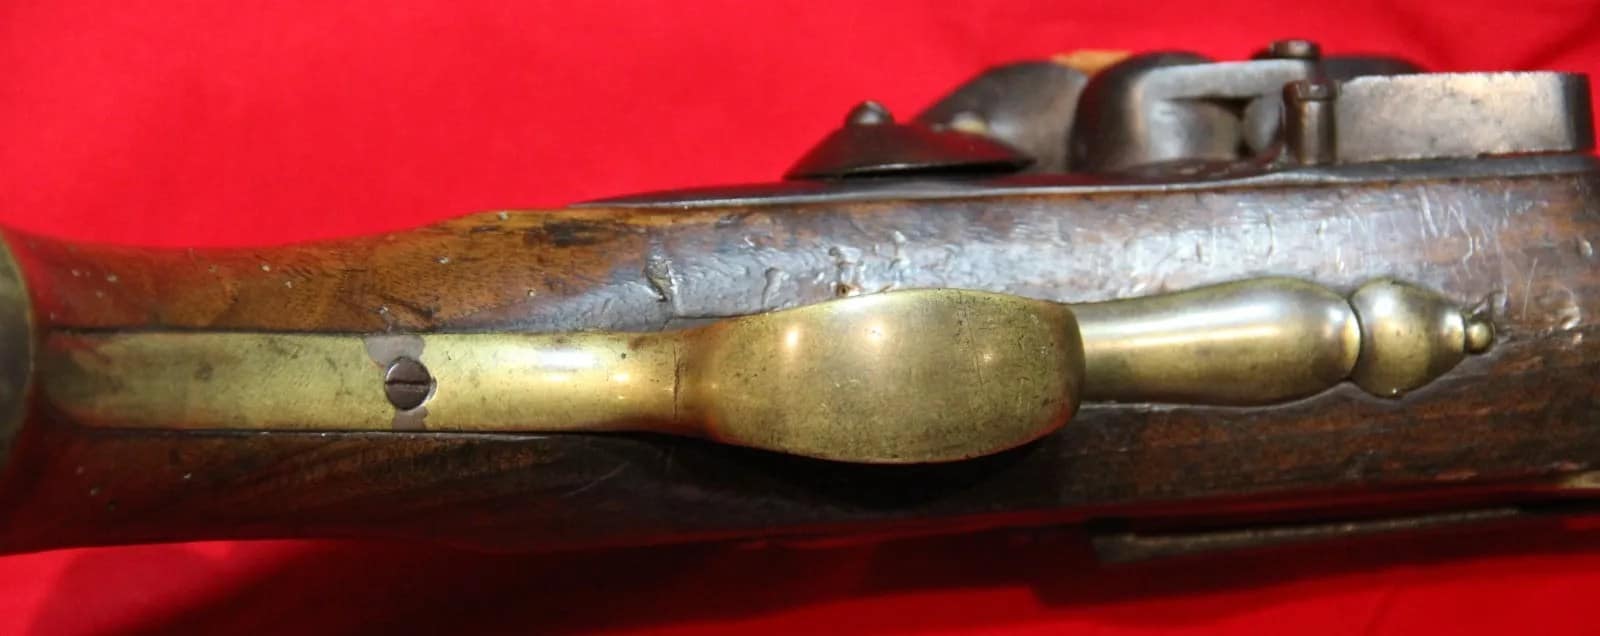
Land Pattern Pistol by Robert Watkin, c.1745. From my personal collection.

This flintlock Land Pattern pistol, made by London gunmaker Robert Watkin around 1745, is associated with the rapid mobilisation of British forces during the Jacobite Rising of 1745. Pistols of this type were produced for cavalry and volunteer units, including the Yorkshire Blues, a regiment raised from loyalist cavalry to defend northern England against the advancing Jacobite army. Typically of large calibre with brass furniture and a robust lock, Land Pattern pistols were designed for mounted service and close combat. This example reflects both the emergency expansion of government forces and the growing standardisation of British military small arms in the mid-18th century.


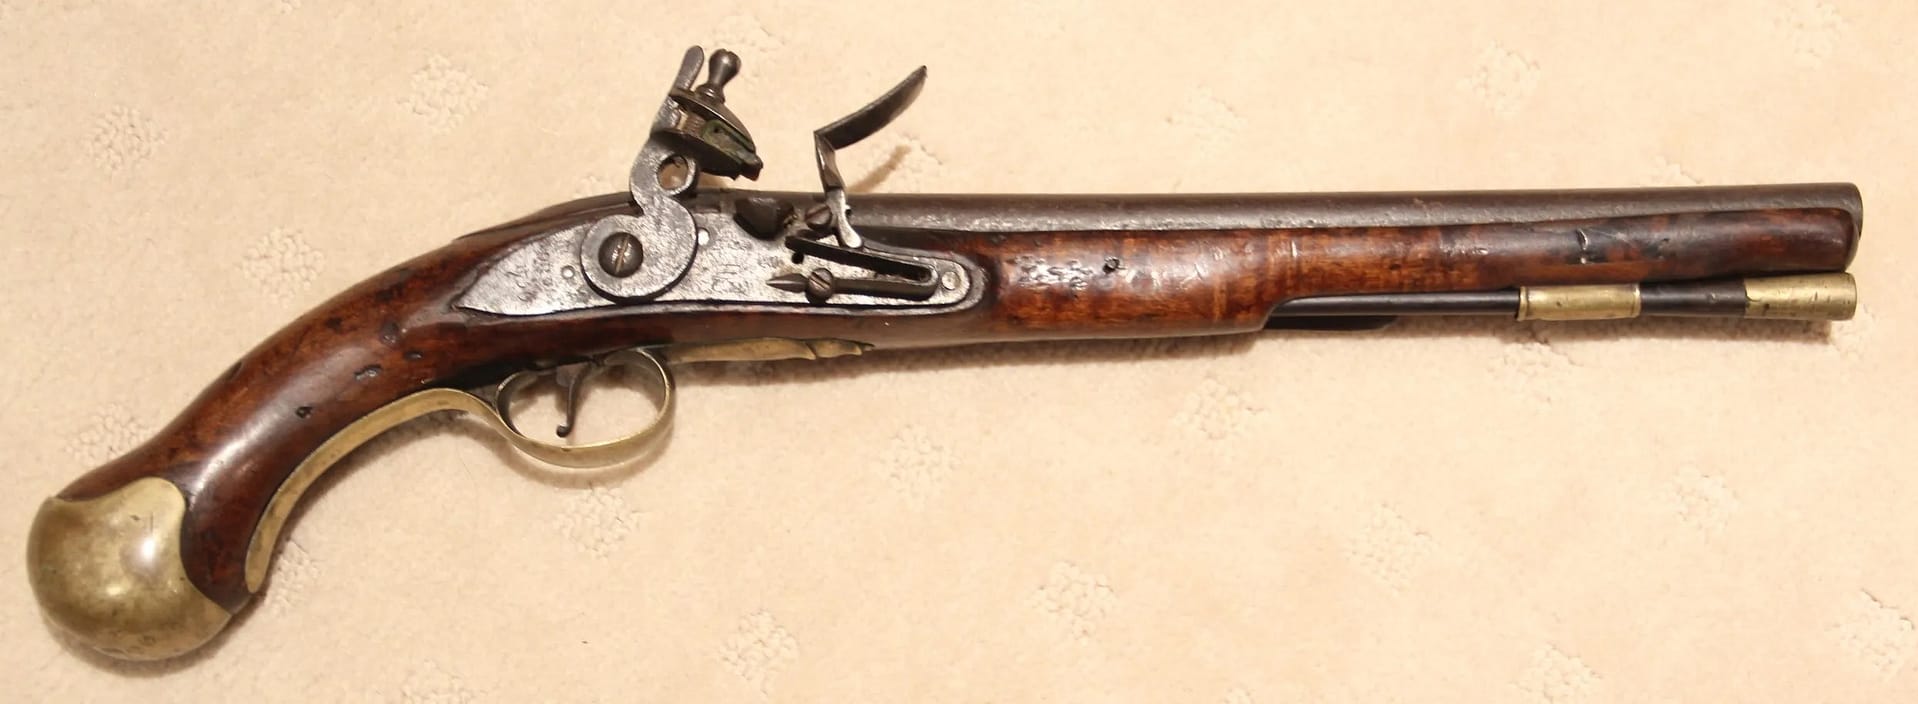
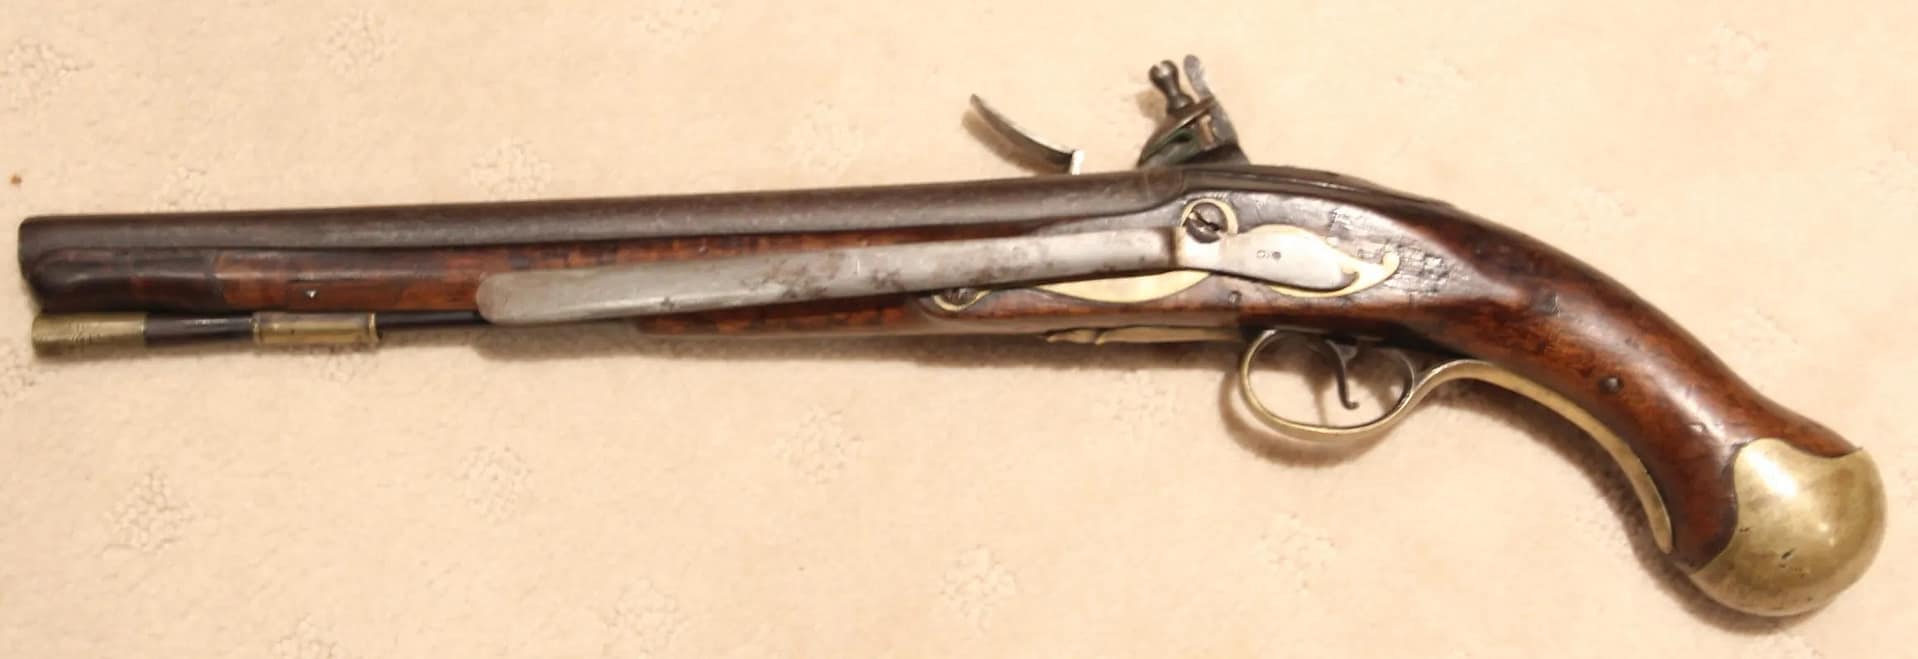
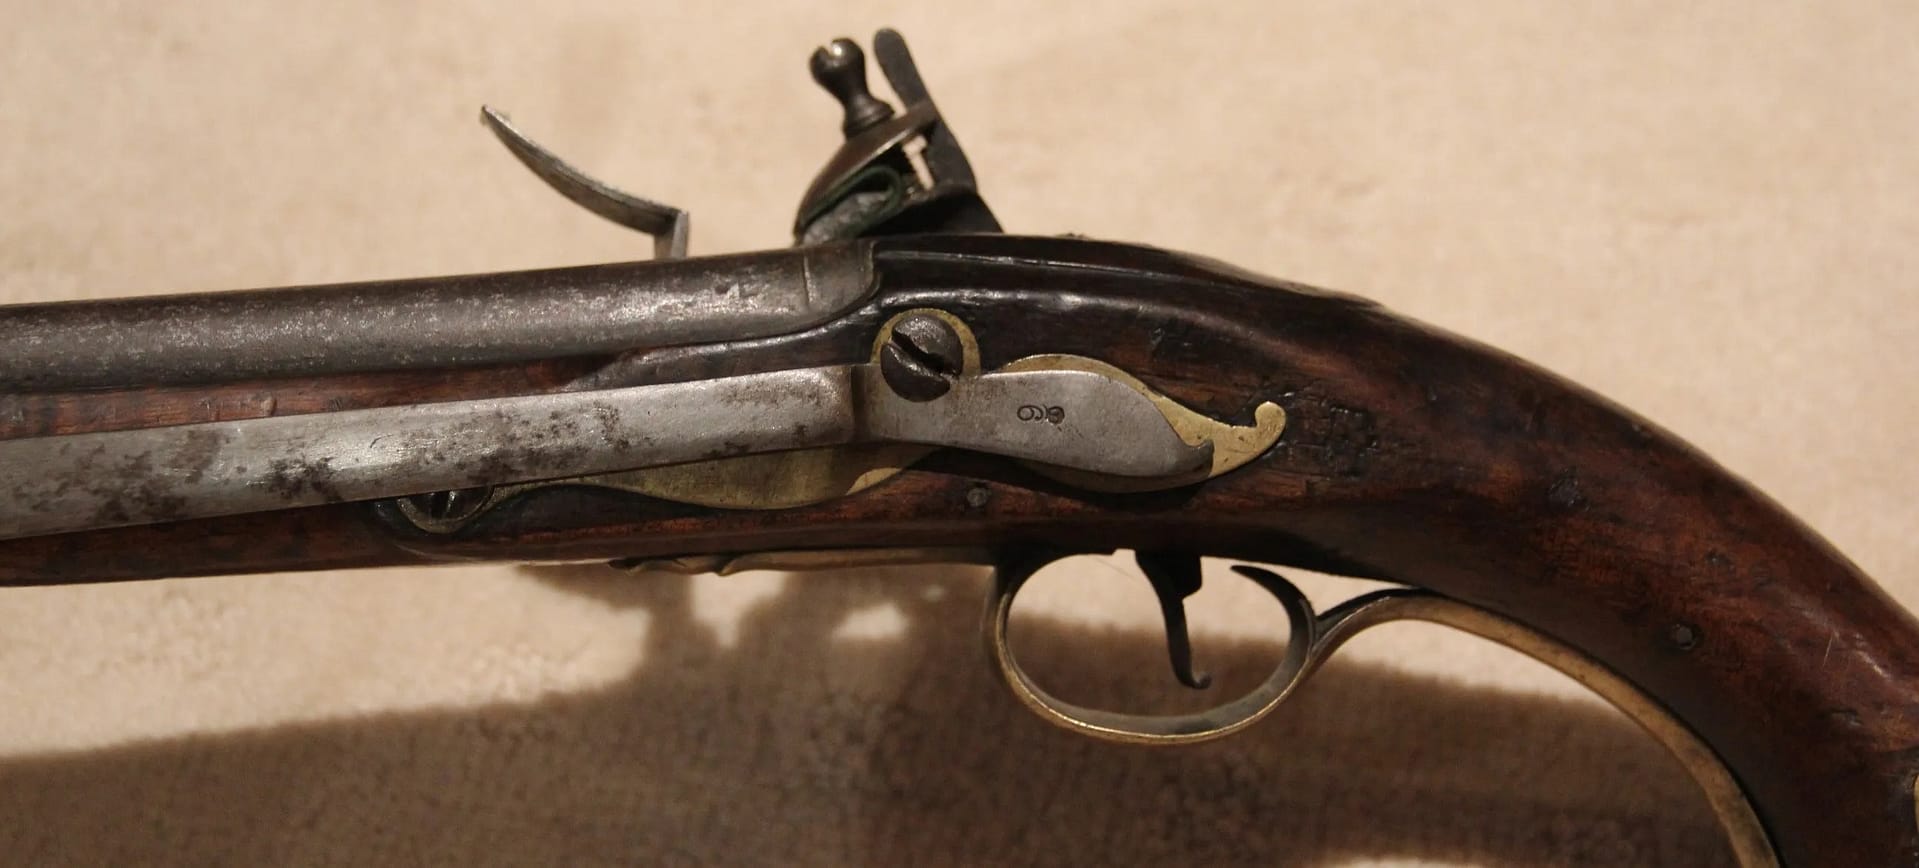
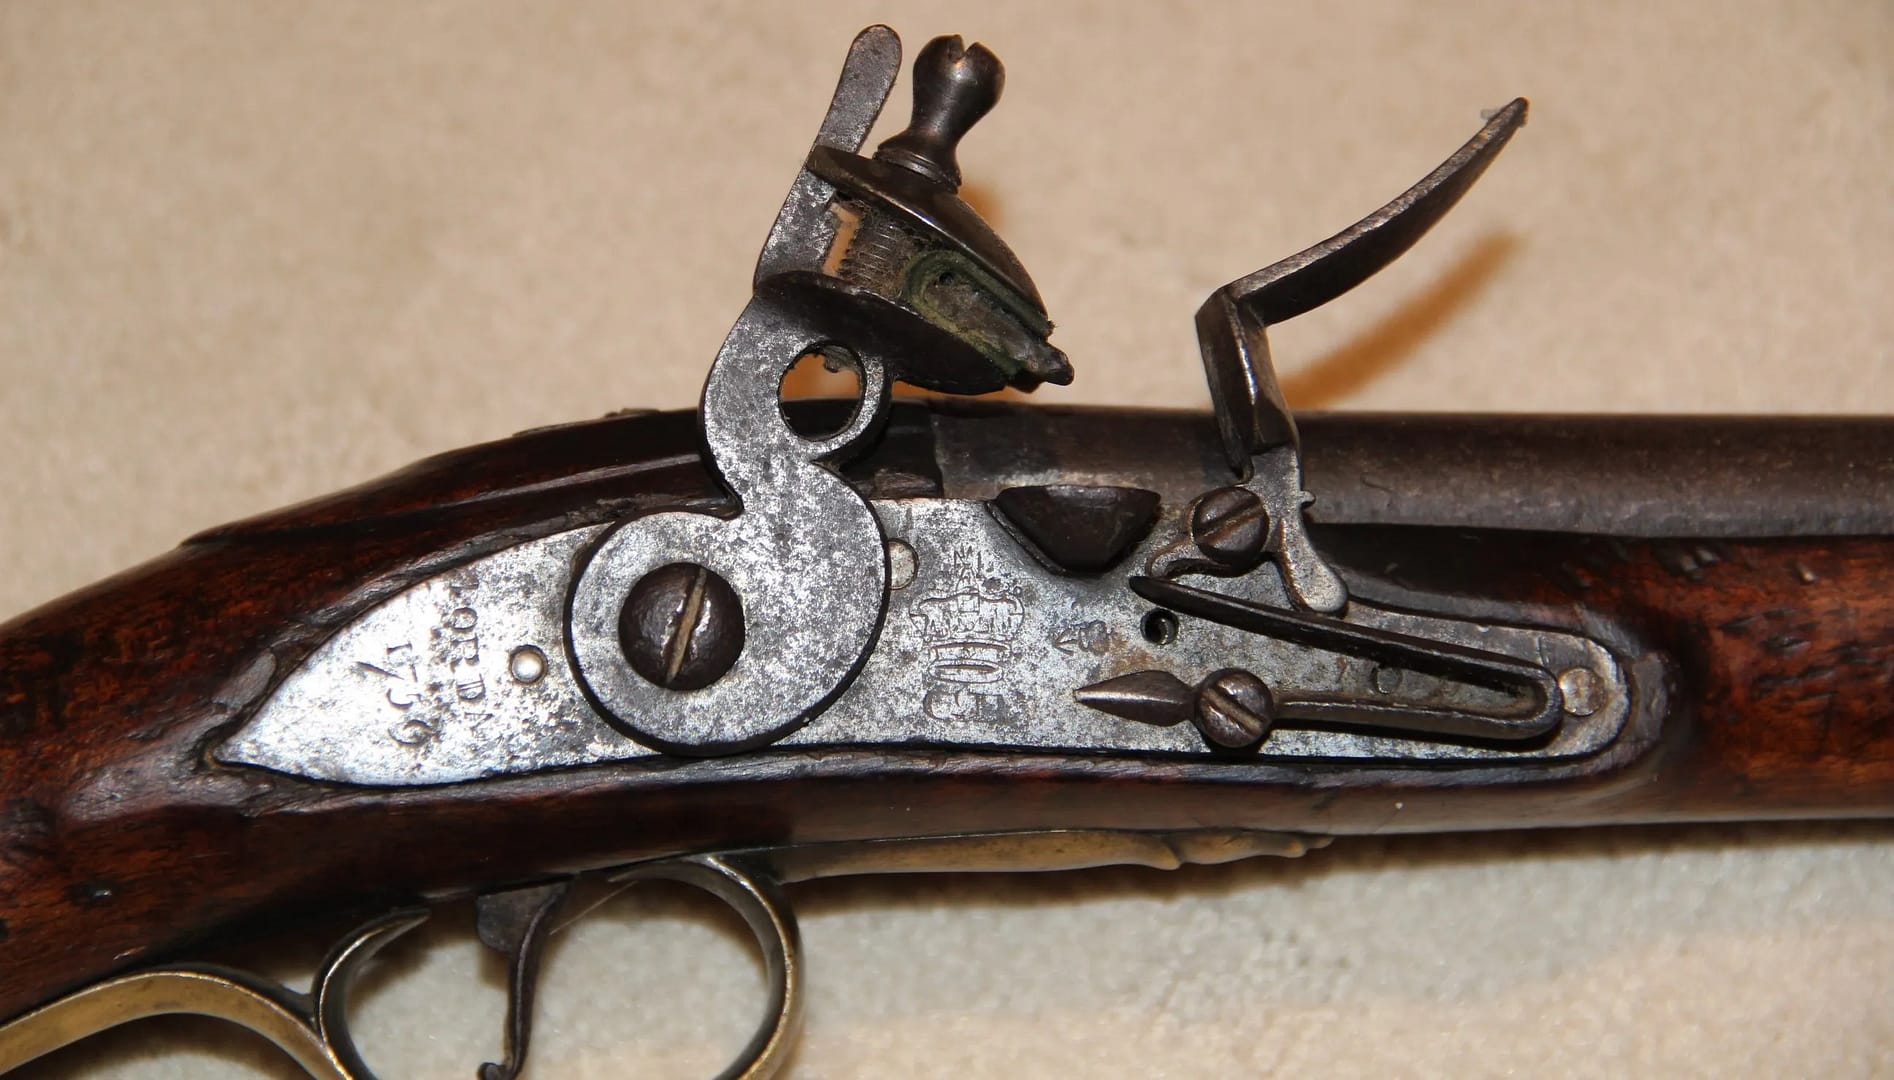
English Pattern 1718 Sea Service Pistol (Manufactured by Jordan, 1759). From my personal collection.

This flintlock Sea Service pistol, produced in 1759 by the contractor Jordan, is an example of the Pattern 1718 design widely issued to the Royal Navy during the mid-18th century. Typically of large calibre and built for durability, these pistols featured robust brass furniture and a simple, sturdy lock suited to the harsh maritime environment. Sea Service pistols were carried aboard warships for close-quarters fighting, boarding actions, and by naval landing parties ashore. Pistols of this type saw service during the global conflicts of the period, including the Seven Years’ War, reflecting the practical demands of naval warfare.


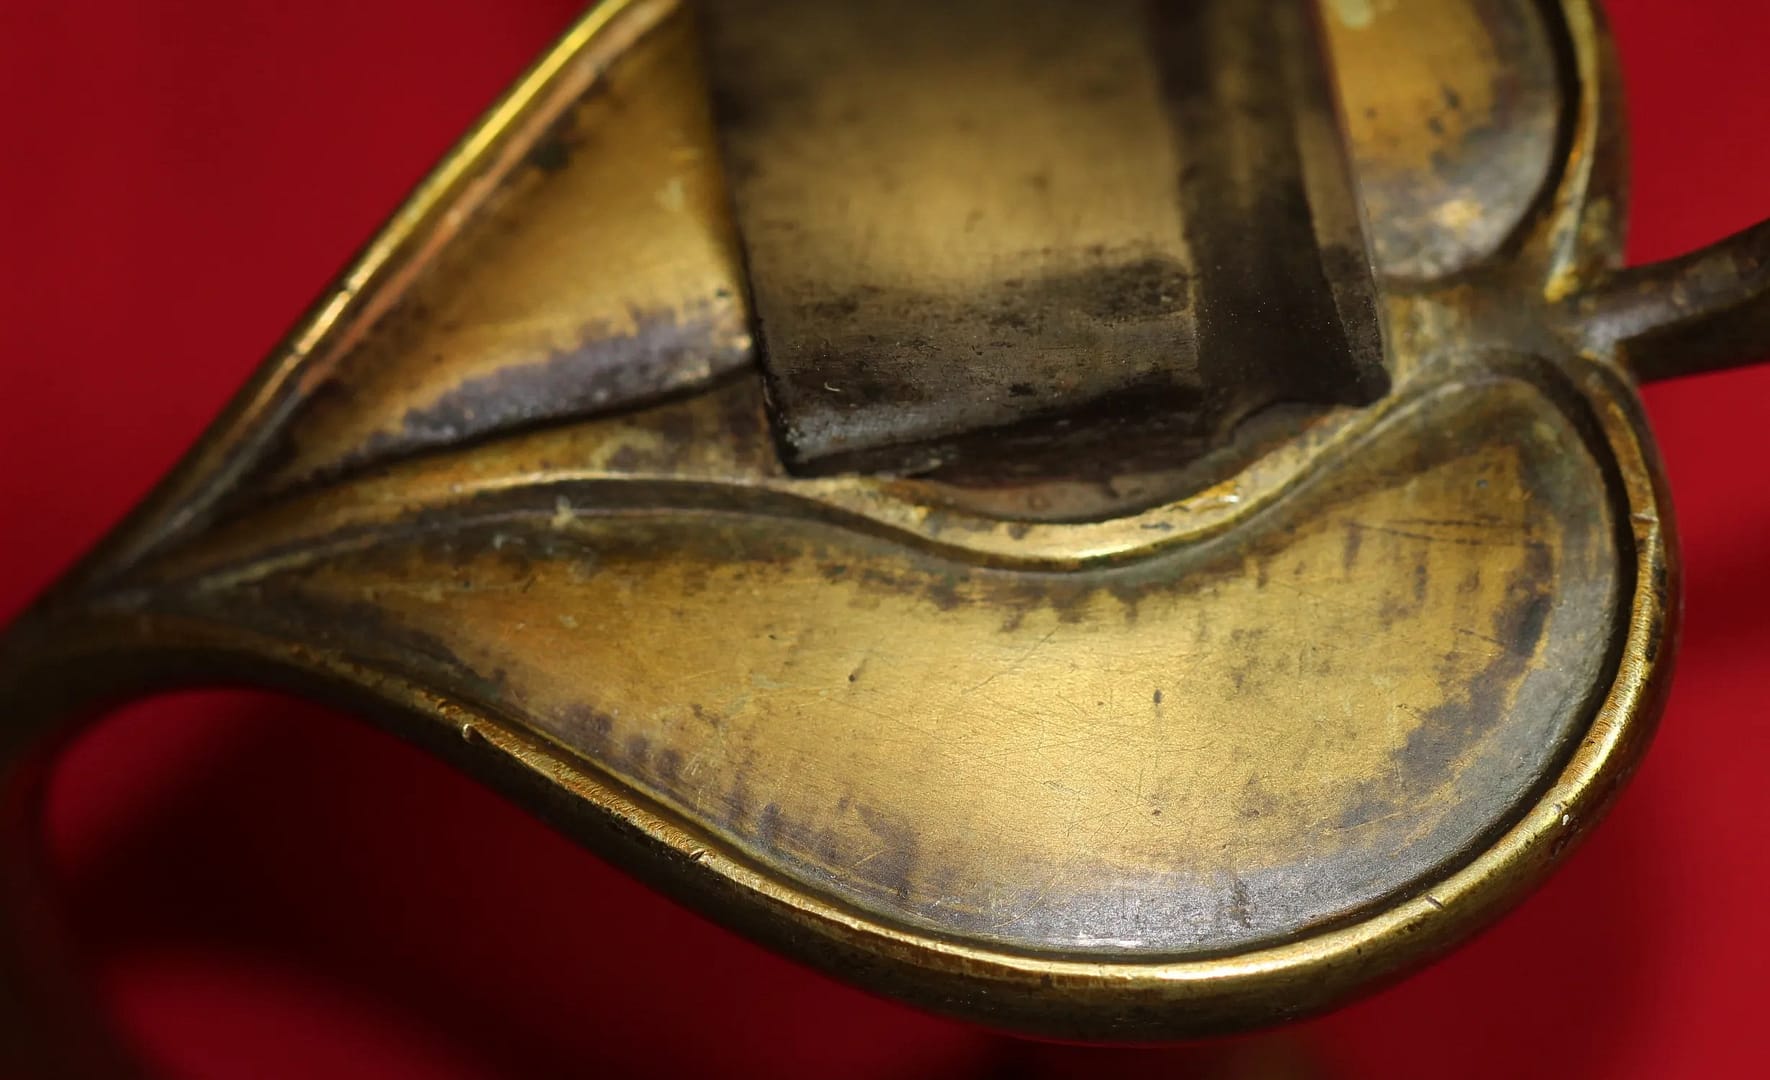
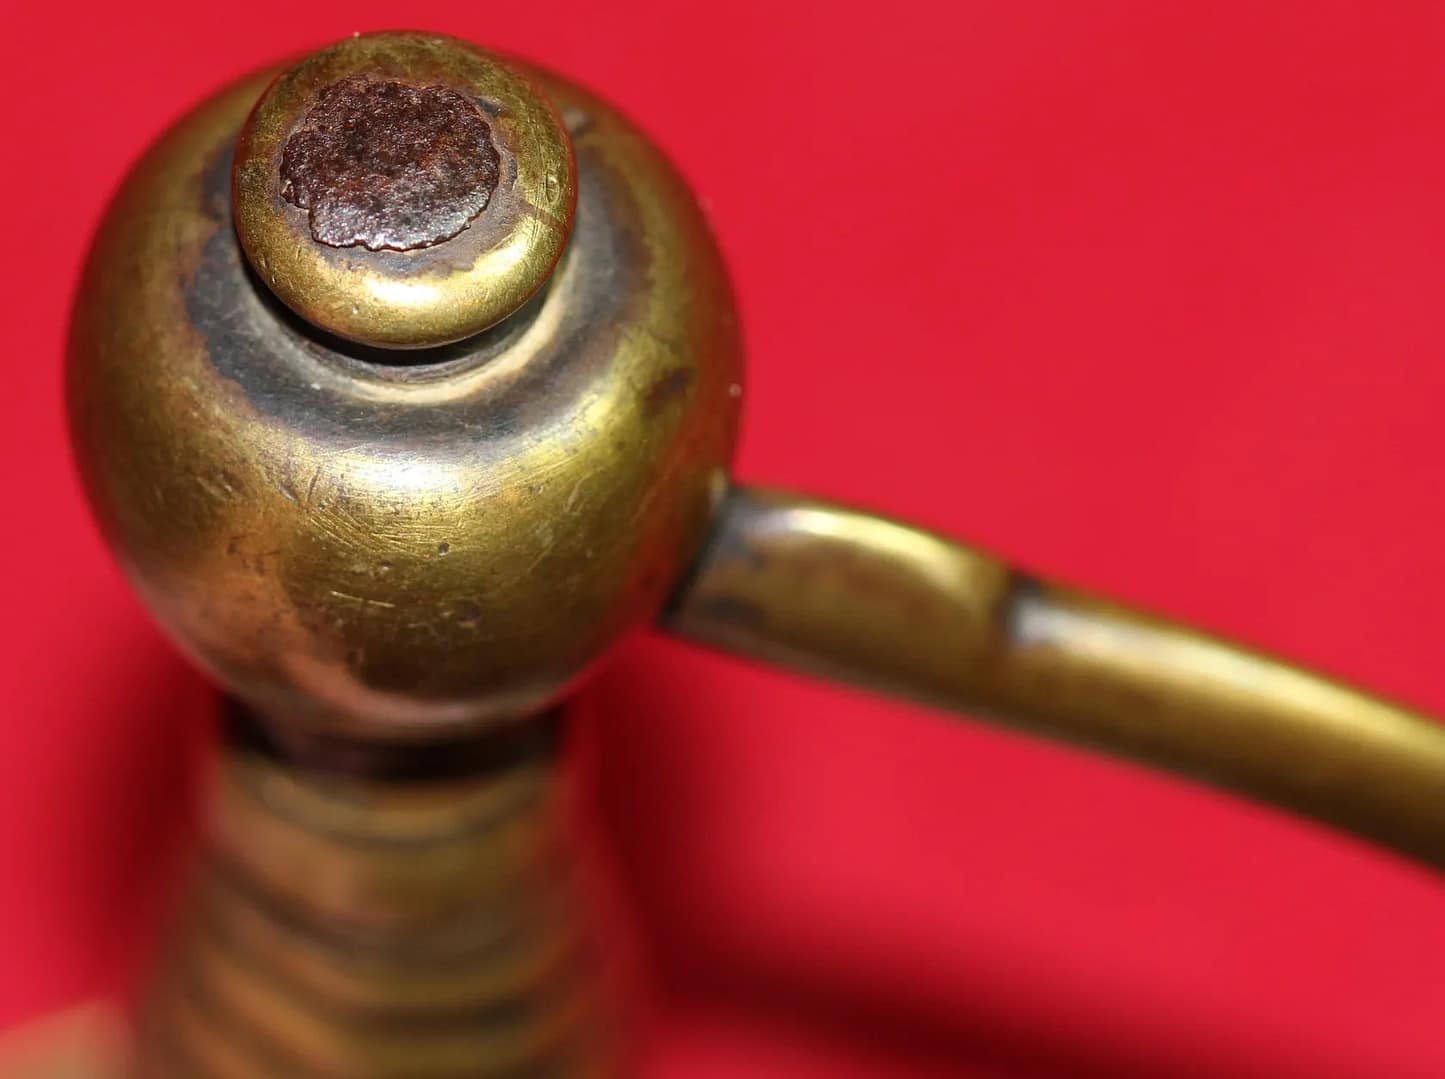
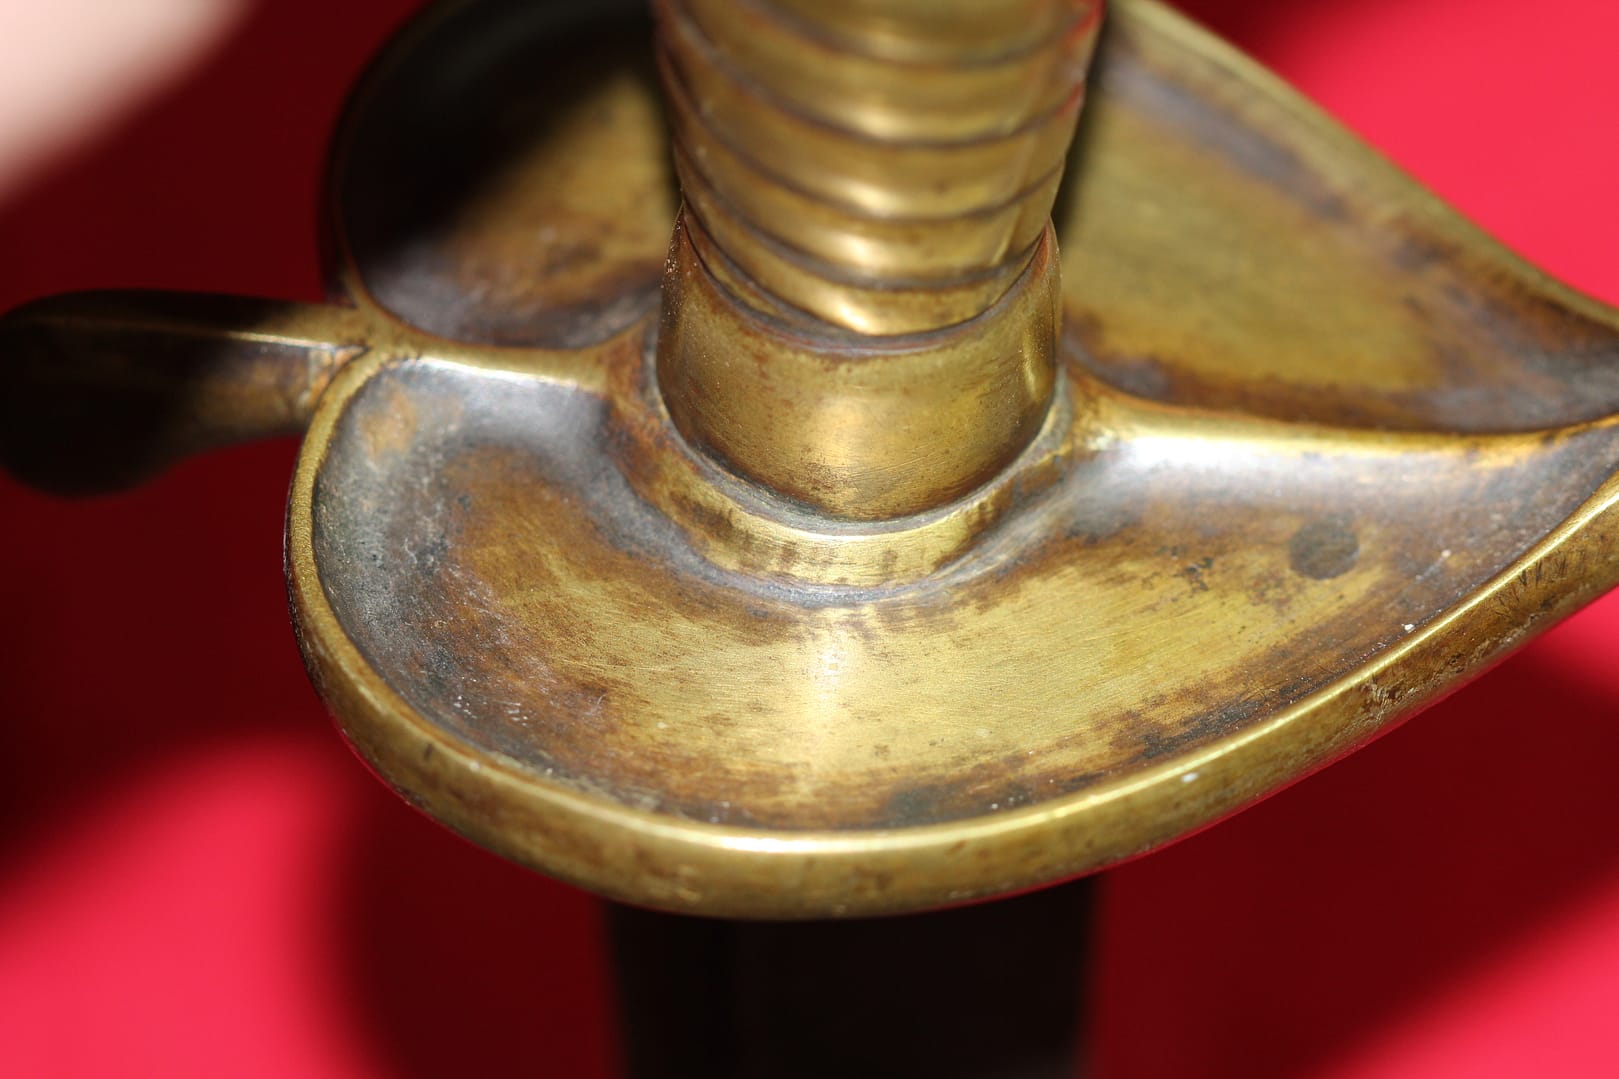
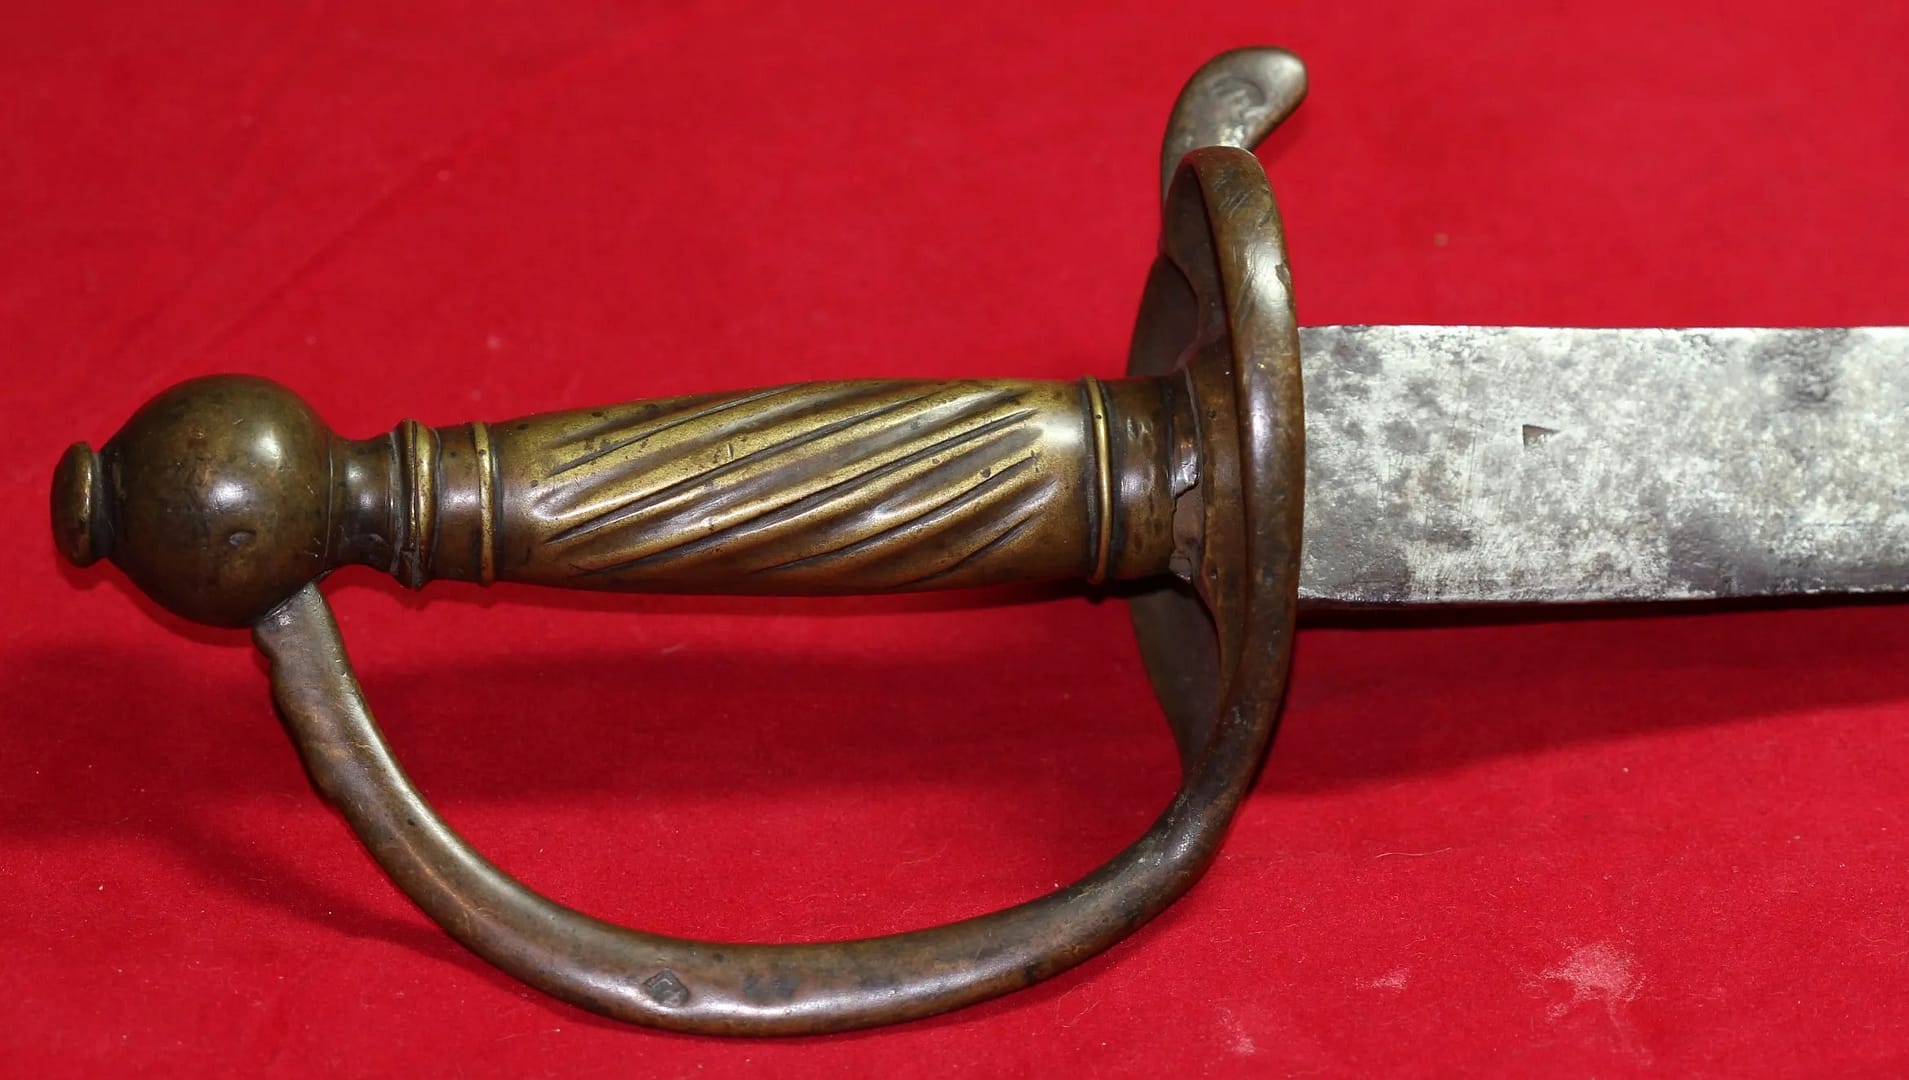
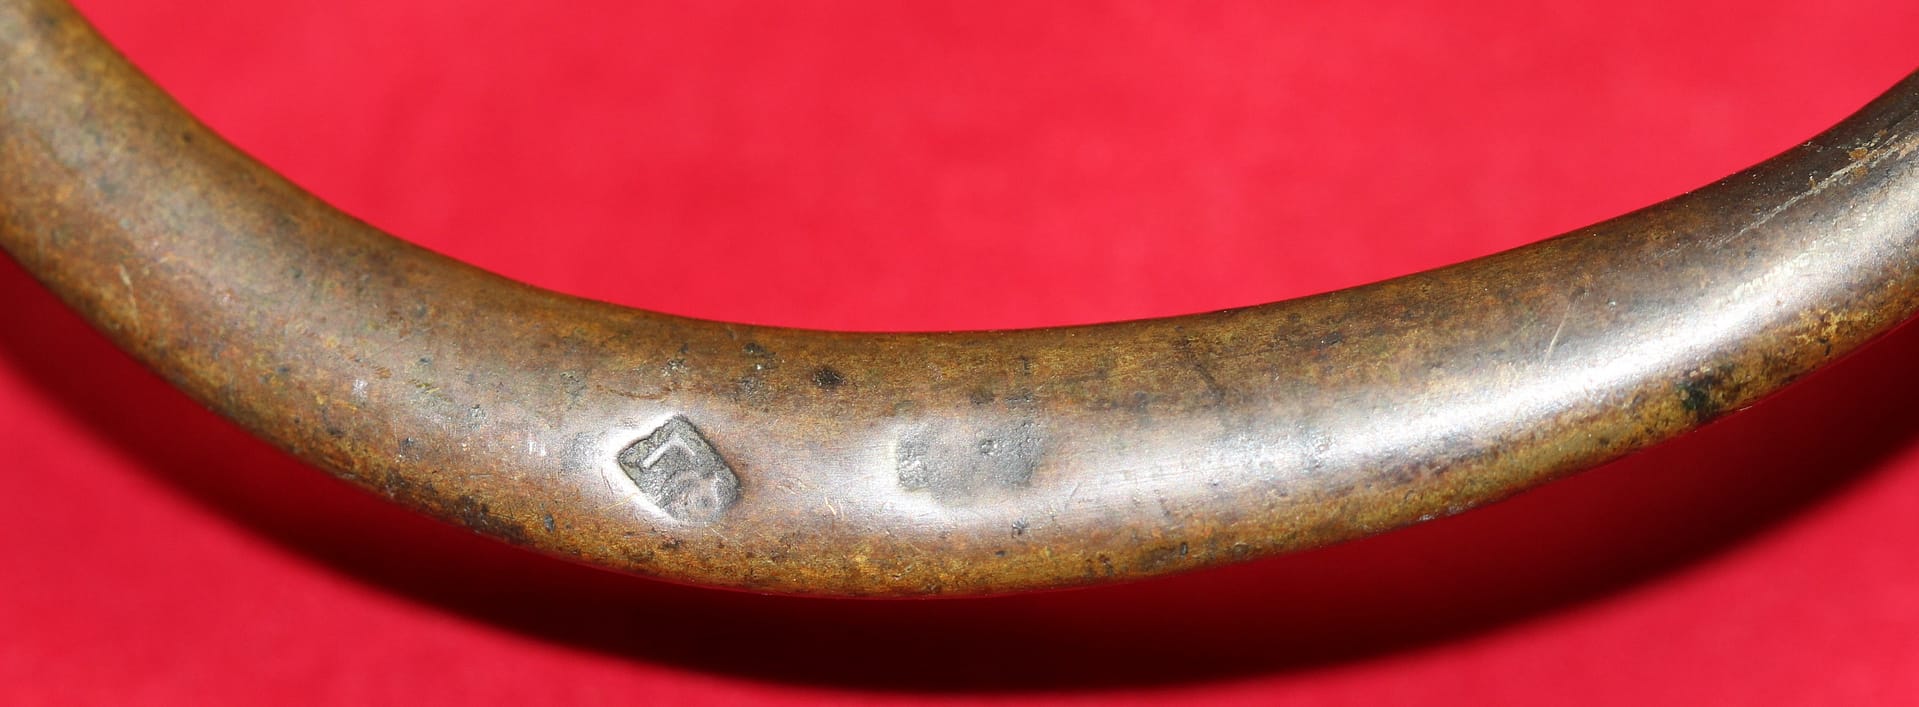
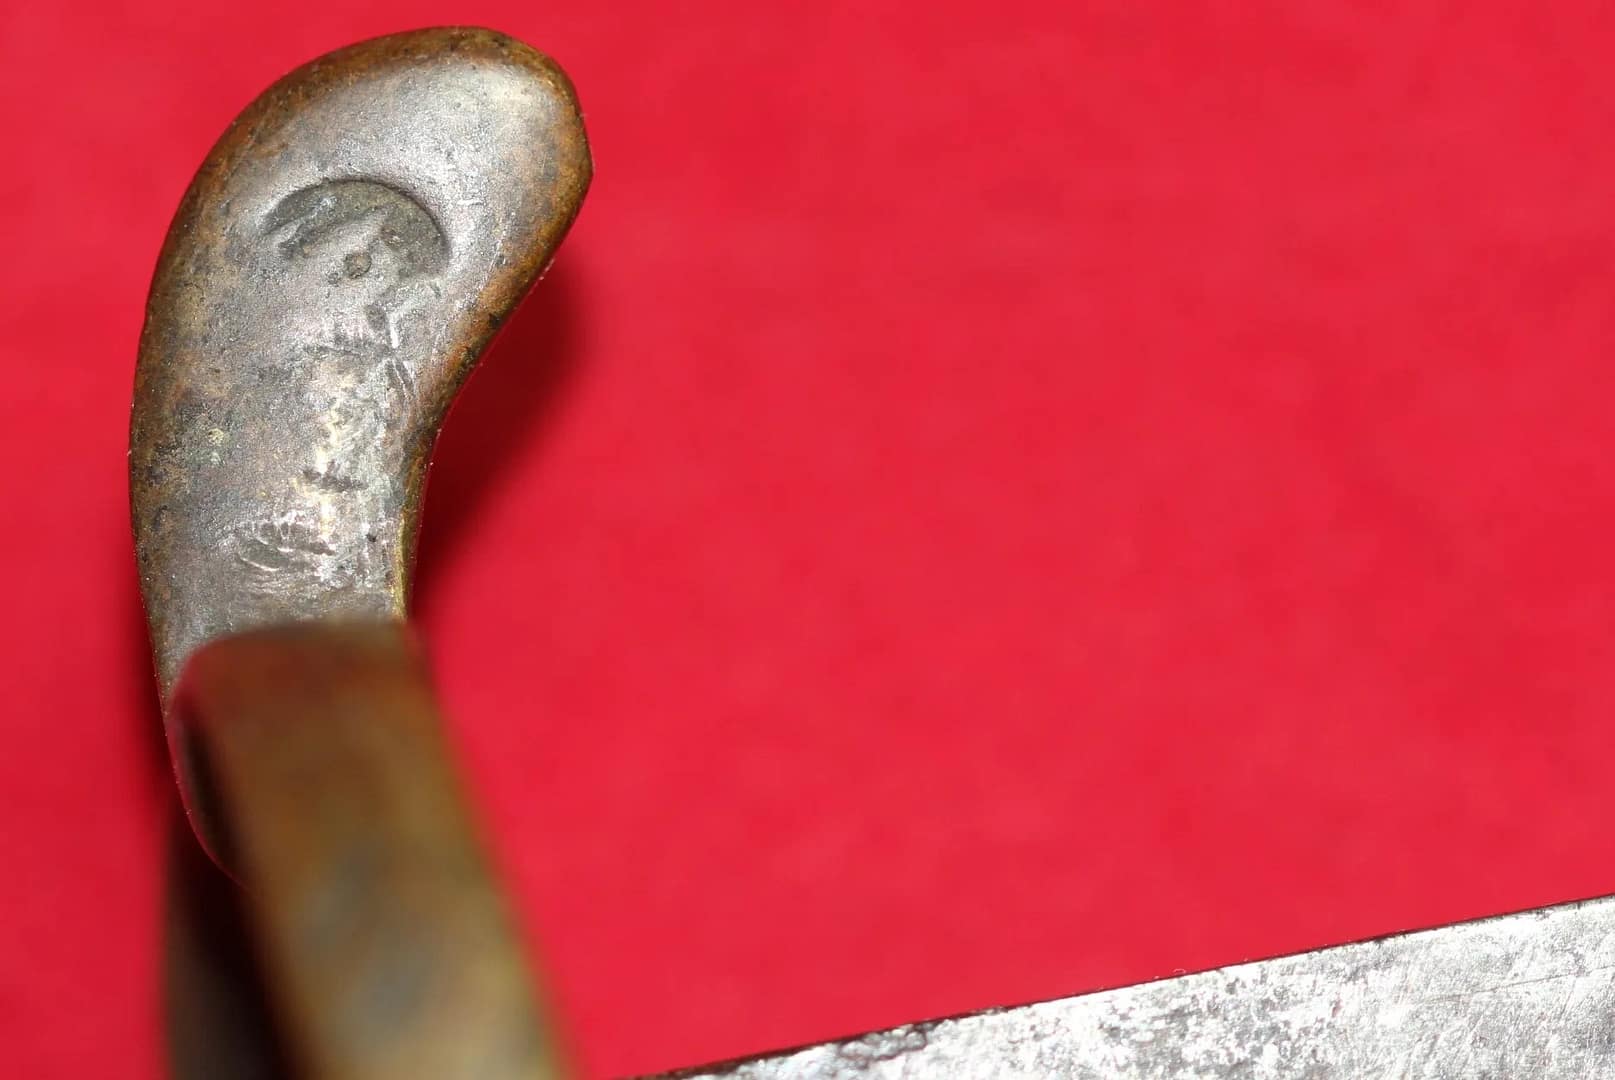
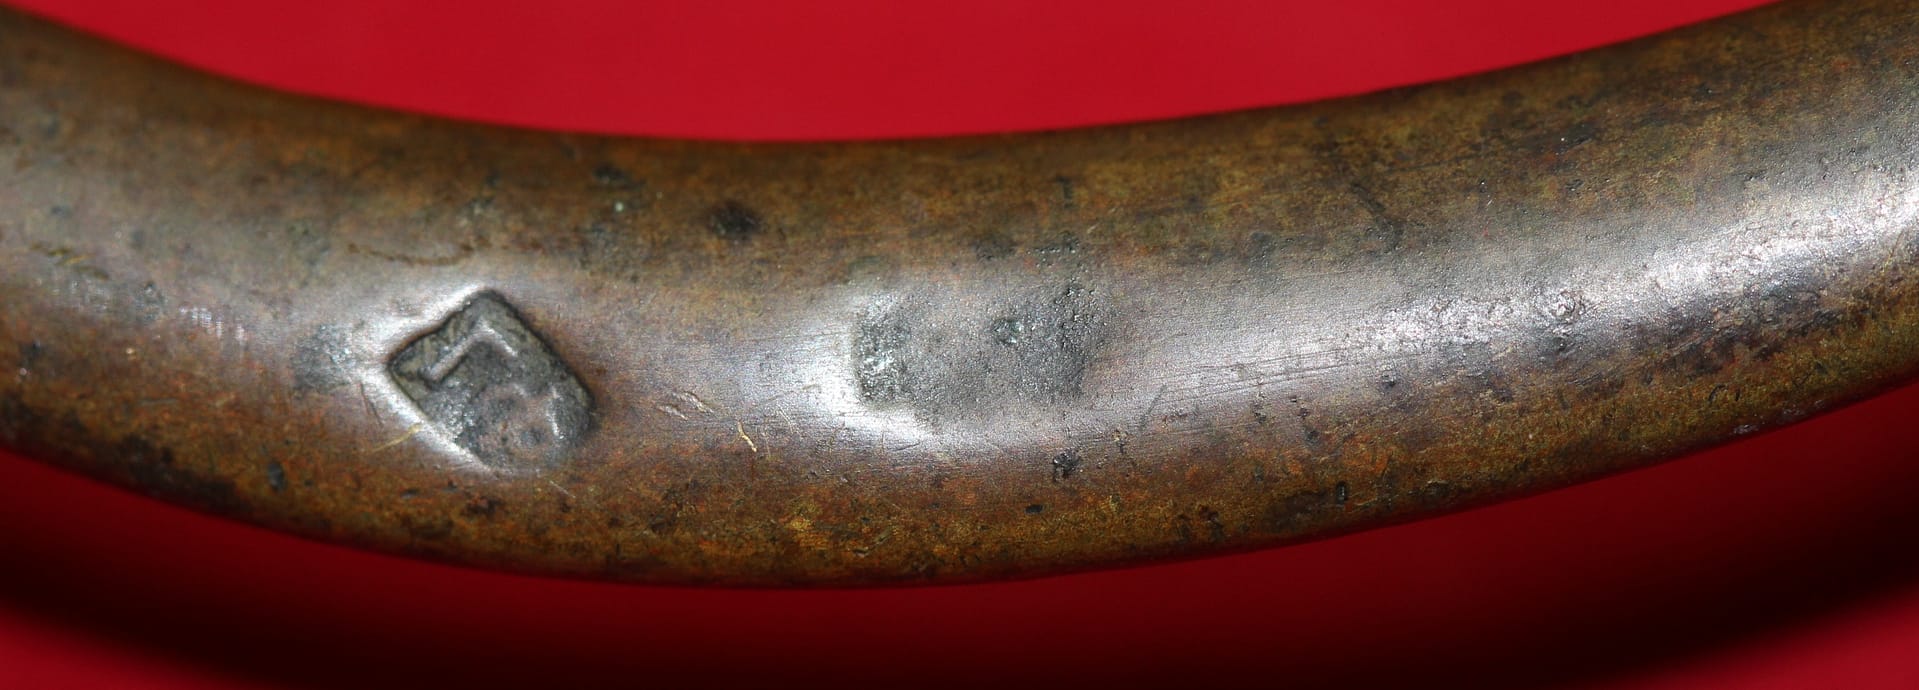
English Basket Hilt Heavy Cavalry Troopers Sword circa 1750. From my personal collection.

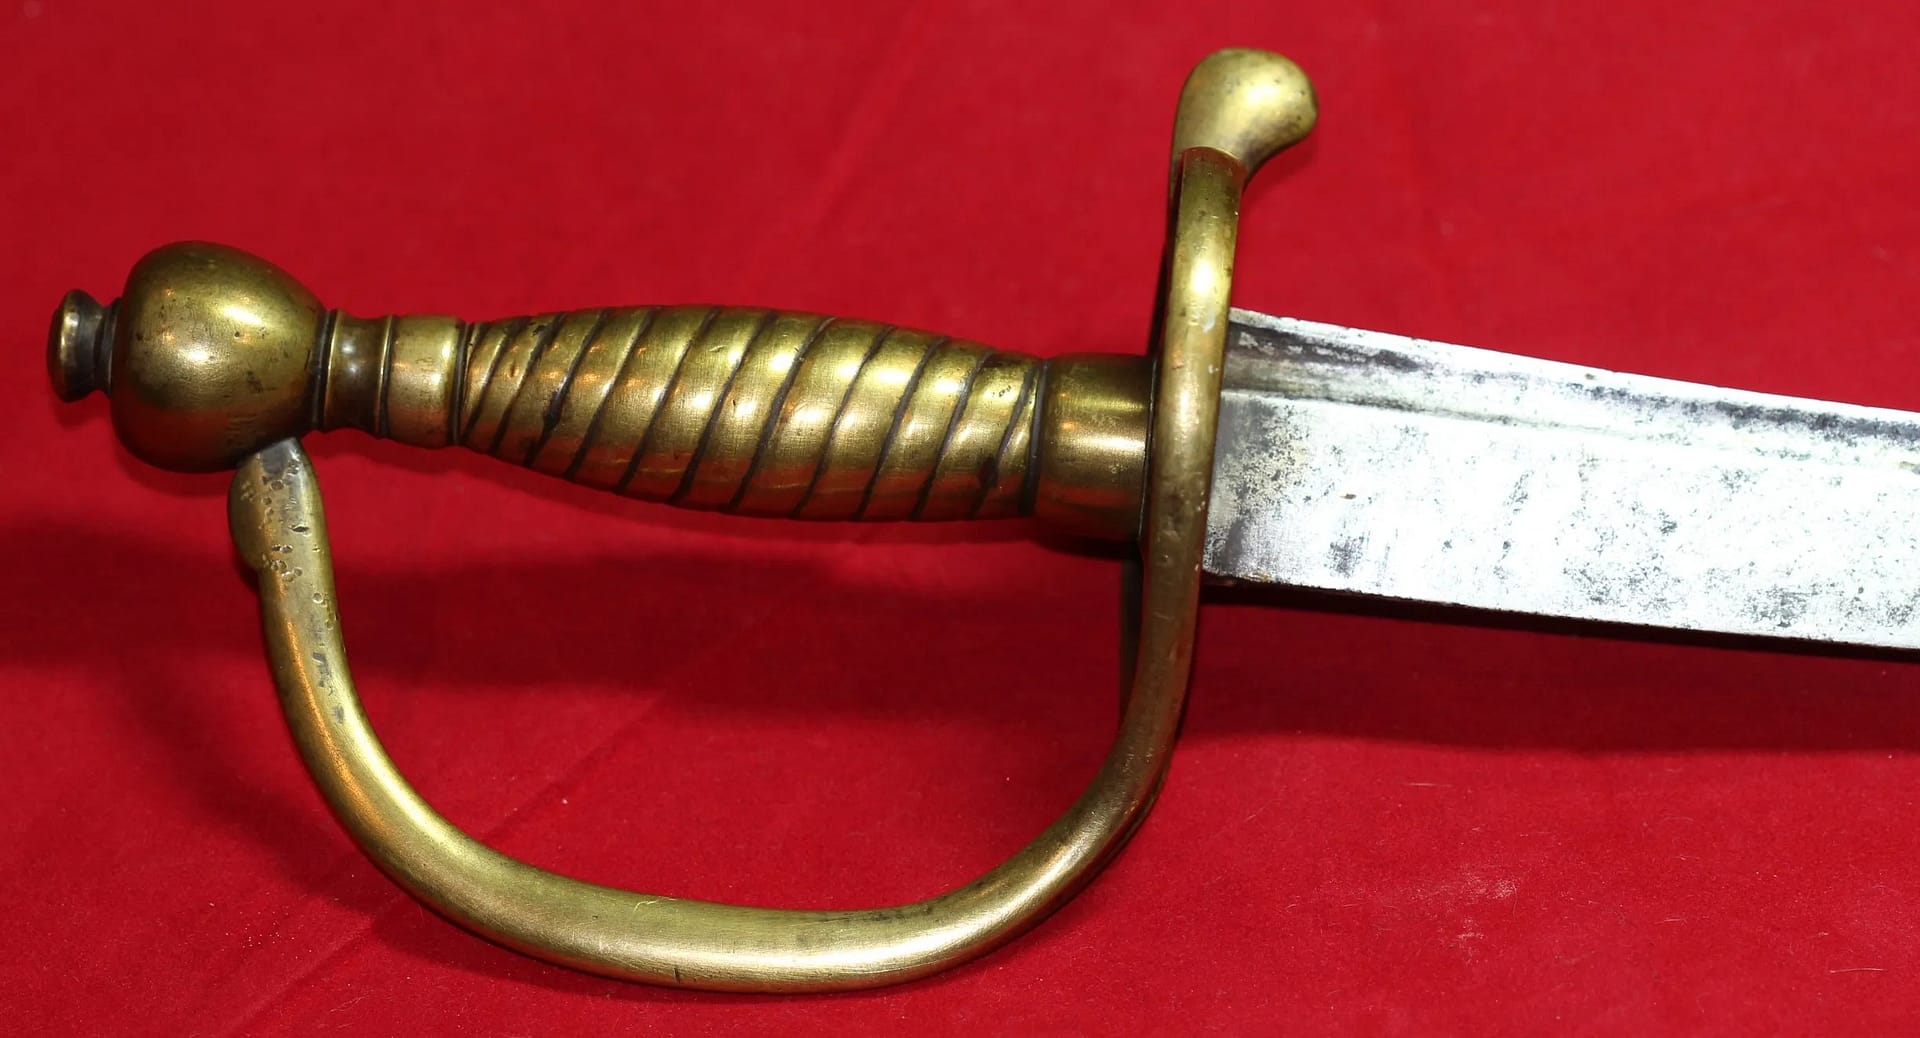
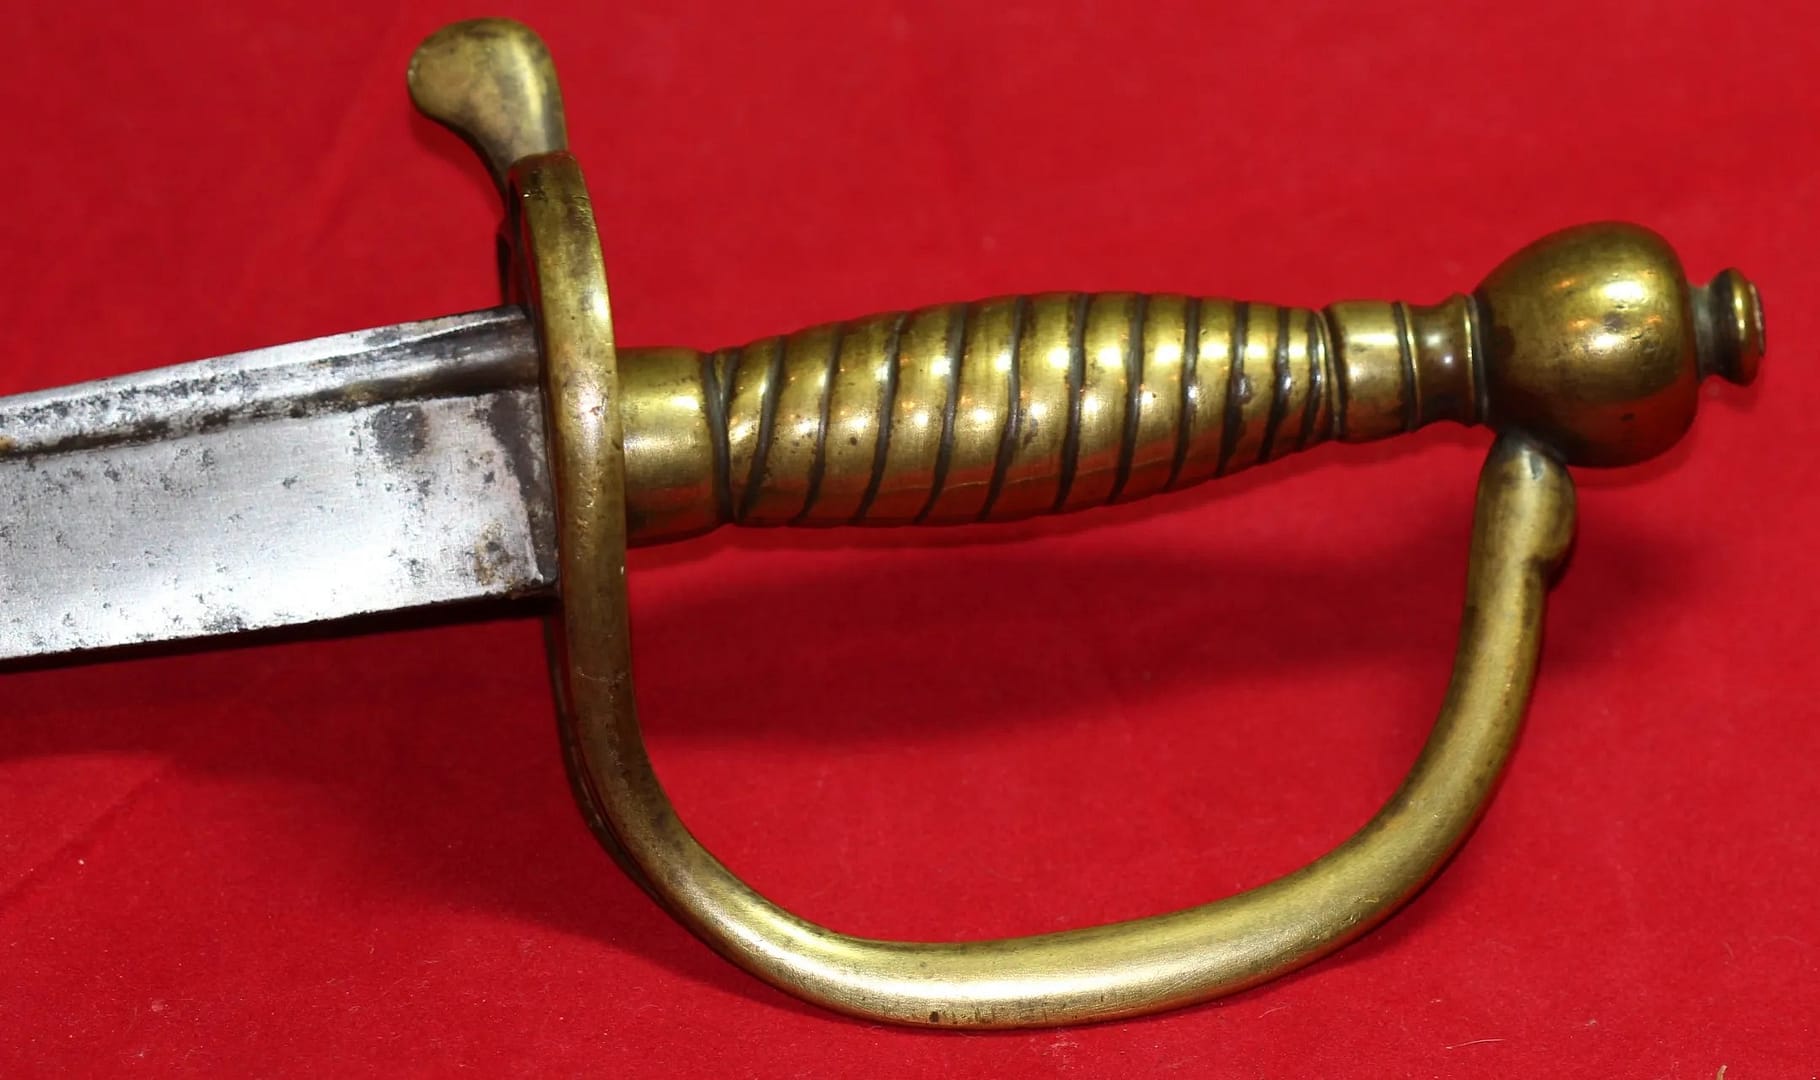
This basket-hilt broadsword, circa 1750, was typical of British heavy cavalry issued weapons before the introduction of more standardised 1780s patterns. Featuring a broad, straight blade optimised for powerful cutting blows, it was paired with an iron basket hilt providing substantial hand protection. Carried by dragoon and horse regiments, the sword reflects mid-18th-century British cavalry doctrine which emphasised close-quarter shock action. Its form continues the long tradition of Scottish and English basket-hilted military swords. Dish shaped hilt 3/4 basket with wide central knucklebow and three curved branches. Ovoid pommel. Described in George Neumann Swords and Blades 253.S English Horseman Sabre circa 1750. 32 inch blade. 38 inch overall. Grip covered in fishskin and brass twist wire. From my personal collection.


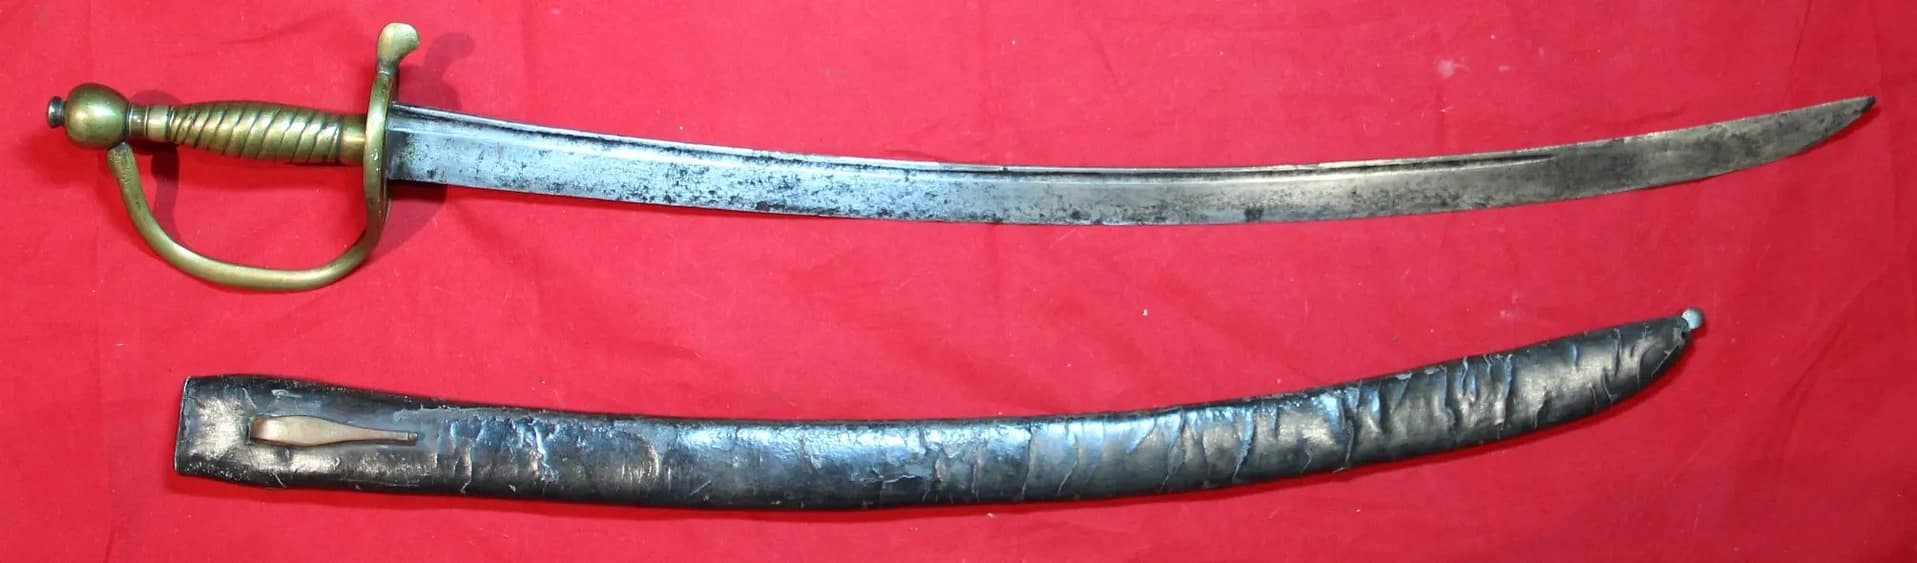
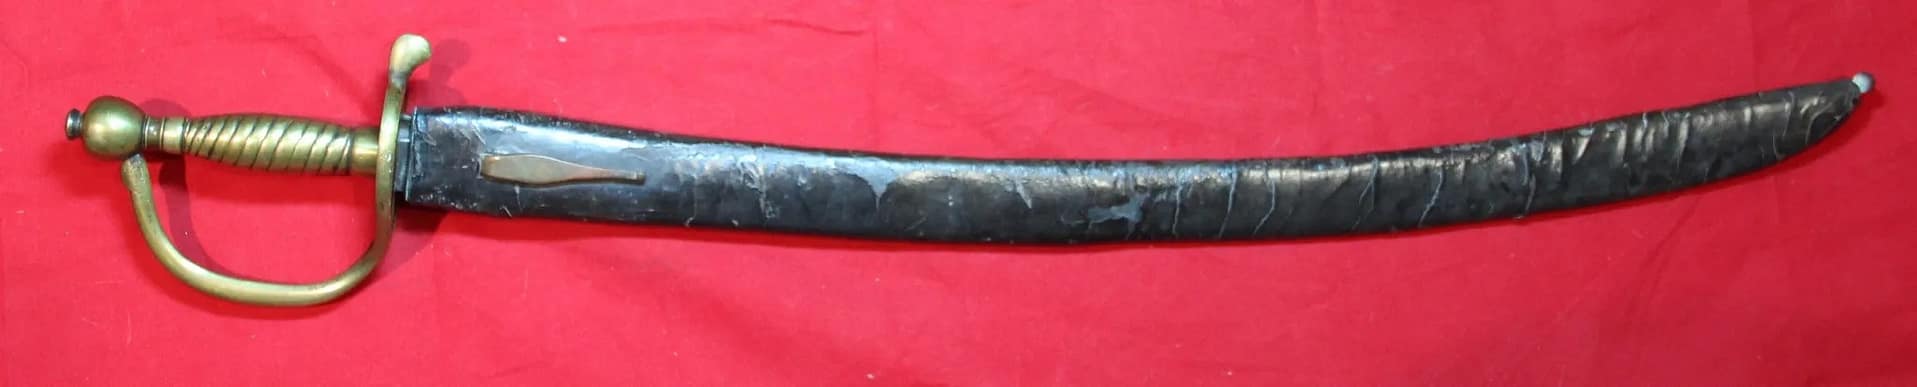
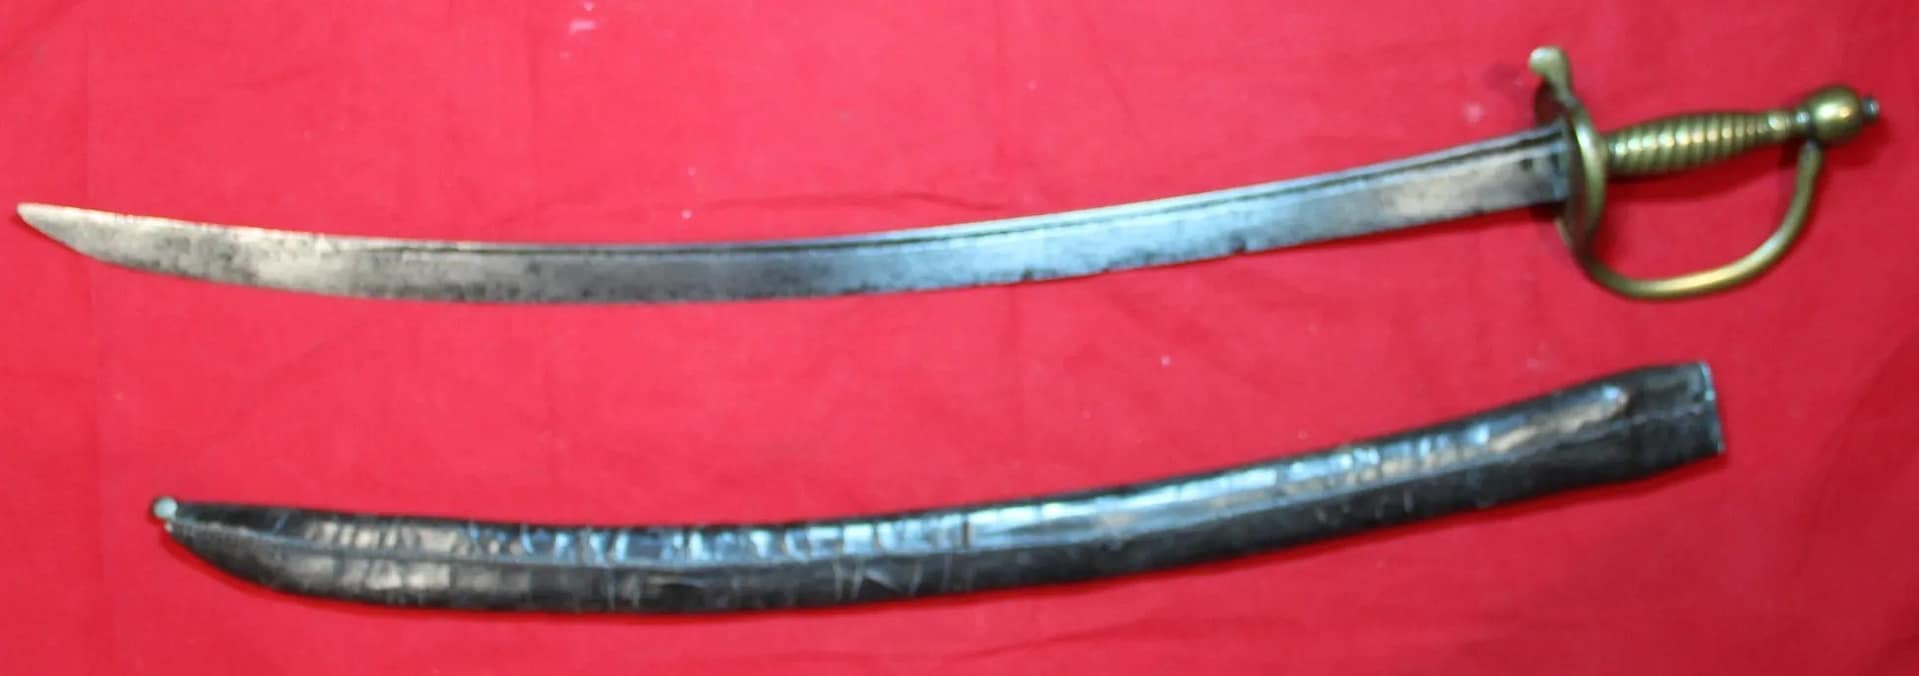
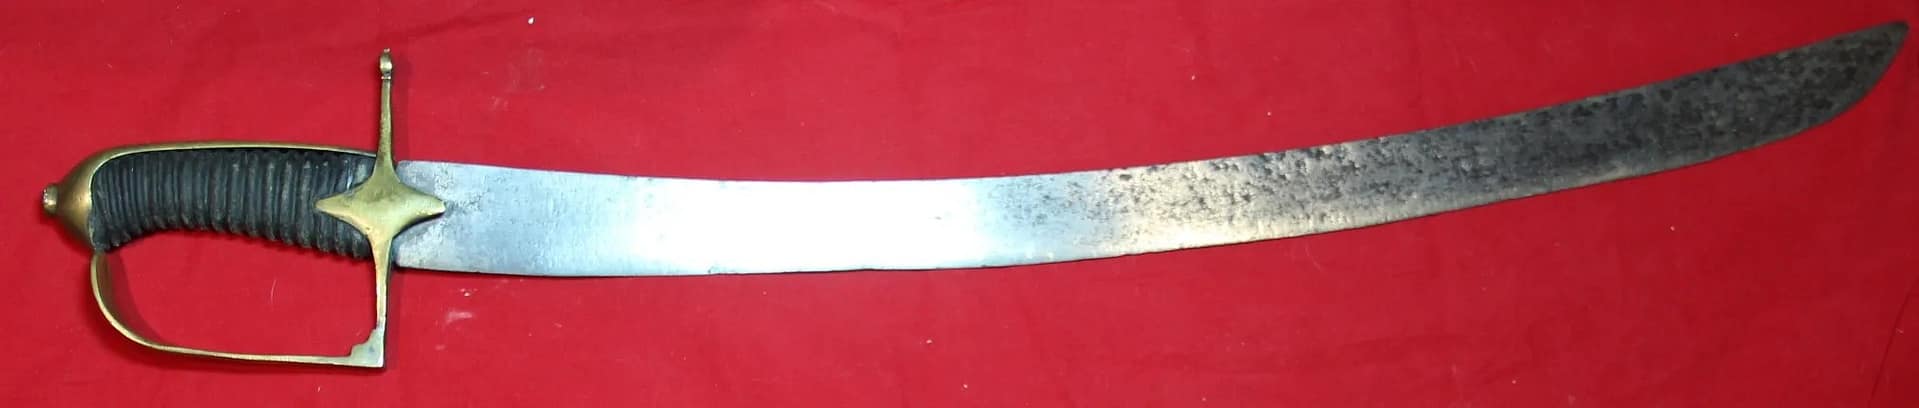
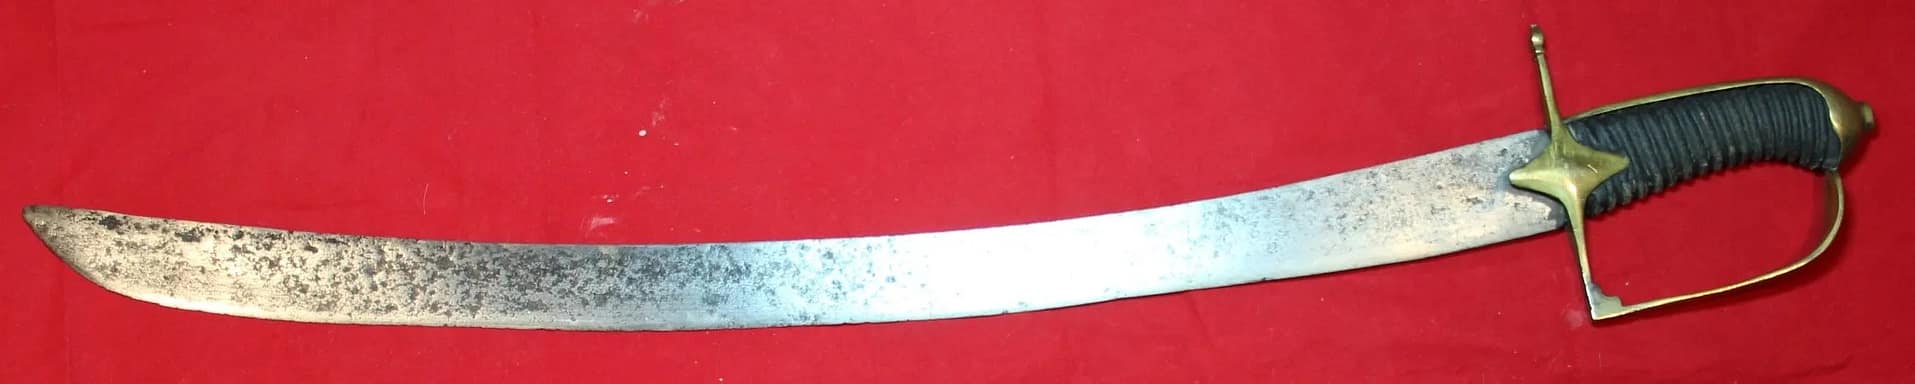
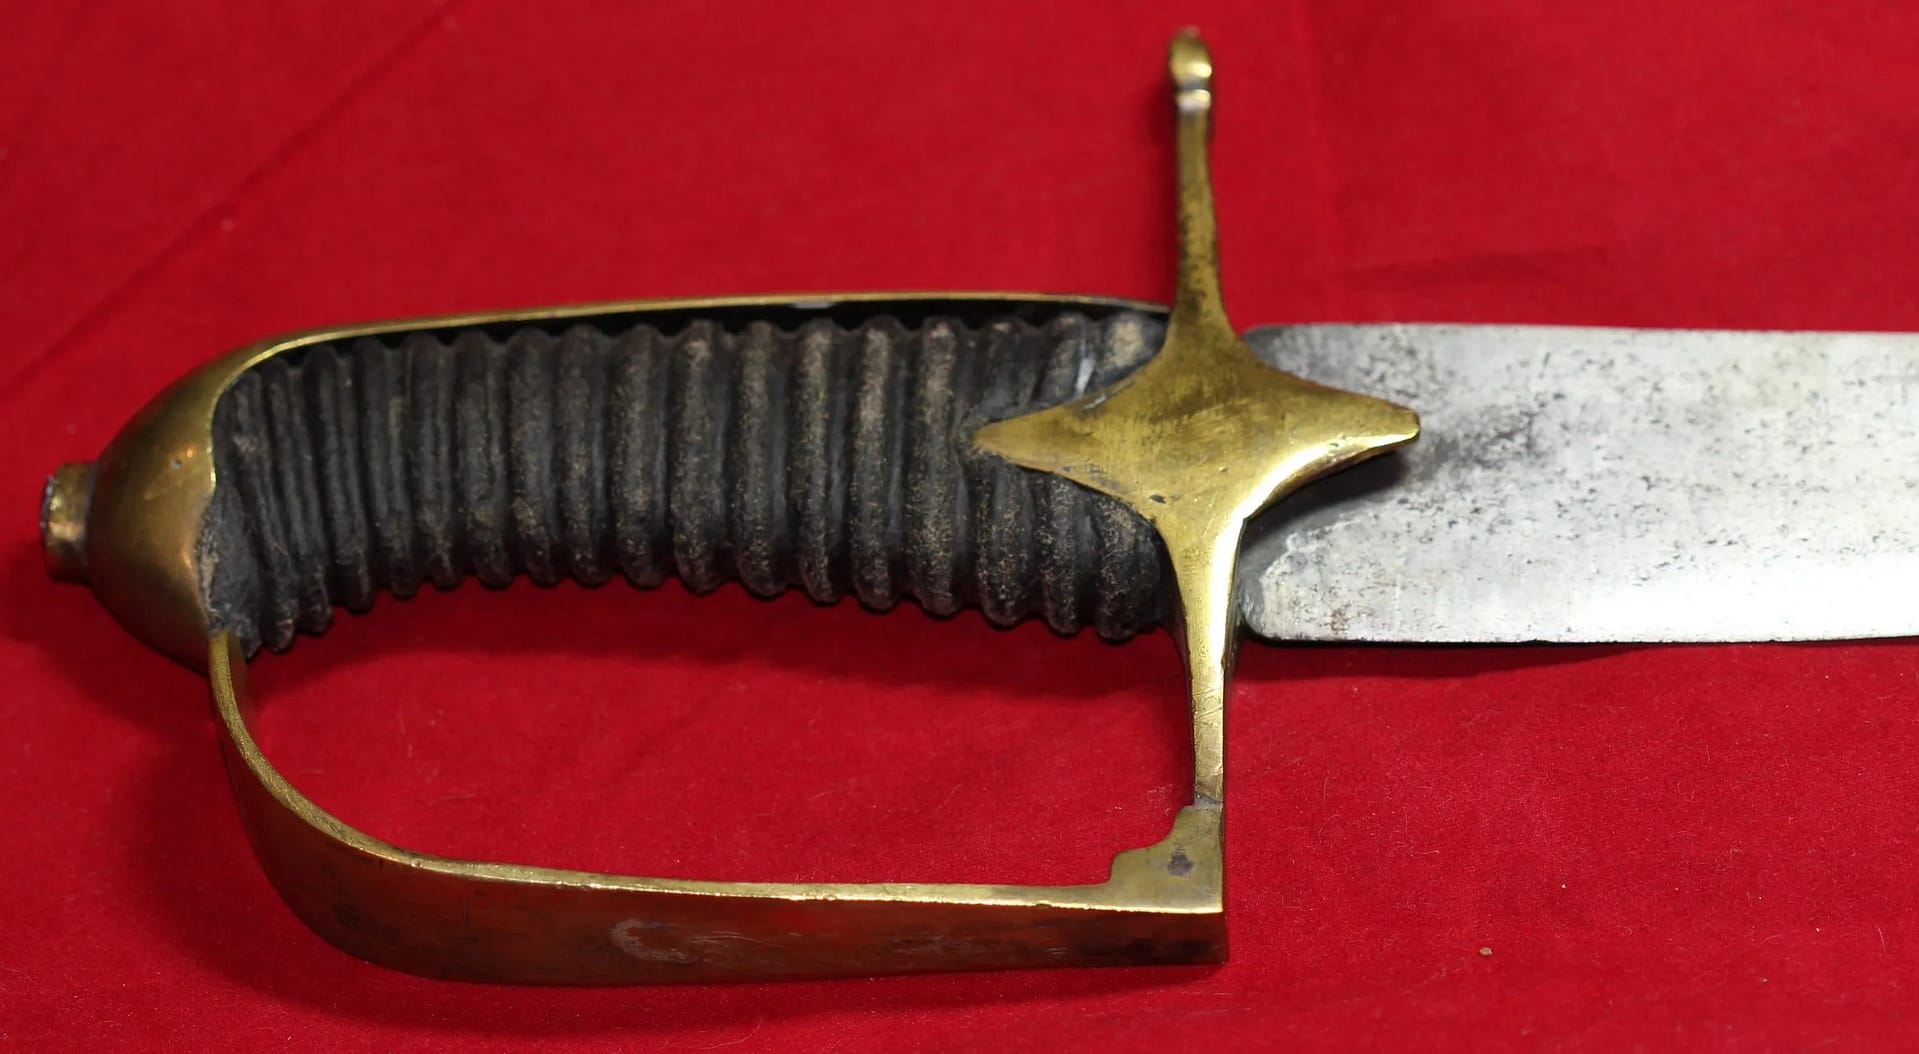
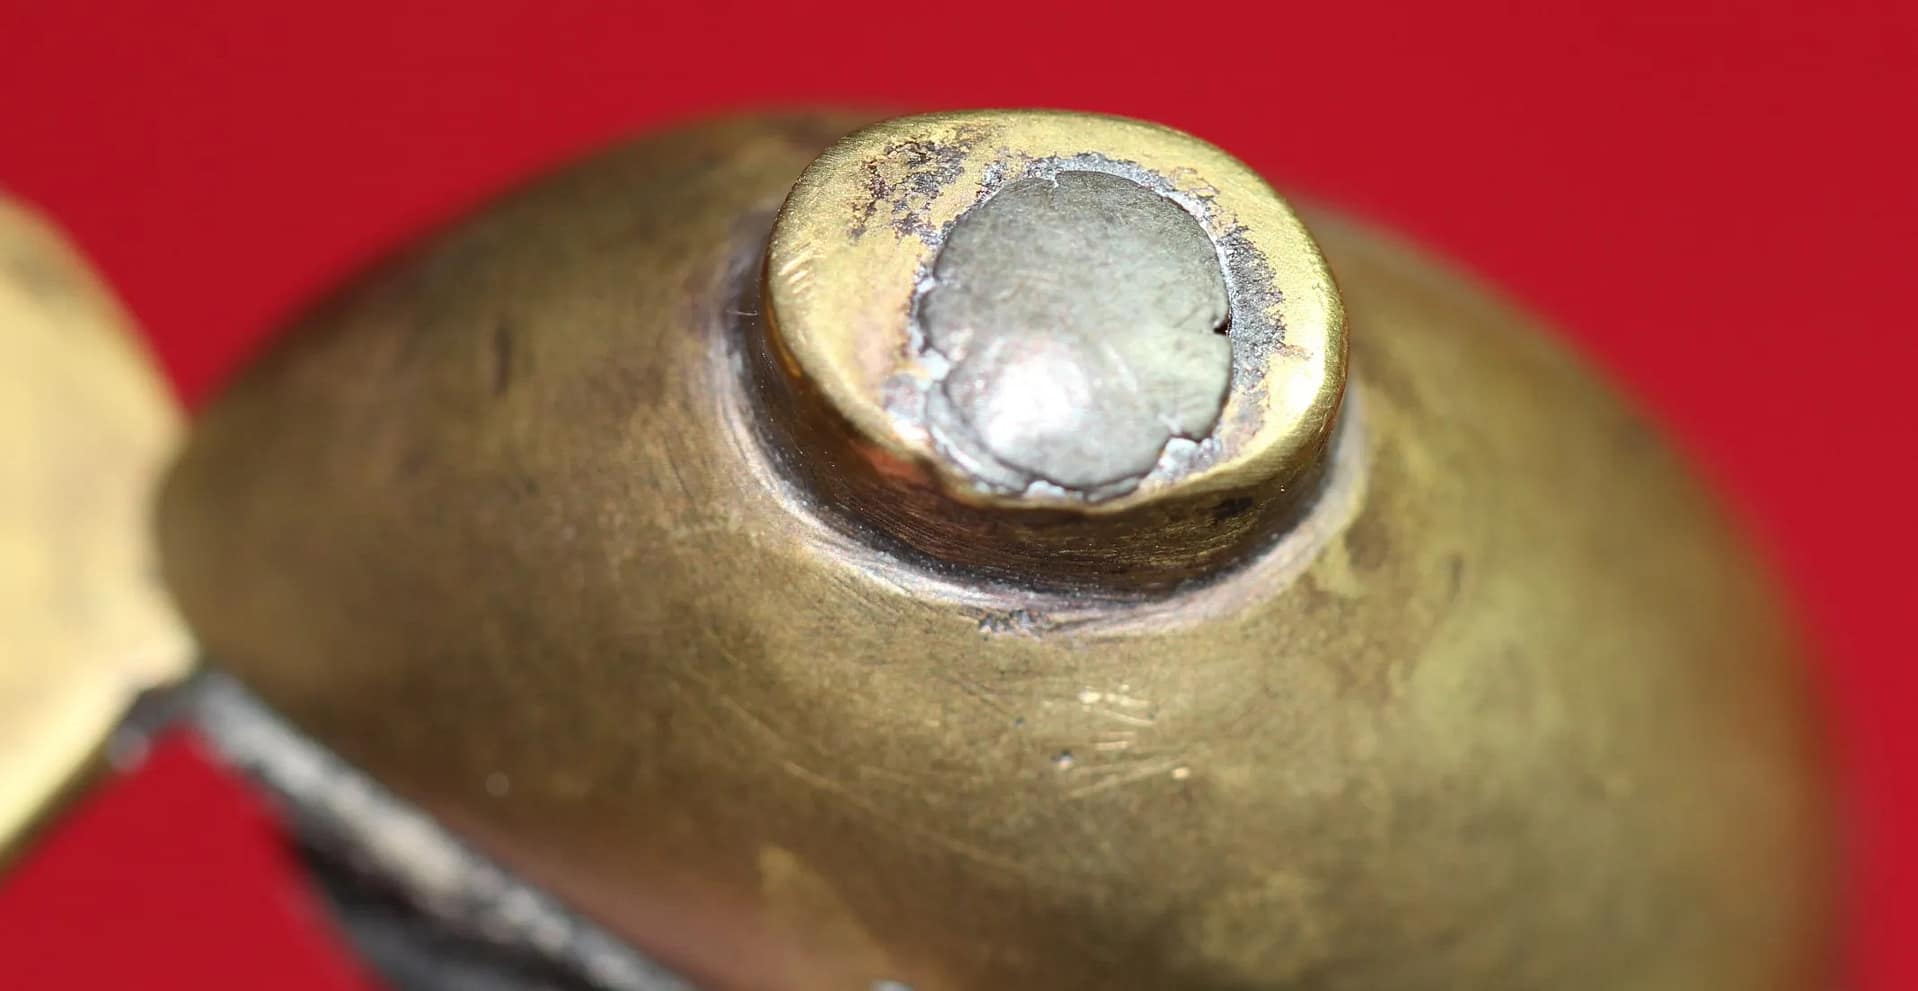
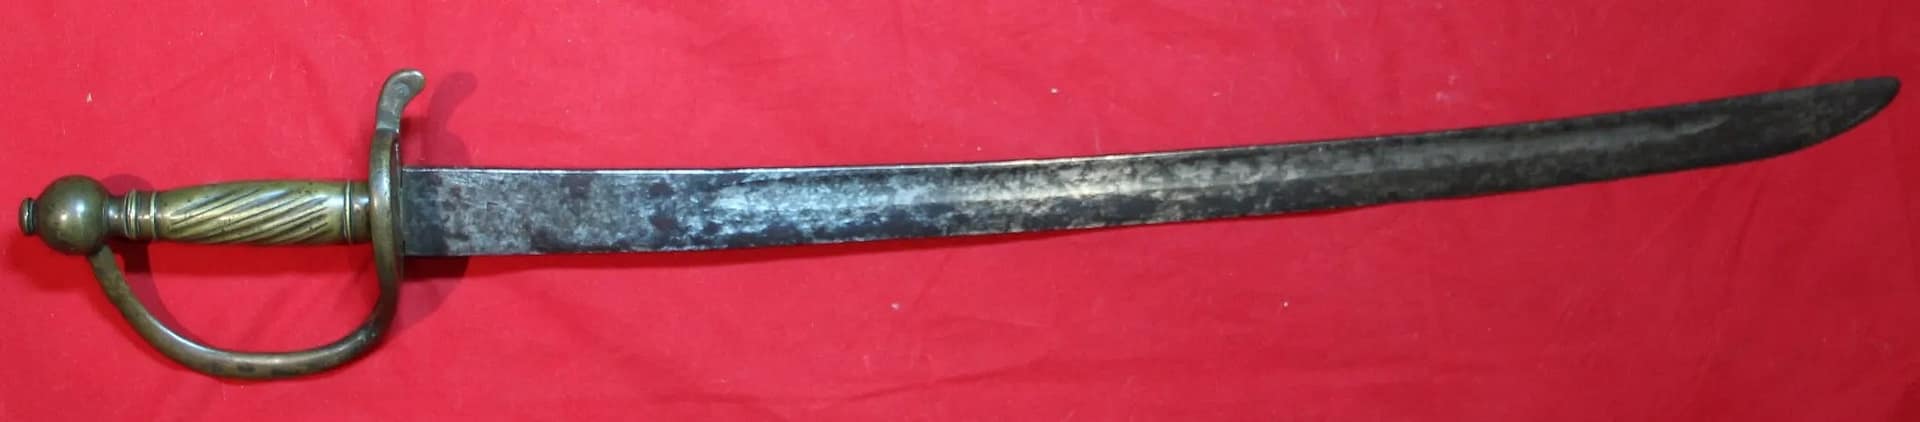
English Pattern 1742 Infantry Hanger. From my personal collection.

The Pattern 1742 infantry hanger was a short sabre issued to British grenadiers, sergeants, and some line infantry during the mid-18th century. Featuring a curved blade, brass guard, and simple knucklebow, it served as a secondary close-combat weapon complementing the musket and bayonet. Although increasingly superseded by bayonet fighting, hangers remained in service through the Seven Years War. The Pattern 1742 is one of the last widely issued infantry swords in British service.


Prussian Weapons of the Seven Years War


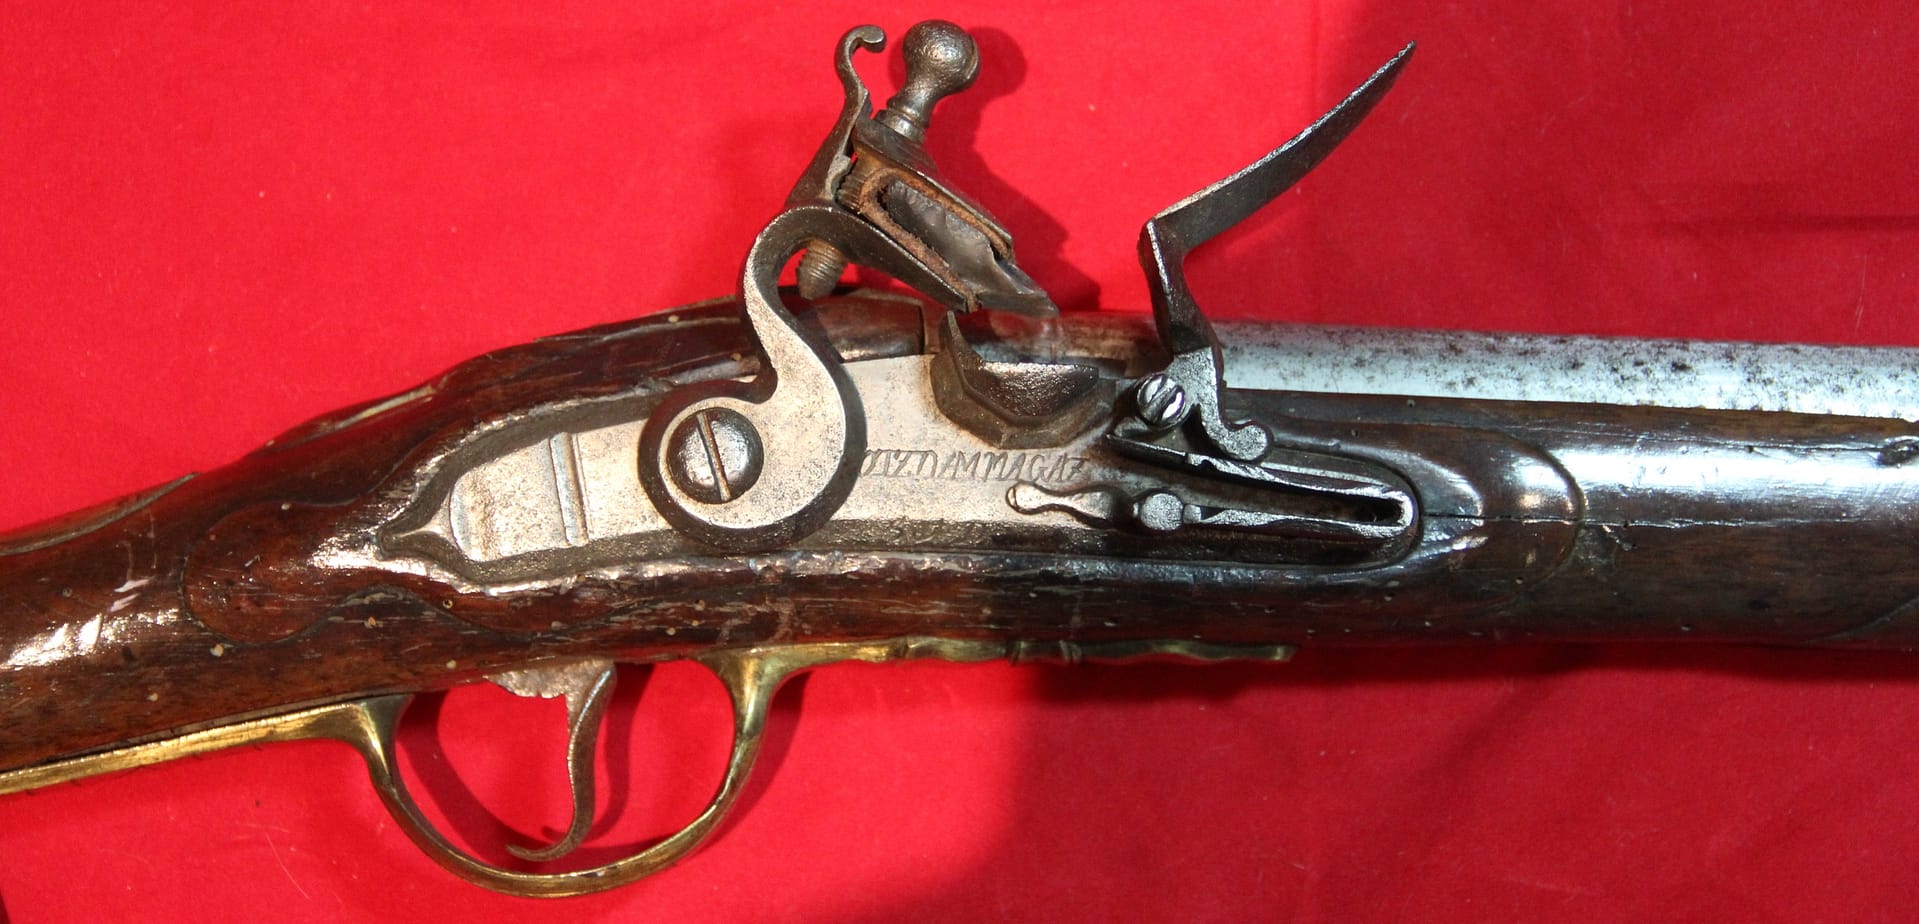
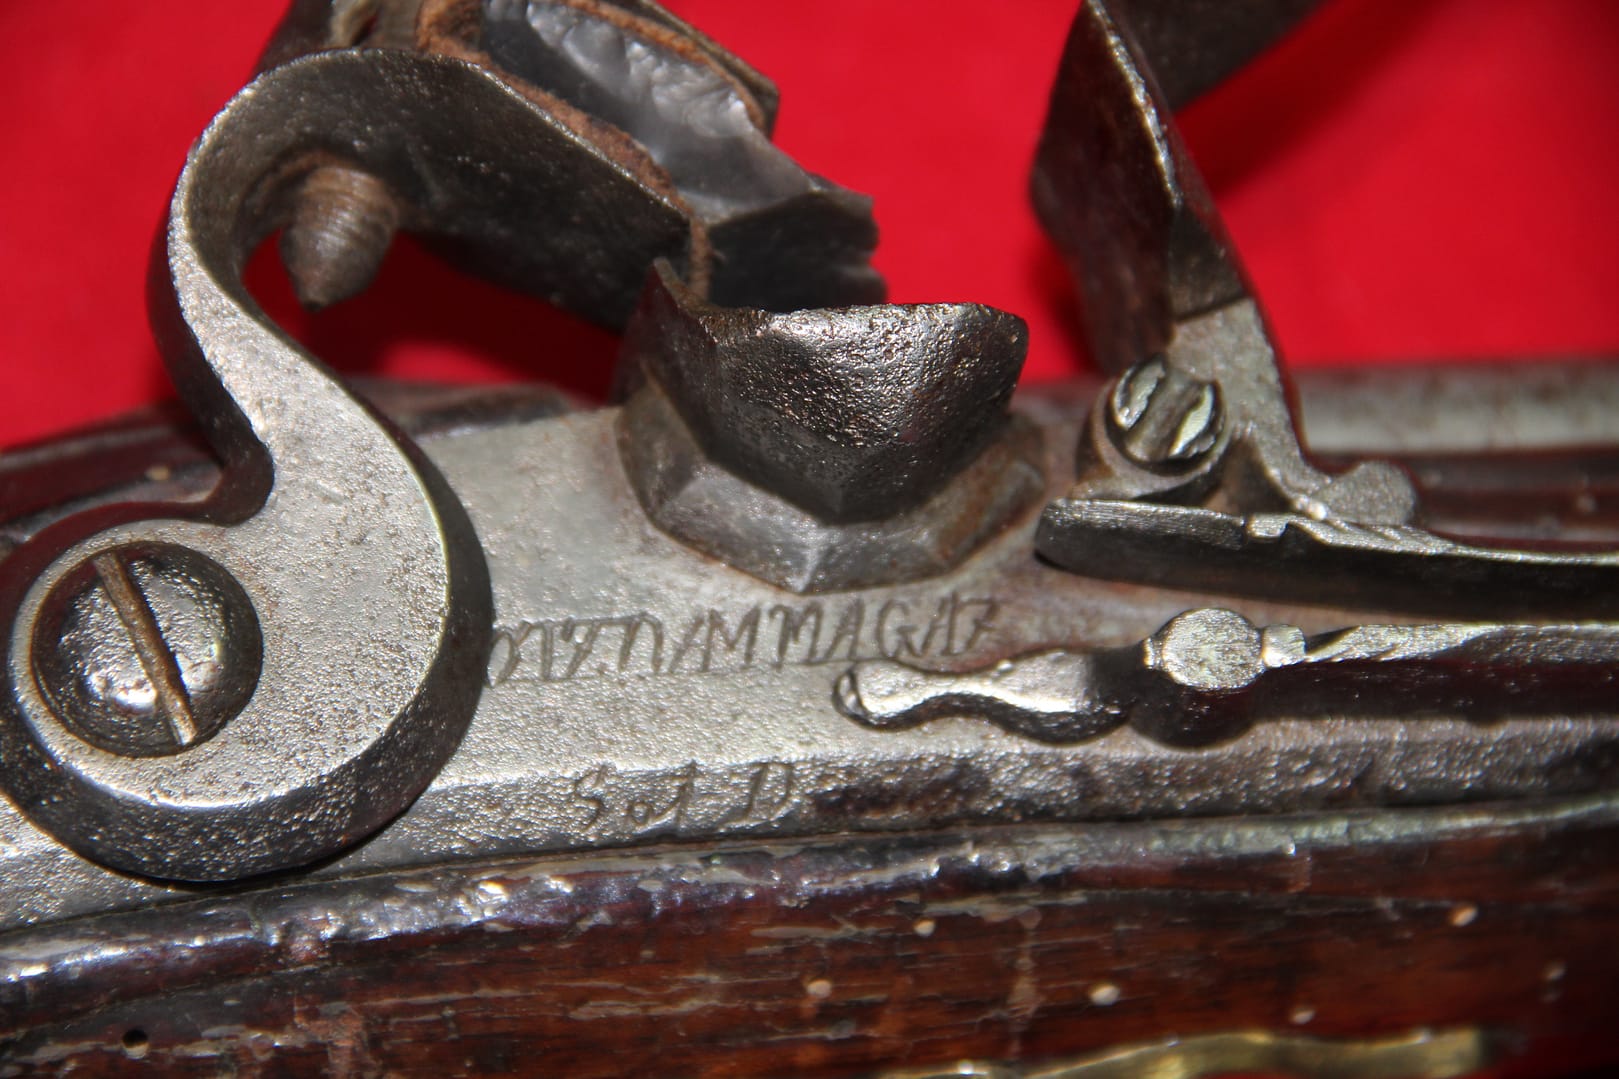
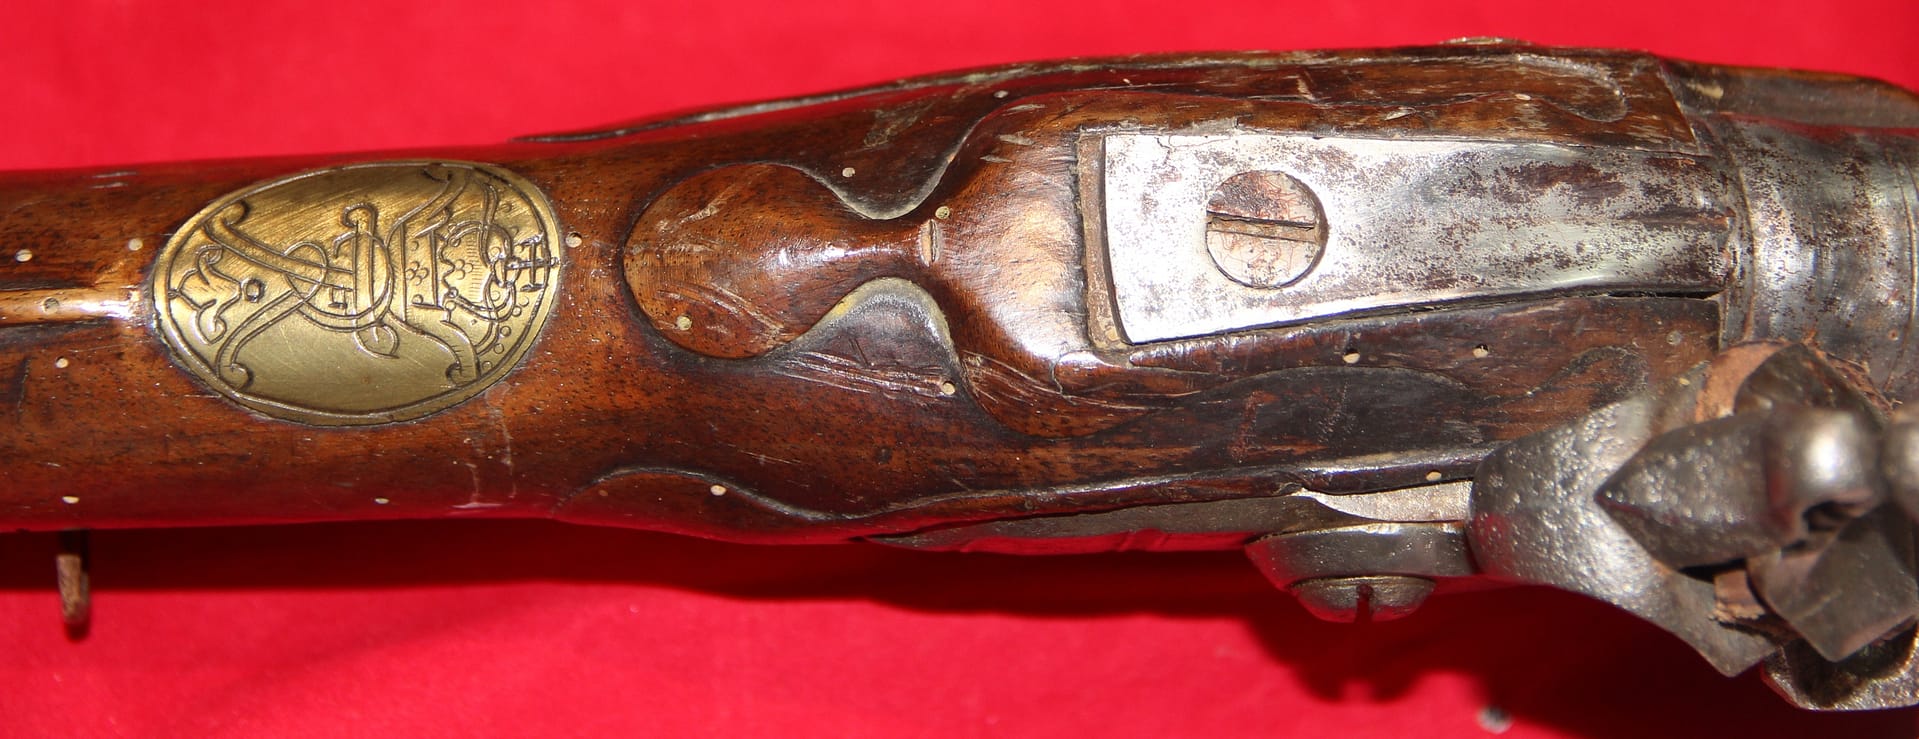
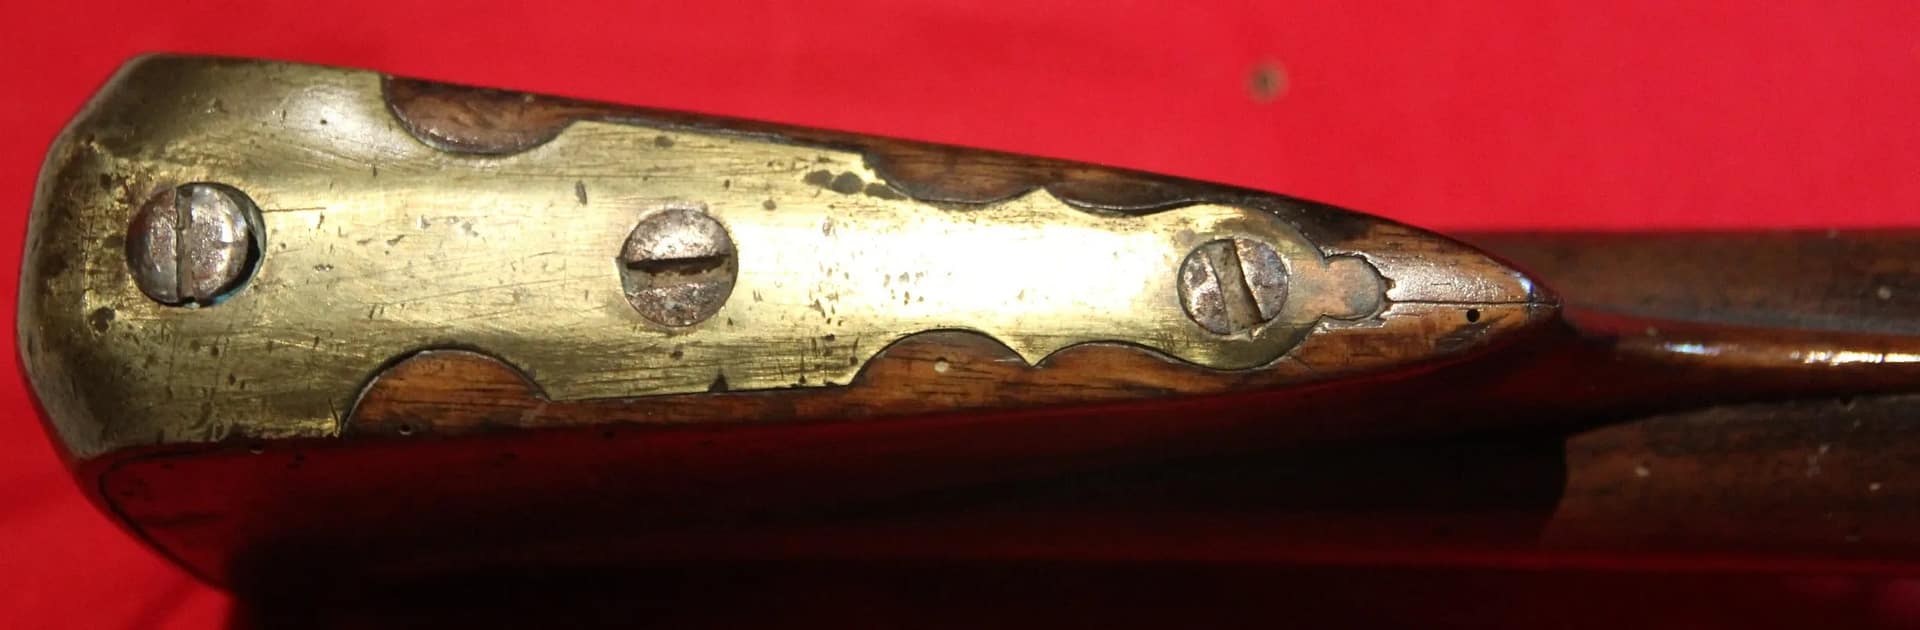
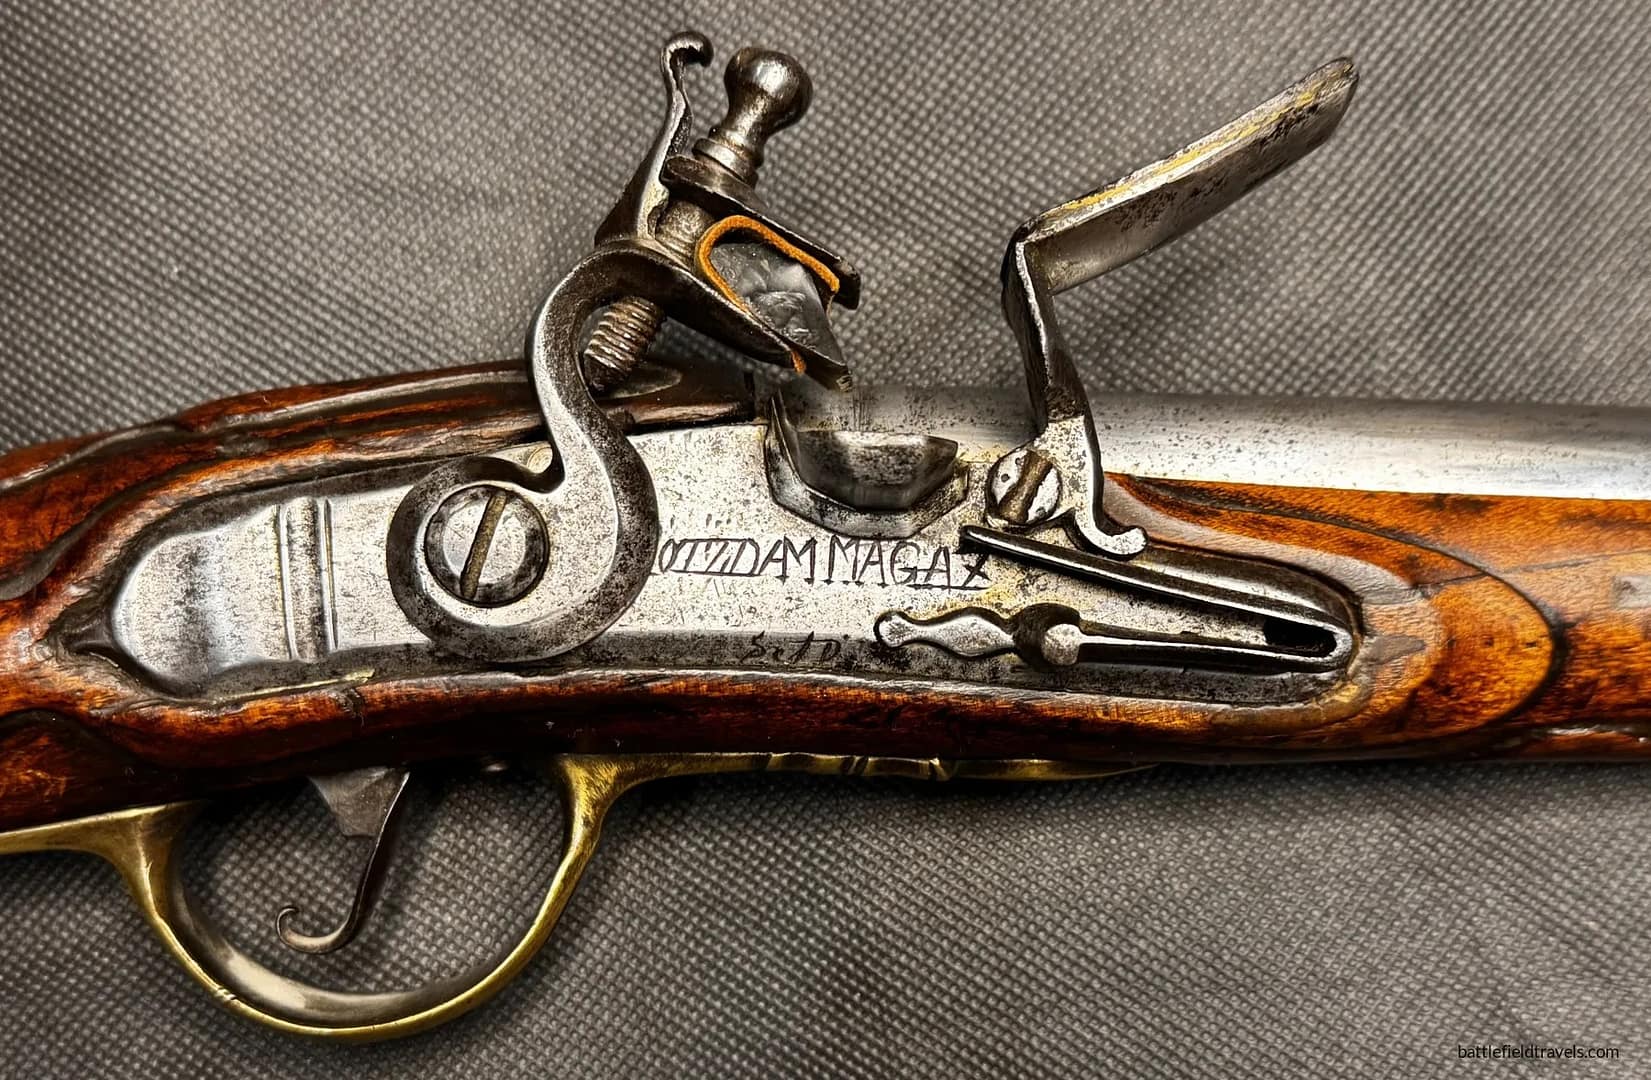
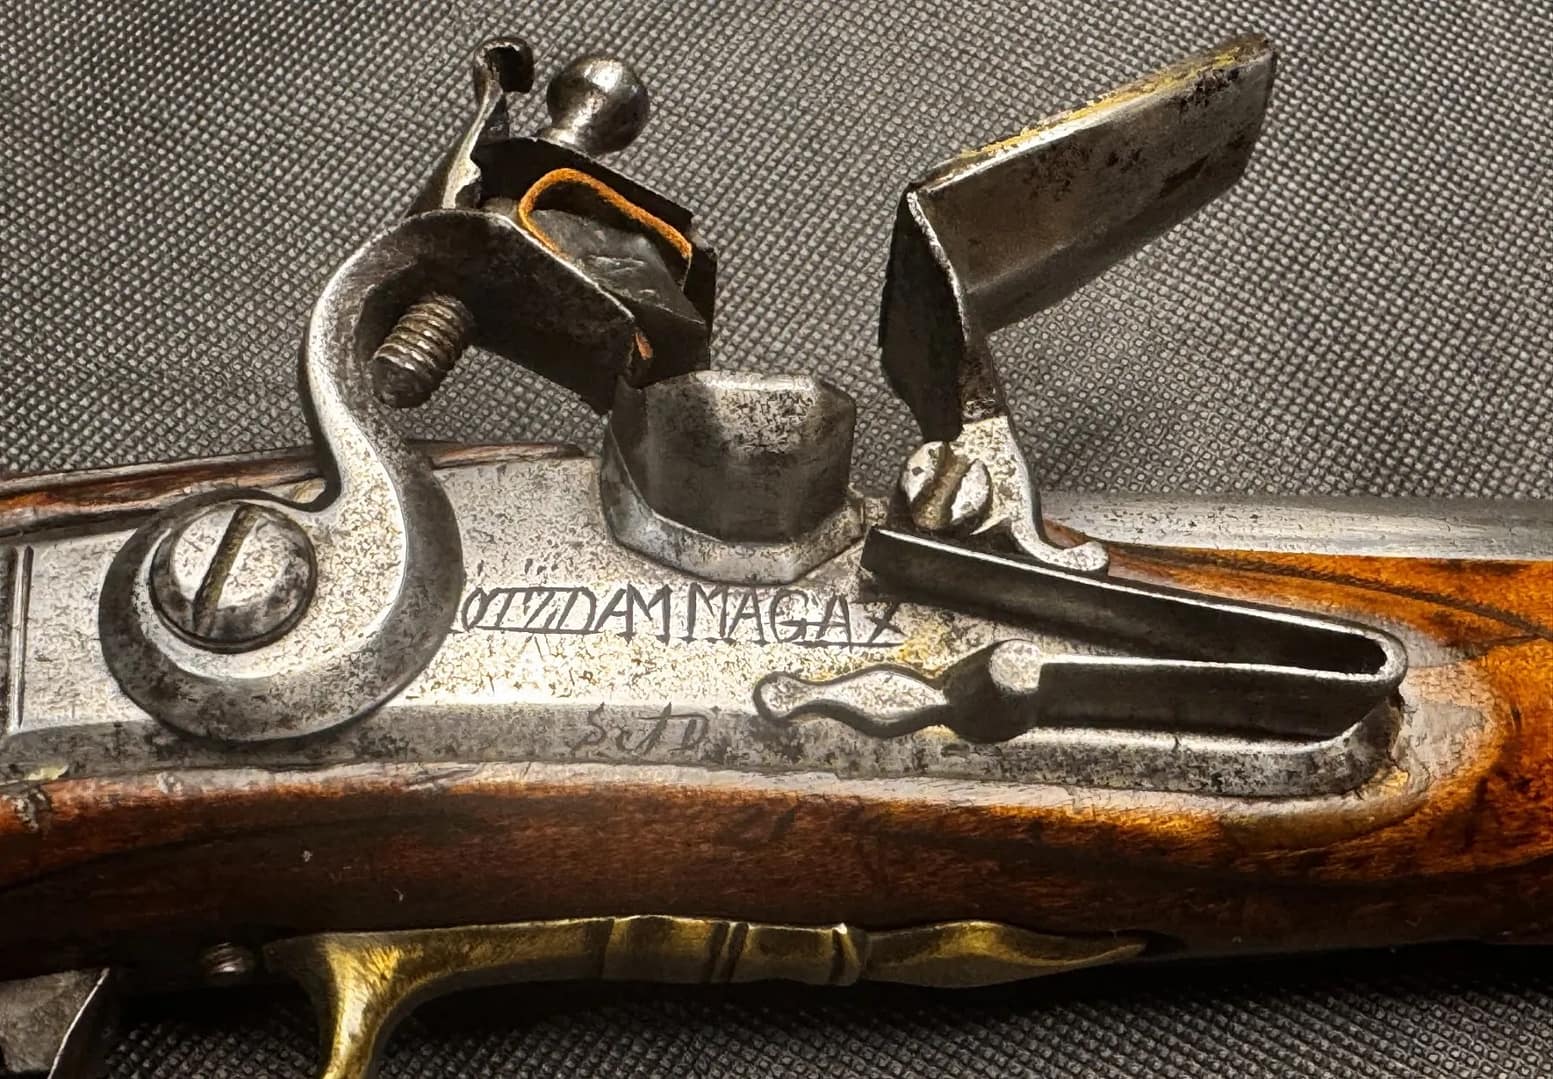
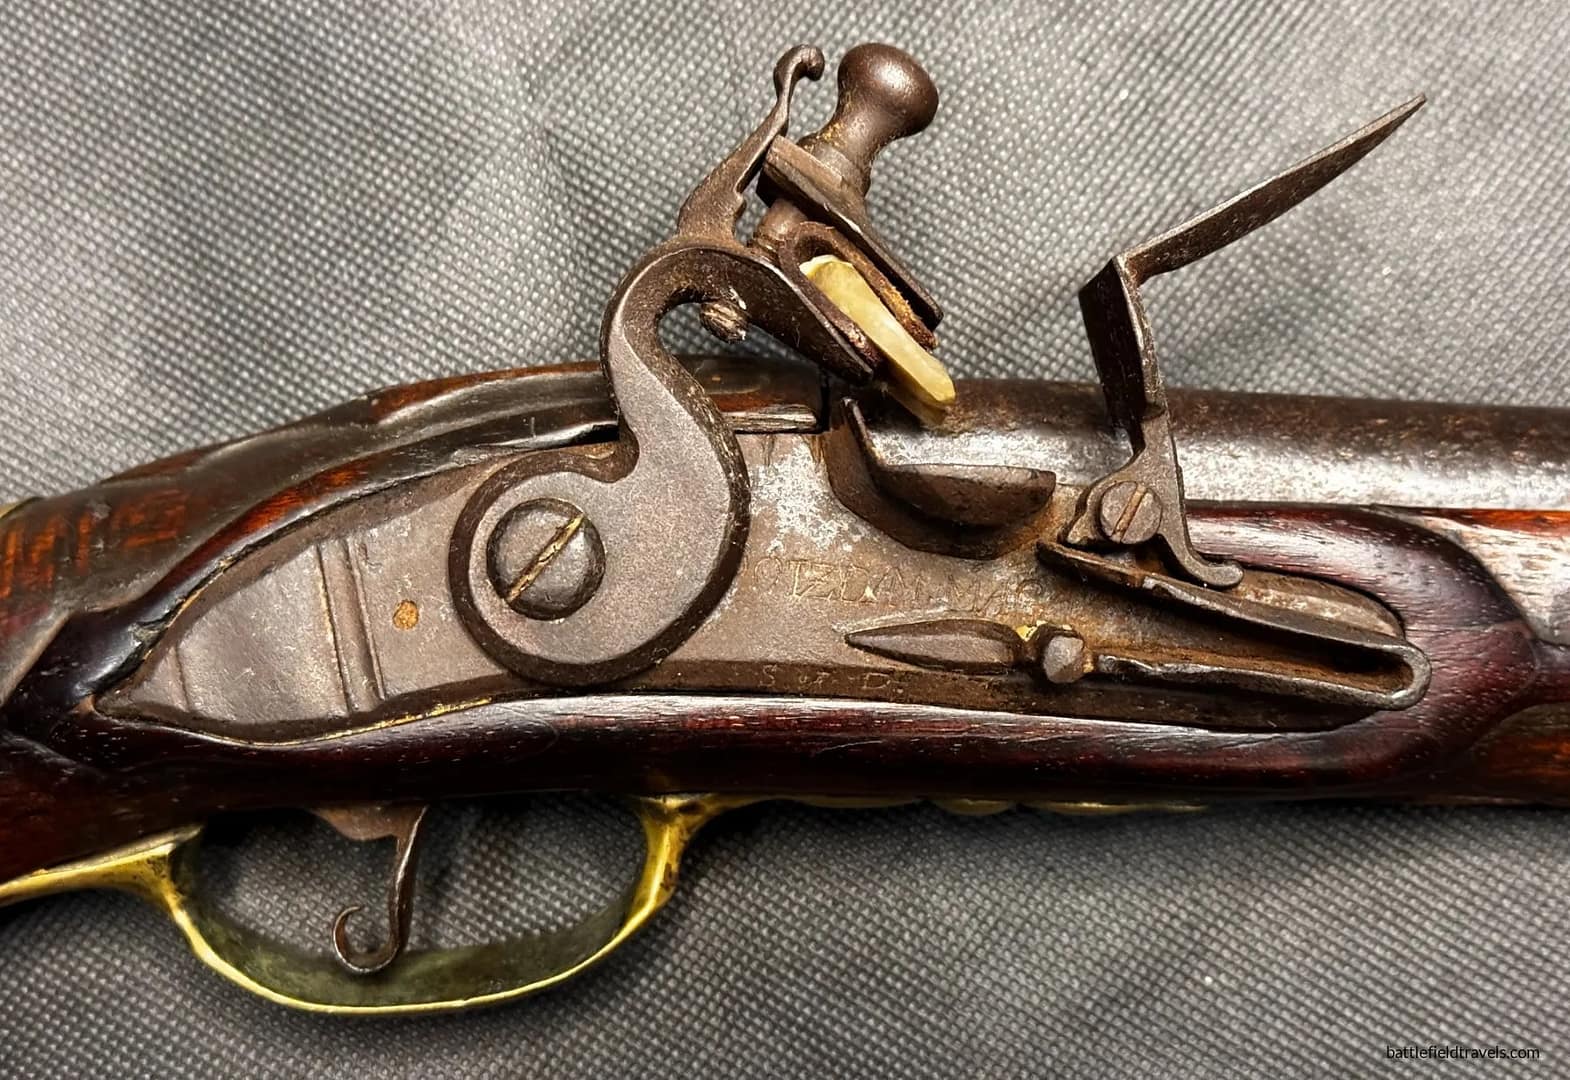
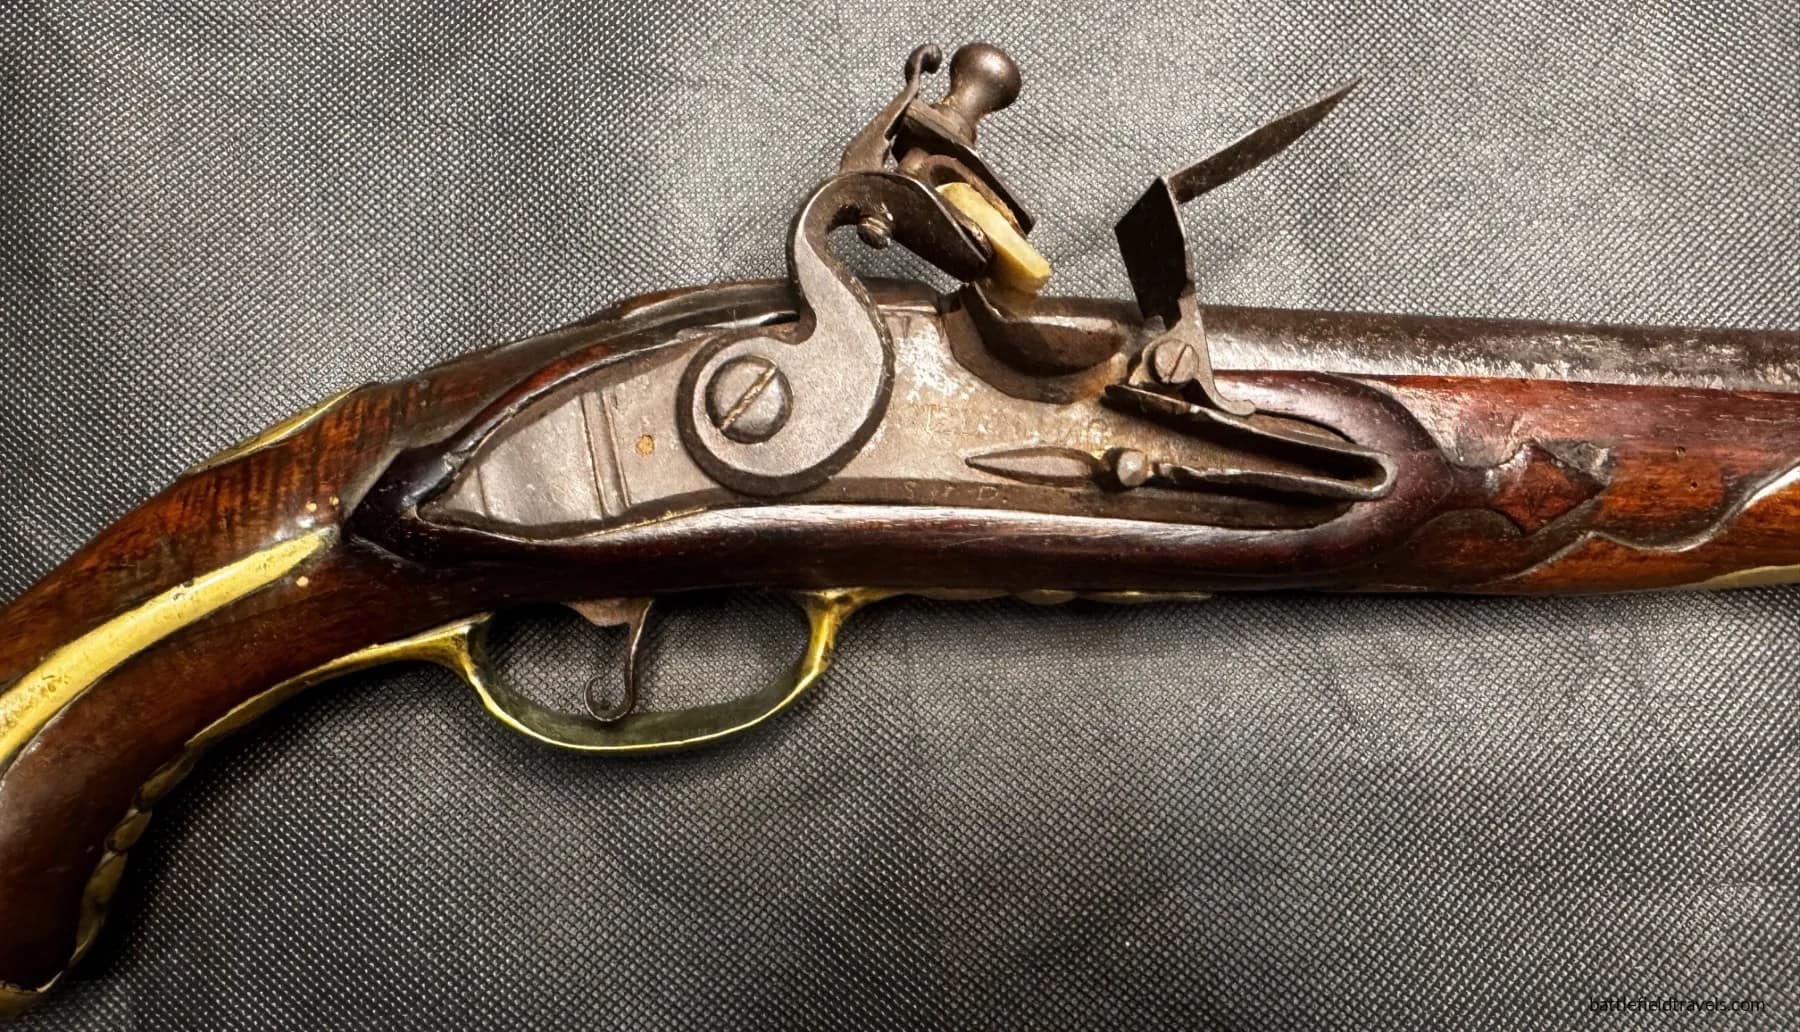
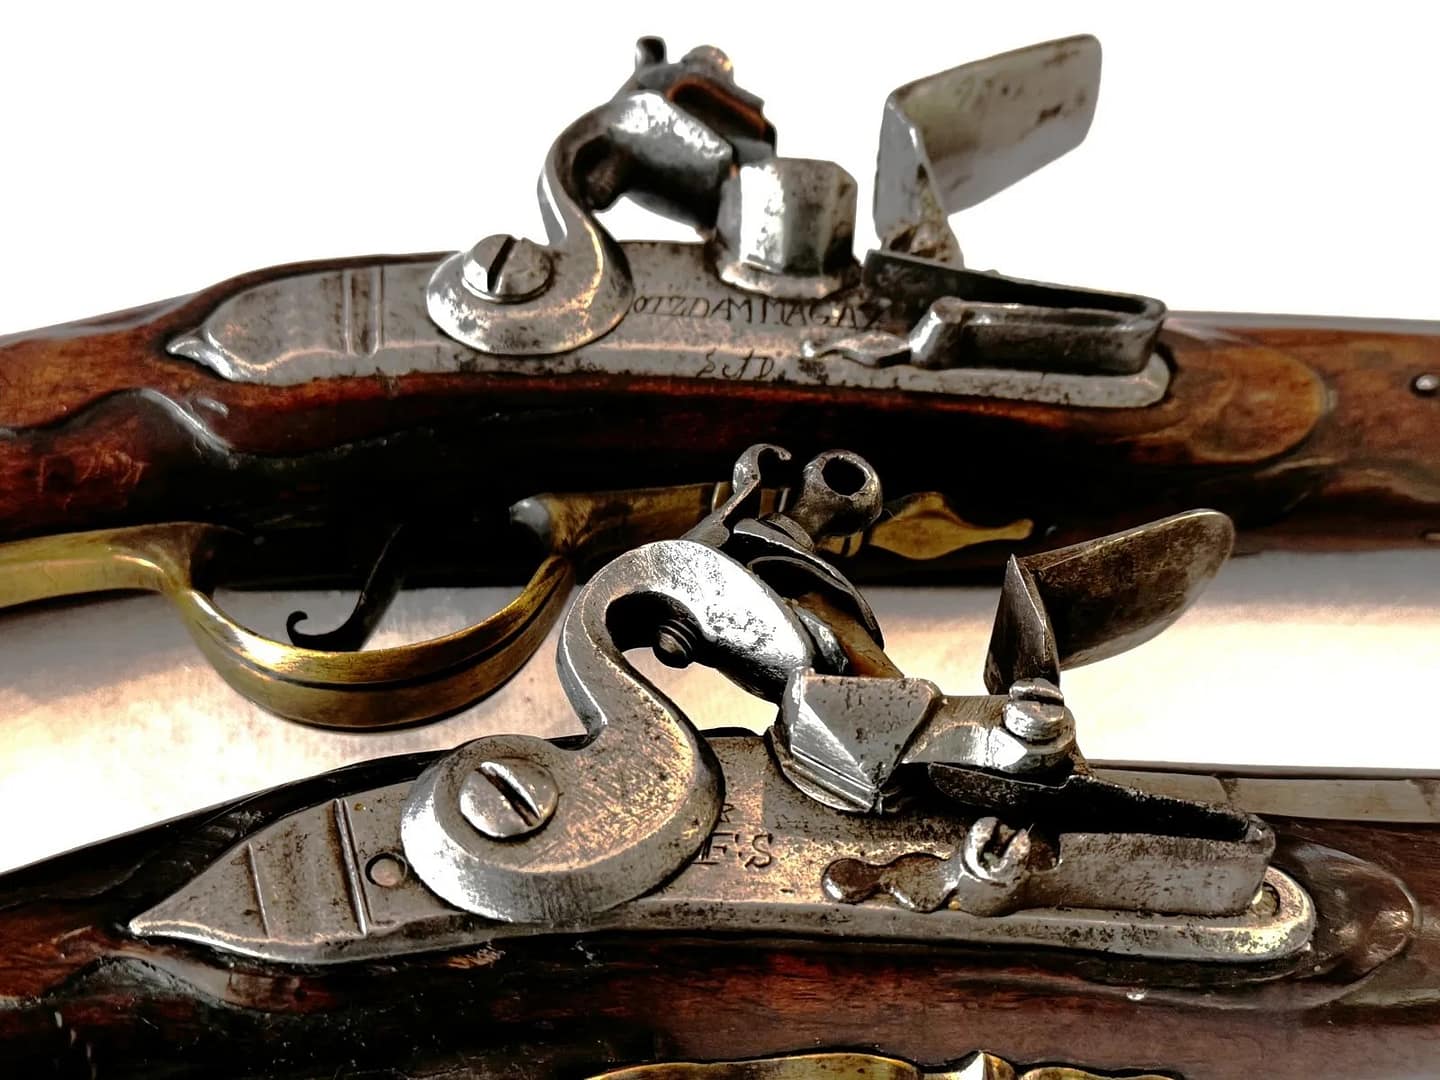
Prussian Model 1740 Musket, marked POTZDAM MAGAZ, inspected by S&D (initials of Splittgerber and Daum, the inspectors at the Royal Arsenal). From my personal collection.

The Prussian Model 1740 musket was a .72–.73 calibre flintlock produced at the Potsdam Arsenal, marked POTZDAM MAGAZ. The “S&D” inspection stamp denotes Splittgerber and Daum, the principal inspectors responsible for Frederick the Great’s early-war small-arms programme. Lighter and handier than earlier Prussian models, the 1740 musket equipped line infantry during the campaigns of the War of Austrian Succession and the early Seven Years’ War. Known for its robust lock and crisp trigger, it was the hallmark weapon of Frederick’s disciplined infantry battalions.


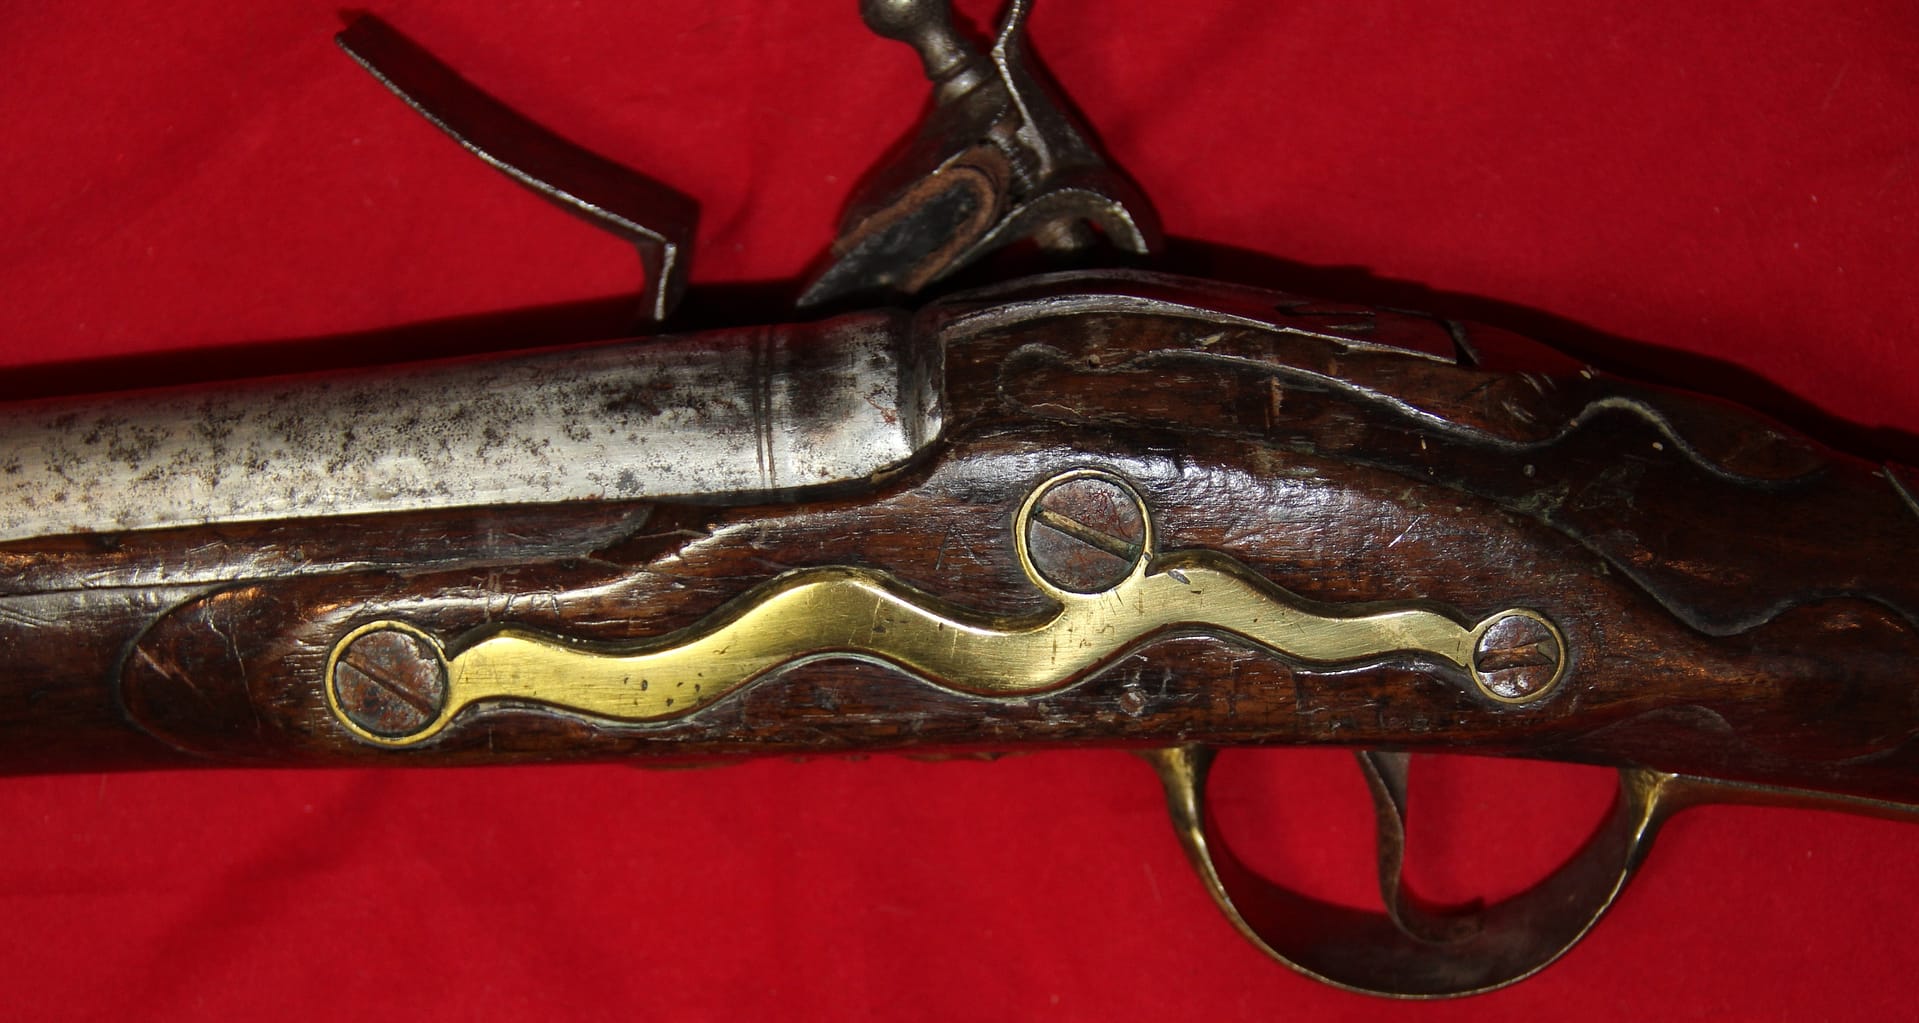
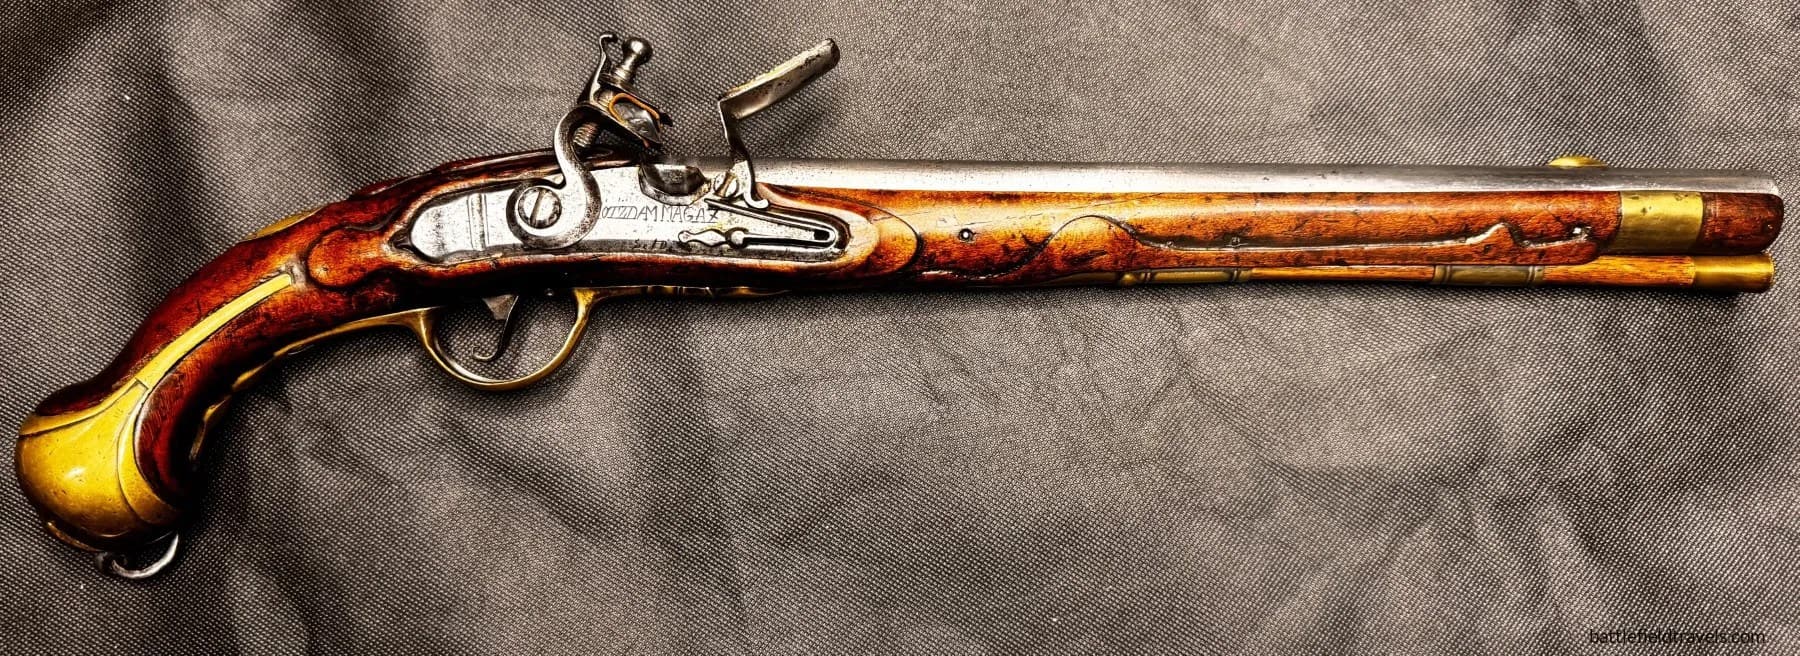
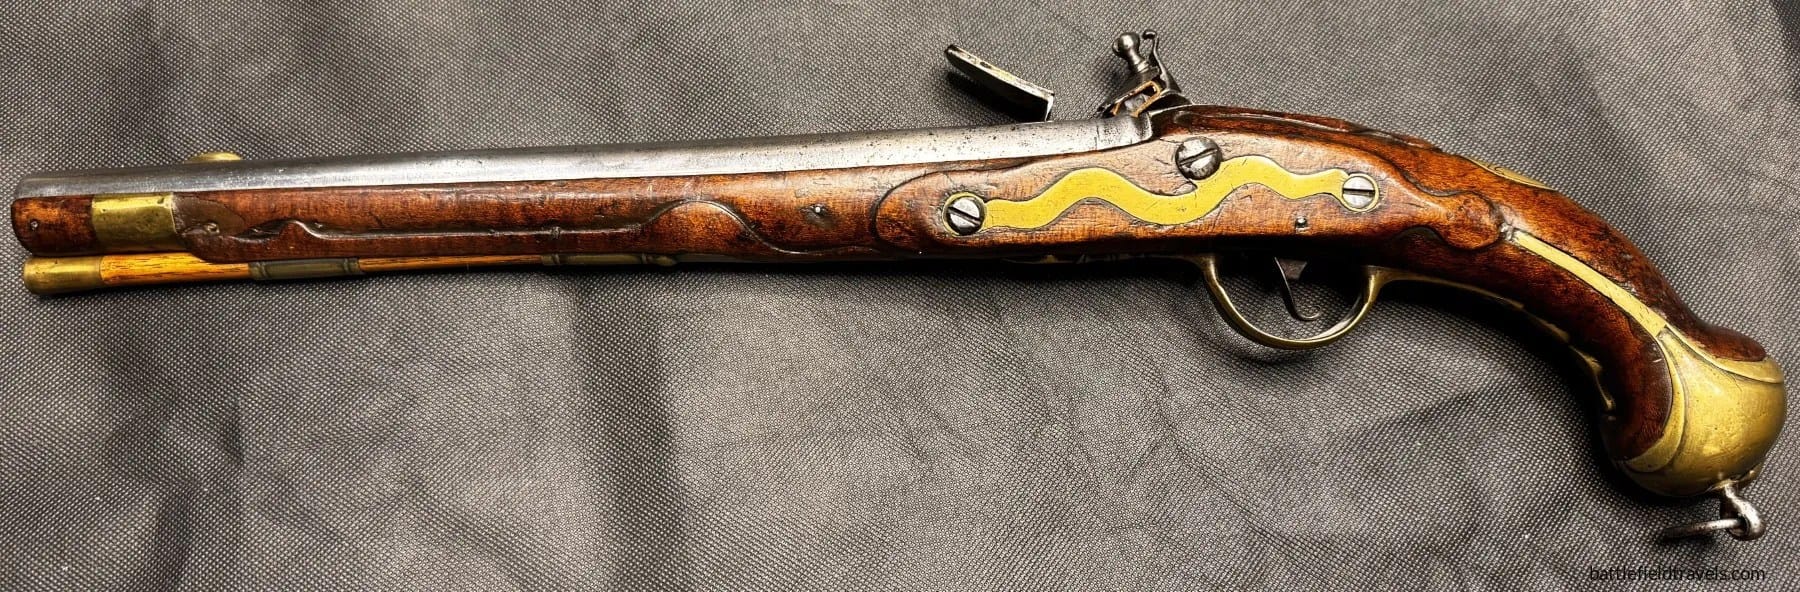
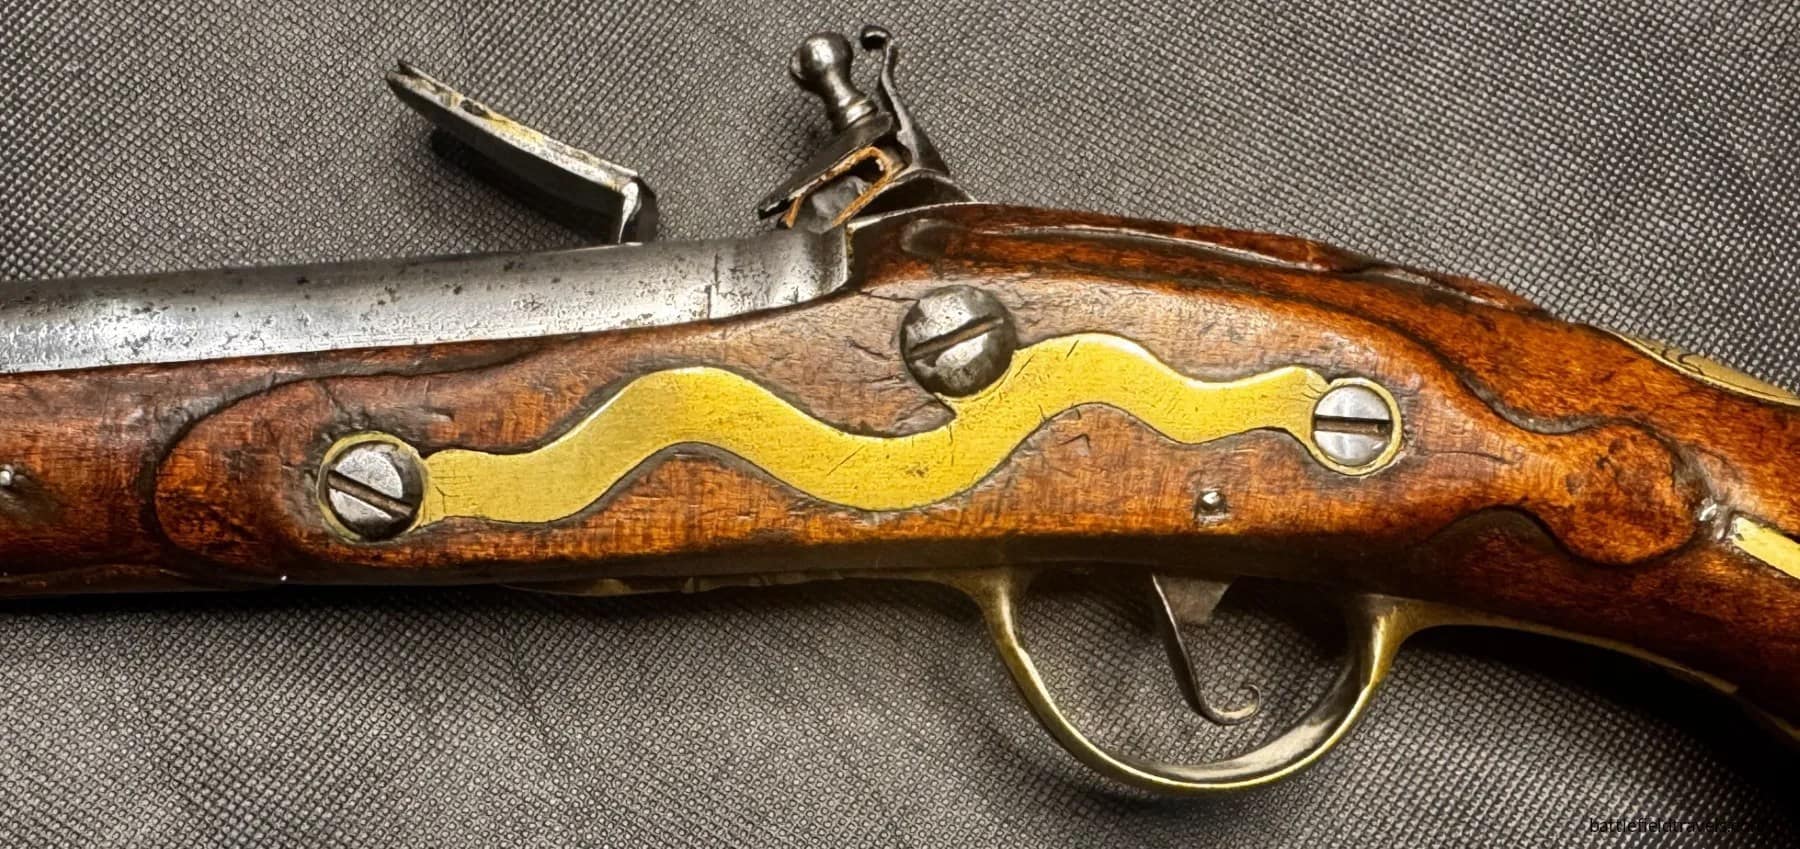
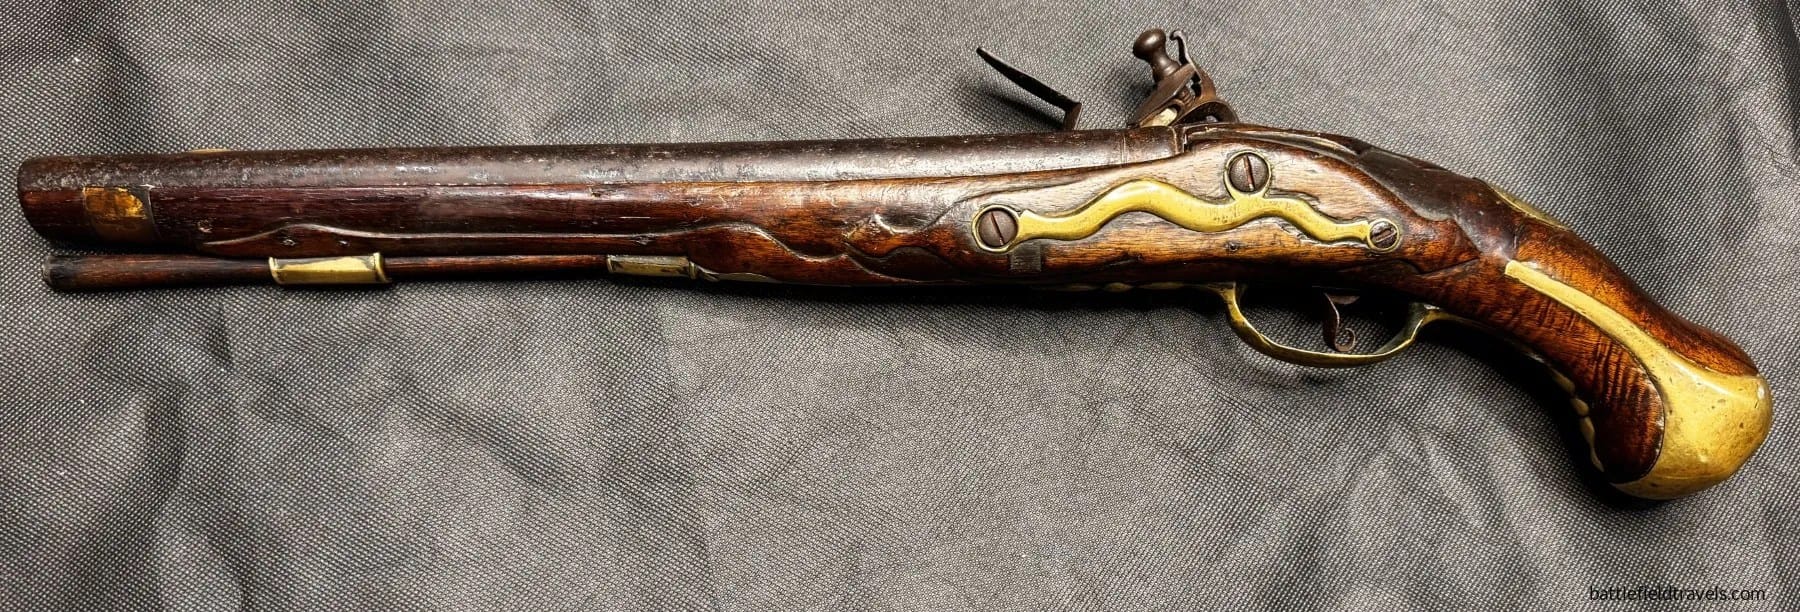
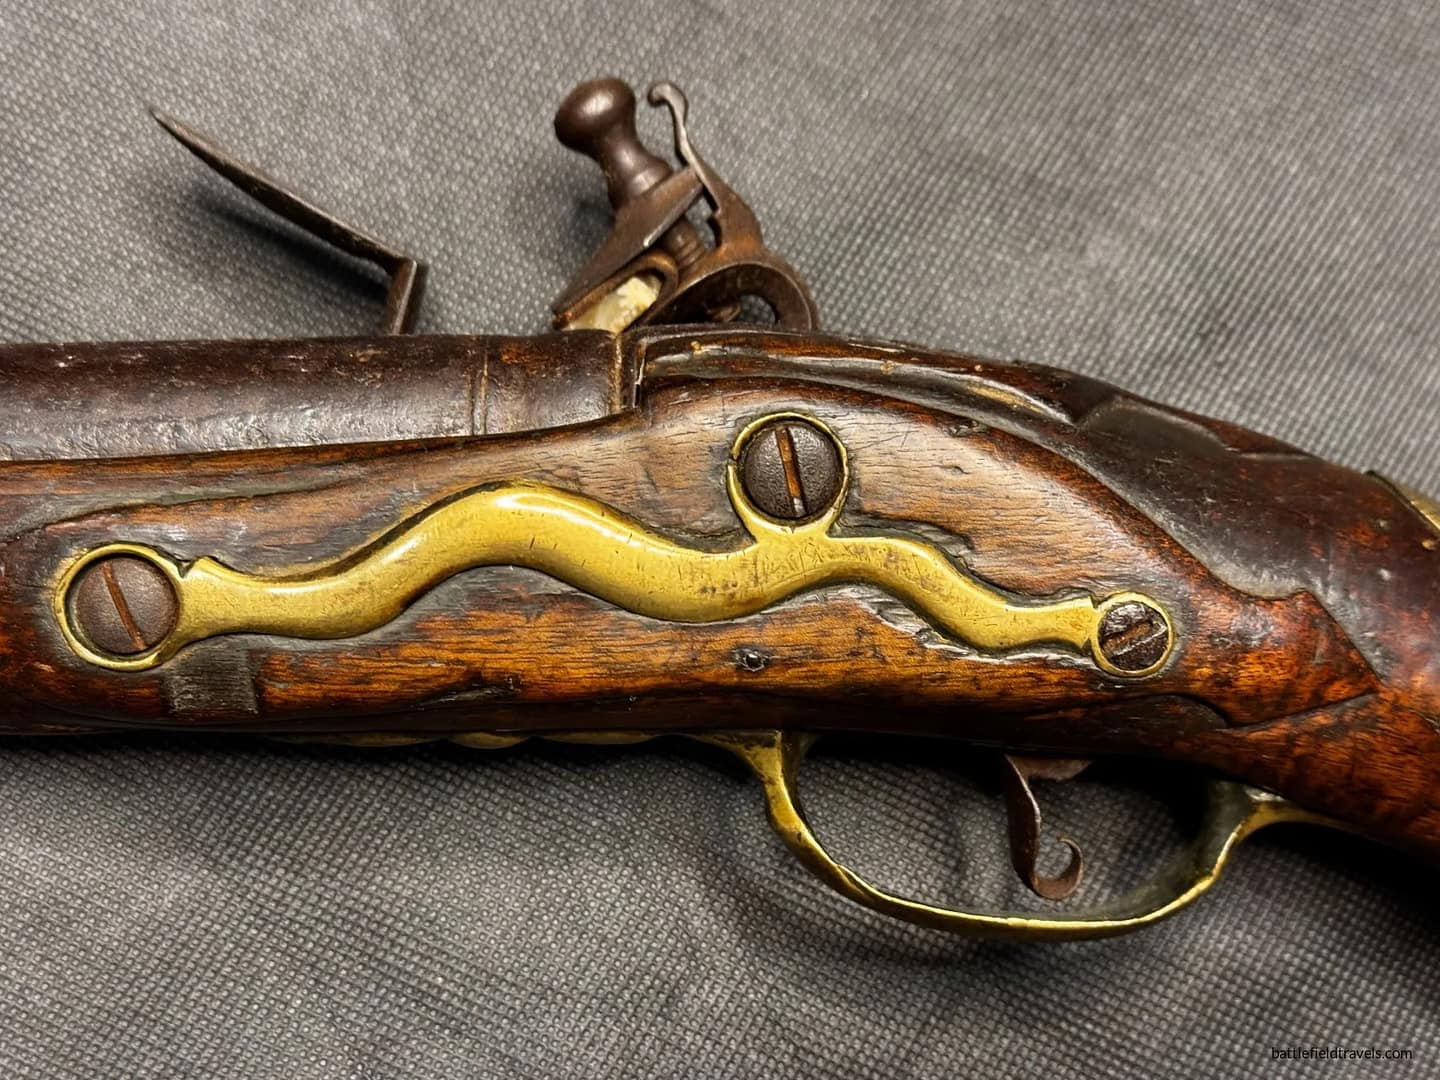
Prussian Model 1742 Hussar Pistol. POTZDAM MAGAZ. From my personal collection.

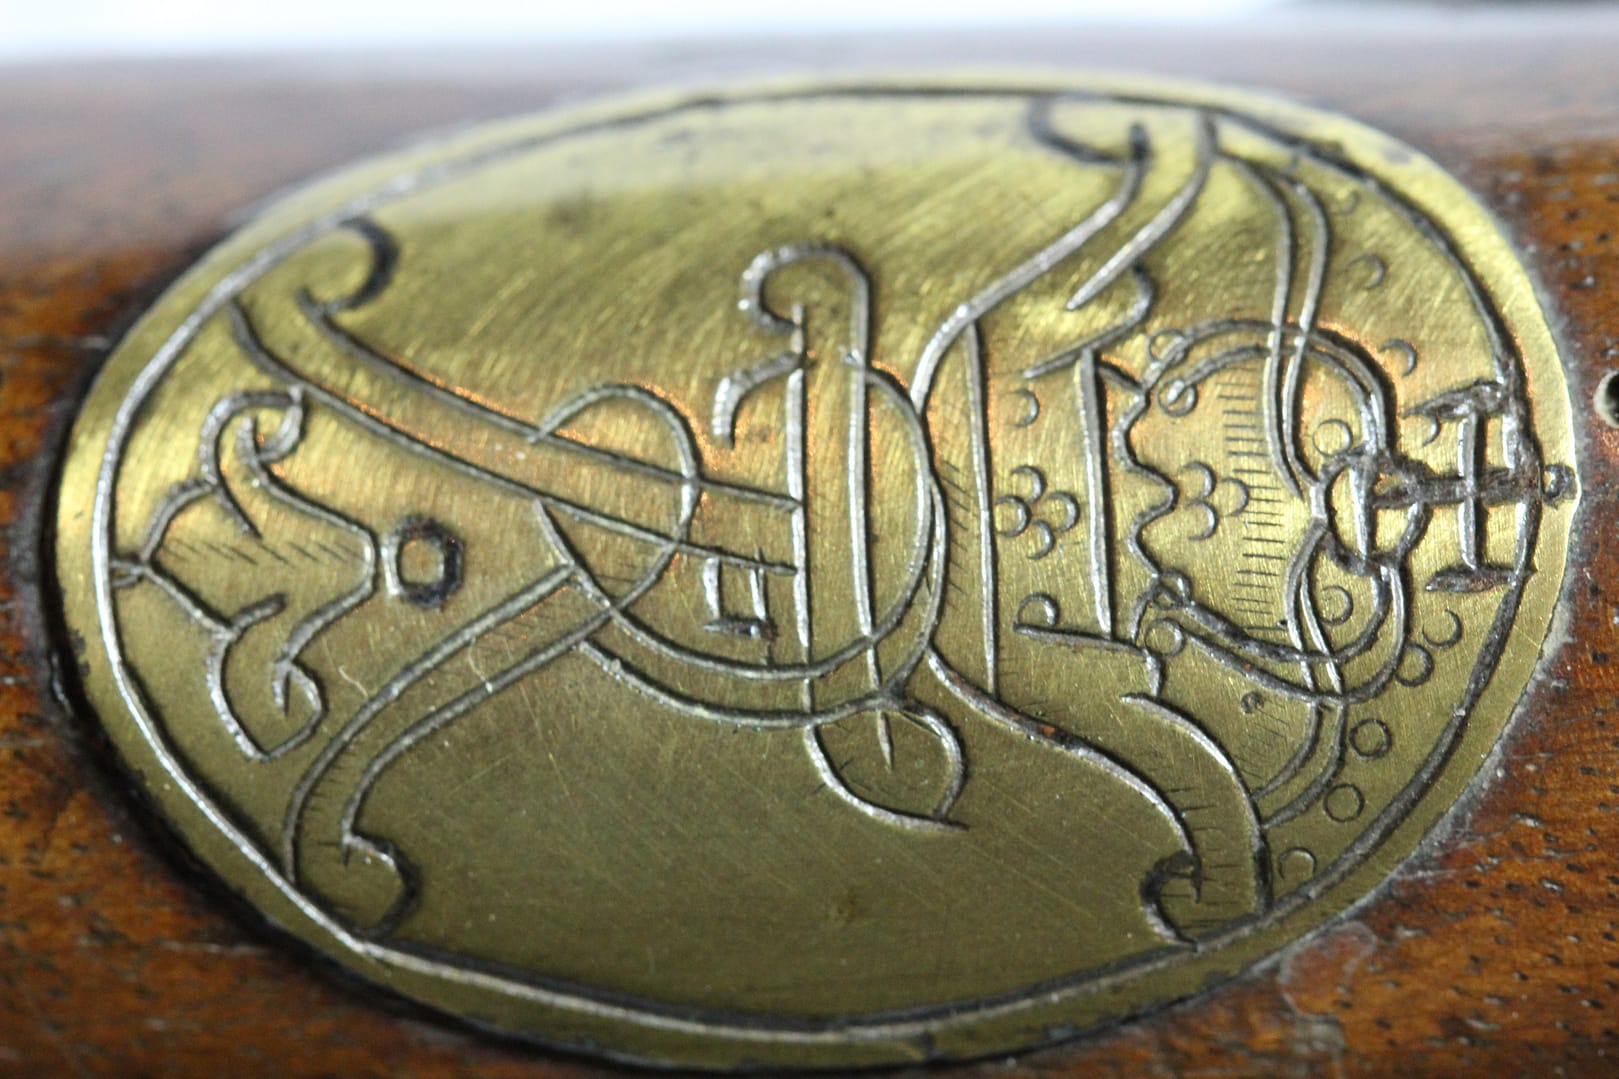
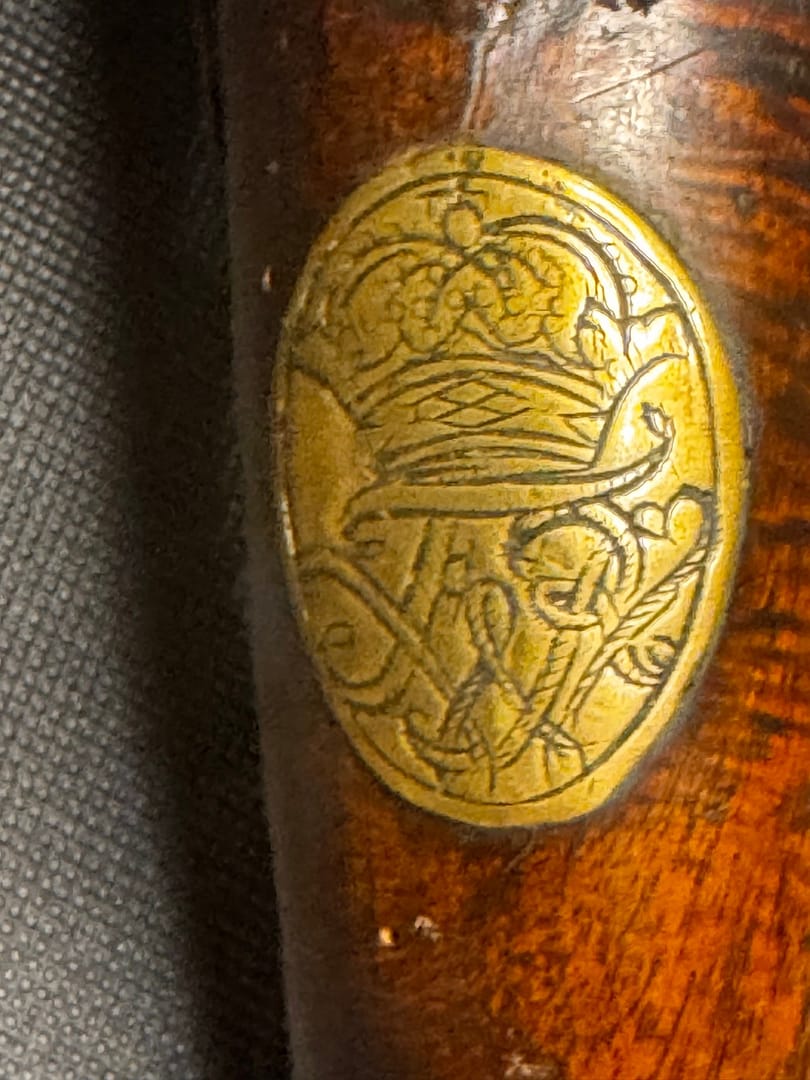
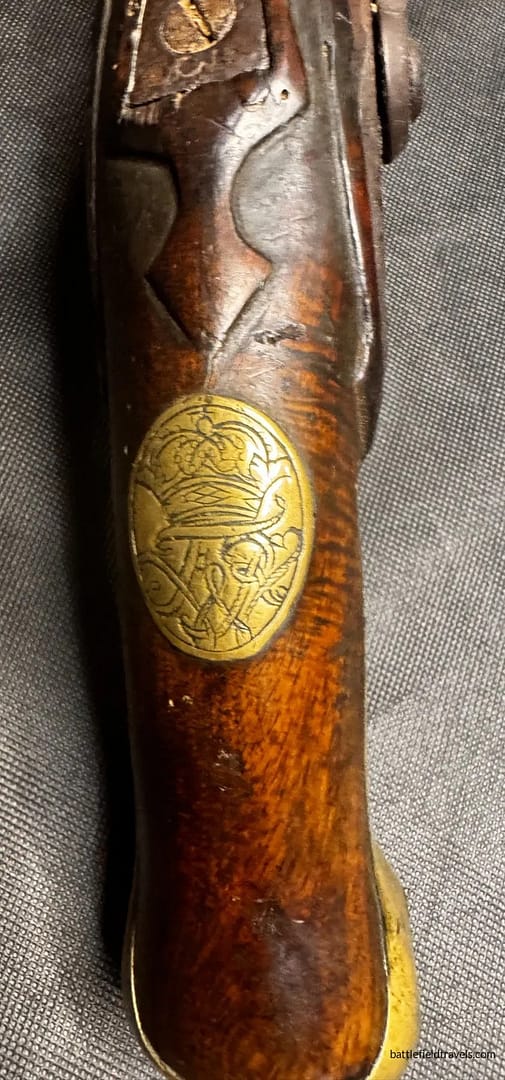
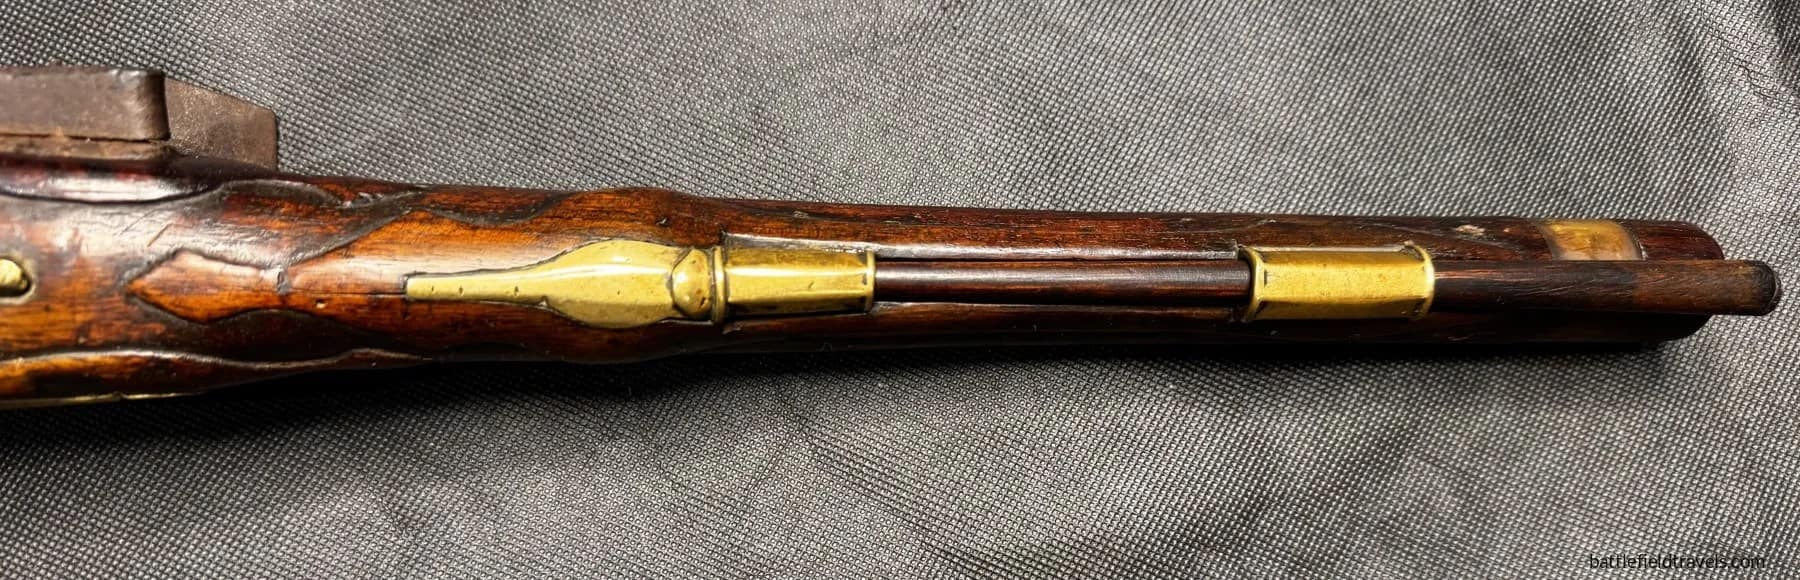
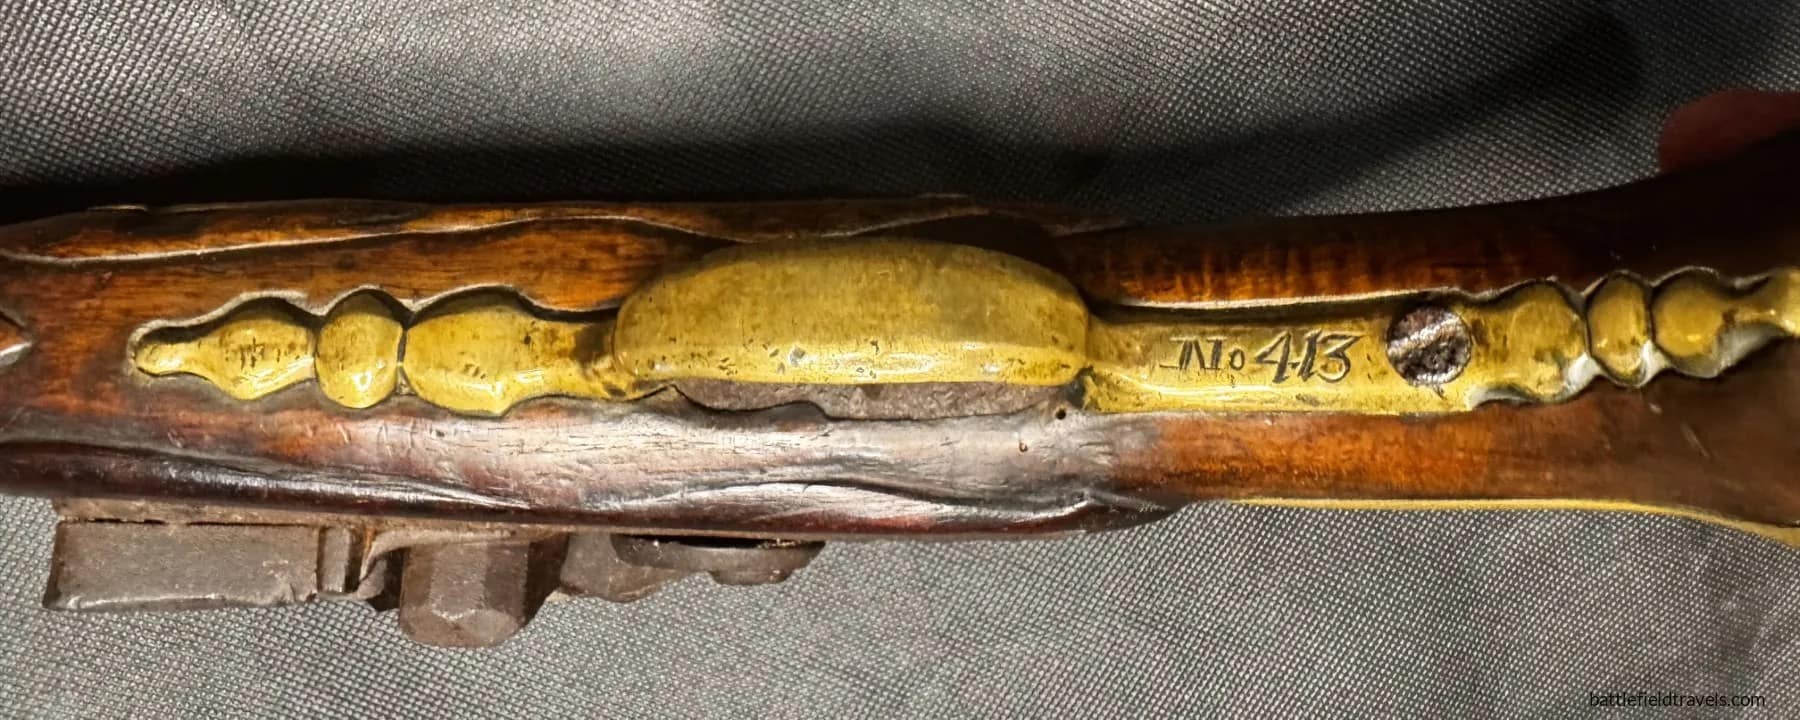
The Prussian Model 1742 Hussar pistol was issued to light cavalry regiments raised during Frederick the Great’s reforms. The escutcheon plate is engaved ‘FR’ for Fridericus Rex. Manufactured at the Potsdam Arsenal and stamped POTZDAM MAGAZ, it featured a large-bore flintlock mechanism, brass furniture, and a sturdy full-stock suitable for mounted use. Carried in saddle holsters, these pistols complemented the curved sabres used in shock charges and skirmish actions. They saw action in Silesia, Bohemia, and Saxony, reflecting Prussia’s increasing reliance on aggressive hussar tactics in the 1740s–1750s.


Prussian Model 1731 Hussar Pistol. POTZDAM MAGAZ. From my personal collection.

The Prussian Model 1731 Hussar pistol was issued to light cavalry regiments raised during Frederick William I’s (Frederick the Great’s father) reign. The escutcheon plate is engaved ‘FWR’ for Fridericus Wilhelmus Rex. Manufactured at the Potsdam Arsenal and engraved POTZDAM MAGAZ, it featured a large-bore flintlock mechanism, brass furniture, and a sturdy full-stock suitable for mounted use. Carried in saddle holsters, these pistols complemented the curved sabres used in shock charges and skirmish actions. They saw action in Silesia, Bohemia, and Saxony, reflecting Prussia’s increasing reliance on aggressive hussar tactics in the 1740s–1750s.


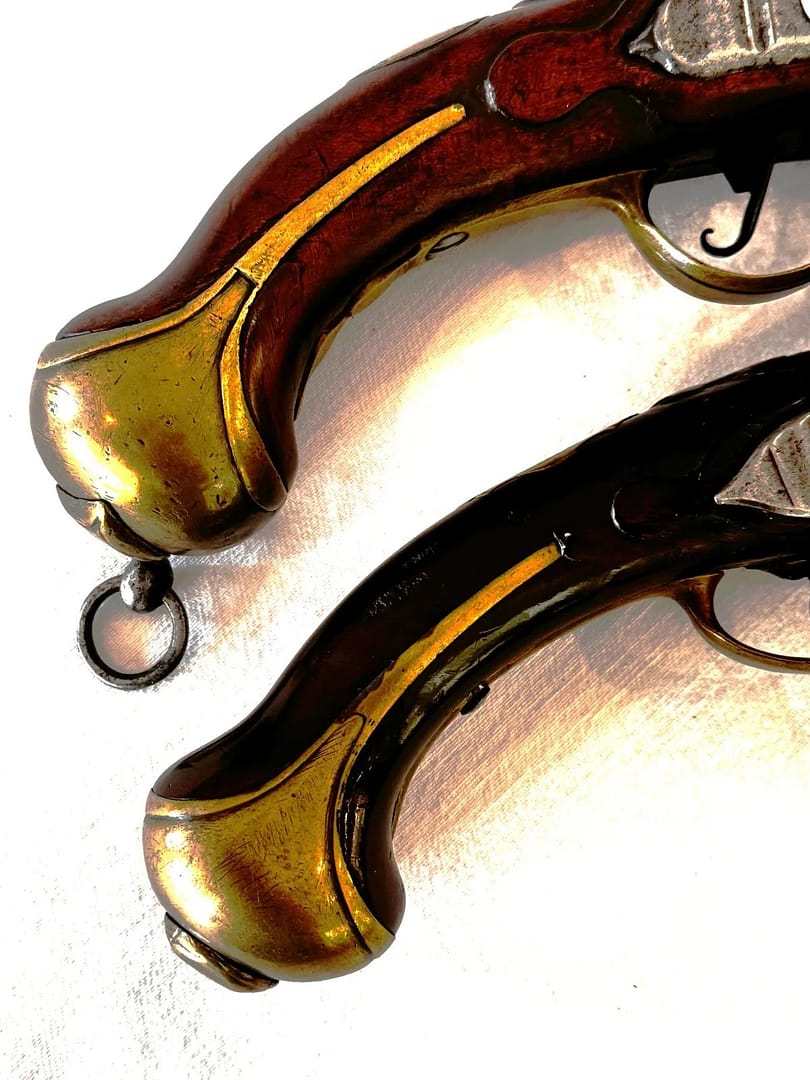
Prussian Model 1742 Officer’s Pistol. From my personal collection.

The Prussian officer’s pistol follows the design cues from the Model 1742 Hussar pistol but it is about 2/3 the size, and more finely made. It would have been a privately made pistol for an officer in Frederick the Great’s army. The escutcheon plate is engaved with a symbol that may represent the principality or family. . Lockplate is stamped AFS, it featured a smaller-bore flintlock mechanism, brass furniture, and a sturdy full-stock suitable for mounted use. Carried in saddle holsters, these pistols complemented the curved sabres used in shock charges and skirmish actions. They saw action in Silesia, Bohemia, and Saxony, reflecting Prussia’s increasing reliance on aggressive hussar tactics in the 1740s–1750s.


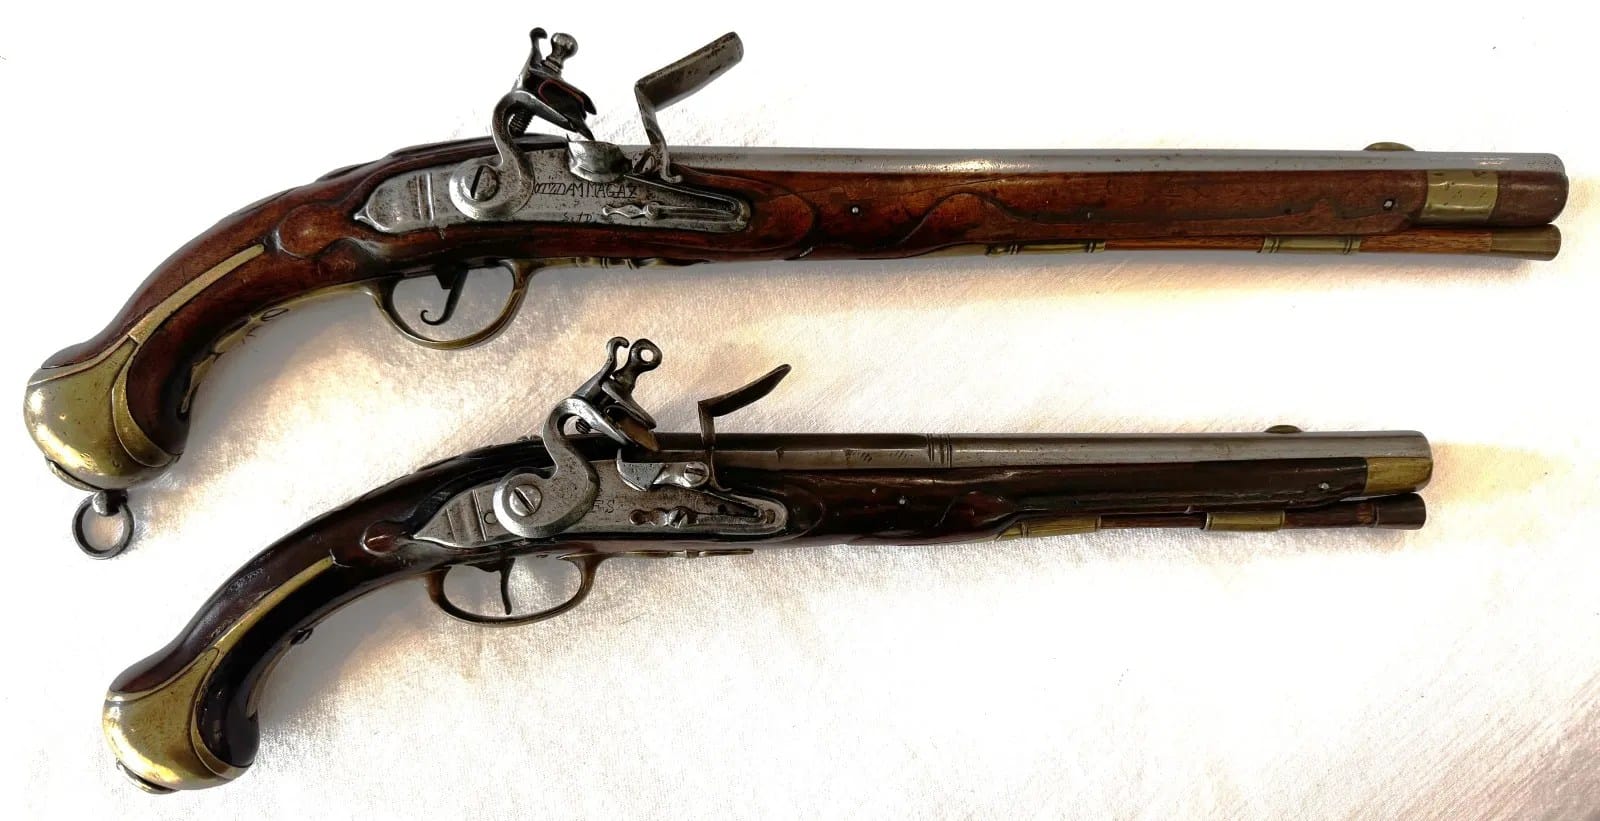
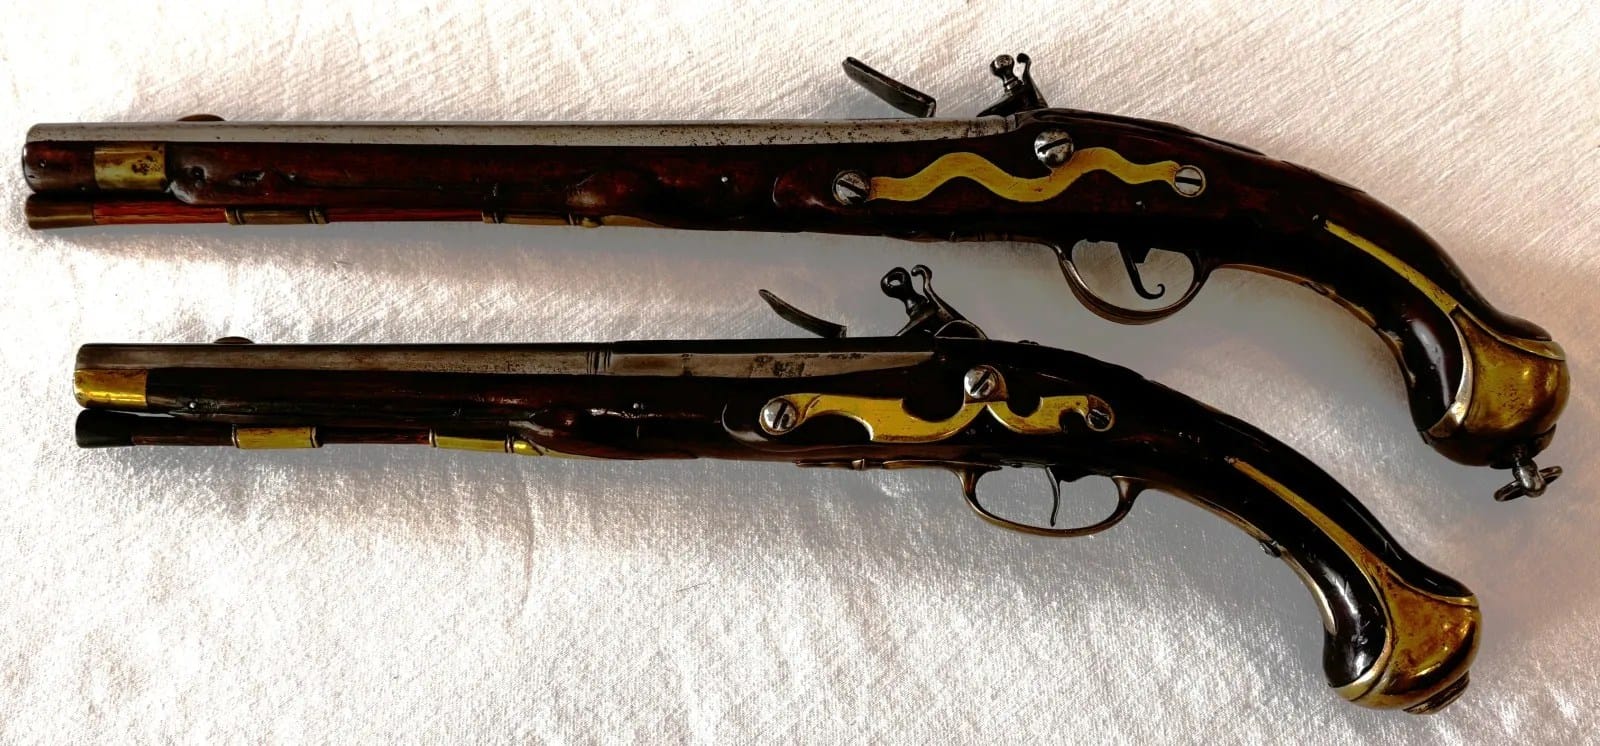
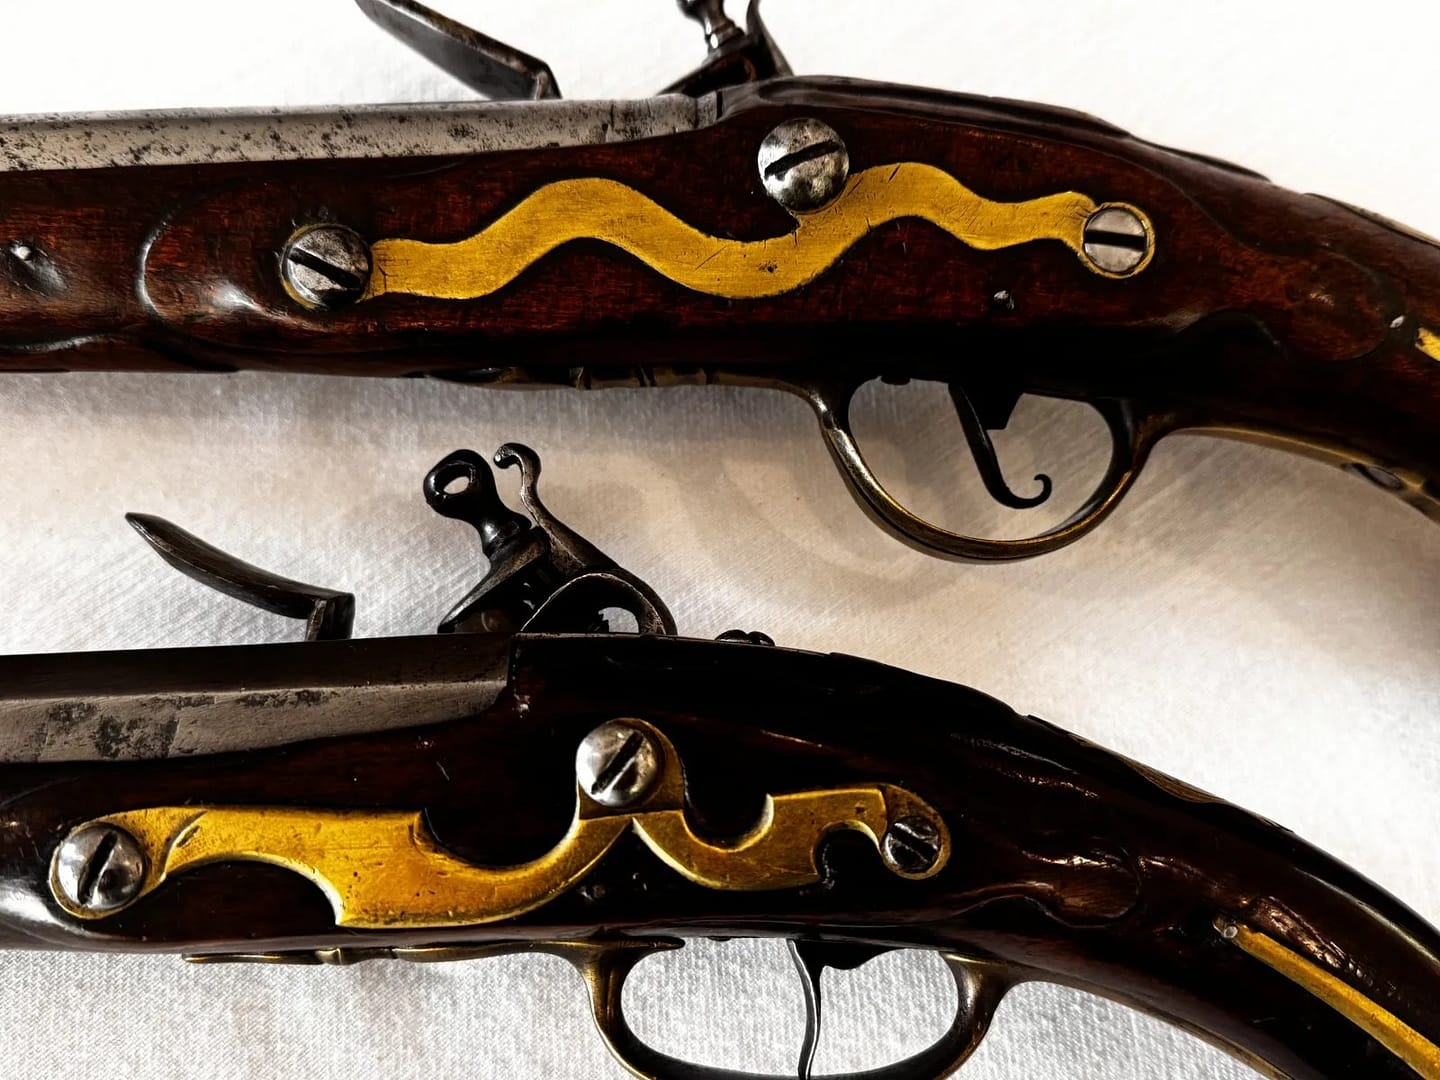
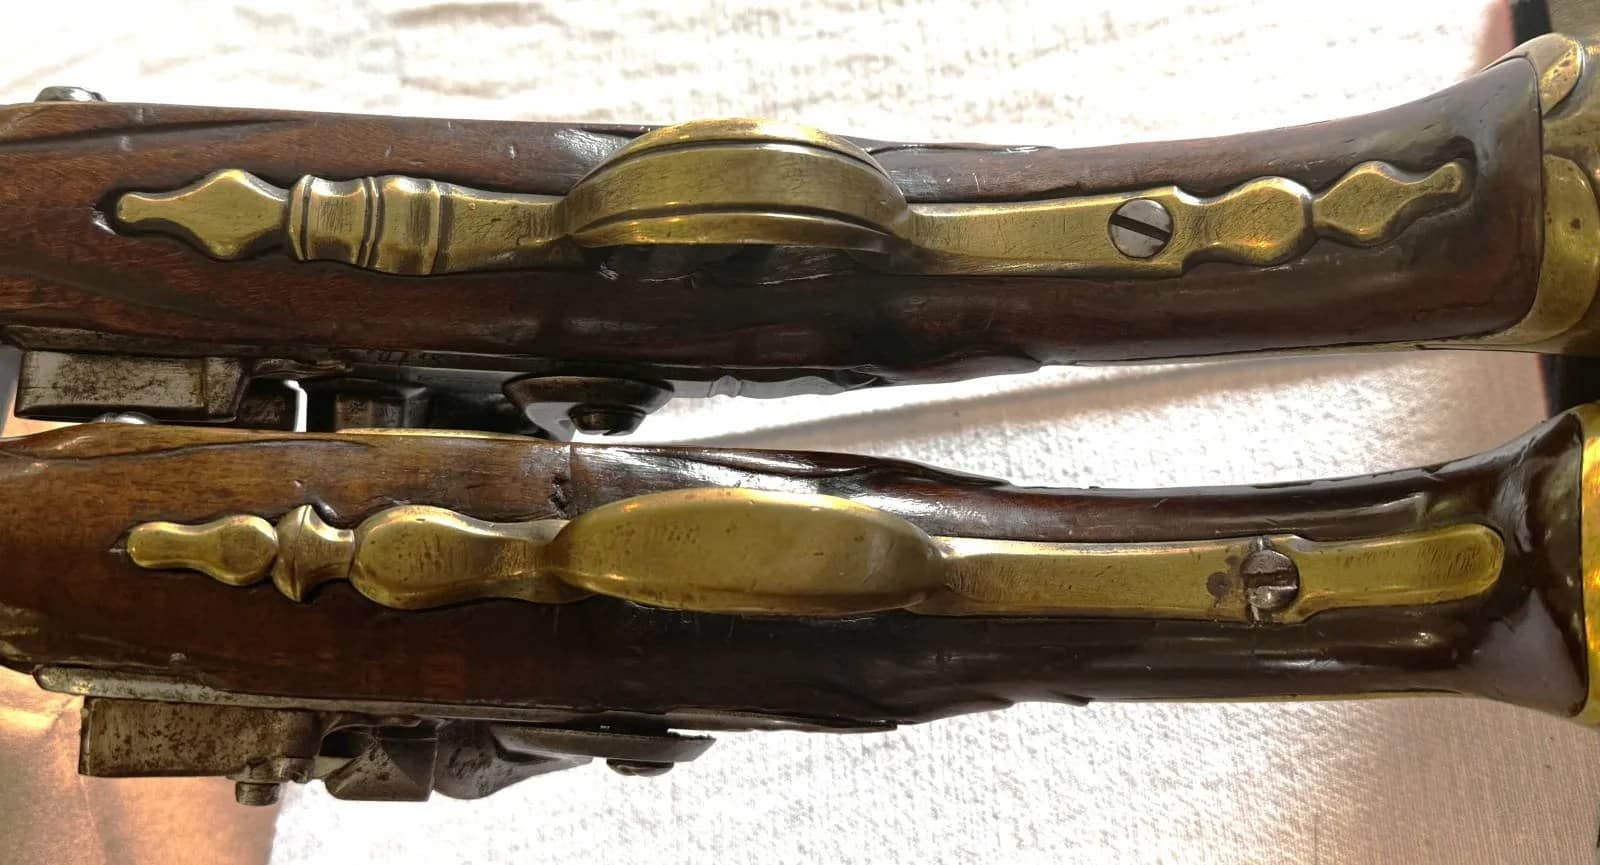
Comparison of the arsenal-issued enlisted soldier’s Prussian Model 1742 Hussar Pistol versus a privately purchased officer’s pistol in the same style. From my personal collection.

This is a comparison of the two pistols displayed immediately above. The Prussian Model 1742 is a well known pattern that served Frederick’s army for more than 47 years prior to being superseded by the very similar-looking Model 1789 (See the Napoleonic weapons page). The escutcheon plate is engaved ‘FR’ for Fridericus Rex. The pistol was manufactured at the Potsdam Arsenal and the lockplate is engraved POTZDAM MAGAZ.

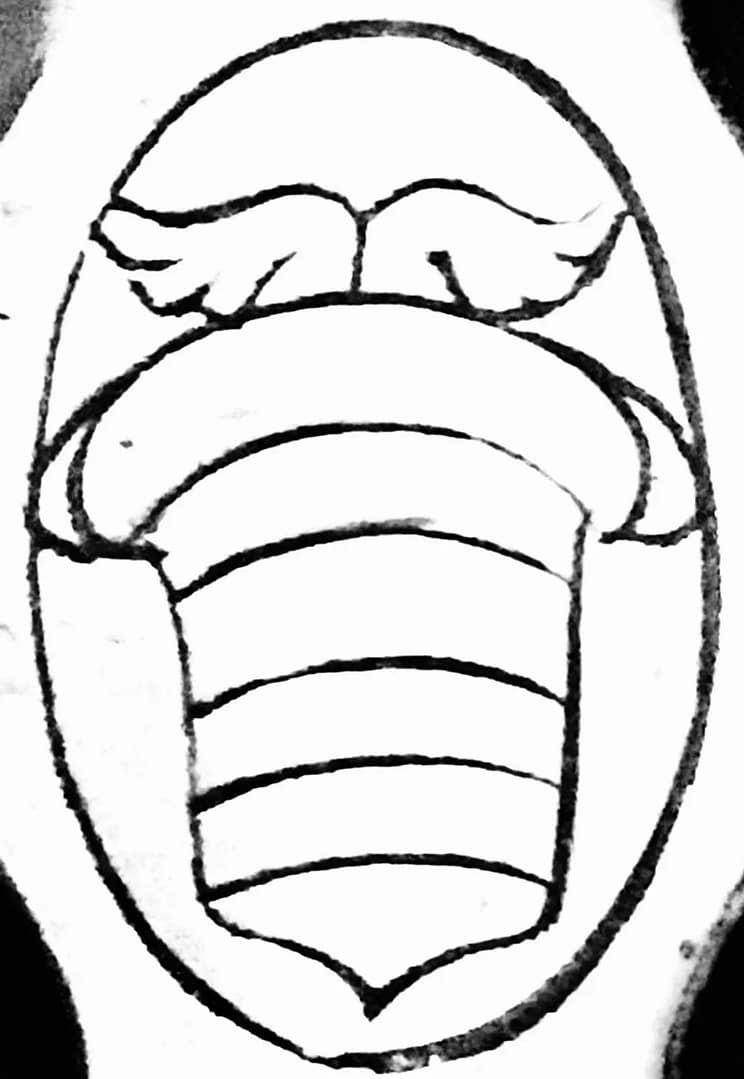
The officer’s pistol follows the design cues—lockplate style, buttcap, decorative stock carving, hammer and frizzen shape, 3-screw sideplate—from the Model 1742 Hussar pistol but it is about 2/3 the size, and more finely made. It would have been a privately made pistol for an officer in Frederick the Great’s army. The escutcheon plate is engaved with a symbol that may represent the principality or family. Lockplate is marked with a star over the initials ‘AFS’. The escutcheon plate is marked with some sort of heraldry symbol that may represent a Princely state, a family symbol, or, less likely, a regimental symbol. What is it? A beehive with wings? A bee? a sheaf of wheat? an updies down hat? If you have any suggestions, please drop me a line or add a comment below.


French Weapons of the Seven Years War


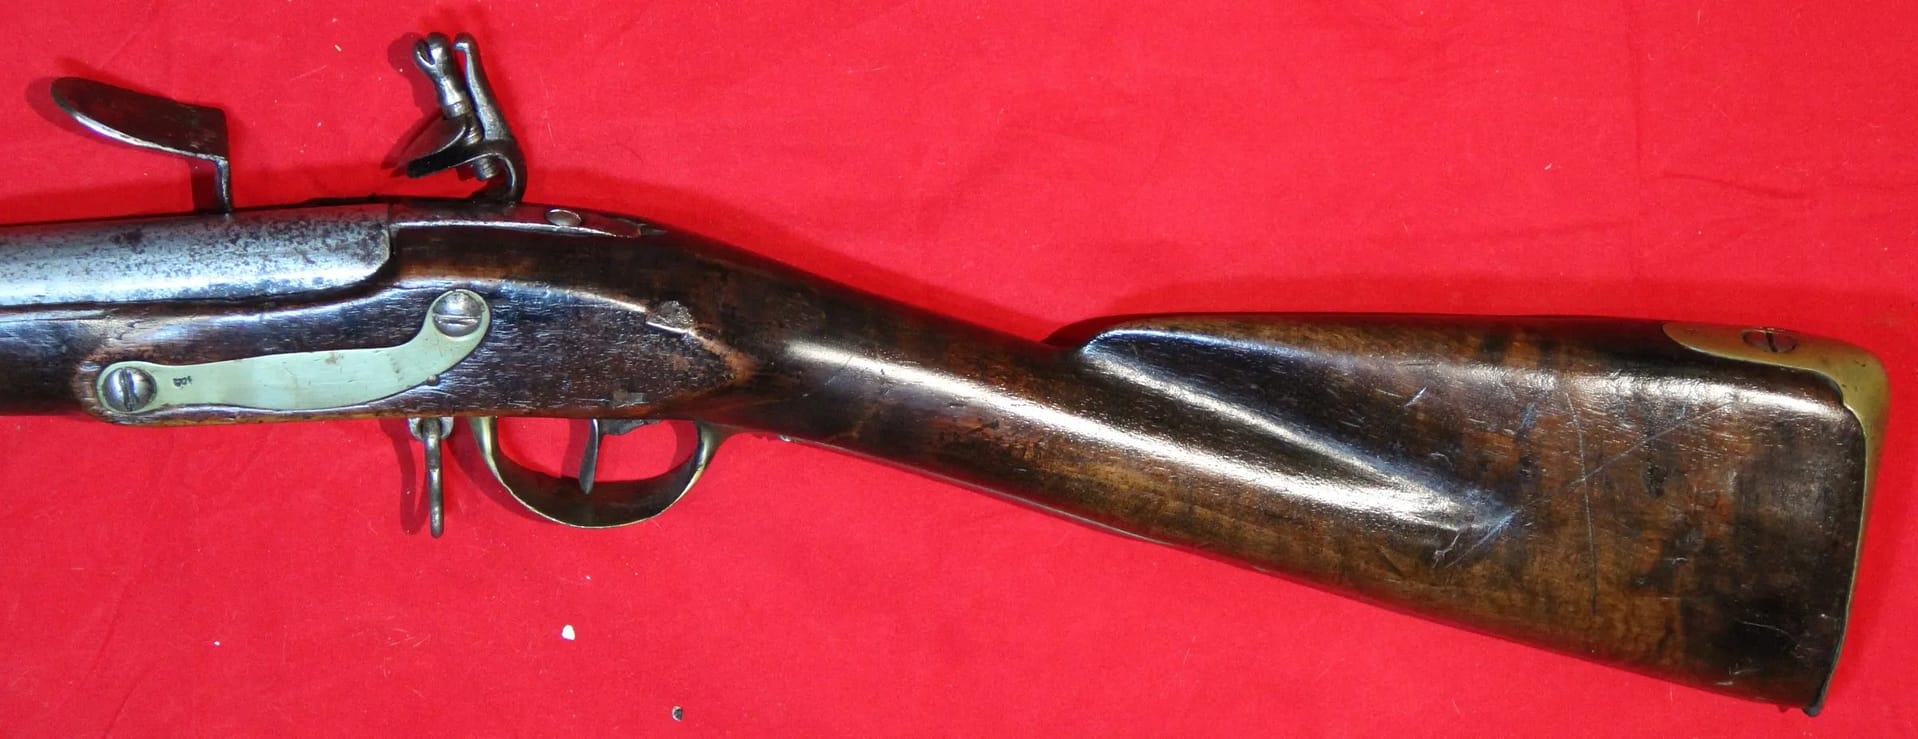
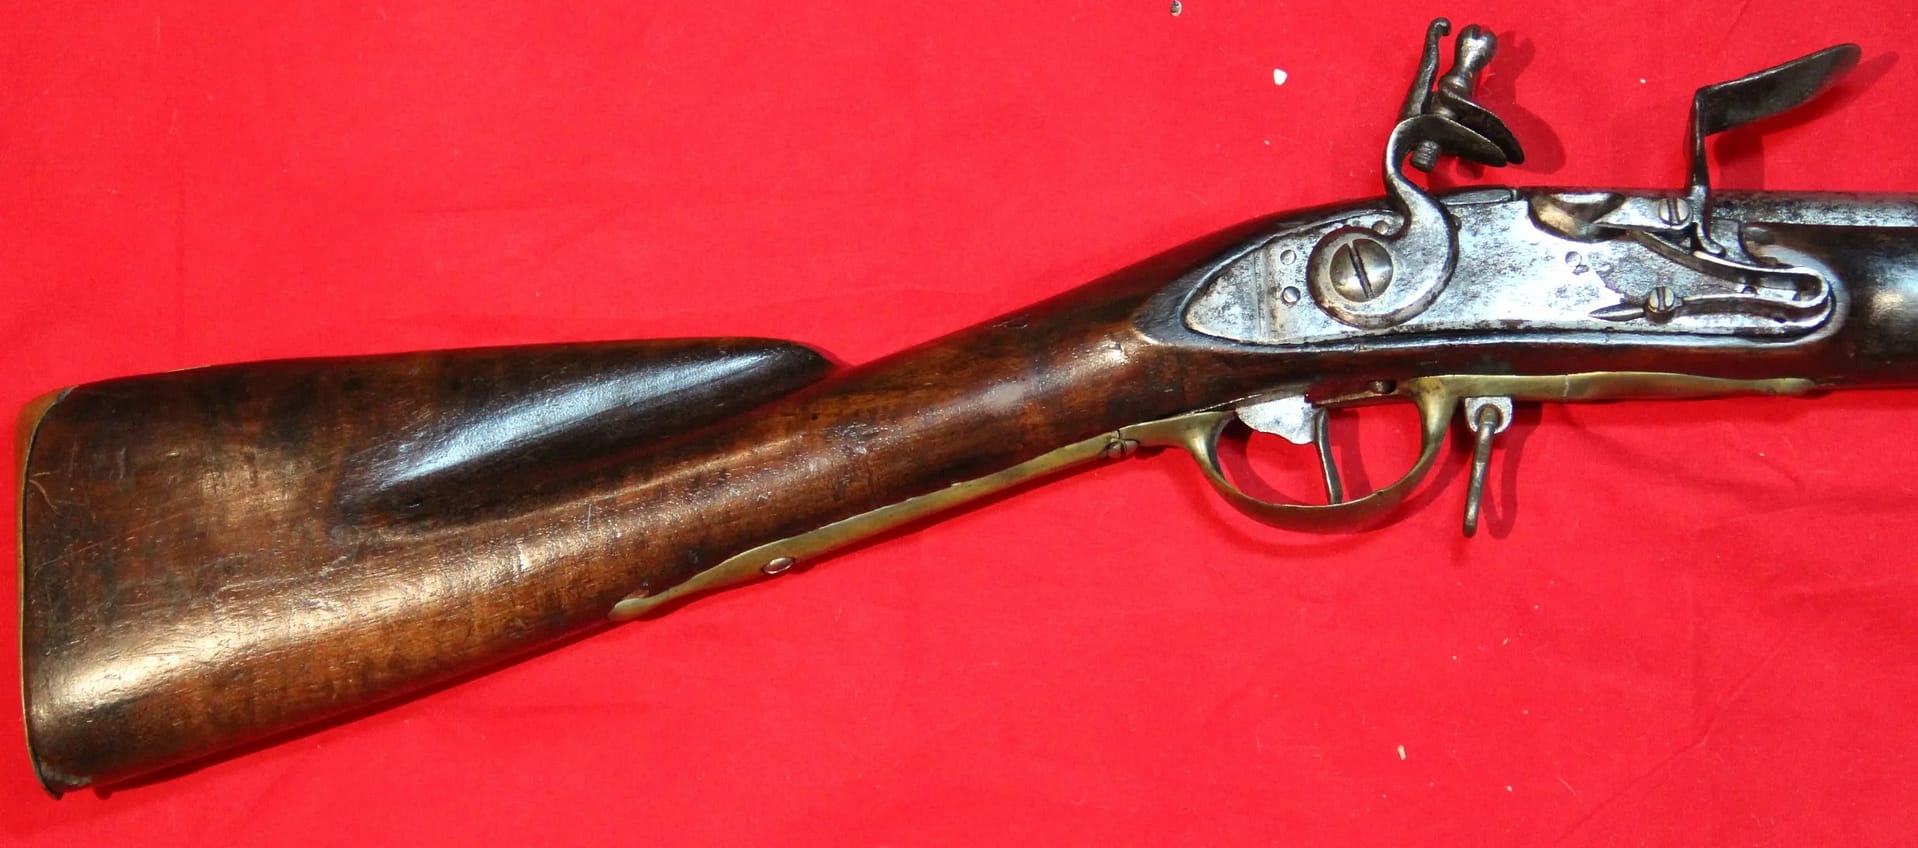
French Model 1754 Marine Musket.

Manufactured circa 1763. Pattern 1754 lockplate and pattern 1763 furniture and stock. Probably one of thousands of guns made in the transition between 1754 and 1763 models in an effort to use ordinance components. Possibly a rebuilt weapon during the Revolution, as broken weapons were reassembled from components. Brass furniture indicates marine use. This musket was found in an attic in Scituate, Massachusetts, about 100 years after the war. Scituate was the site of a garrison of 300 French Marines during the Revolutionary War. The Smithsonian Instituite restored the gun in the 1990s. From my personal collection.


French Model 1766 flintlock musket. From my personal collection.

Although this particular pattern did not see service in the Seven Years War, the French Model 1766 musket was refinement of the earlier 1746, 1754 and 1763 muskets, featuring strengthened furniture, improved lock geometry, and a more robust barrel band arrangement. A .69-calibre weapon with a reputation for reliability, it armed French infantry during the later Seven Years War and formed the basis of weapons supplied to American Continental forces. Its mechanical simplicity and standardisation influenced U.S. musket production well into the early 19th century.


Massive French Fortress Musket, circa 1750. From my personal collection.

This exceptionally large French fortress musket, circa 1750, was designed for static defence and anti-artillery sniping from ramparts. With a bore of approximately 0.80 calibre and an oversized barrel, it fired heavy projectiles intended to disable artillery crews or harass siege works at long range. The stock is signed “Maqueline”, and the lockplate is a pre-1717 unbridled form, indicating production by a private armourer supplying fortress garrisons. Such heavy wall guns were too unwieldy for field use but were valued for accuracy and destructive power in garrison warfare.


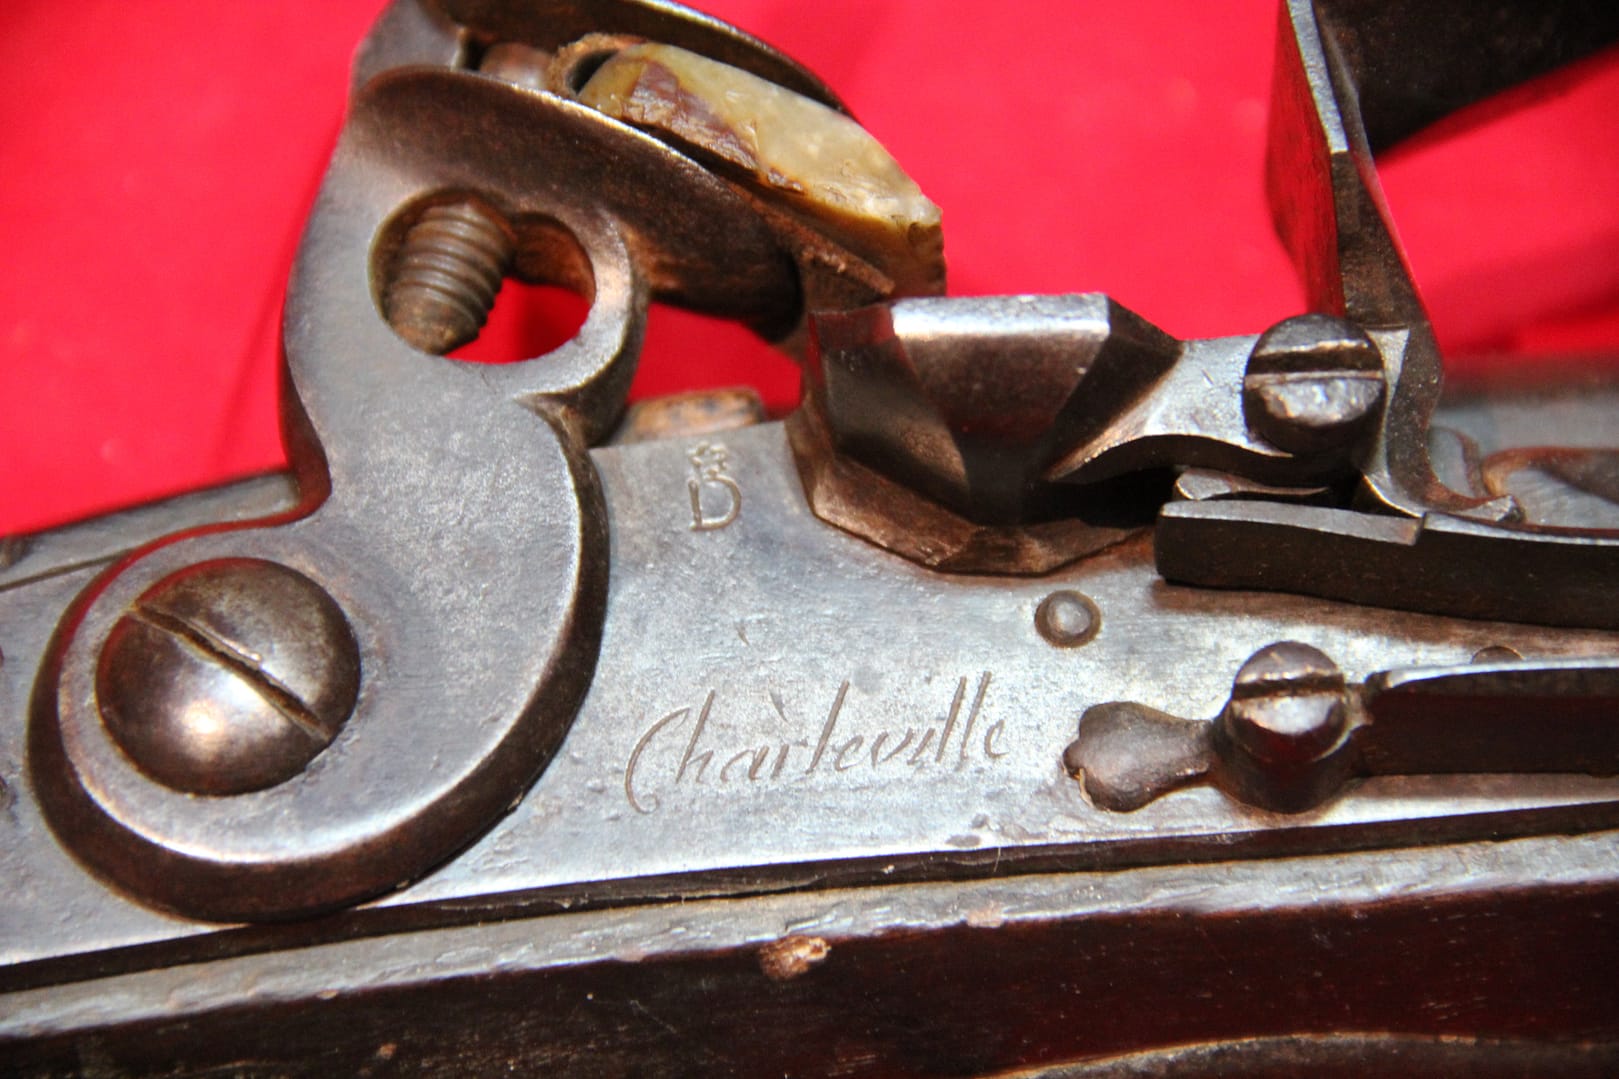
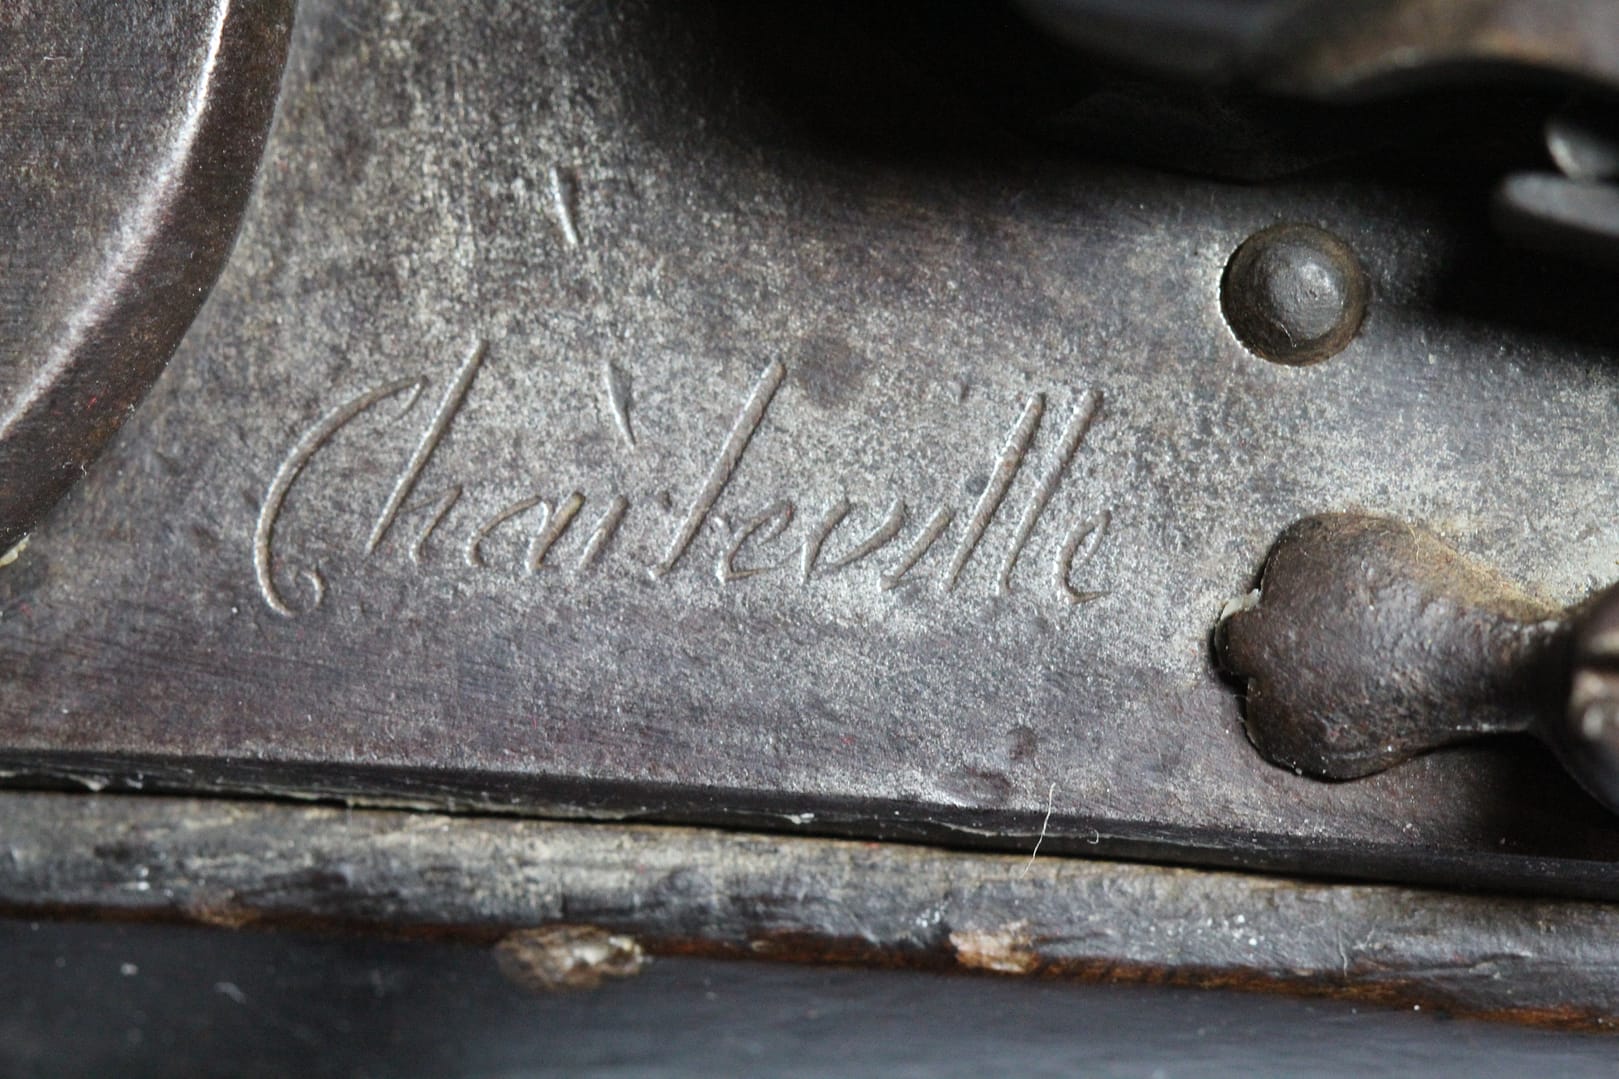
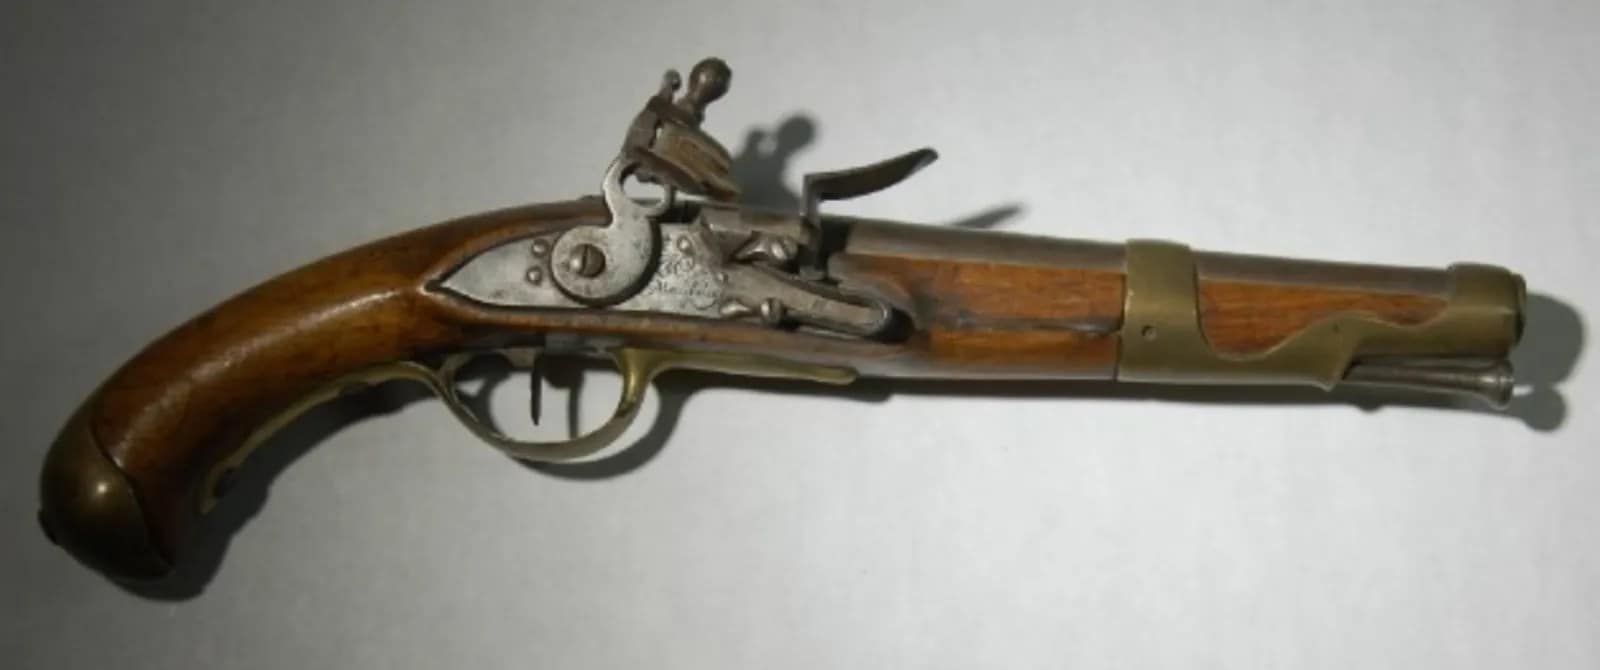
French Model 1733 Cavalry Pistol, the first standard handgun to be adopted by the French military. Jean Fournier, Charleville. From my personal collection.

The French Model 1733 cavalry pistol was the first fully standardised handgun adopted by the French Army. A large-bore flintlock with brass mounts and a robust lockplate, it was carried by heavy cavalry, dragoons, and mounted officers. This example is marked Jean Fournier, Charleville, one of the principal armourers of the royal manufactory. The 1733 pistol introduced production uniformity later seen in the Charleville musket series and became a widely copied pattern across Europe during the mid-18th century.


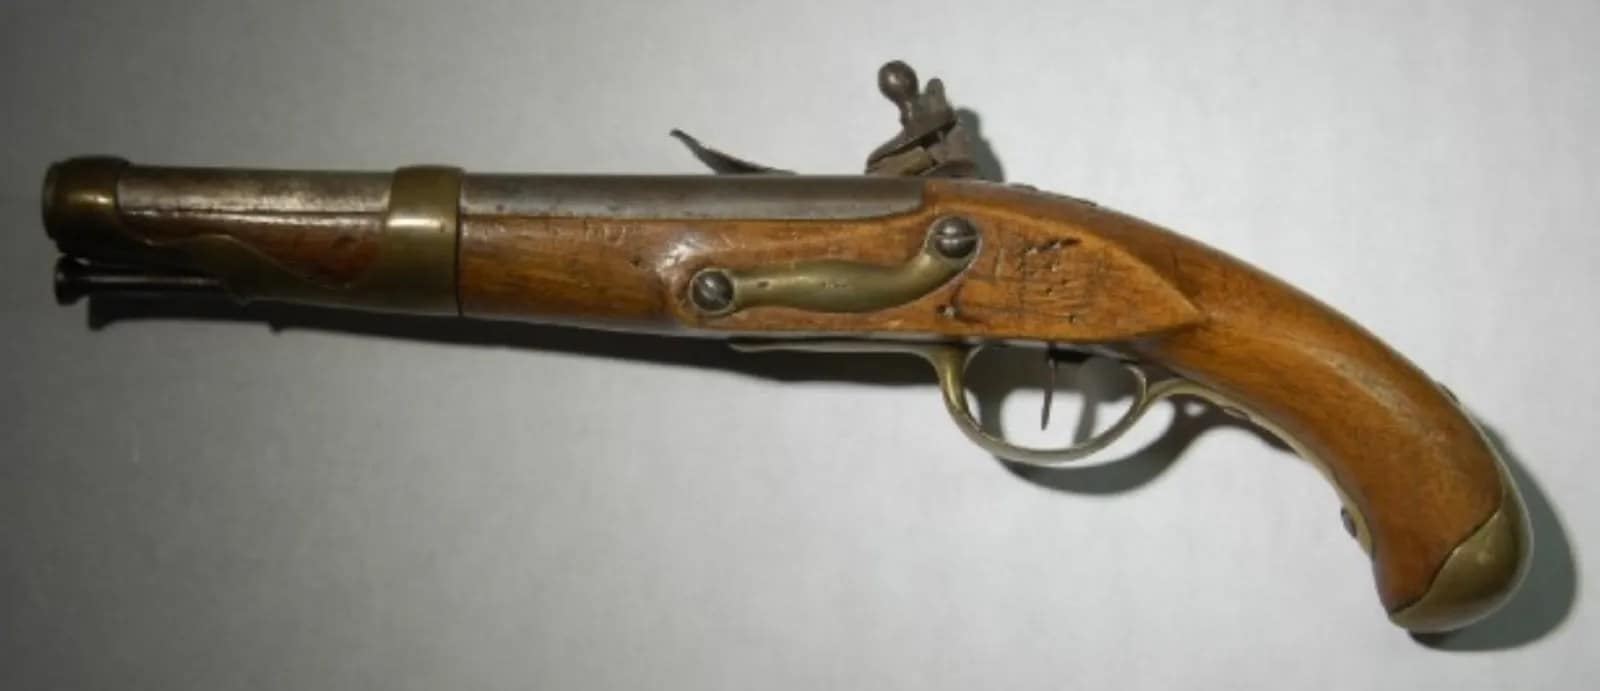
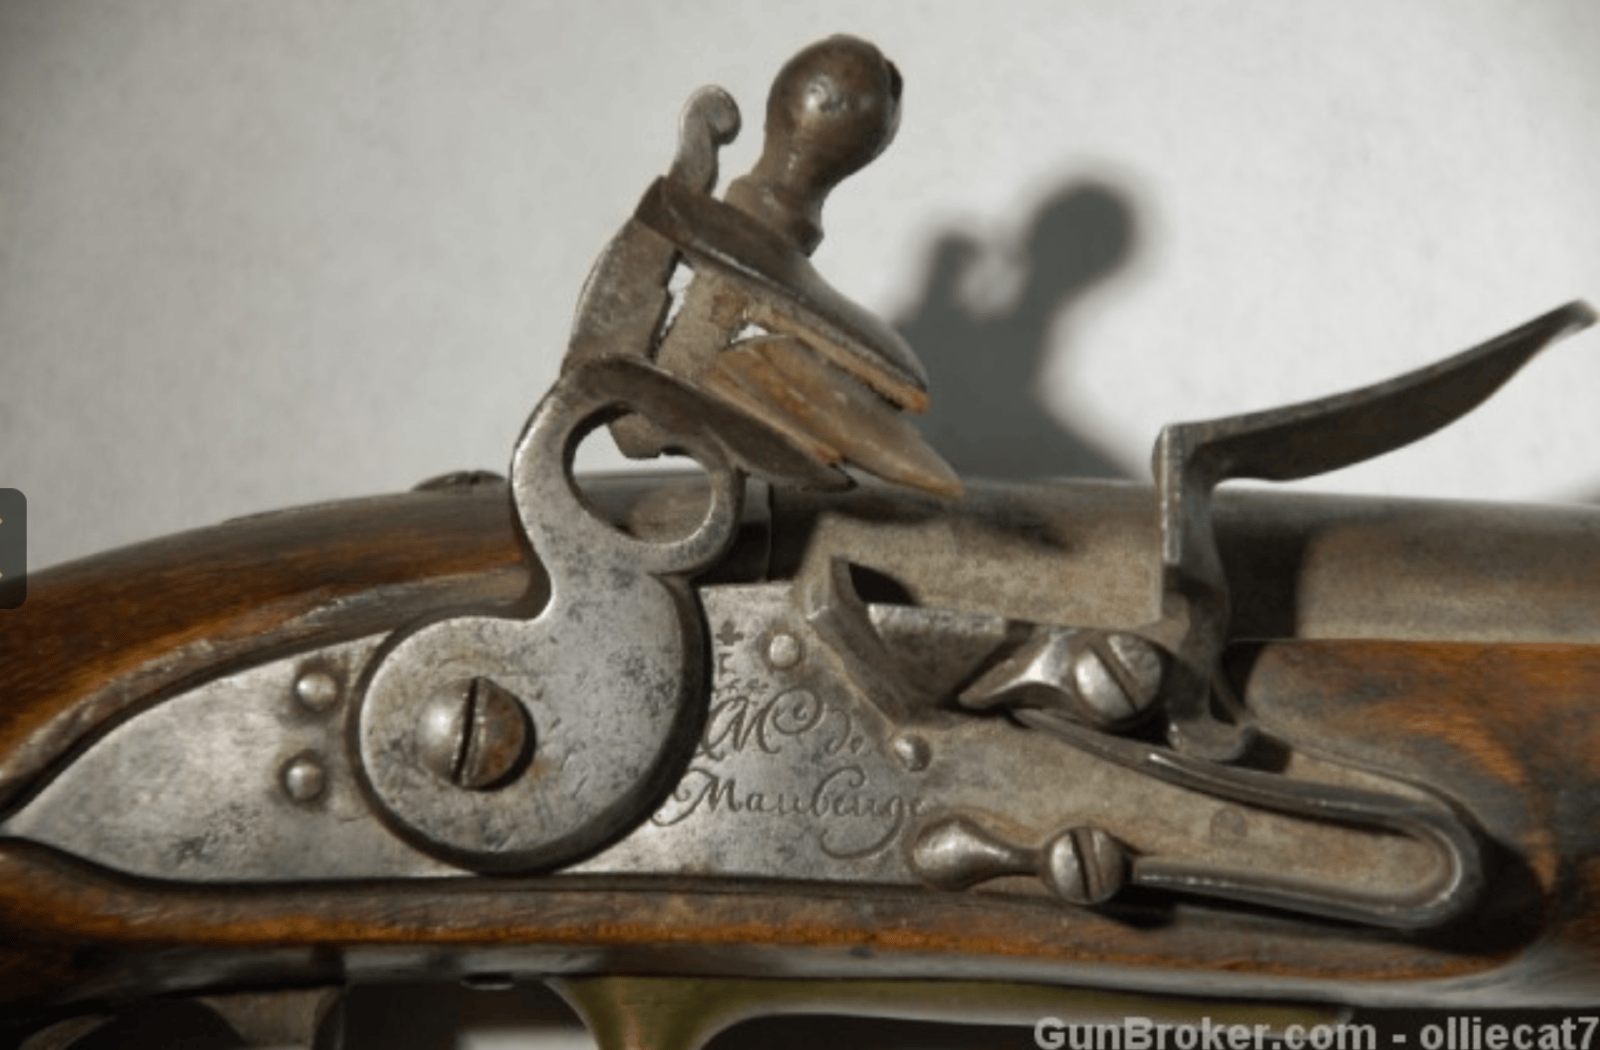
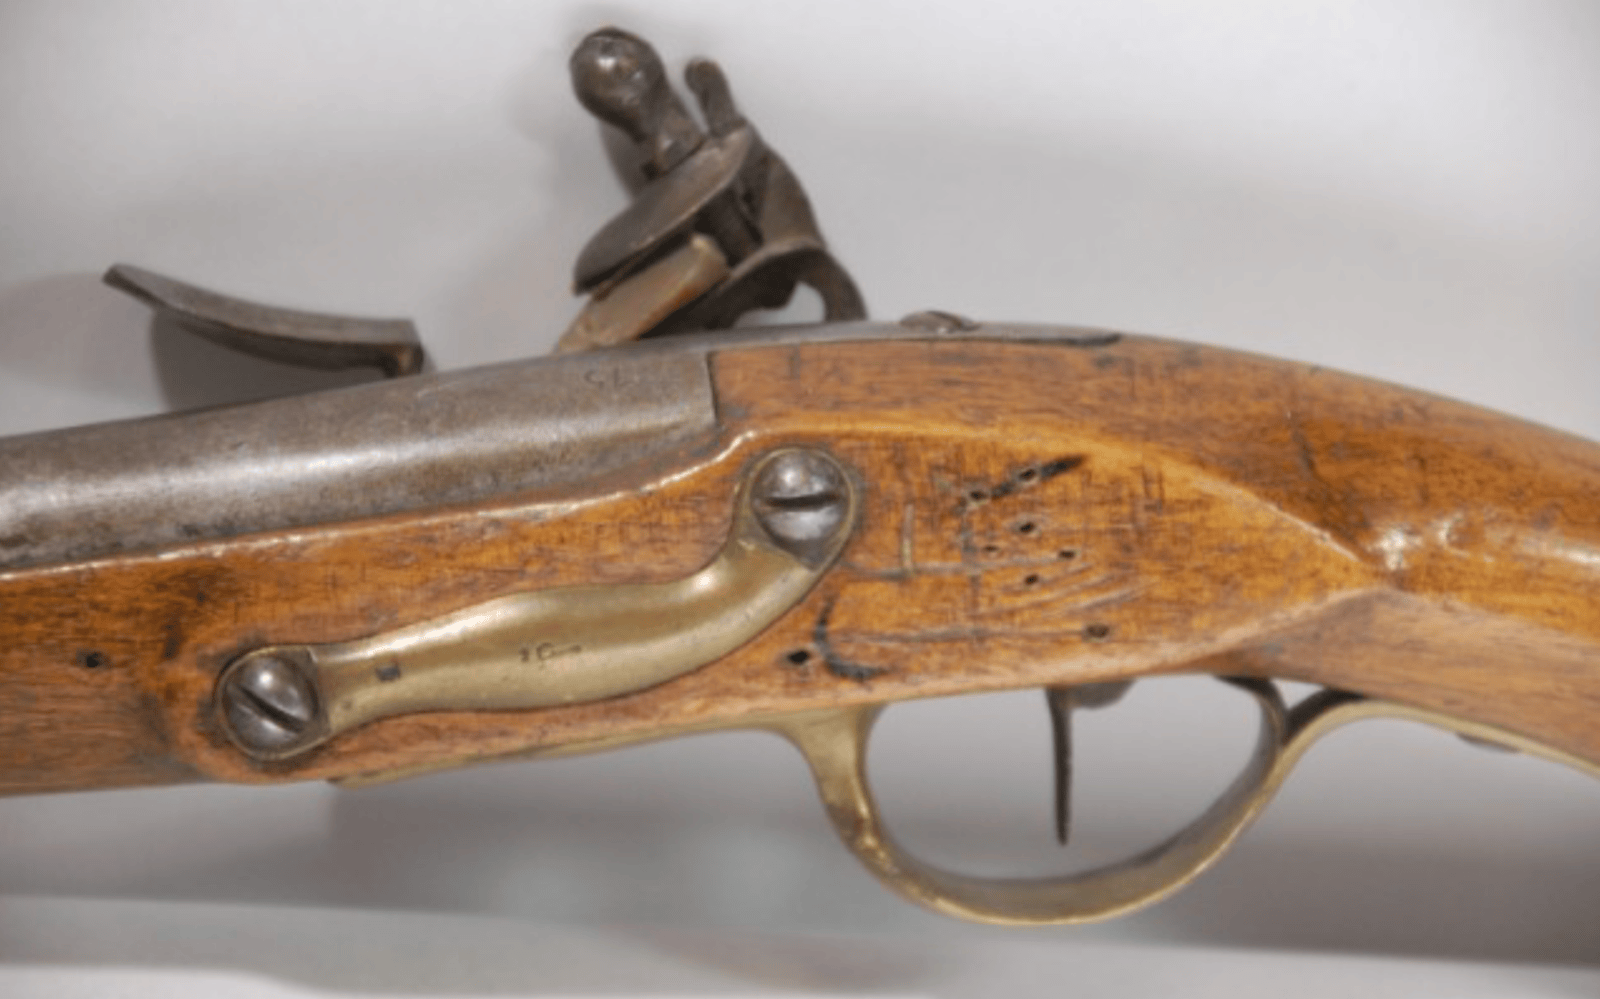
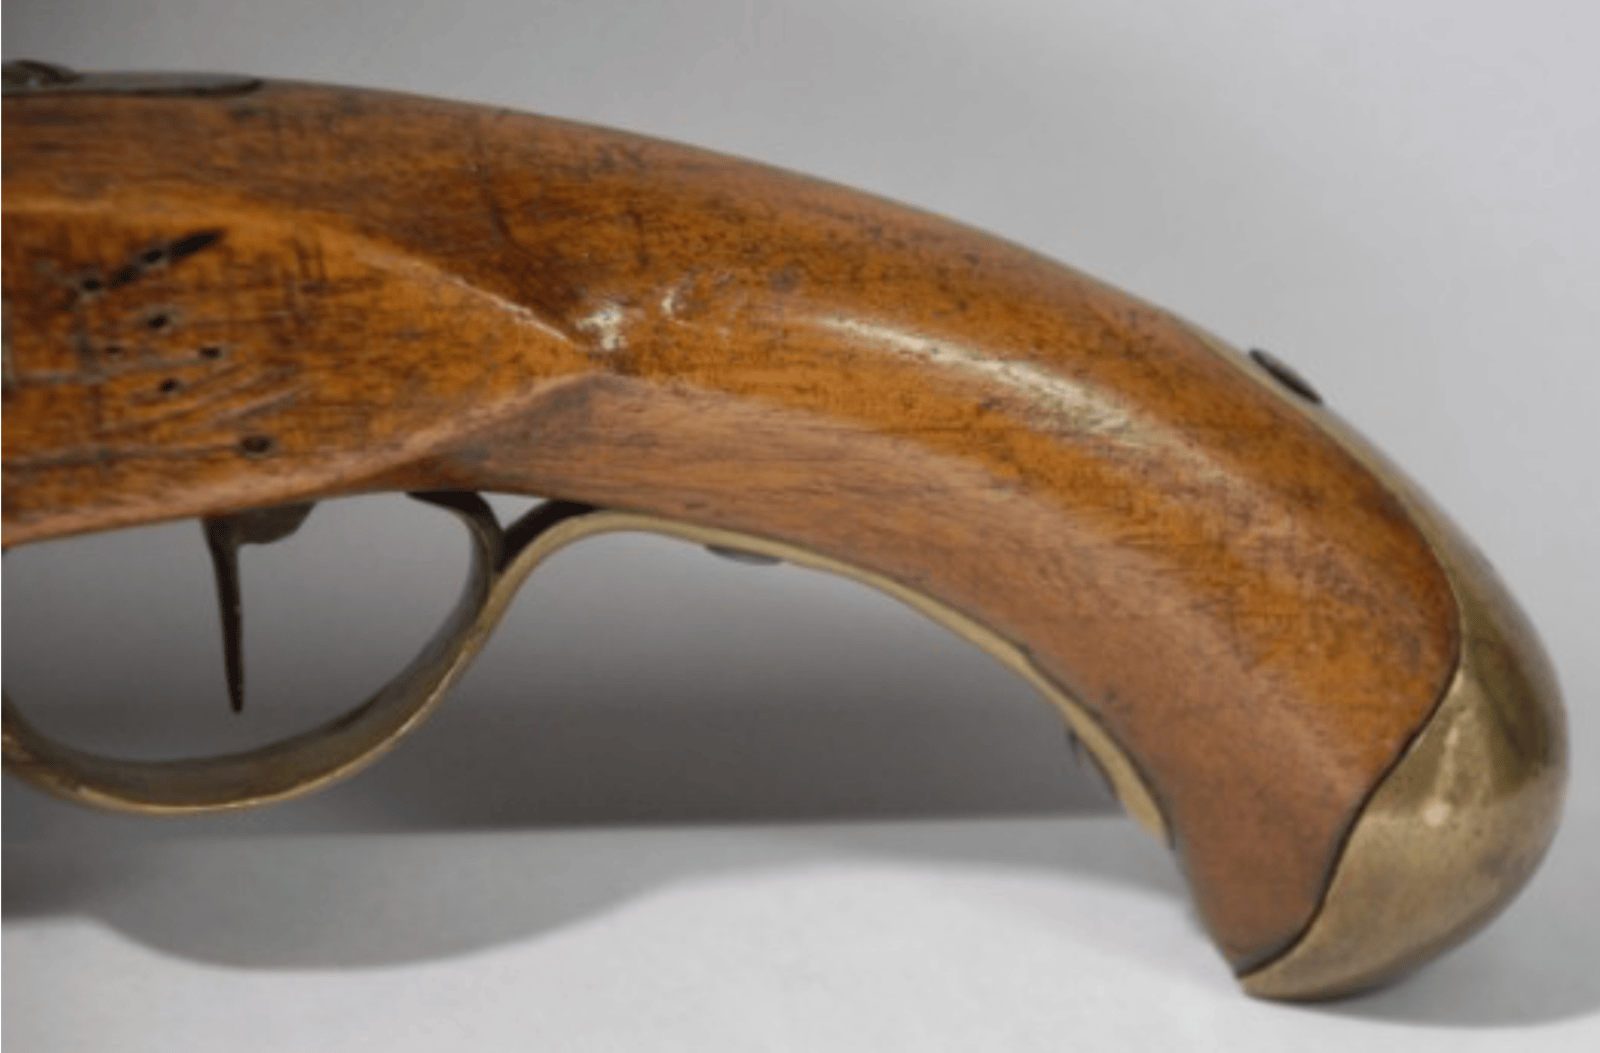
French Model 1763 Flintlock Pistol. Manufactured at the Maubeuge Royal Armoury. From my personal collection.

The French Model 1763 flintlock pistol was introduced to equip cavalry and mounted troops of the Royal French Army at the end of the Seven Years’ War. Manufactured at the Maubeuge Royal Armoury, it was a single-shot, smoothbore pistol of approximately .69 calibre with brass furniture and steel ramrod. Designed for close-range mounted combat, it complemented sabre use during shock action. Lockplates were marked with the royal cypher and manufactory stamp, identifying origin and inspection. The Model 1763 reflects early efforts at standardisation within the Ancien Régime military system and remained in service through the American War of Independence.


Austrian Weapons of the Seven Years War


Model 1754 Austrian musket. From my personal collection.

The Austrian Model 1754 musket was the Habsburg Army’s standard .70-calibre infantry weapon during the War of Austrian Succession and the early Seven Years War. Built at Vienna and regional armouries, it featured a robust lock, wooden ramrod, and long barrel optimised for line-volley fire. Although heavier than contemporary Prussian muskets, it was durable and capable of sustained battlefield use. The M1754 armed the bulk of Austrian infantry battalions in Bohemia, Silesia, and Saxony.


Circa 1760 Austrian Infantry hanger. From my personal collection.

The Austrian infantry hanger of circa 1760 was issued to grenadiers and chosen men during the Seven Years War. Featuring a broad, slightly curved blade and brass hilt with simple knucklebow, it was intended for close-in fighting where long muskets were unwieldy. Austrian hangers followed Germanic military design traditions and complemented the M1754 musket. Though increasingly ceremonial by the late 18th century, they remained practical weapons during the Silesian and Bohemian campaigns.


Russian Weapons of the Seven Years War


Circa 1760 Russian infantry hanger. From my personal collection.

This mid-18th-century Russian infantry hanger features a curved blade and brass hilt in the style used by Elizabethan and early Catherine-era regiments. Carried by NCOs, grenadiers, and line infantry, hangers supplemented muskets during close combat and were used extensively in the Seven Years War against Prussia. Their design reflects Central and Eastern European influences, including Polish sabre traditions and earlier Russian shashka forms.


Seven Years War weapons FAQ

What weapons were most commonly used in the Seven Years’ War?

The war was fought primarily with smoothbore flintlock muskets such as the Pattern 1742 and 1756 British Brown Bess, French Model 1746, 1754, 1763 Charleville patterns, and Prussian Mod 1740 infantry muskets. These were supported by socket bayonets, muzzle-loading artillery, and cavalry swords. The basic infantry weapons were broadly similar across European armies.

Why are smoothbore muskets important in understanding the war?

Smoothbore flintlock muskets defined how battles were fought, shaping linear tactics, close-order formations, and controlled volleys. Their limited range and accuracy made discipline, drill, and coordinated firepower essential to battlefield success.

Did weapons change during the Seven Years’ War?

Yes. Although armies began the war with established flintlock systems, operational experience led to improvements. British forces shortened musket barrels after fighting in North America, while artillery and logistical reforms reflected the increasing importance of firepower and mobility.

How important was artillery in the Seven Years’ War?

Artillery played a growing role throughout the conflict. By 1763, guns formed a larger proportion of field armies than at the start of the war, reflecting improvements in organisation, mobility, and battlefield integration.

What role did Prince Liechtenstein play in military reforms?

After observing the superior Prussian artillery at Chotusitz and other battles, Prince Joseph Wenzel of Liechtenstein was instrumental in developing Austrian artillery reforms that emphasised standardisation, mobility, and improved organisation, influencing artillery practice across Europe.

Were rifles used during the Seven Years’ War?

Rifles were used in limited numbers, primarily by specialist light infantry units and frontier troops, particularly in North America. However, the vast majority of soldiers were equipped with smoothbore muskets.

How did the Seven Years’ War influence later military development?

The war represents the mature phase of linear warfare and demonstrated the importance of professional standing armies, disciplined firepower, and artillery coordination. Lessons learned influenced military reforms in the late eighteenth century.

What does this collection show about the war?

The artefacts illustrate how soldiers were equipped and supplied during the conflict and highlight the dominance of the flintlock system alongside the growing importance of artillery and logistical organisation.


Subscribe to Battlefield Travels and receive a free E-Book Battlefield Guide

Unlock expert battlefield analysis, campaign reconstructions, and historical insights drawn from firsthand exploration and primary sources.

🗺️ You’ll receive:

🎖️ Exclusive historical insights you won’t find elsewhere

📘 A free eBook: 10 Tips for Exploring Historic Battlefields

📰 New battlefield studies straight to your inbox as they are published


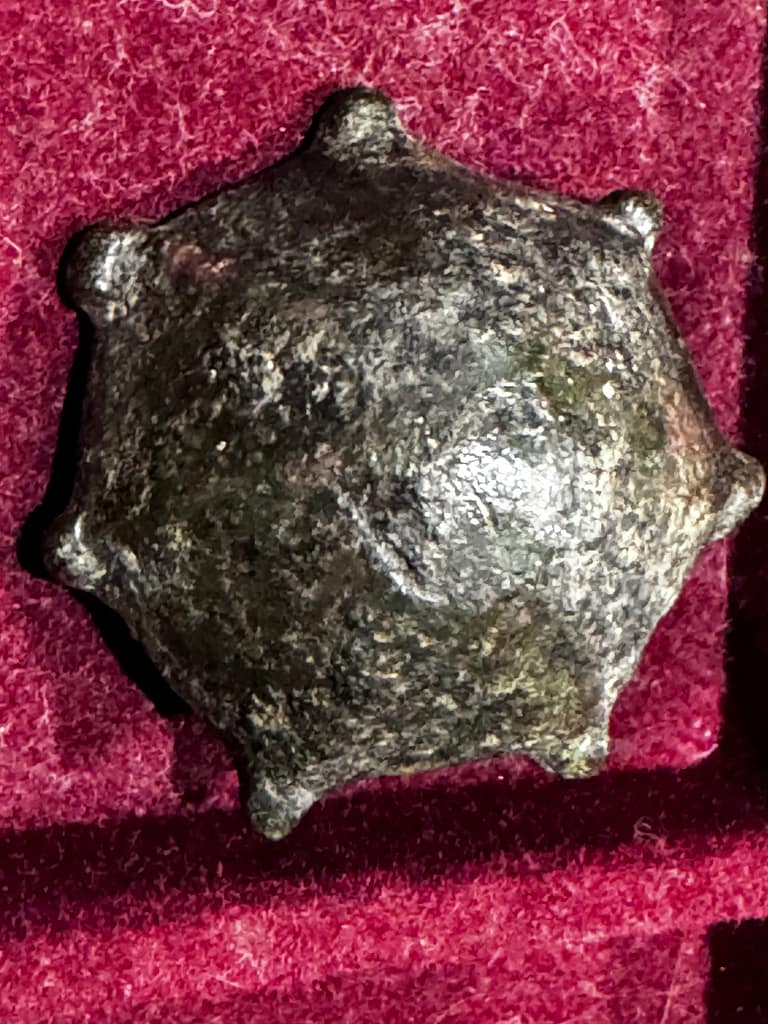
 Roman clasp
Roman clasp

Ancient and Medieval warfare

Ancient and medieval warfare spans more than two millennia of military development, from the rise of organised armies in the Bronze Age to the emergence of professional forces and fortified states in the late Middle Ages. Conflict in this period was shaped by geography, social structures, and technological constraints, with armies built around infantry levies, elite warrior classes, and, gradually, the increasing use of cavalry.

In the ancient world, forces such as the Greek hoplite phalanx at Thermopylae, the disciplined Roman legions, and the Persian and Macedonian combined-arms systems demonstrated the effectiveness of disciplined formations supported by missile troops and specialist contingents. Siege warfare, logistics, and control of trade routes were central to imperial expansion across the Mediterranean, Near East, and Asia.

The medieval period saw the rise of armoured knights, fortified castles, and feudal military obligations, but also the persistence of professional infantry traditions in regions such as Byzantium, Islamicate states, and East Asia. From Hastings to the Crusades and from the Mongol conquests to the Hundred Years War, warfare became increasingly sophisticated, with improvements in armour, crossbows, early gunpowder weapons, and battlefield command.

Across both eras, combat remained defined by close-quarter fighting, rigid social hierarchies, and the capacity of states or rulers to mobilise manpower and resources in pursuit of strategic aims.


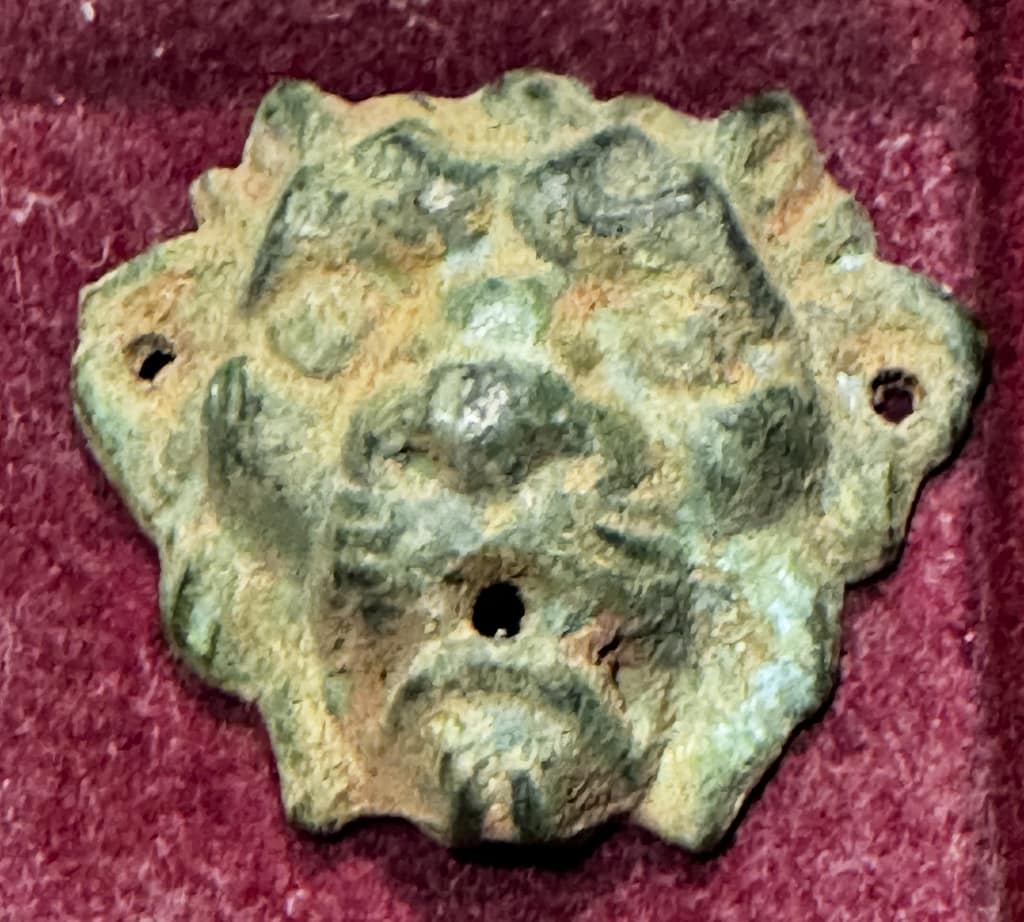
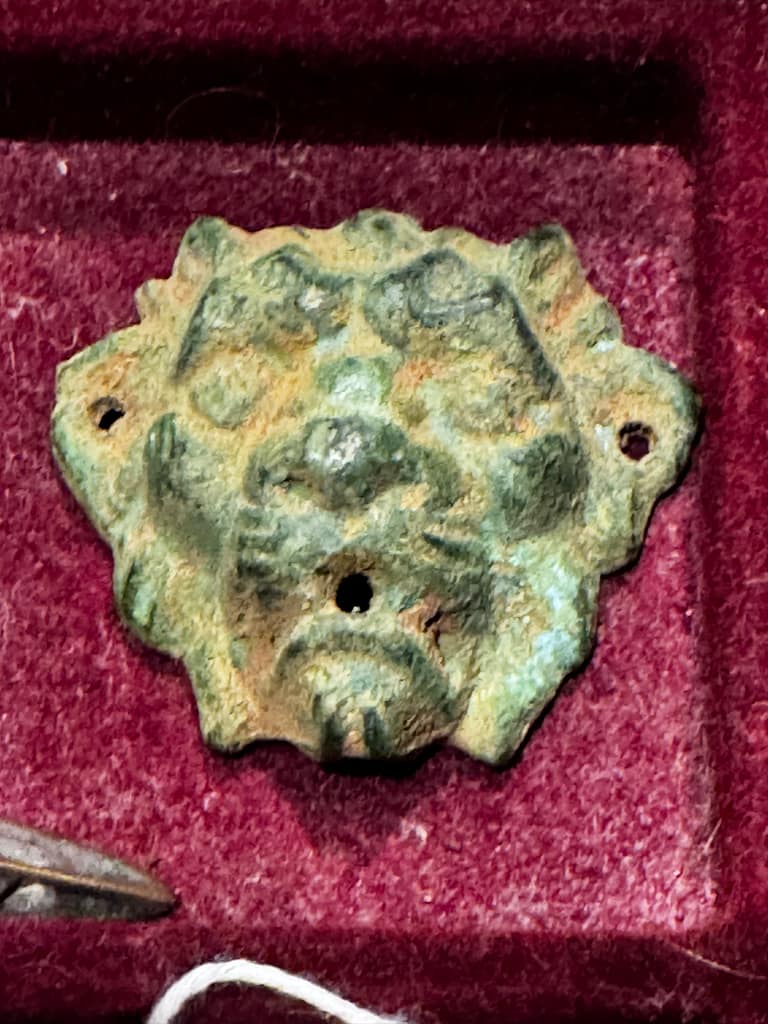
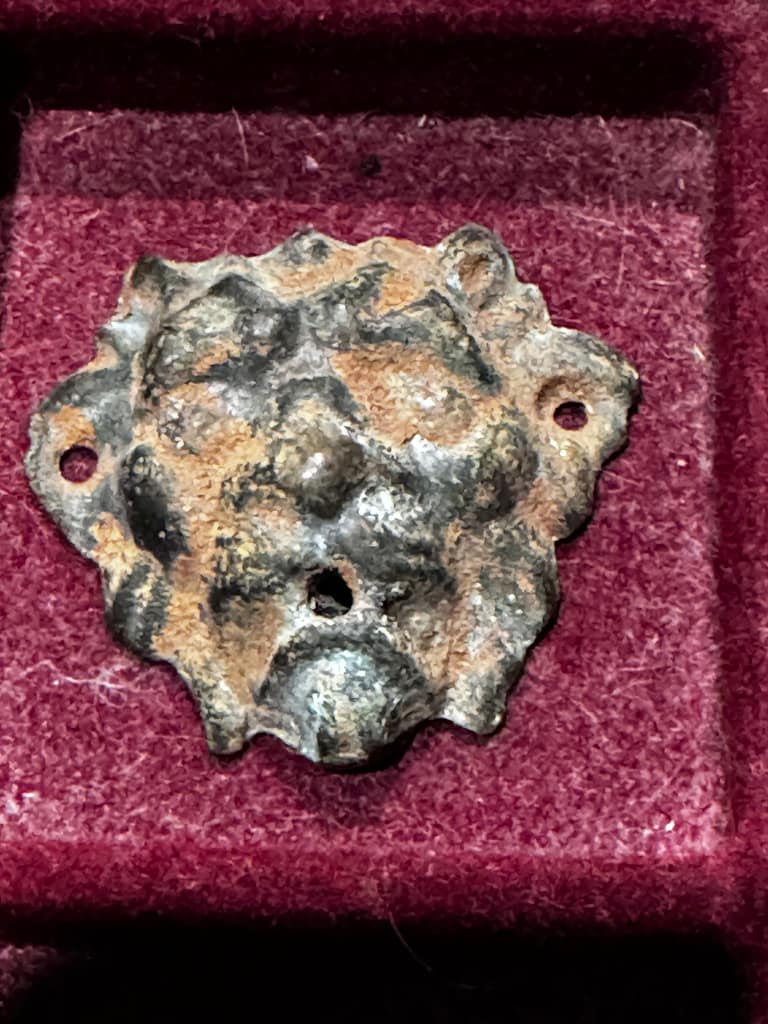
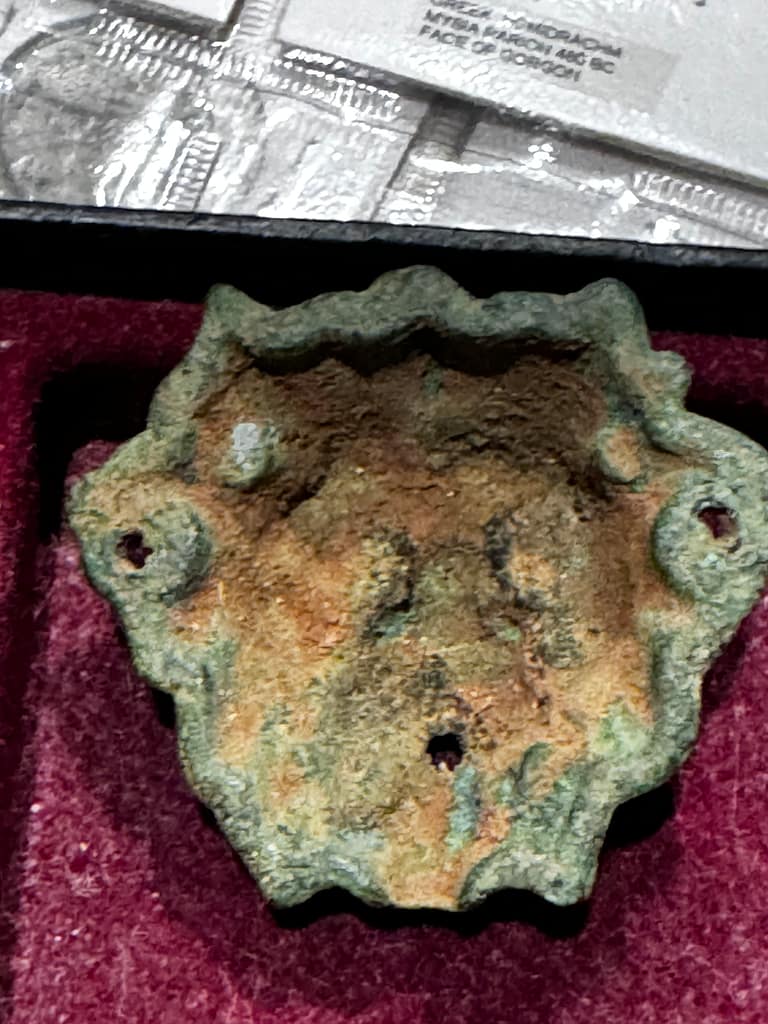
Roman military clasps, from my collection

This cast bronze lion-head clasp was used as a fastening element on Roman military harness, belts, or parade equipment. The lion motif symbolised strength, authority, and imperial power, and was commonly employed in cavalry fittings and officer kit during the 1st–3rd centuries AD. Such clasps often secured baltea straps, cloak fastenings, or decorative harness sets worn in both field and ceremonial contexts. The detailed modelling reflects the high level of craftsmanship typical of Roman military metalwork.


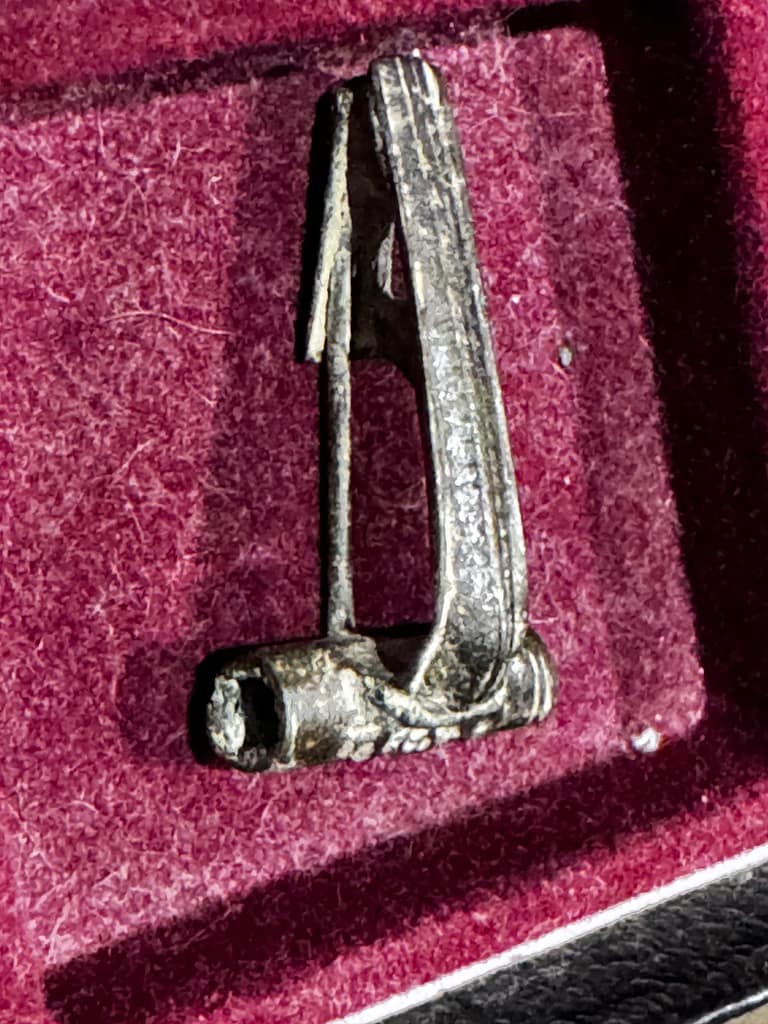
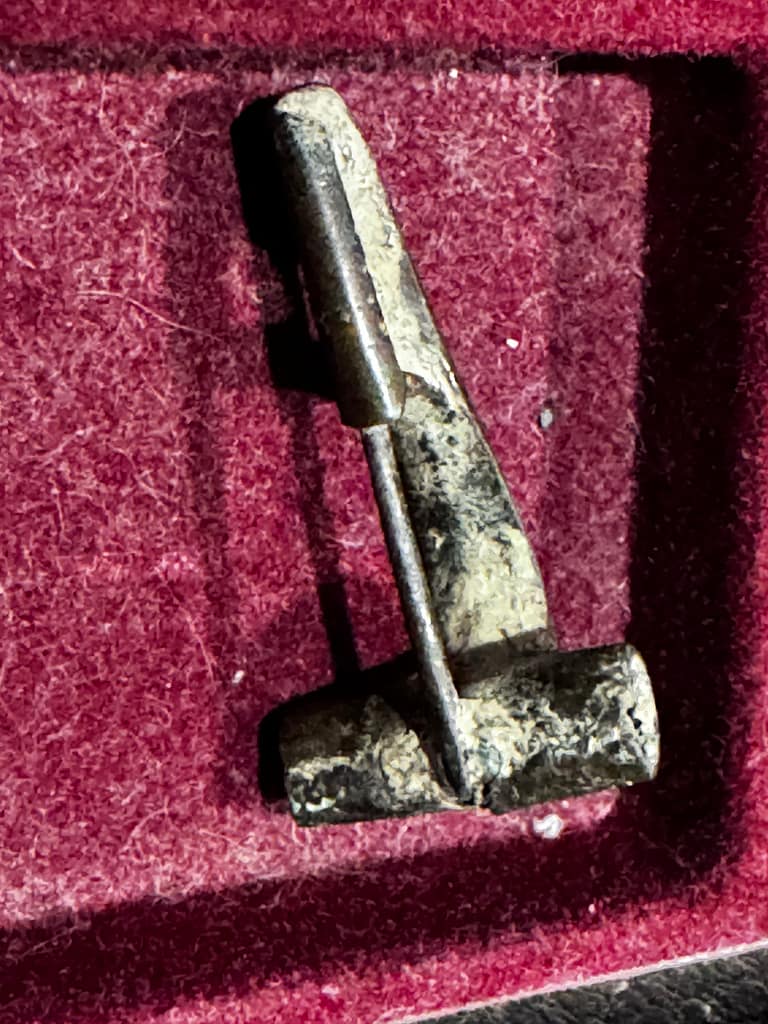
Roman crossbow brooch, from my collection

The crossbow brooch was a distinctive fastener used by Roman soldiers and officials during the late Empire (3rd–5th centuries AD). Featuring a transverse bar, arched bow, and flared foot, it secured the heavy woollen cloaks worn on campaign and in garrison. Larger, more ornate types were associated with officers and senior administrative ranks. Cast from bronze or brass, the crossbow brooch is one of the most recognisable items of late Roman military dress.


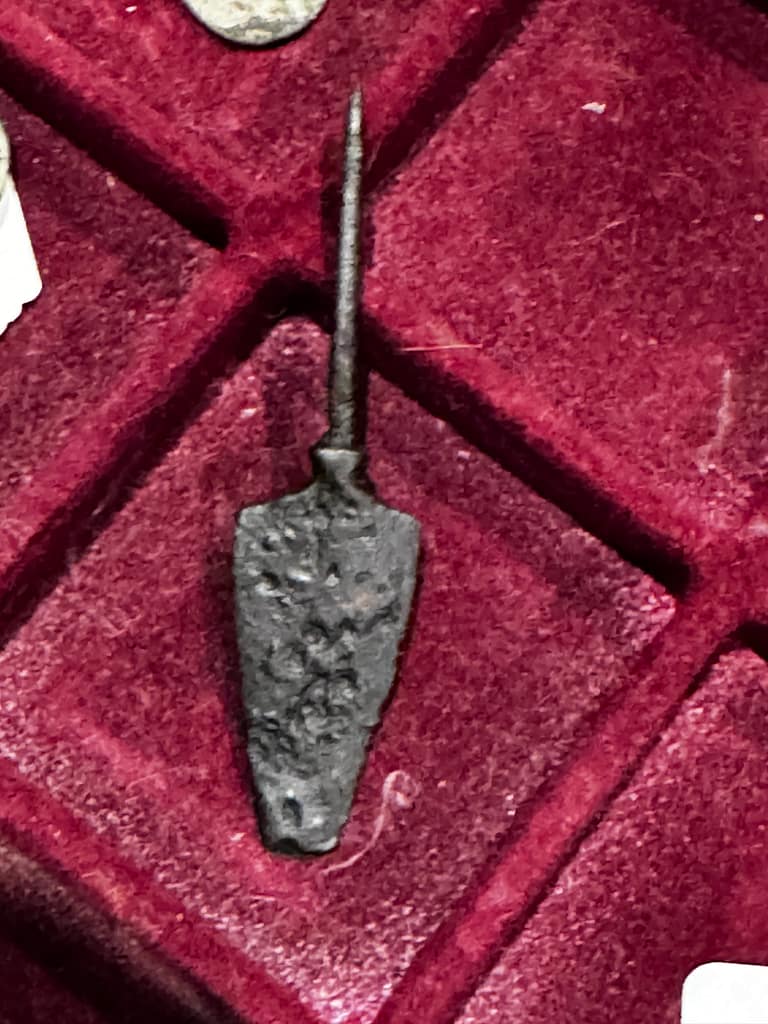
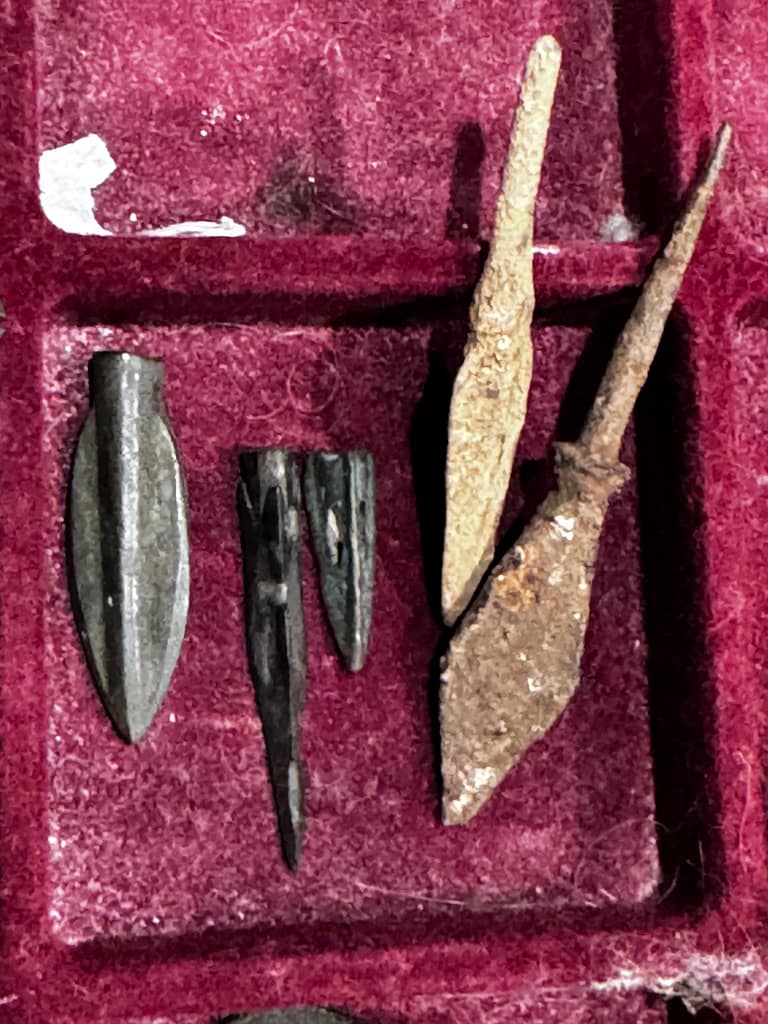
Roman/Barbarian arrow heads, discovered in Dacia, from my collection

These iron arrowheads were recovered from the province of Dacia, where Roman legions clashed with local Dacian and later Gothic and Sarmatian forces. The group includes both Roman socketed points and “barbarian” tanged types, reflecting the mixed tactical environment of the region. Dacia saw sustained frontier warfare from the Dacian Wars of Trajan (AD 101–106) through the 3rd-century crises. Such arrowheads illustrate the variety of missile weapons used in steppe-influenced and Romanised formations along the Danubian frontier.


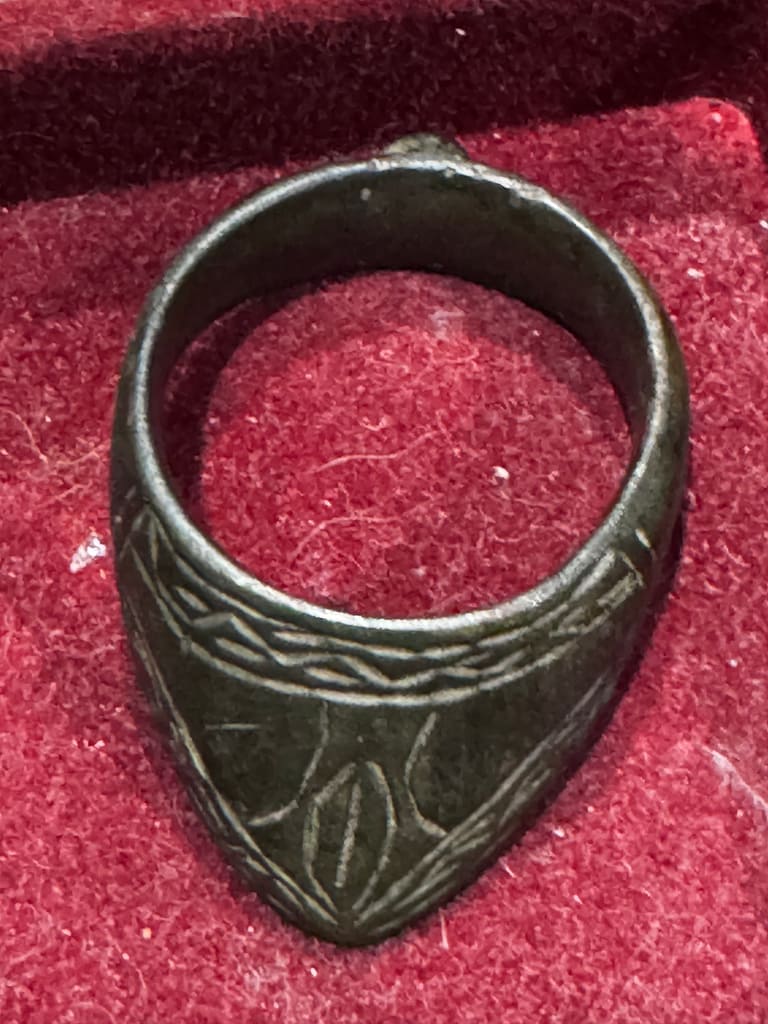
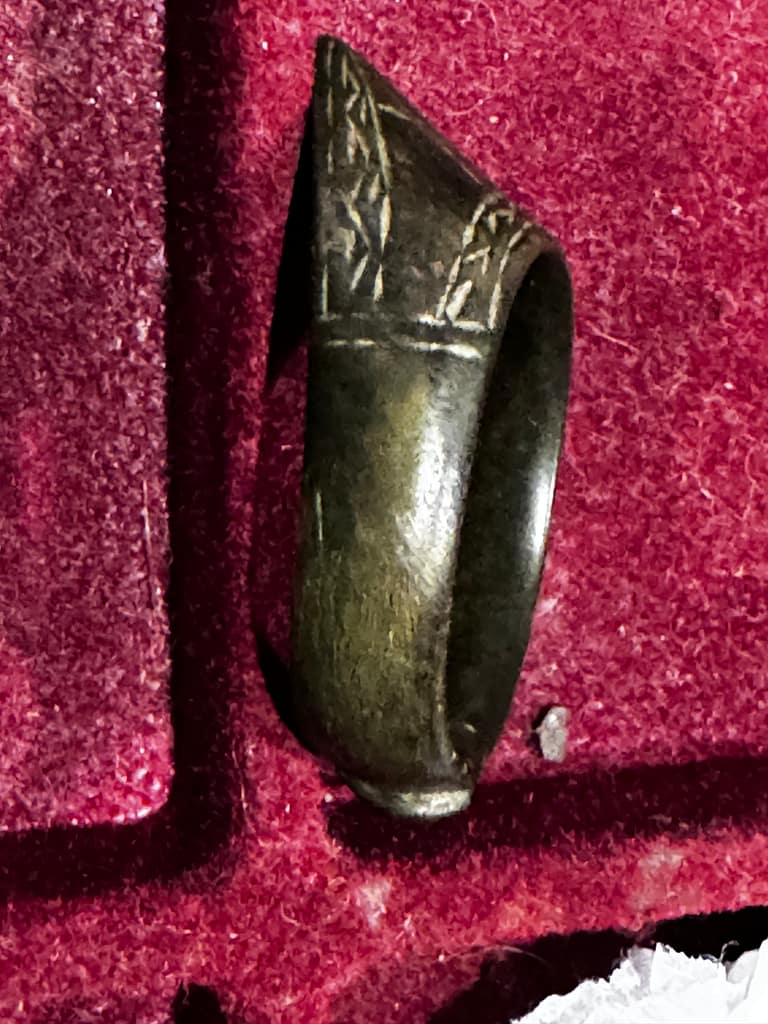
Roman/Barbarian archer’s thumb ring, from my collection

This stone or bone thumb ring was used by archers employing the “thumb draw,” a technique common among steppe and eastern auxiliaries serving Rome. The design protected the thumb when releasing the bowstring, allowing greater power and accuracy. Similar rings are found in Sarmatian, Dacian, and eastern Roman contexts from the 1st–4th centuries AD. Its presence in the Danubian region reflects the integration of steppe archery traditions into Roman auxiliary forces and frontier warfare.


Roman sword pommel, from my collection

This bronze pommel fragment once capped the grip of a Roman sword, likely a spatha used by cavalry or late infantry units. Pommels balanced the blade and secured the tang, and their form can indicate period and unit type. This example’s simple, rounded design corresponds to common 2nd–4th-century patterns found across frontier provinces. As a surviving component of a weapon rarely preserved complete, it illustrates the construction methods and martial equipment of Rome’s professional fighting forces.


Subscribe to Battlefield Travels and receive a free E-Book Battlefield Guide

Unlock expert battlefield analysis, campaign reconstructions, and historical insights drawn from firsthand exploration and primary sources.

🗺️ You’ll receive:

🎖️ Exclusive historical insights you won’t find elsewhere

📘 A free eBook: 10 Tips for Exploring Historic Battlefields

📰 New battlefield studies straight to your inbox as they are published


Helmet-US-MC1-front-seam-swivel-bail-06
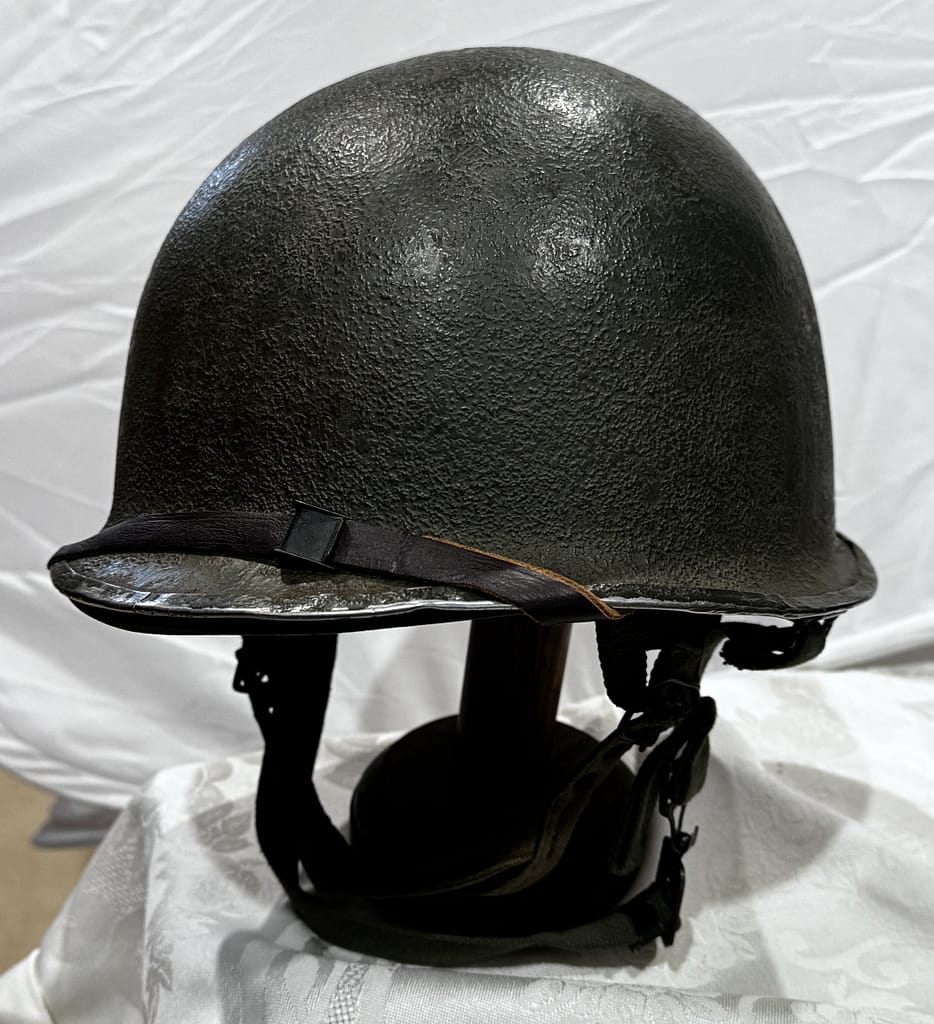
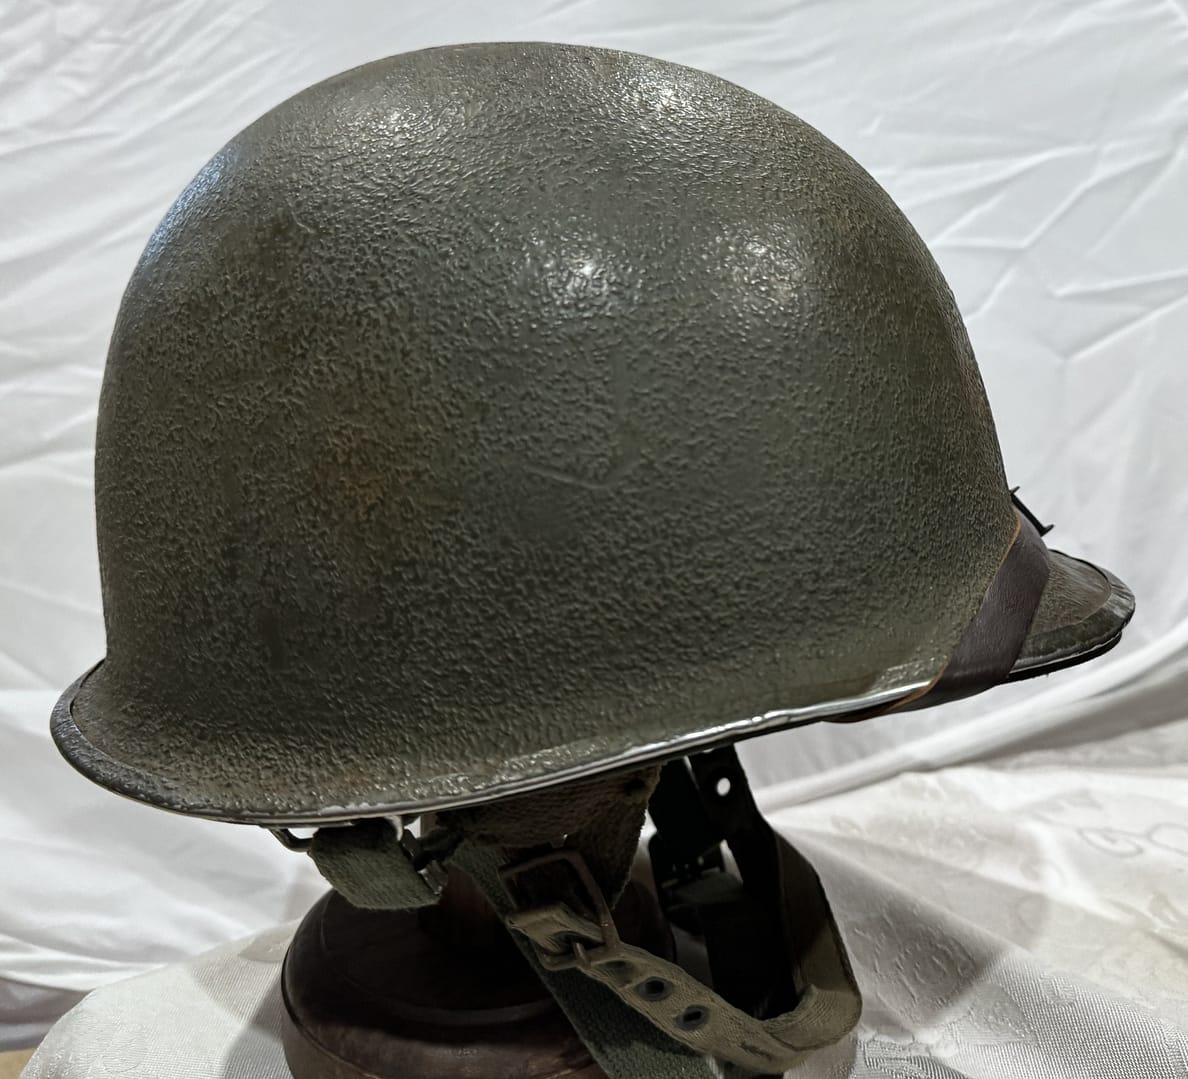
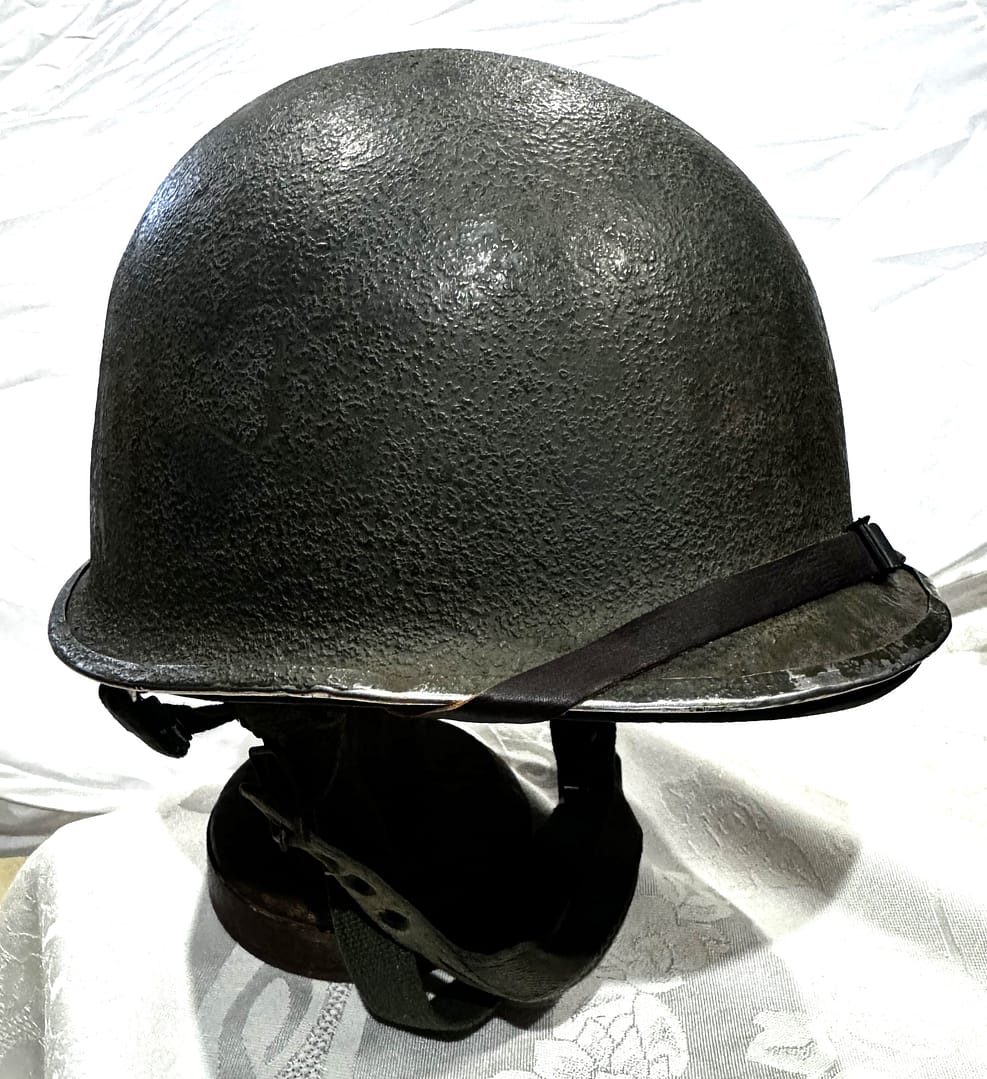
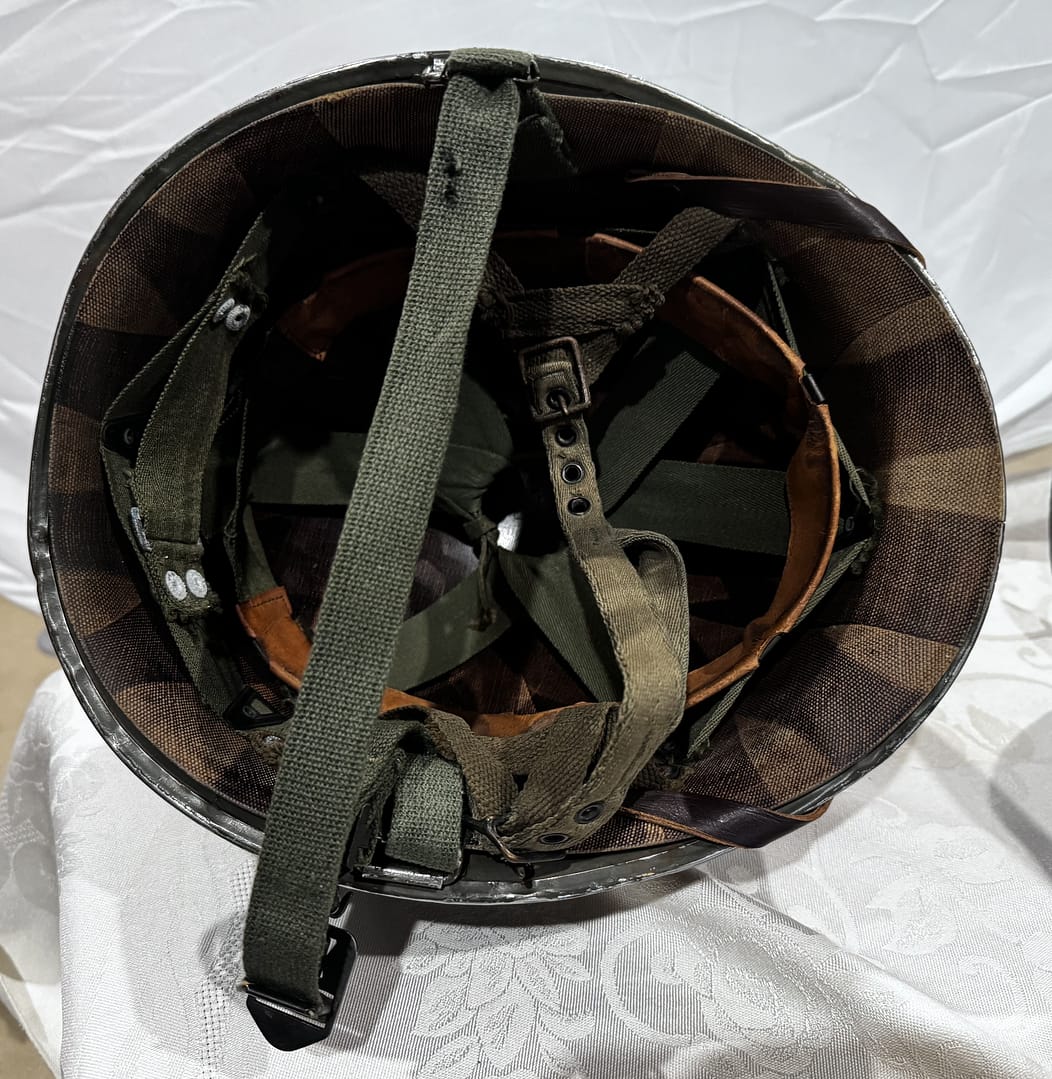
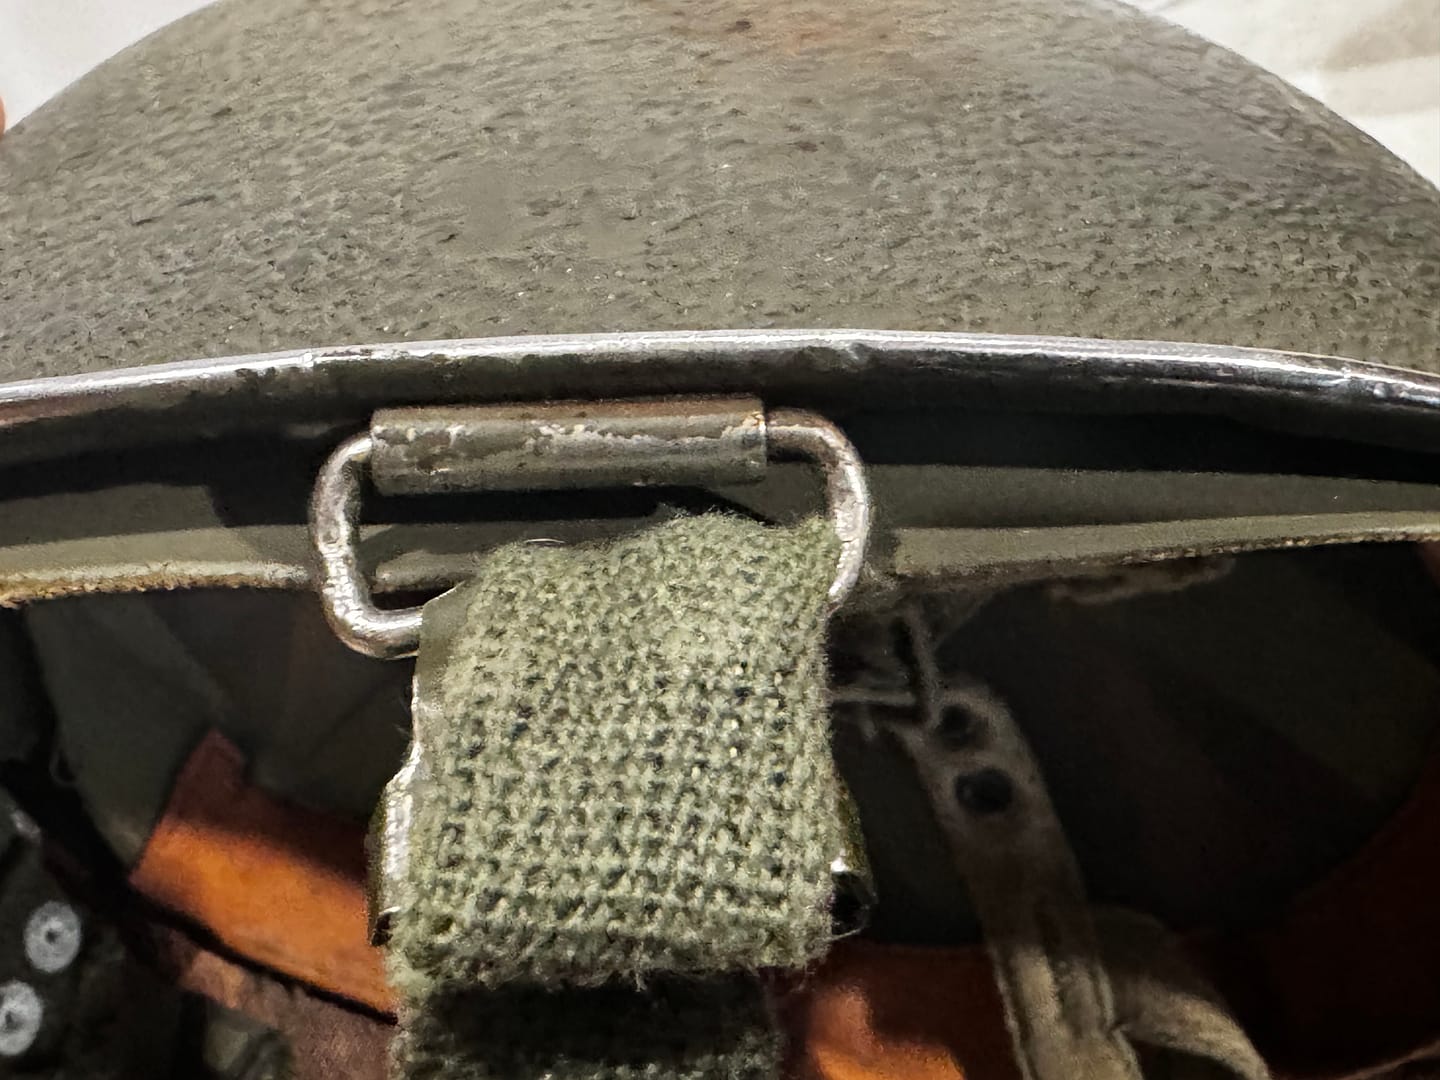
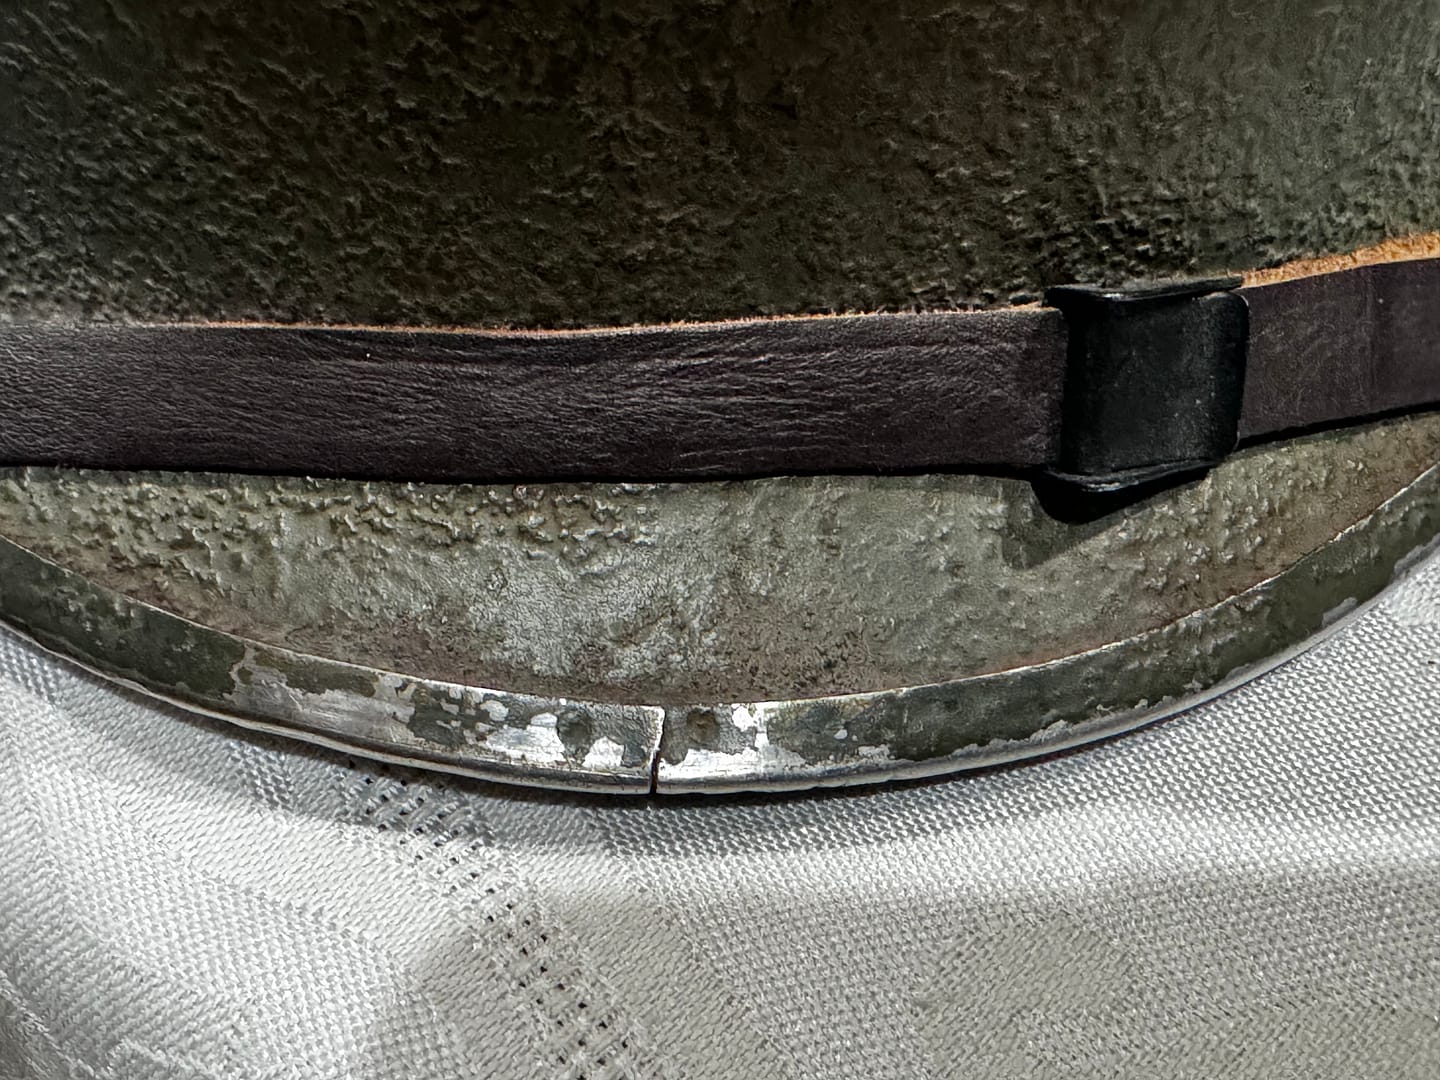
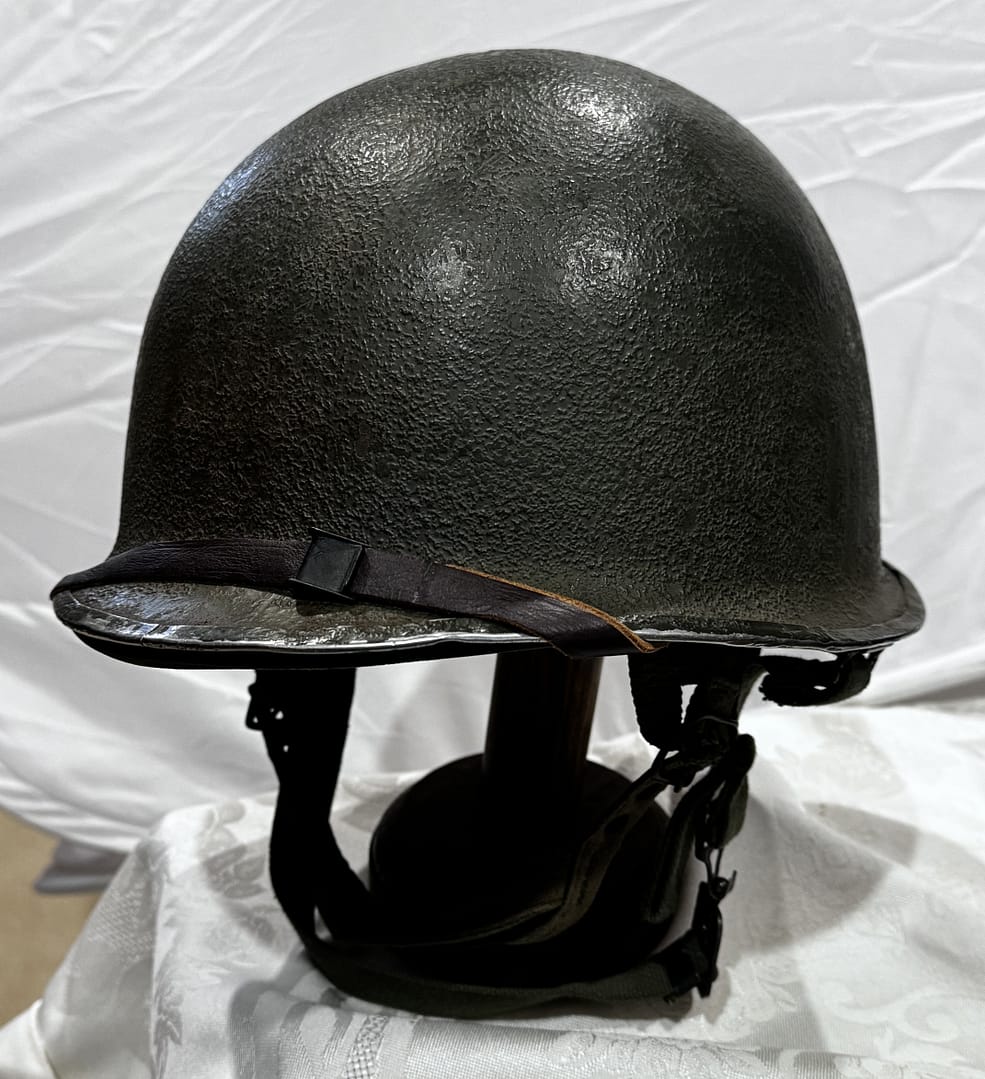
American paratrooper Helmet MC1 front seam, swivel- bail. Late WW2/Korea

Overview of the Korean War

The Korean War (1950–1953) began with North Korea’s invasion of the South on 25 June 1950, triggering a United Nations response led by the United States. Early North Korean successes were halted at the Pusan Perimeter before UN forces counter-attacked, landing at Inchon and advancing to the Yalu River. China’s massive intervention in late 1950 reversed these gains, leading to a bitter, attritional campaign fought across mountainous terrain and extreme climates.

Key battles—Kapyong, the Imjin River, the Chosin Reservoir, and the Hook—demonstrated the importance of infantry firepower, artillery support, and defensive fortification in a war dominated by ridgelines, frost, and close combat. Commonwealth units, including Australia’s 3 RAR, Canada’s PPCLI, British 29 Brigade, and New Zealand gunners, played decisive roles in halting major Chinese offensives. The front stabilised near the 38th Parallel, where trench-line warfare and aggressive patrolling continued until the Panmunjom armistice agreement of July 1953.

The war reshaped Cold War geopolitics, solidified the U.S.–ROK alliance, and established the Demilitarised Zone (DMZ), one of the world’s most fortified boundaries. For participating nations, including Australia, it marked a transition into post-WW2 operational commitments and modern combined-arms warfare.


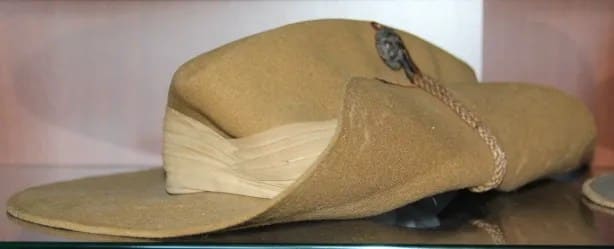
Australian Army Slouch Hat, Northcote Hats, 1953

This Australian slouch hat, manufactured by Northcote Hats in 1953, represents the standard headdress worn by 3 RAR and supporting Australian units during the Korean War. Constructed from khaki fur felt with a reinforced brim and puggaree, it carried the brass Rising Sun badge on the left-turned brim. Although steel helmets were worn in combat, the slouch hat remained the principal dress and parade item, symbolising Australian identity across operations from Kapyong and Maryang San to the static-line battles along the Jamestown Line.


US MC1 Paratrooper Helmet. Front seam, Swivel Bail. Late WW2 or Korea

This airborne-pattern M1 helmet features the early front-seam rim and later swivel-bail chinstrap loops adopted from 1943. Used by U.S. airborne and specialist infantry units during the Korean War, the helmet provided improved ballistic protection and a stable platform for winter covers, camouflage nets, and cold-weather liners. It was worn in operations from the Naktong Bulge to the Chosin Reservoir and throughout the fluid manoeuvre phase of 1950–51, remaining a standard U.S. helmet well into the 1960s.


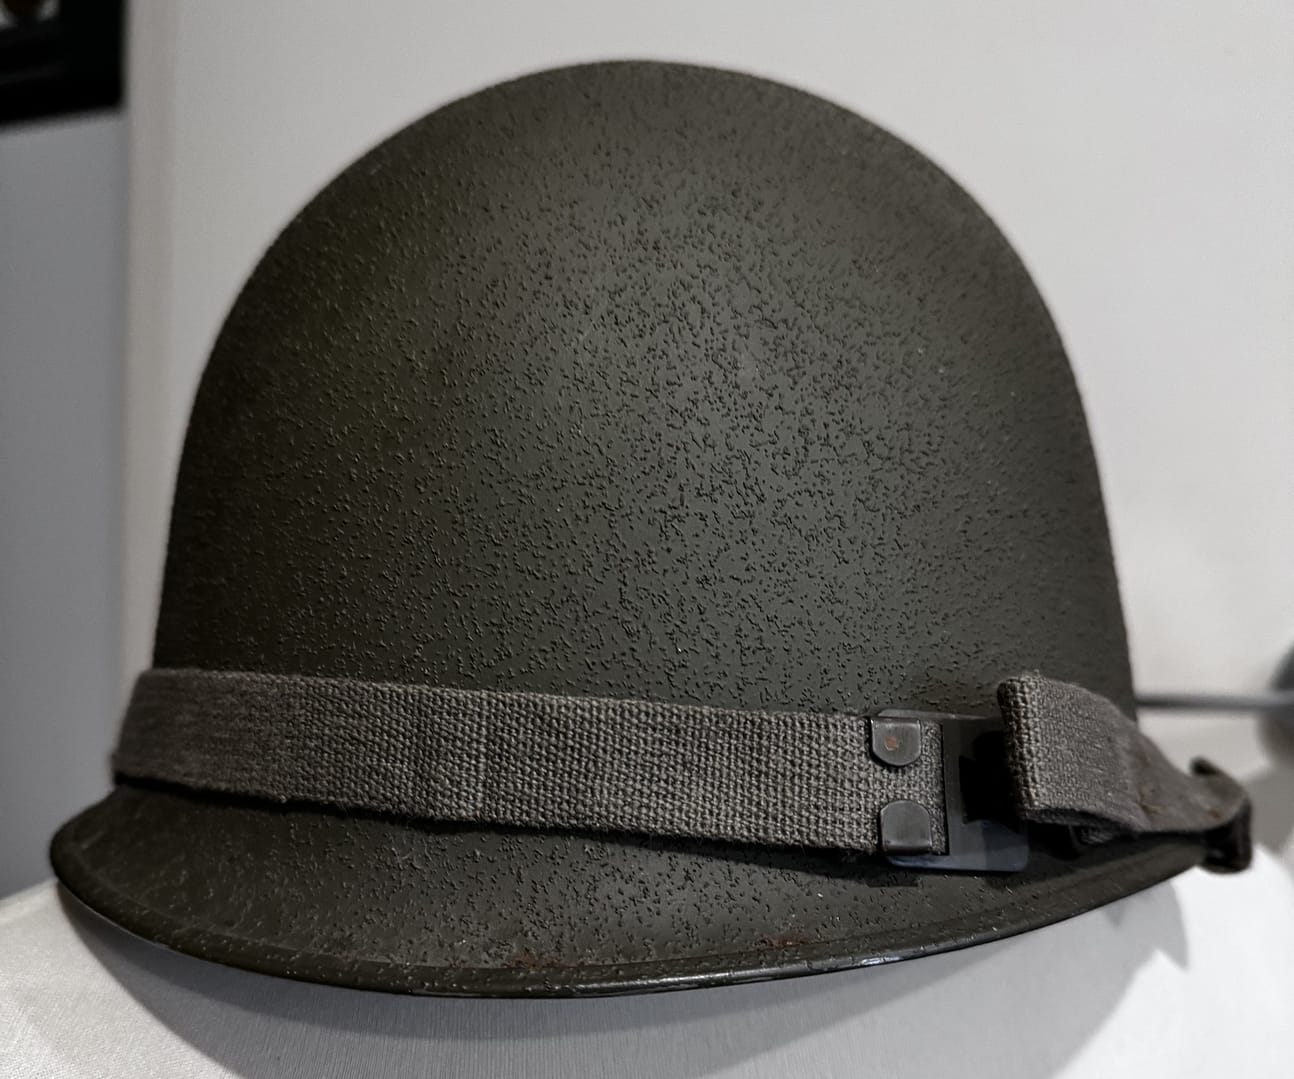
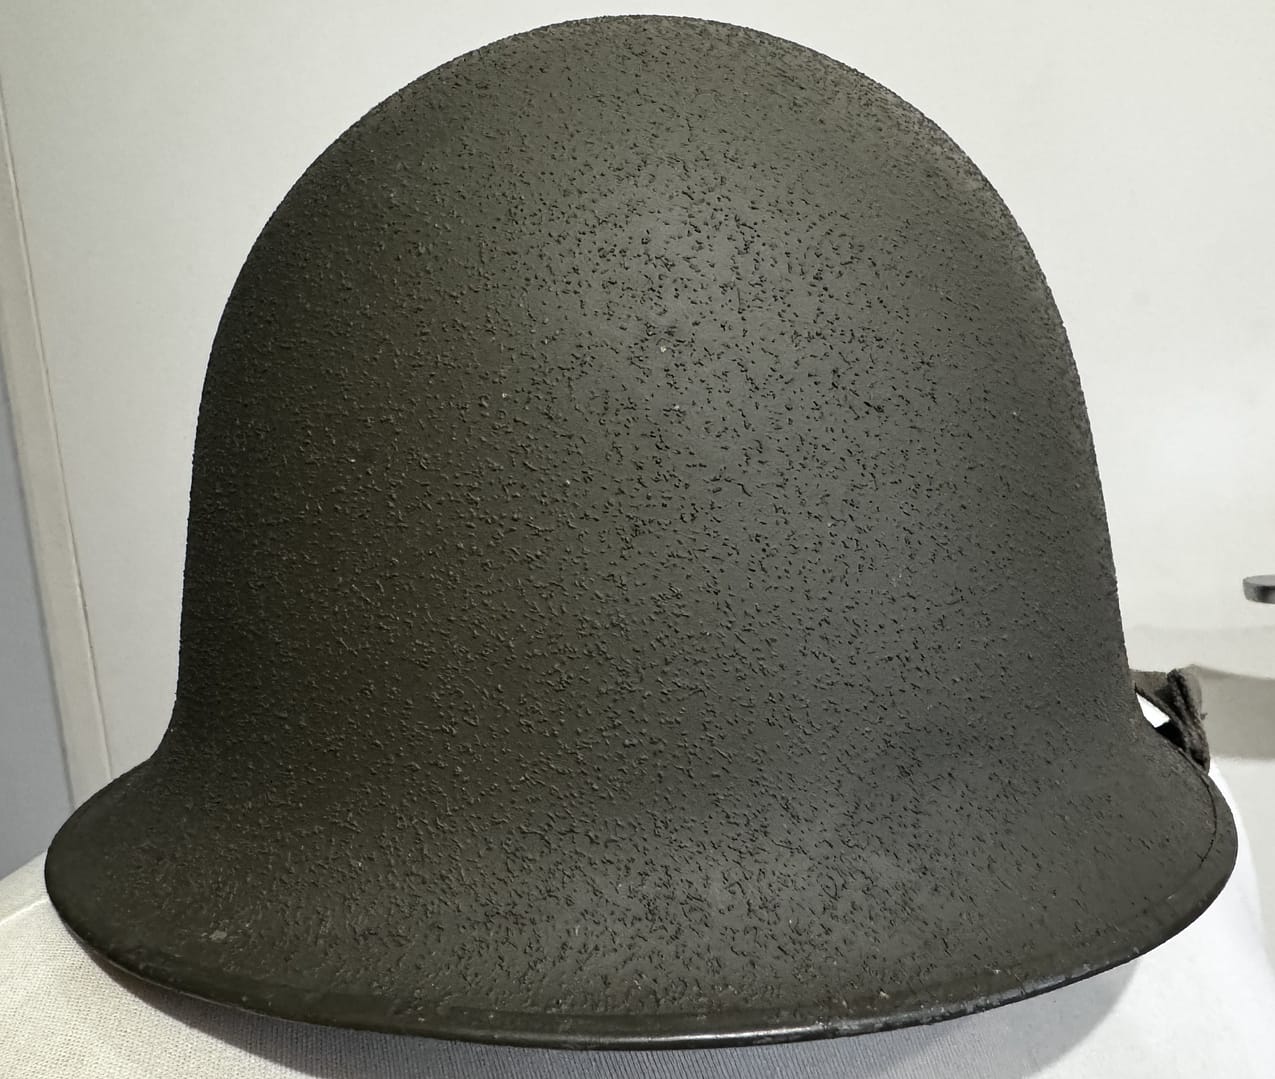
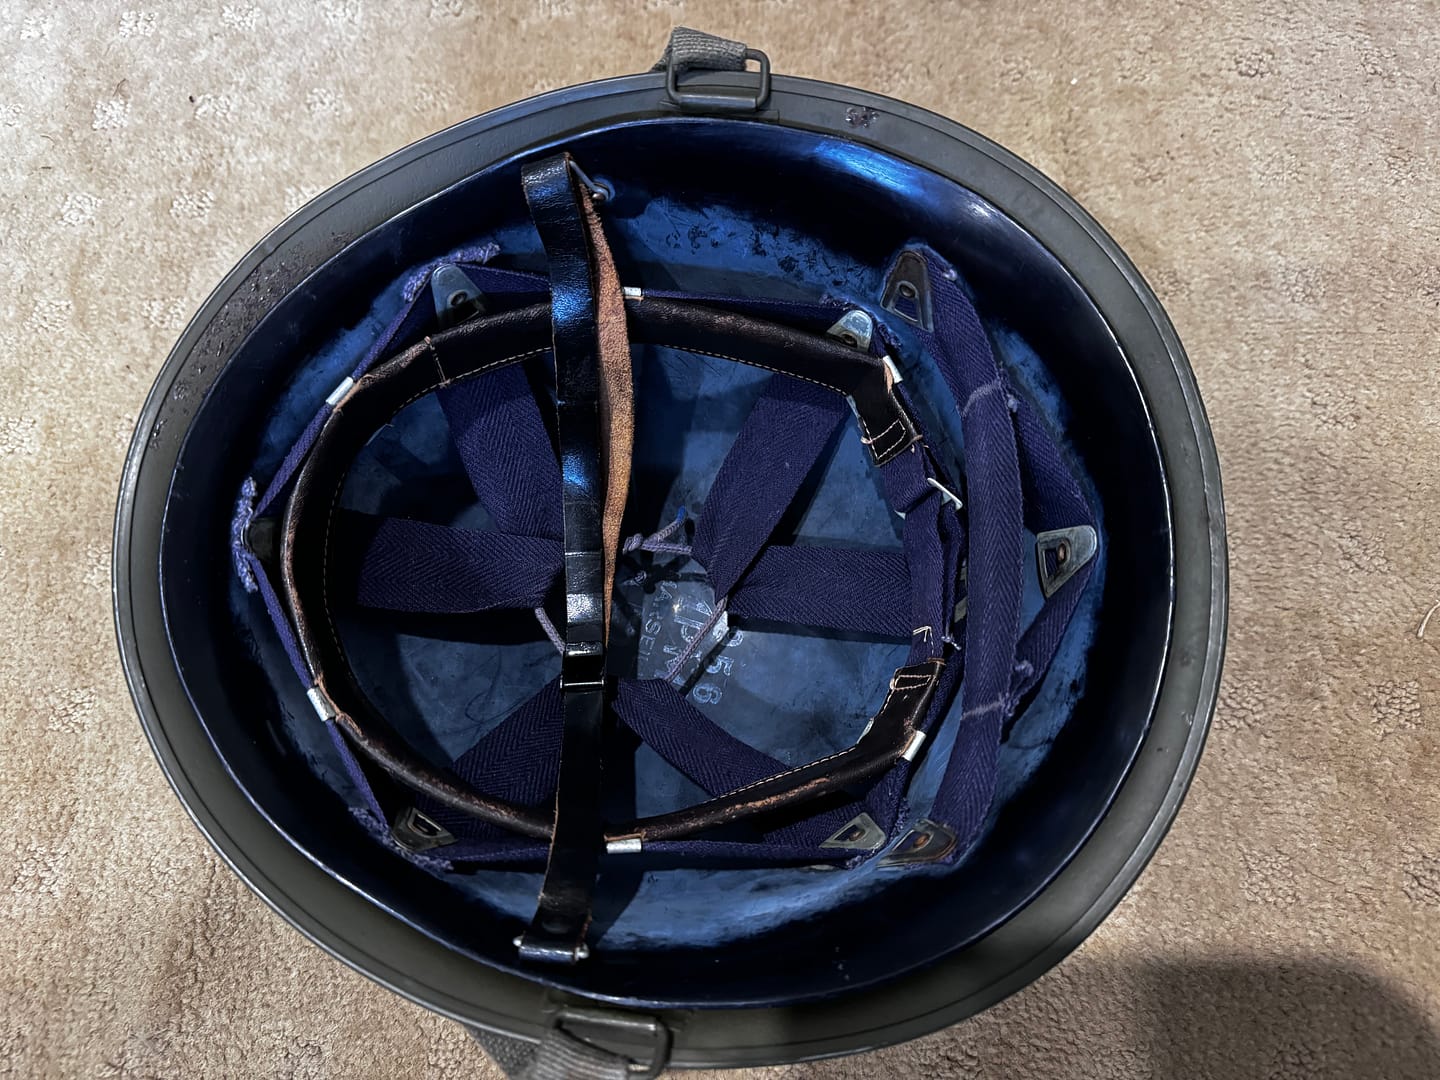
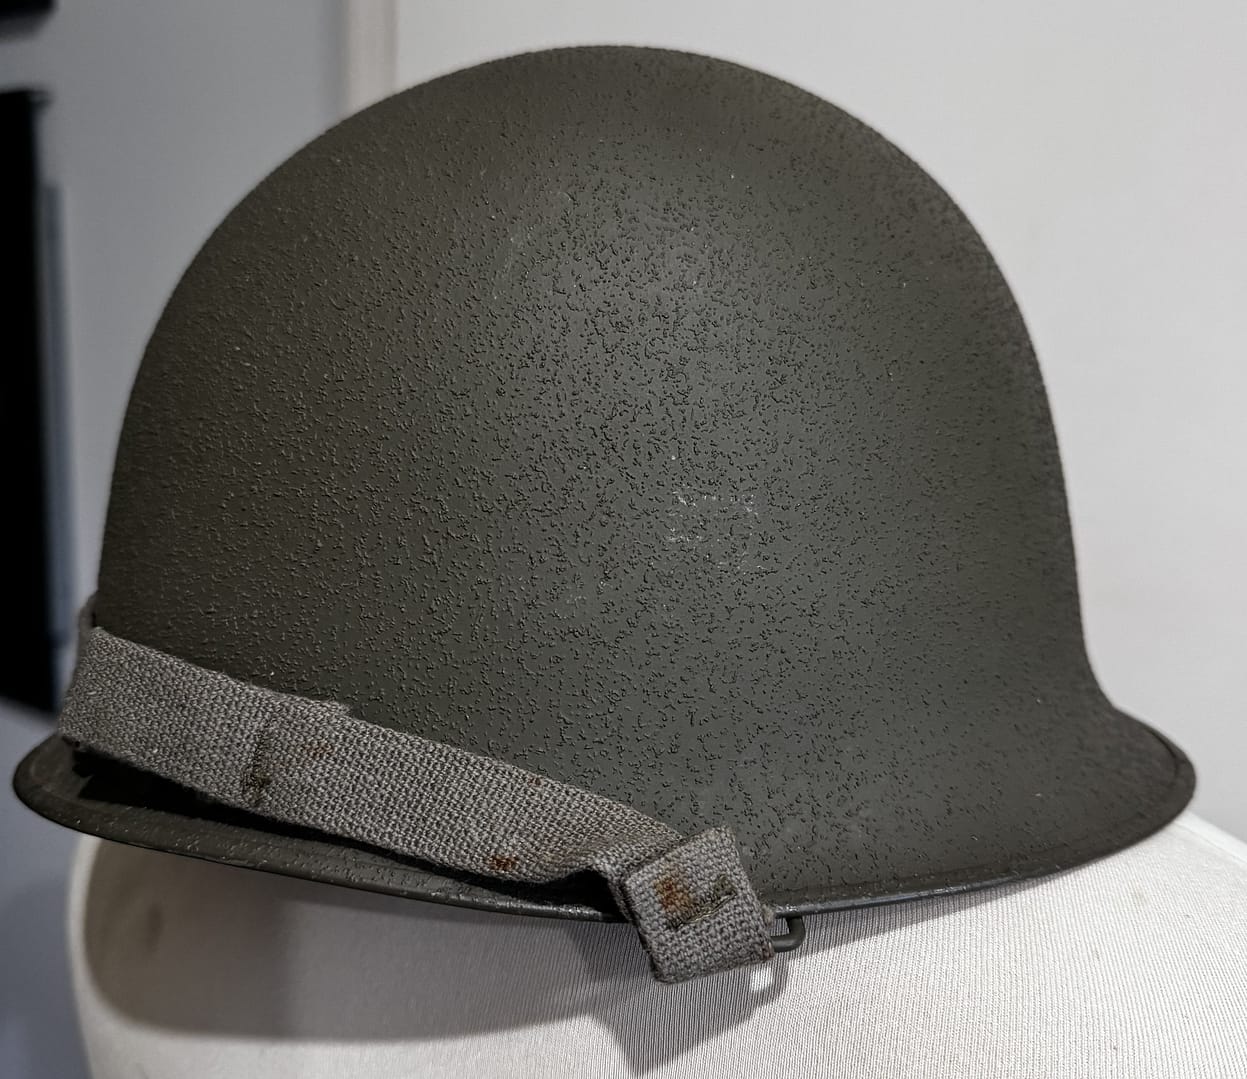
French Model 1951 Combat Helmet Korea/Algeria

The French Model 1951 helmet, based closely on the U.S. M1 pattern, was adopted after WW2 and issued to French forces serving in Korea (1950–1953) as part of the UN contingent. Featuring a double-shell system with a steel outer shell and composite liner, it offered improved comfort and ballistic protection. The M51 later equipped airborne, Foreign Legion, and colonial units in Algeria. Its dual service in Korea and North Africa makes it one of France’s most recognisable post-war combat helmets.


Subscribe to Battlefield Travels and receive a free E-Book Battlefield Guide

Unlock expert battlefield analysis, campaign reconstructions, and historical insights drawn from firsthand exploration and primary sources.

🗺️ You’ll receive:

🎖️ Exclusive historical insights you won’t find elsewhere

📘 A free eBook: 10 Tips for Exploring Historic Battlefields

📰 New battlefield studies straight to your inbox as they are published


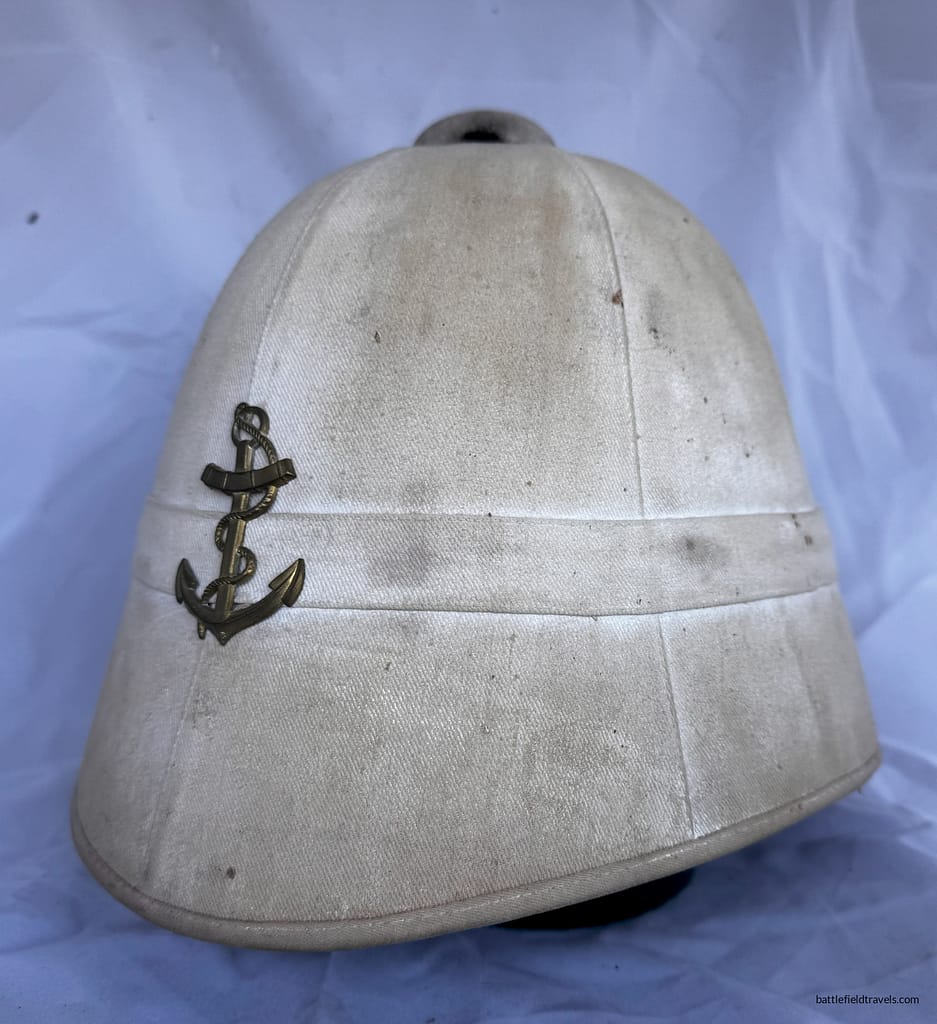
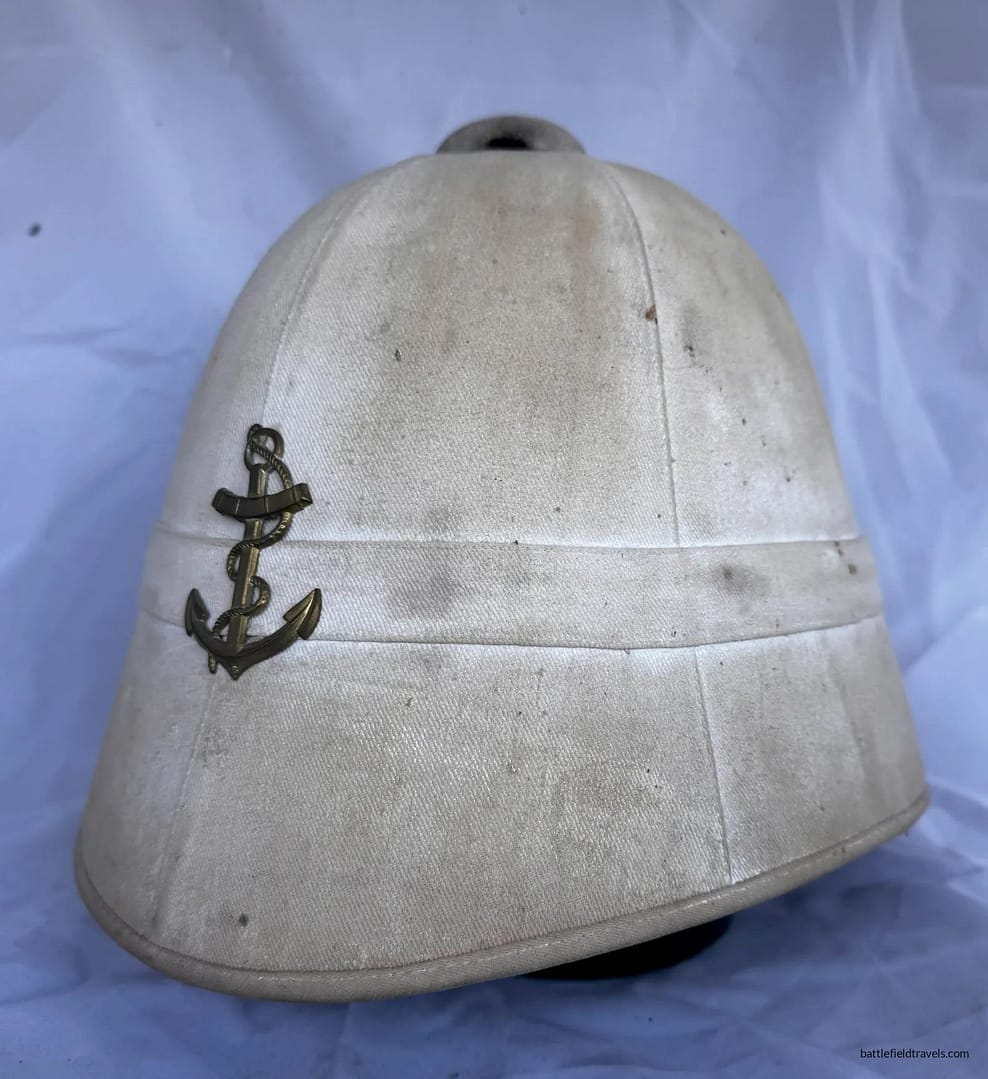
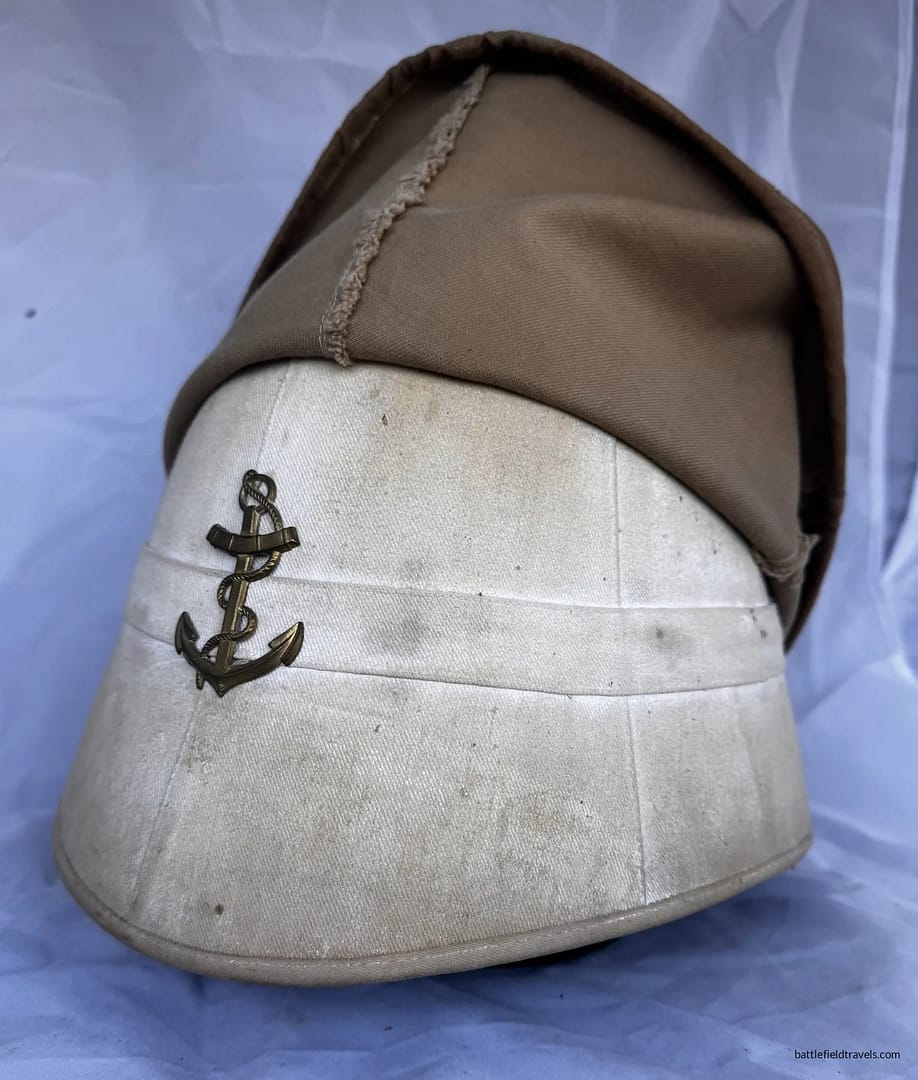
French Colonial Marine Model 1865 Pith Helmet, 3rd Marine Infantry Regiment

French colonial wars

From 1830 to 1940, France conducted a series of major colonial campaigns that created an overseas empire spanning North and West Africa, the Indian Ocean, Indochina, and the Pacific. The era began with the conquest of Algeria (1830–1871), followed by campaigns in Tunisia and Morocco, and extended through West Africa with protracted fighting in Senegal, Dahomey, and the Sahel. In Indochina, France waged expeditionary campaigns against the Nguyễn dynasty, the Black Flag Army, the Chinese Qing dynasty, and later Siam, establishing control over Tonkin, Annam, Cochinchina, Laos, and Cambodia. This equipment was used at legendary battles like the Marines at the 1884 Bac Le Ambush and the Foreign Legion in the 1884-85 Siege of Tuyen Quang.

These conflicts combined major land operations, naval campaigns, amphibious operations, riverine movement, small-unit warfare, and extended pacification operations. The Foreign Legion, Tirailleurs, Marine Infantry, and colonial cavalry became central instruments of French power projection. By 1940, France had forged one of the world’s largest empires, though at the cost of continuous campaigning, heavy garrison commitments, and rising nationalist resistance that foreshadowed the wars of decolonisation to come.


Weapons of the French Colonial Era


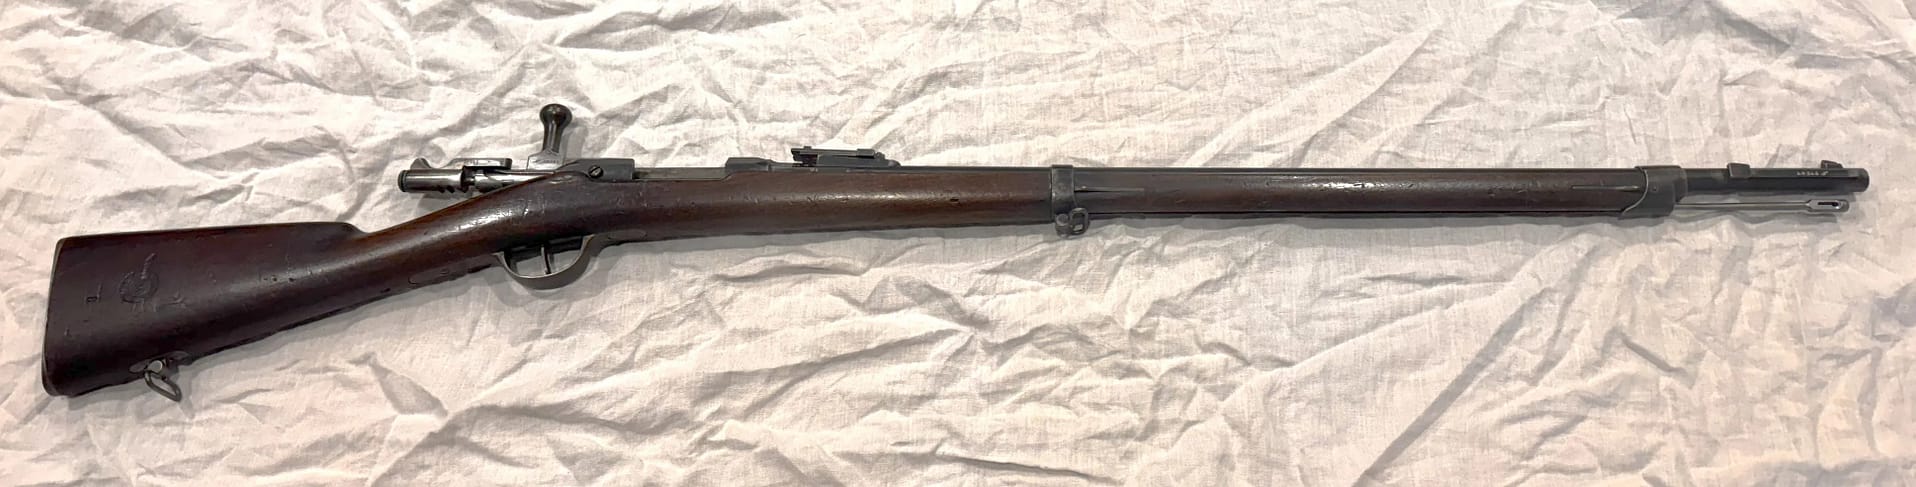
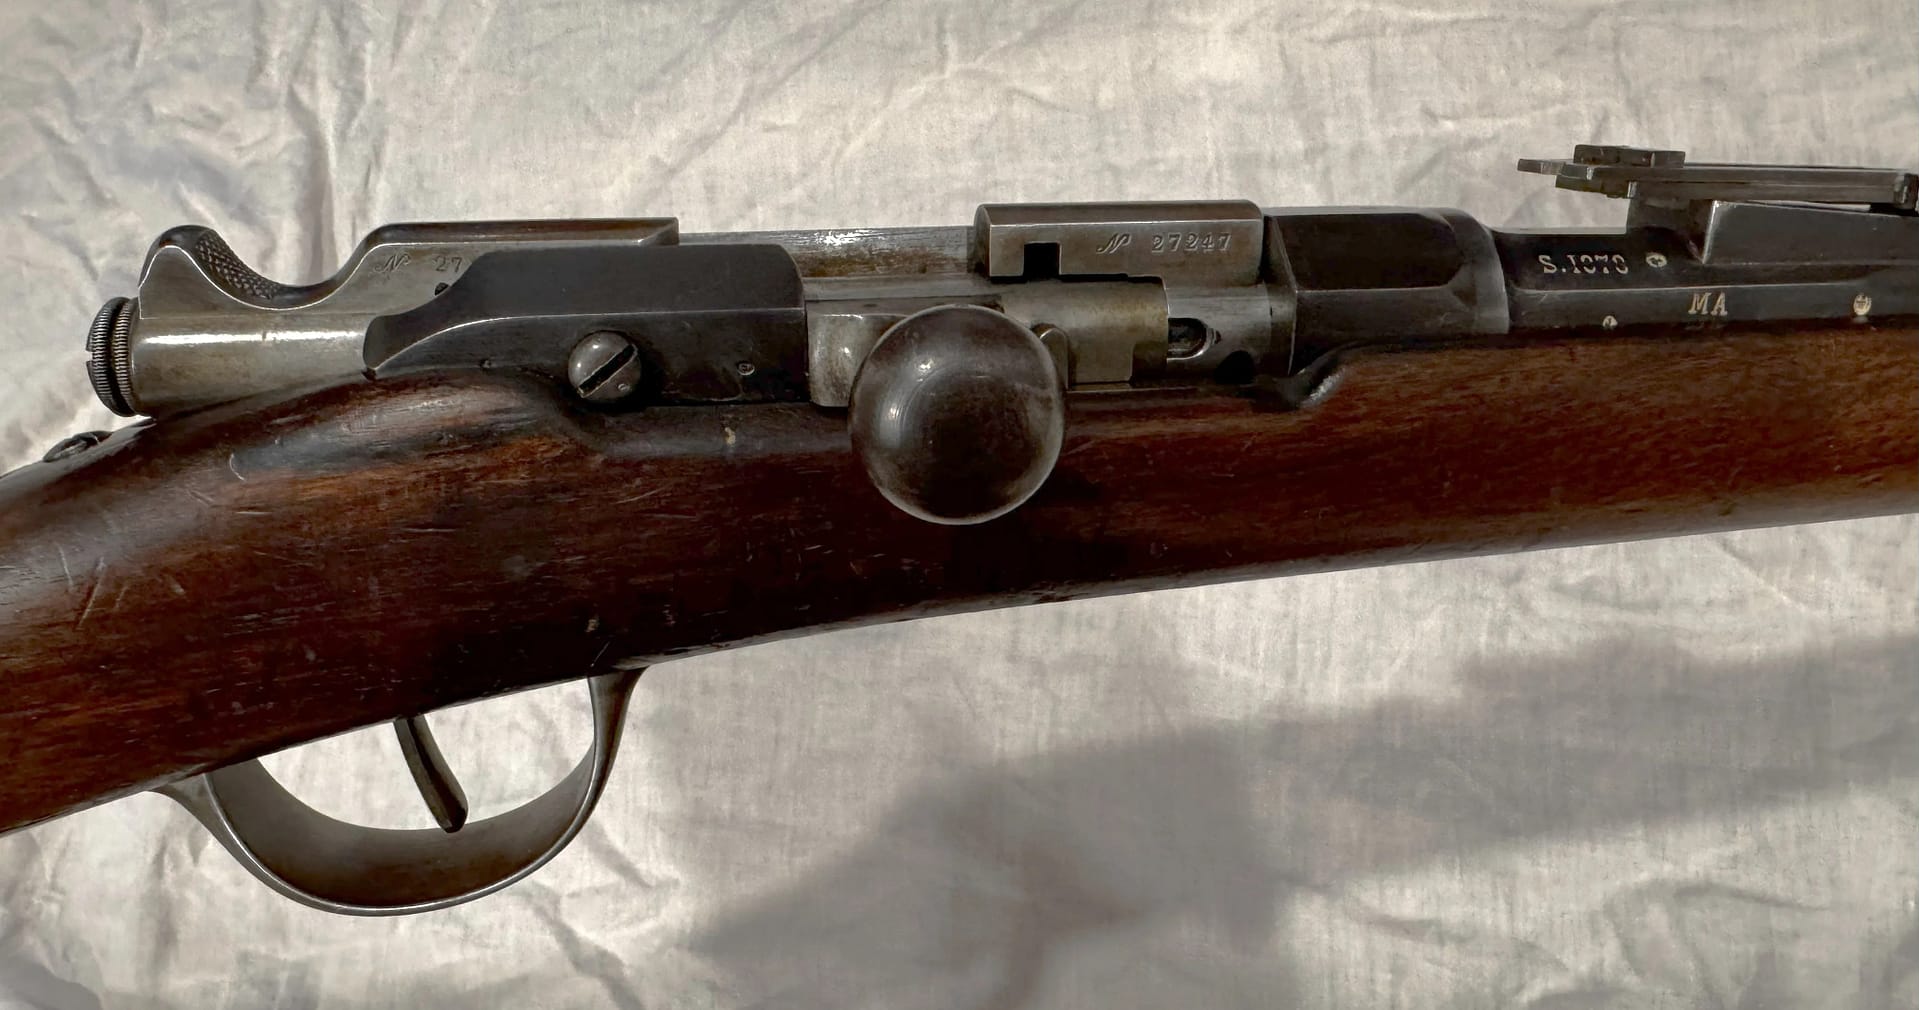
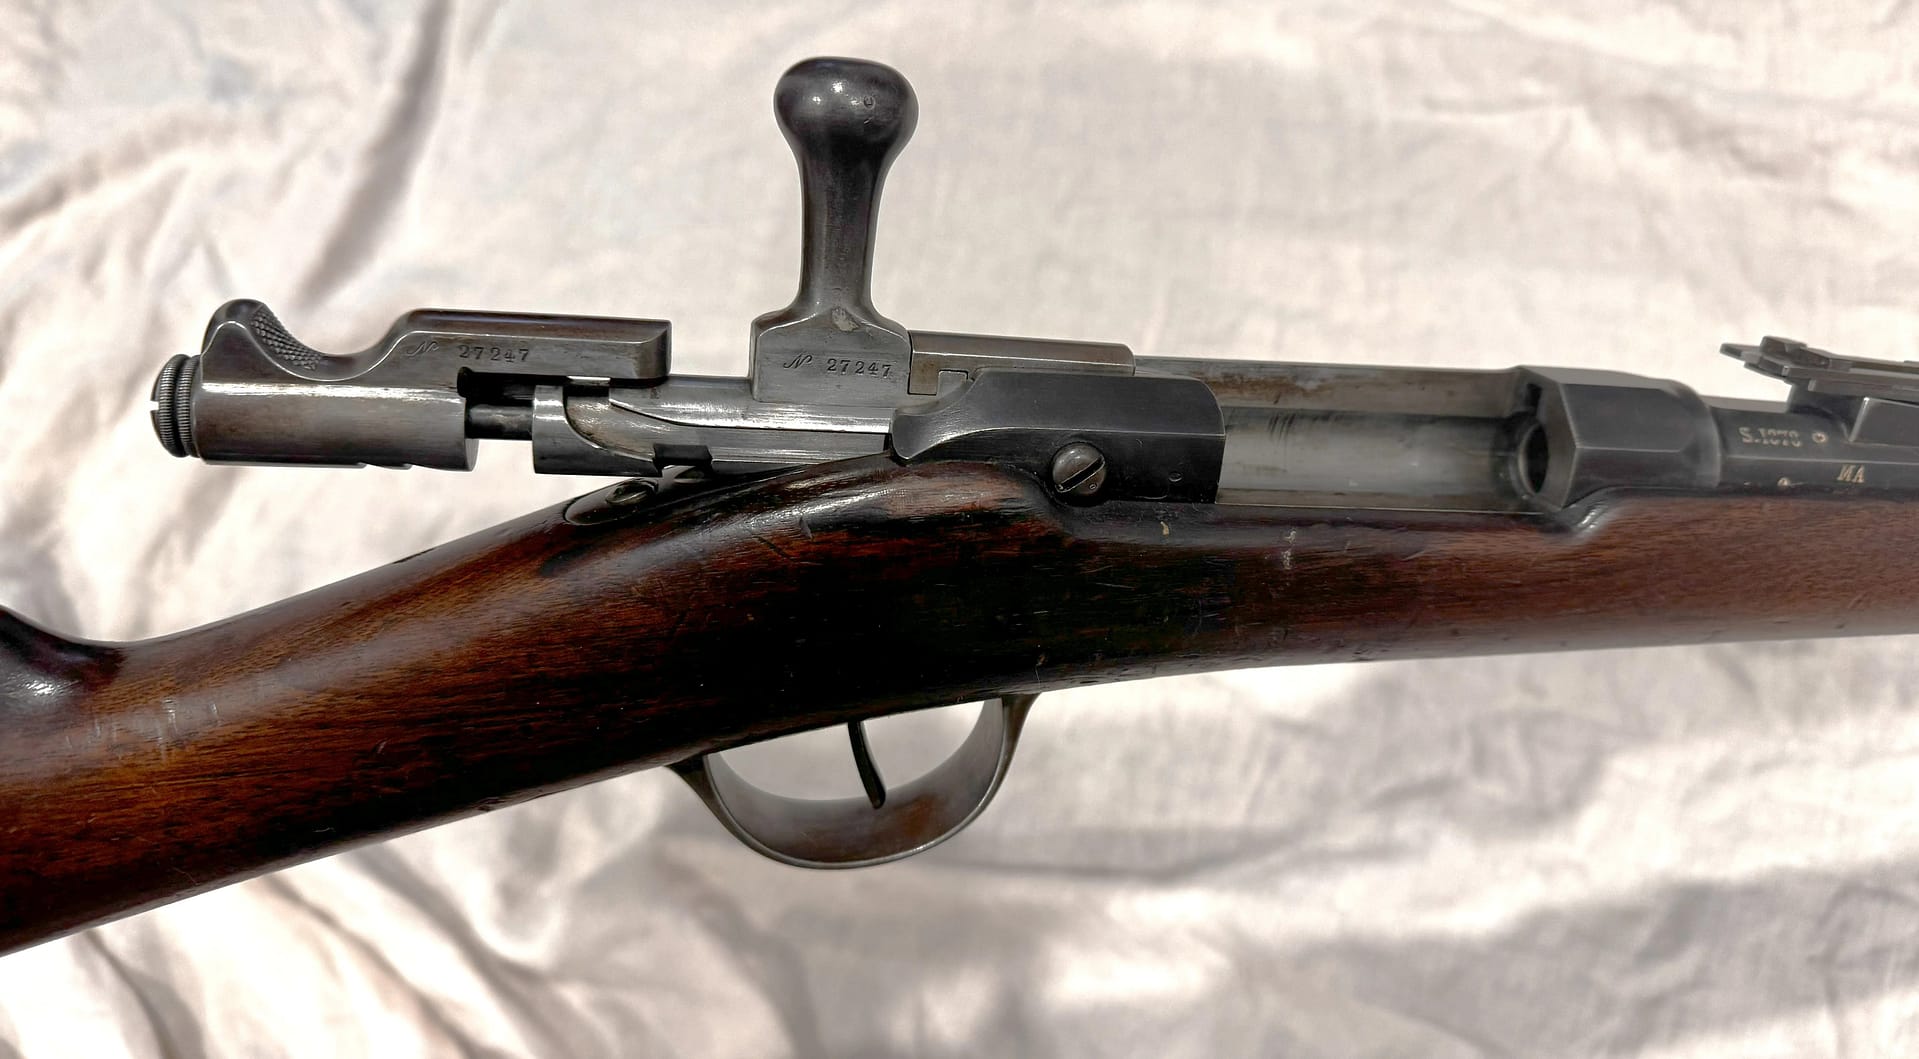
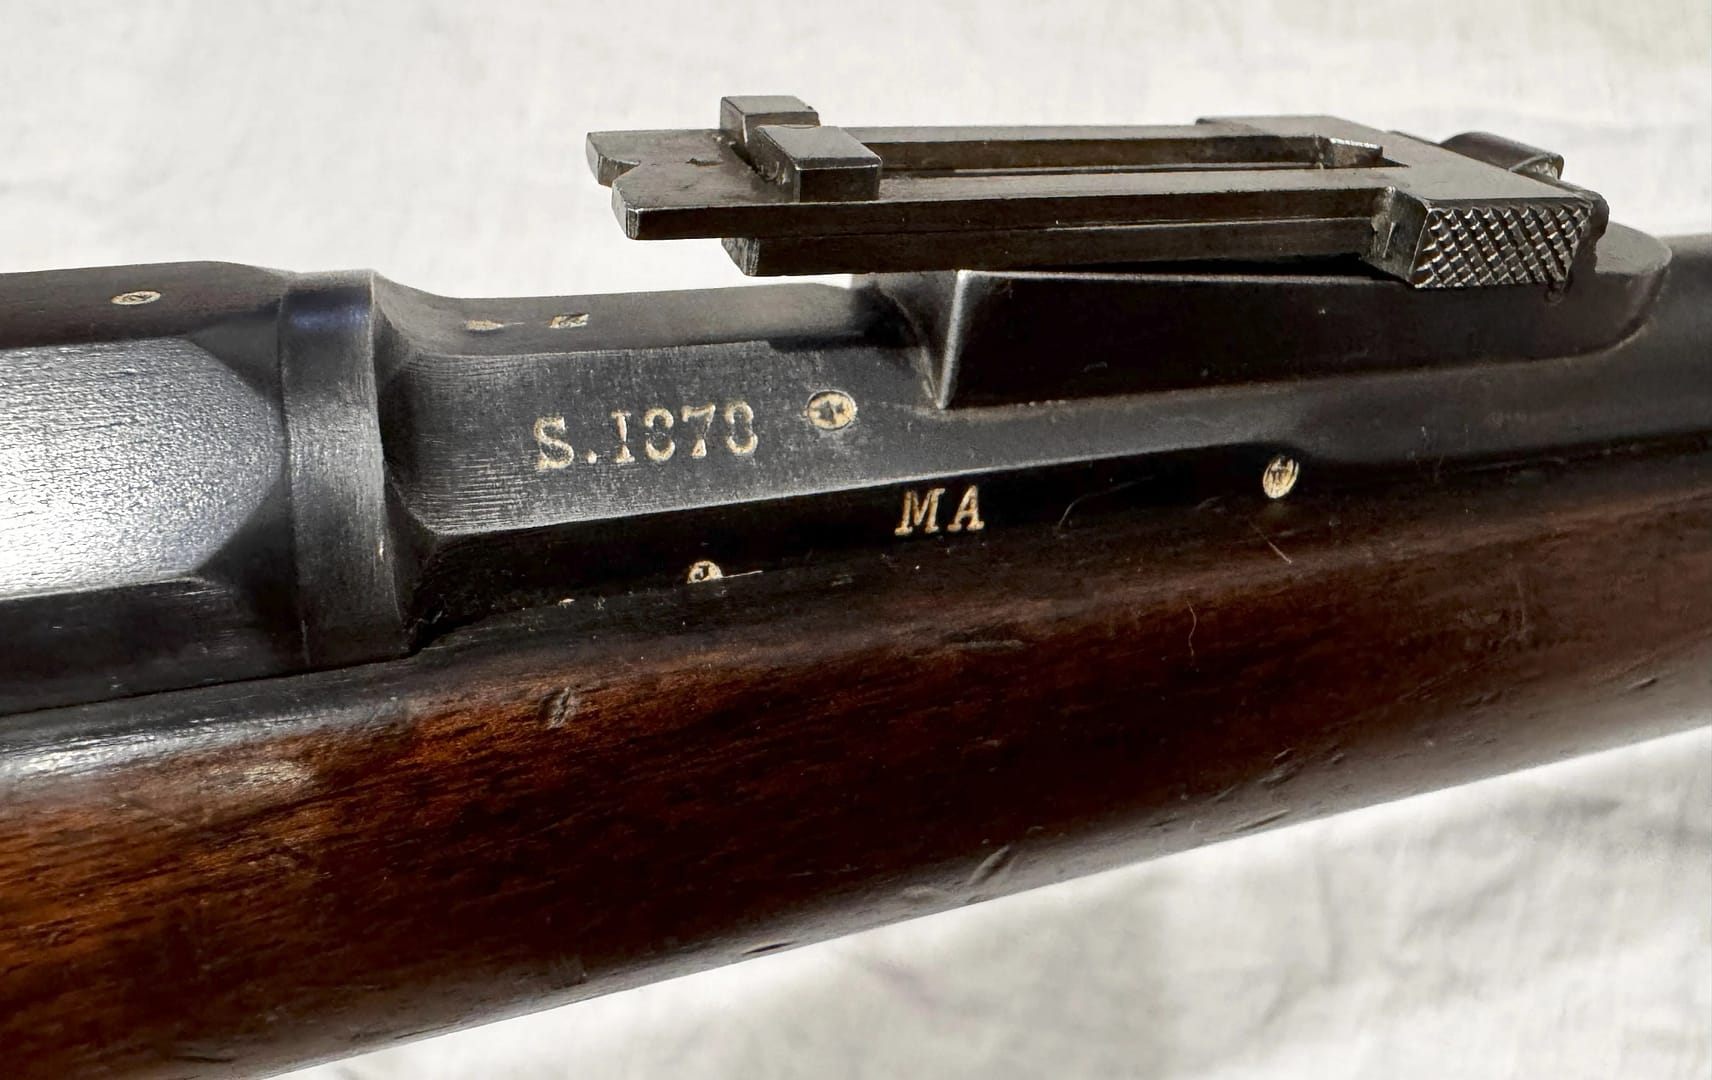
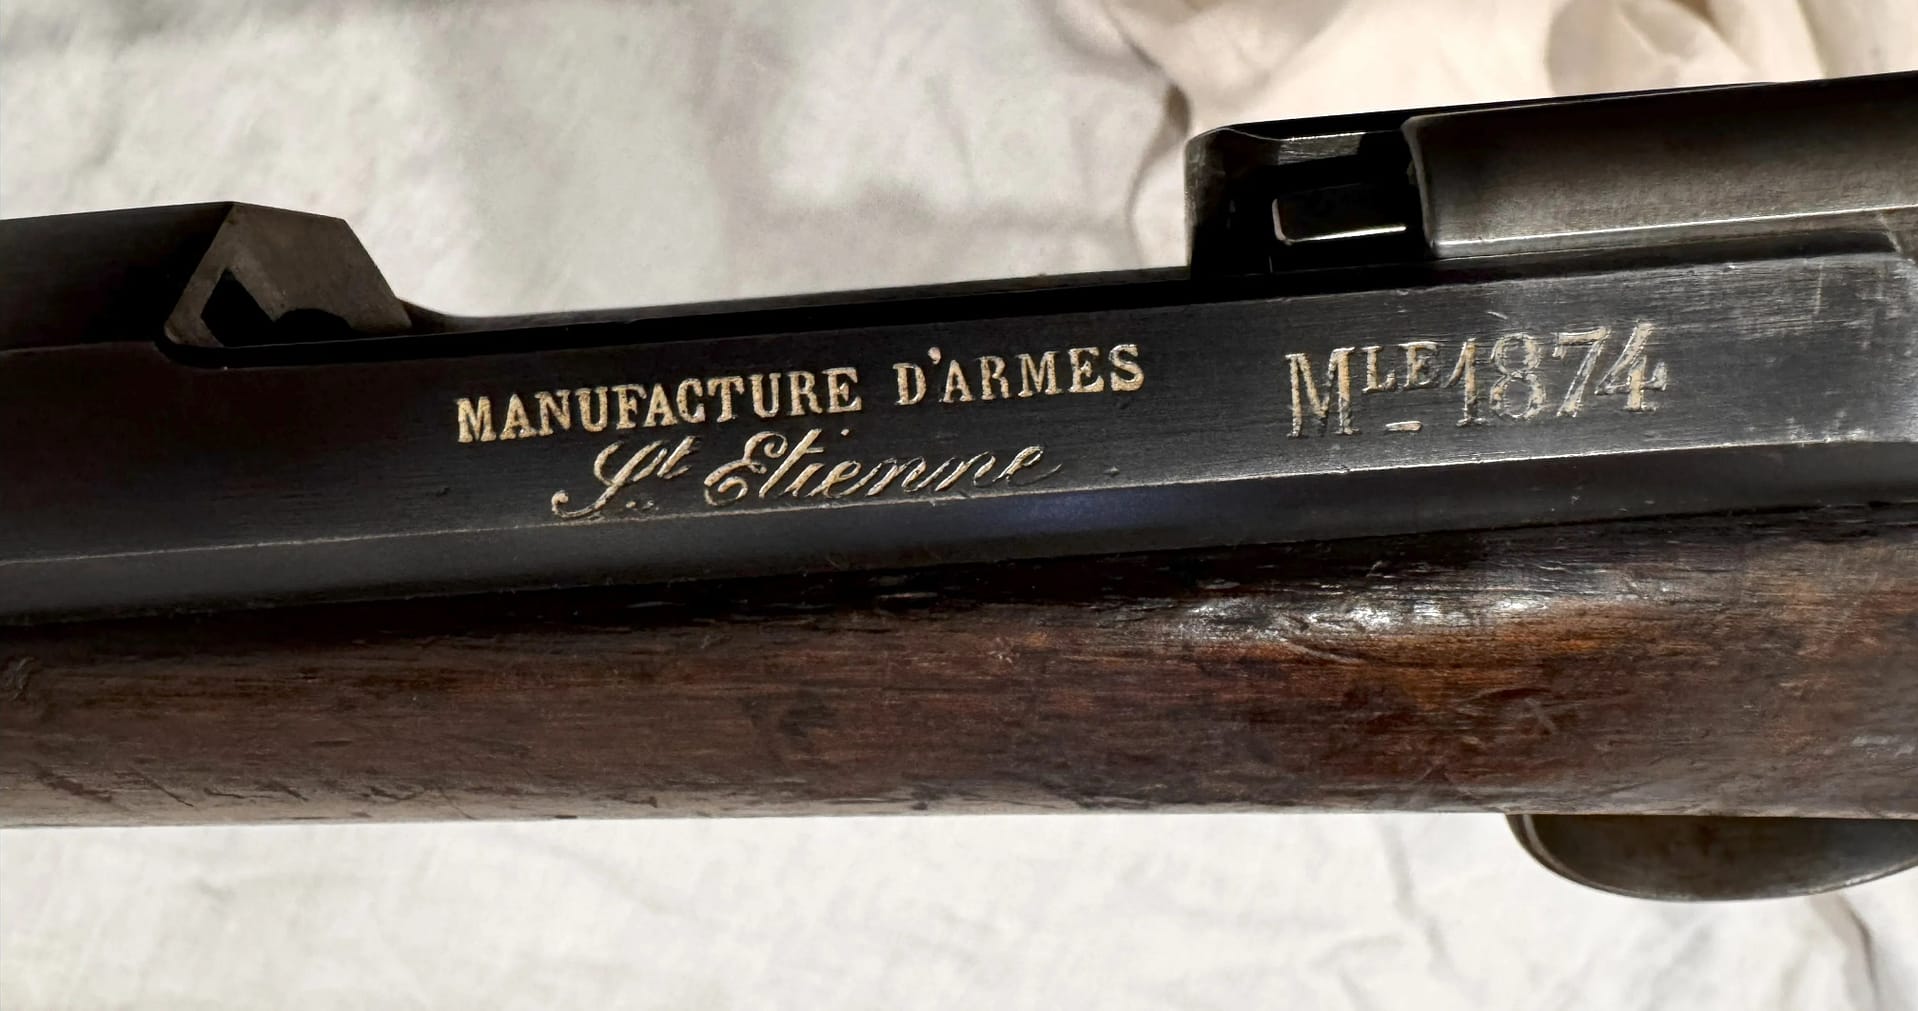
Model 1874 Fusil Gras, 11 x 59mmR, from my personal collection.

The French Model 1874 Gras was the first purpose-built metallic-cartridge infantry rifle adopted by France, chambered for the powerful 11×59mmR Gras round. Developed from the Chassepot bolt-action system, it replaced the paper-cartridge mechanism with a strengthened bolt, extractor, and all-steel receiver. Issued widely across metropolitan, colonial, and Foreign Legion units, it served in North Africa, Indochina, and the early phases of the Great War with second-line and Territorial troops. Robust, accurate, and simple to maintain, the Gras became one of France’s most widely distributed 19th-century rifles.


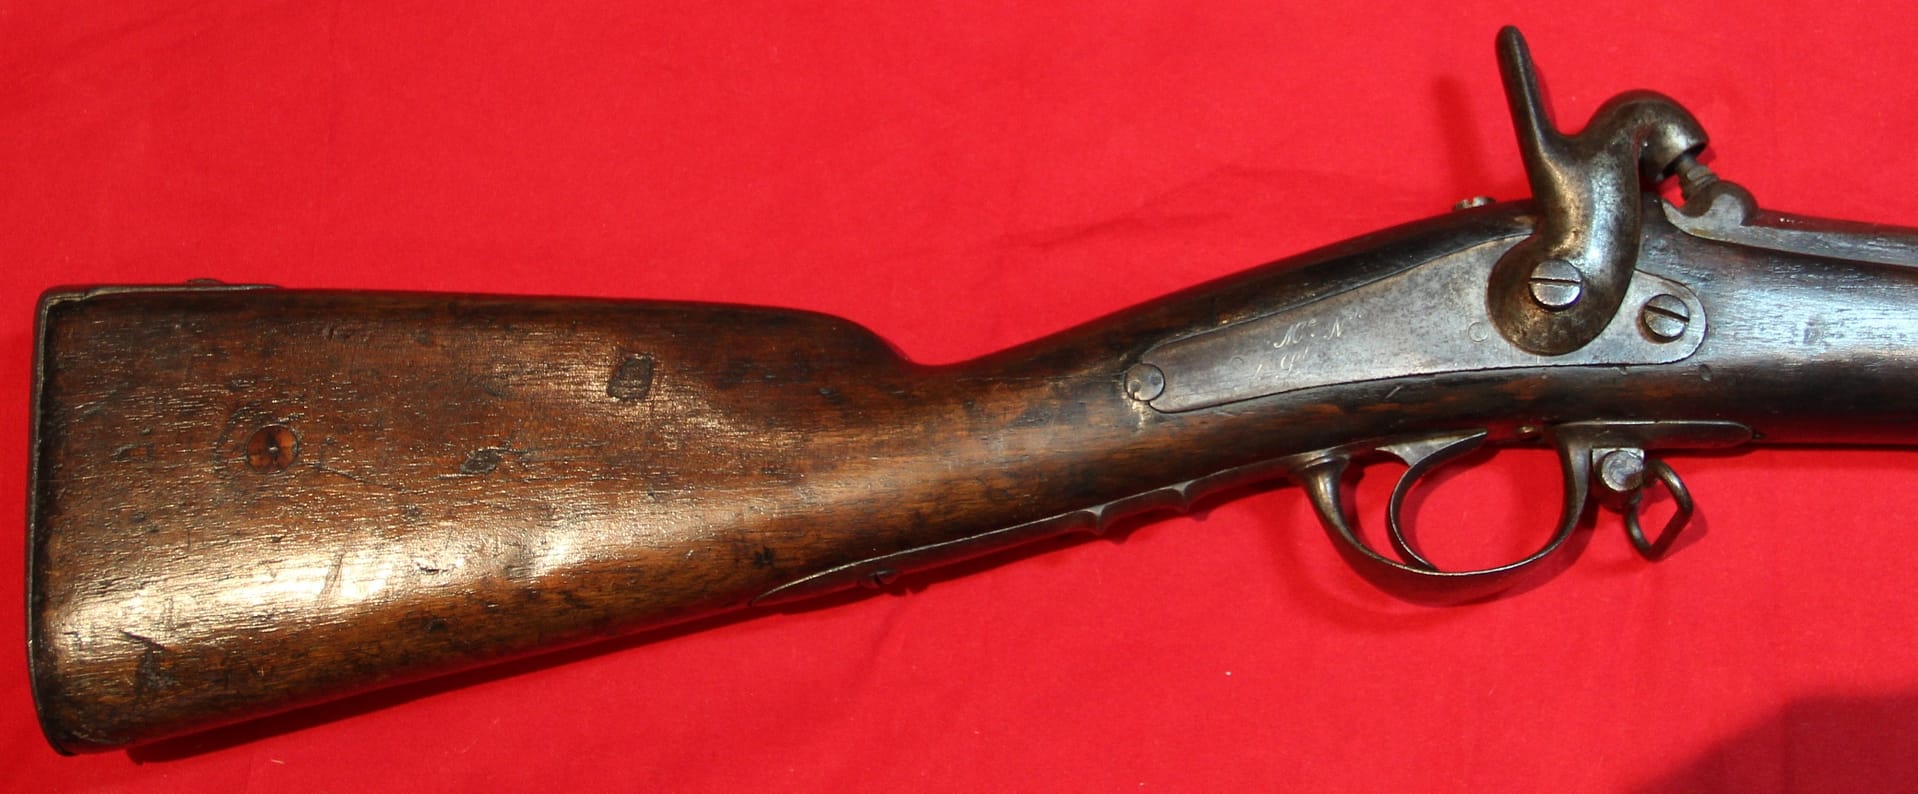
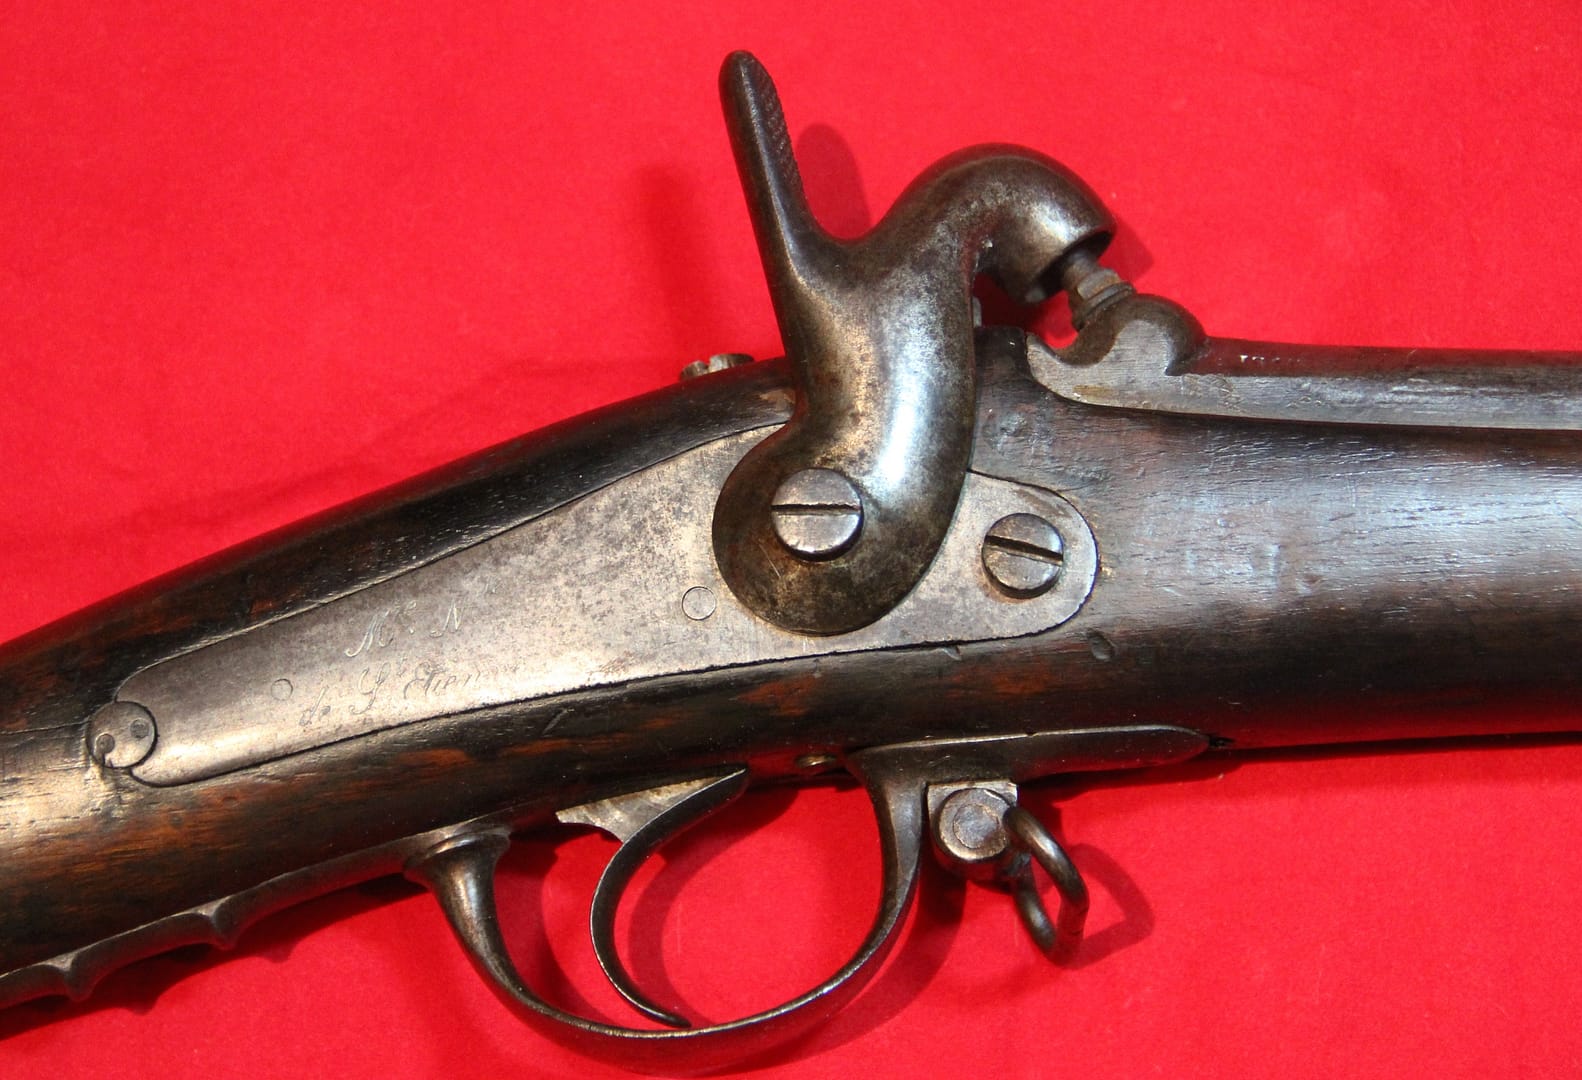
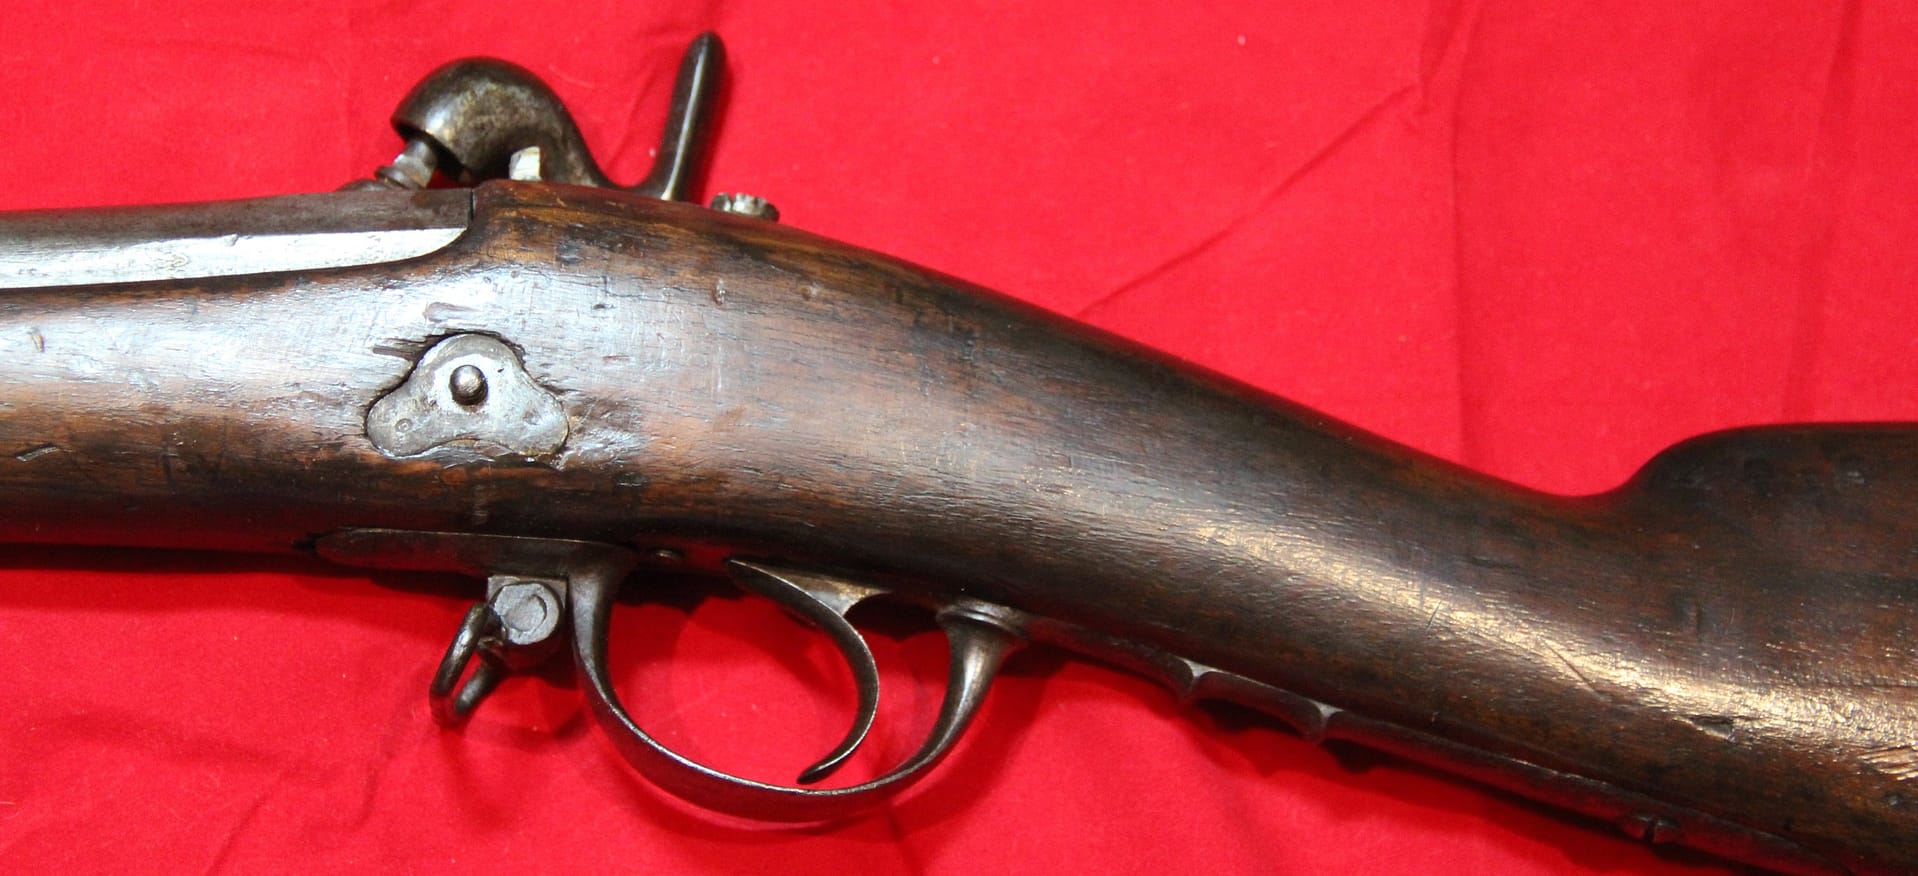
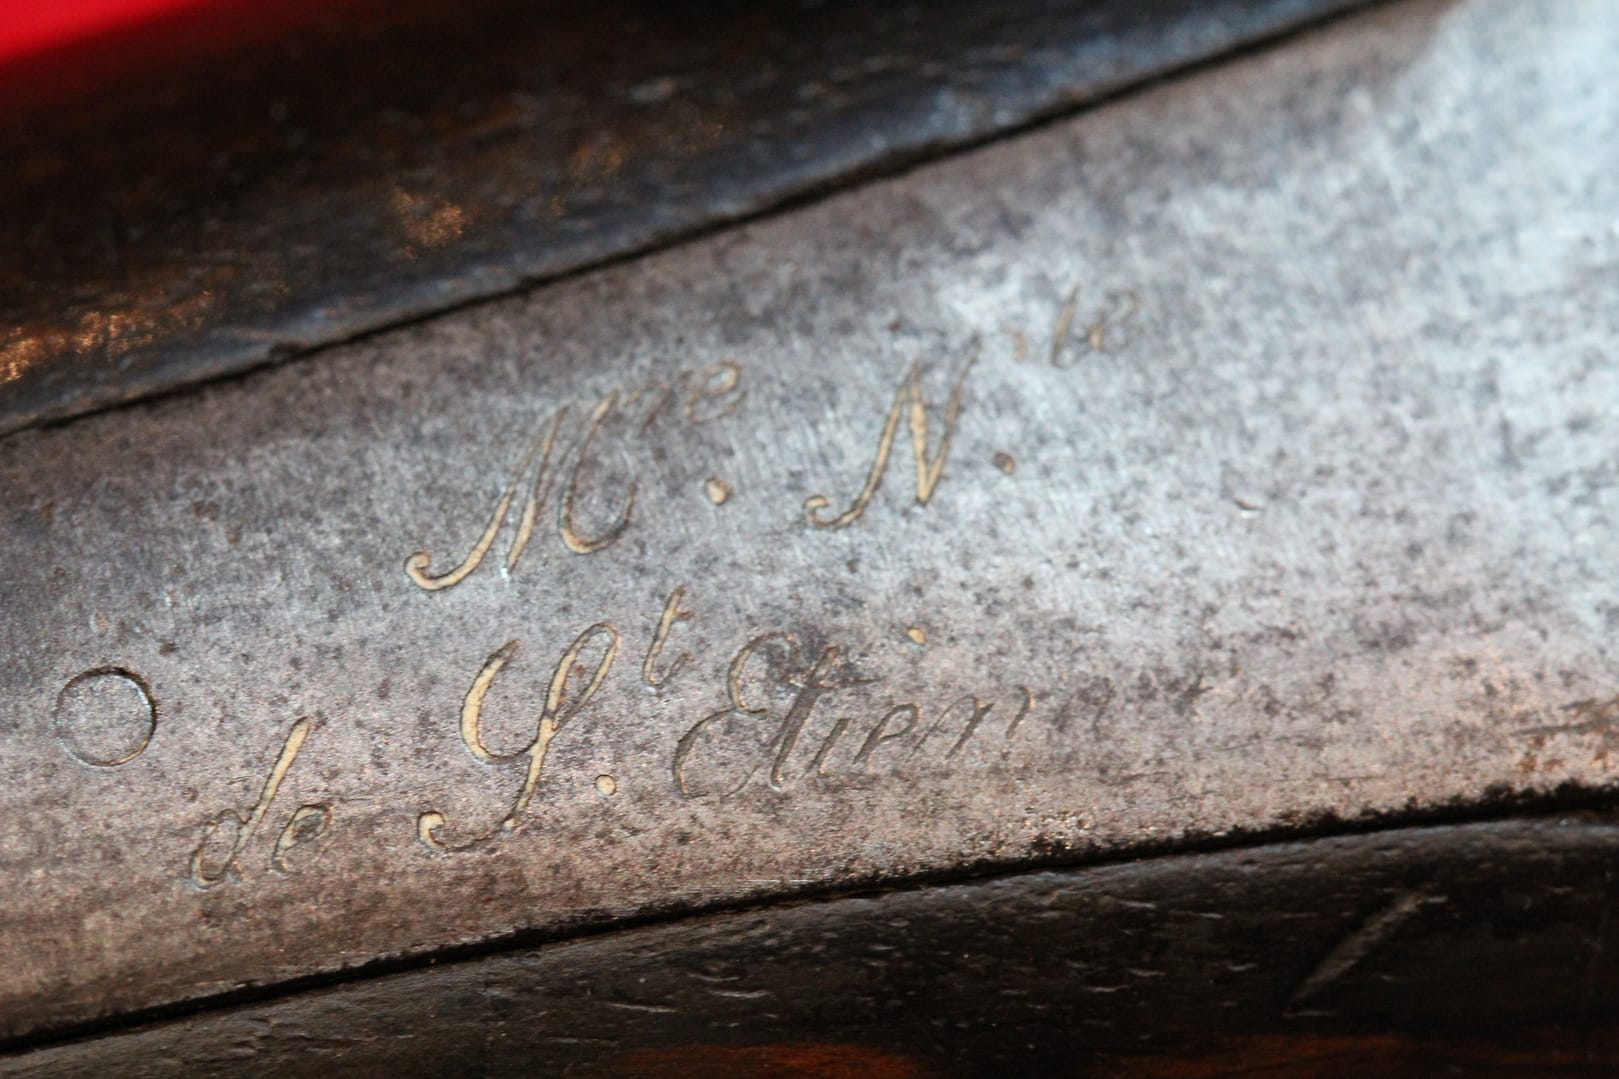
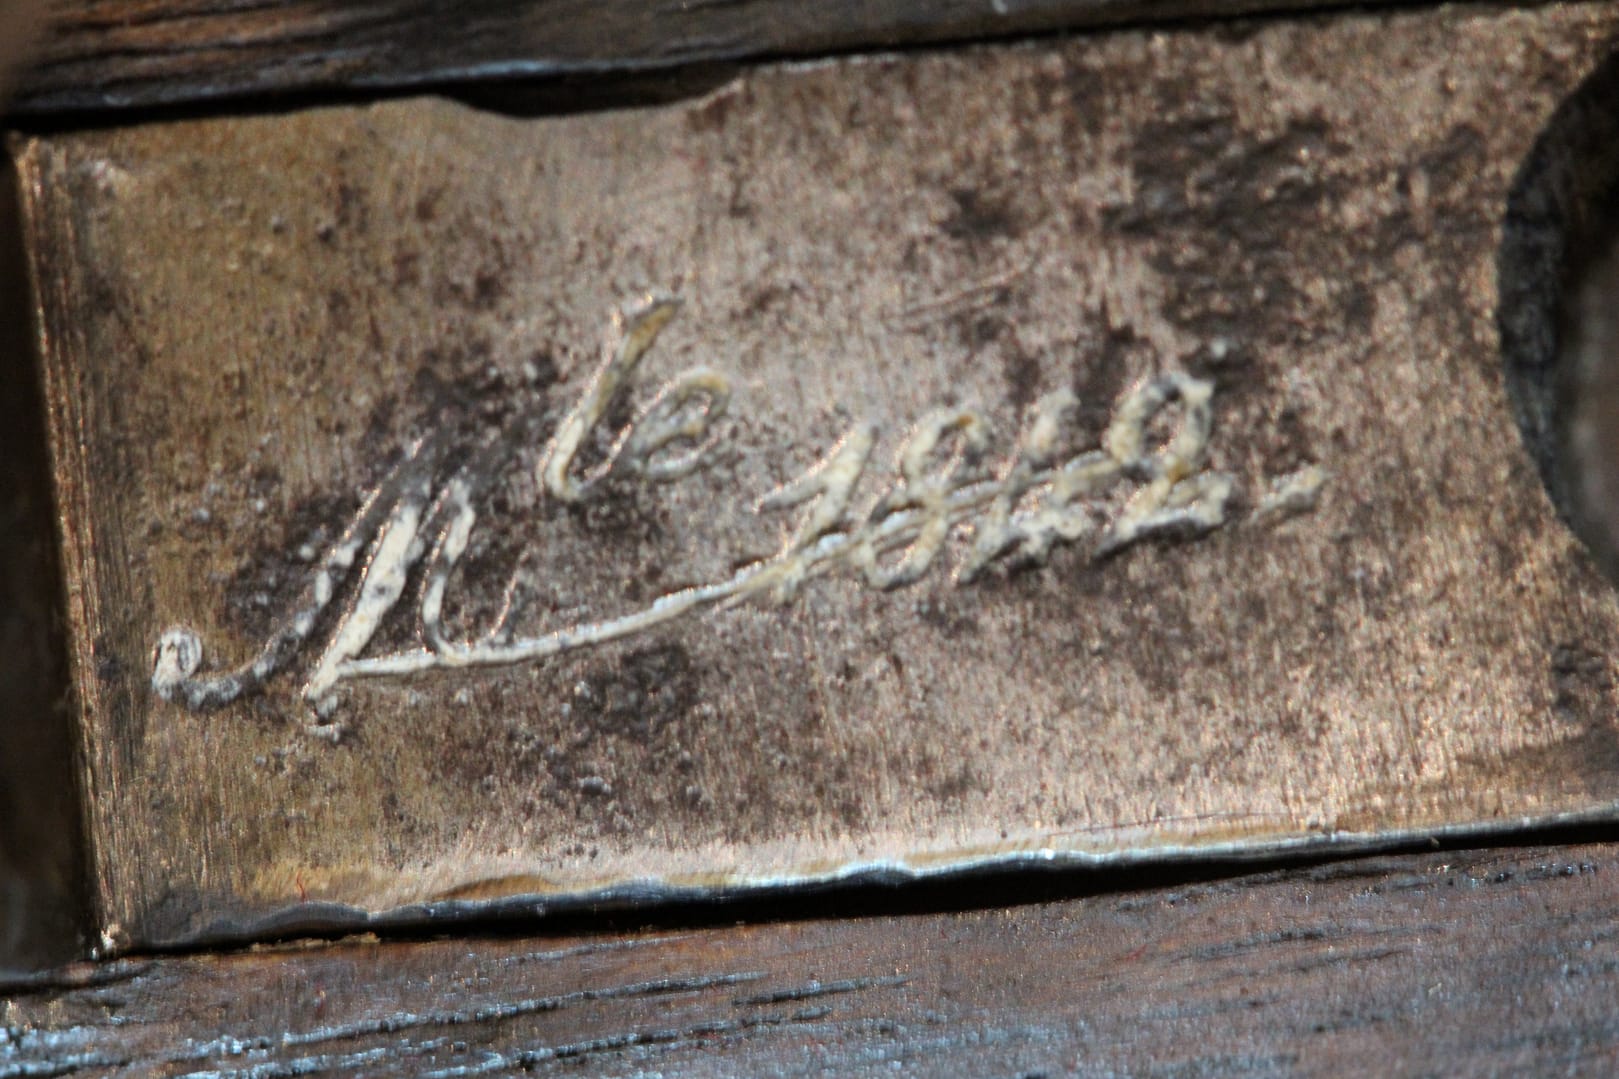
French Model 1842 Dragoon Percussion-lock Musket, from my personal collection.

The Model 1842 Dragoon musket introduced a fully percussion-lock system into French cavalry long arms. A .69-calibre smoothbore with reinforced lock, iron barrel bands, and a shorter, handier profile than the infantry musket, it was issued to dragoons and mounted gendarmes throughout the 1840s–1860s. The M1842 saw extensive service during the Second Empire, including in the Crimean War, Italian campaign, and colonial operations. Many were later converted to Minié-type rifled barrels, reflecting France’s transition from percussion to rifled-musket technology.


Headgear and uniforms


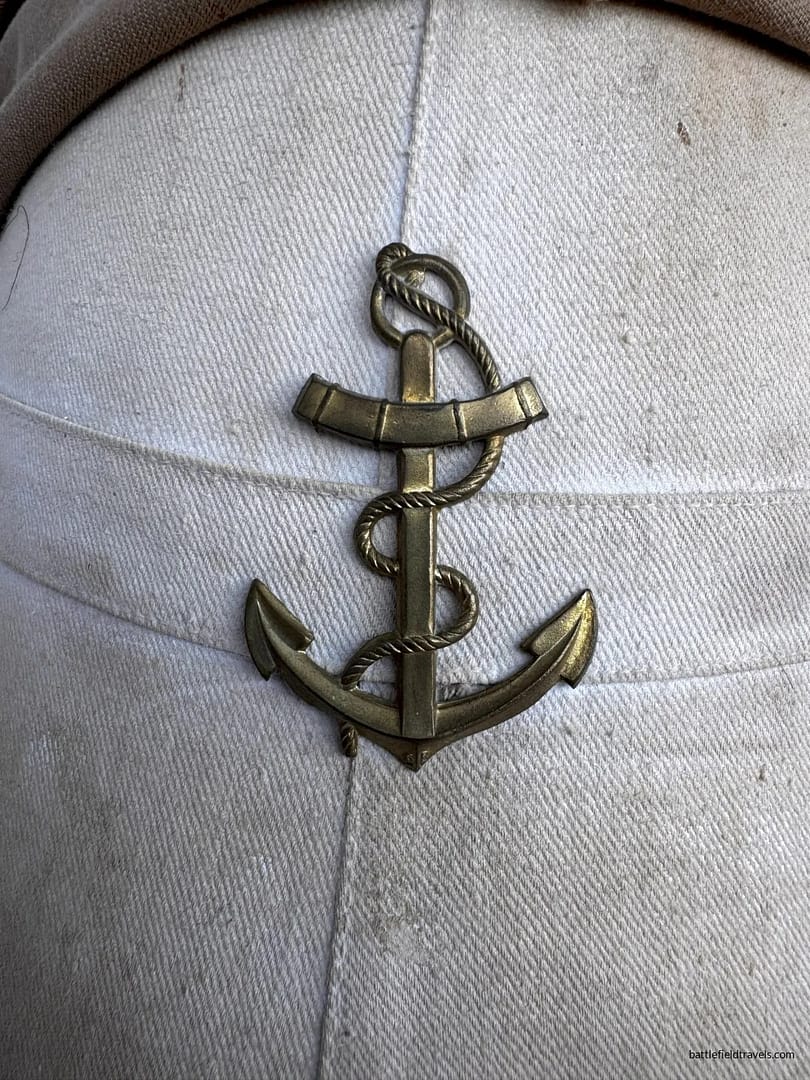
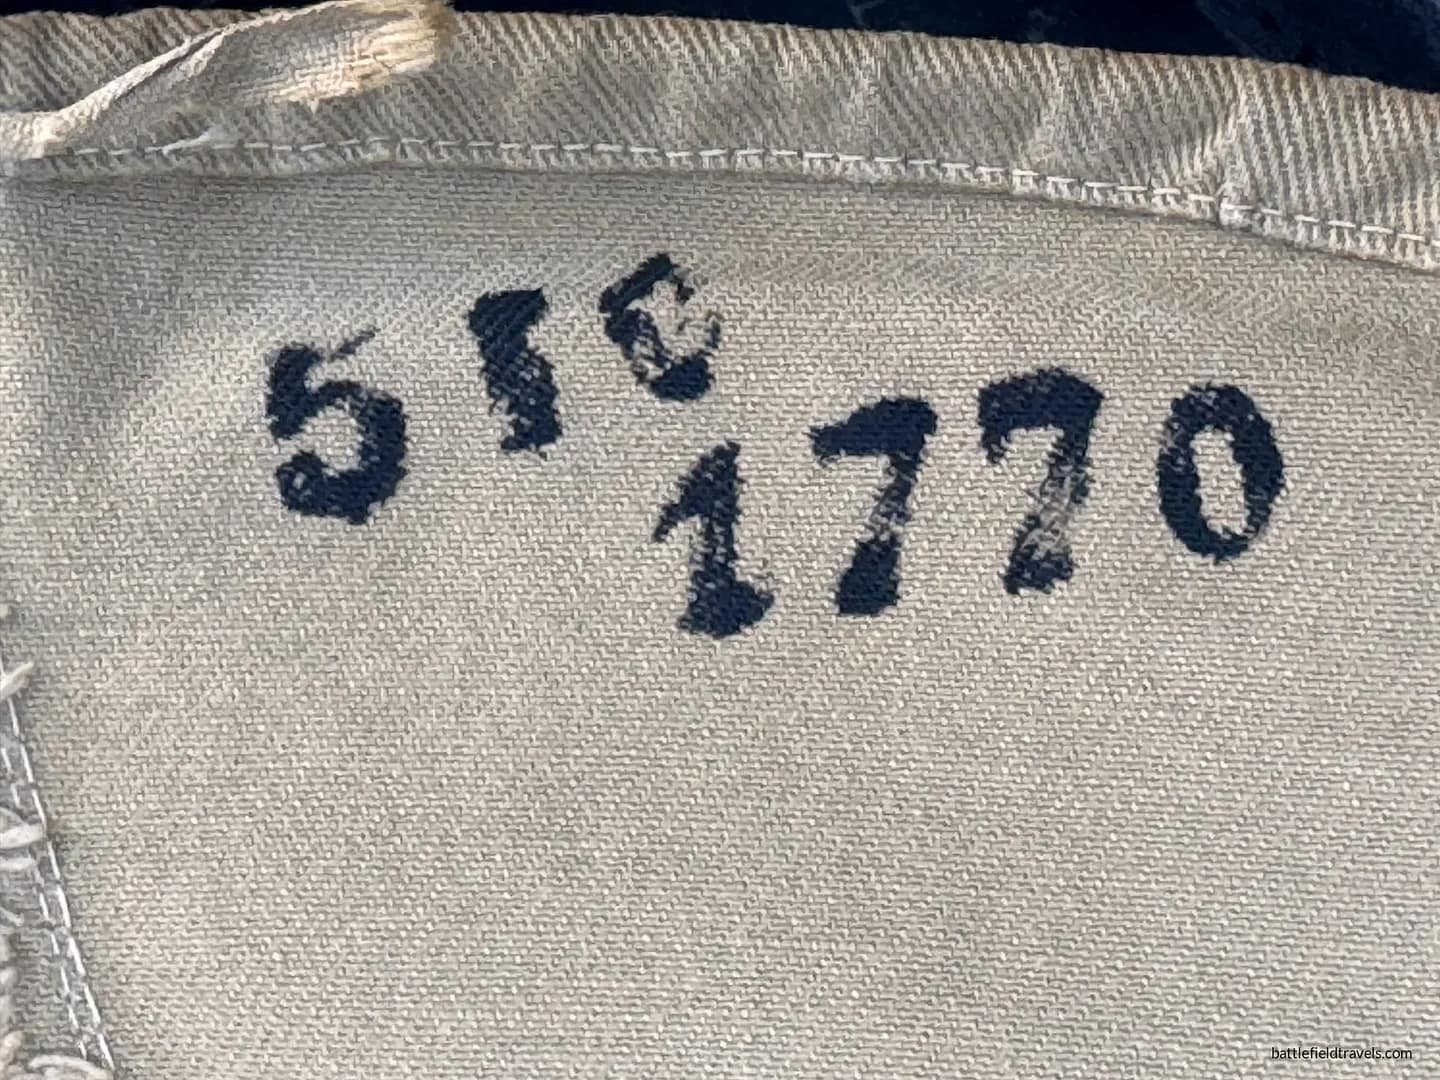
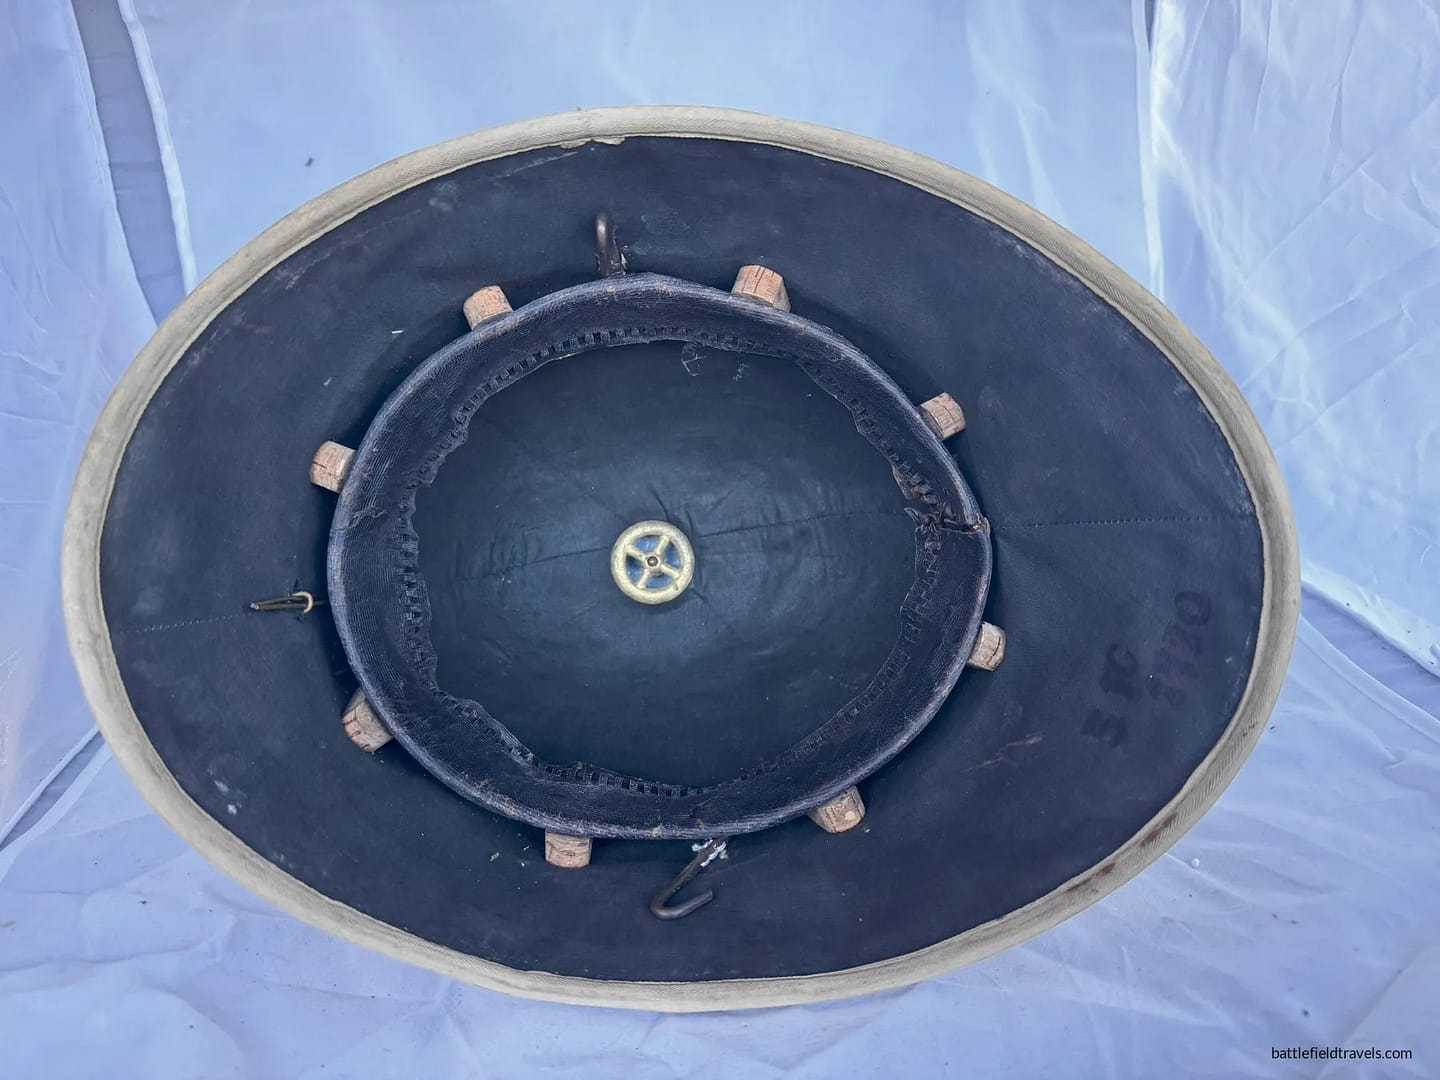
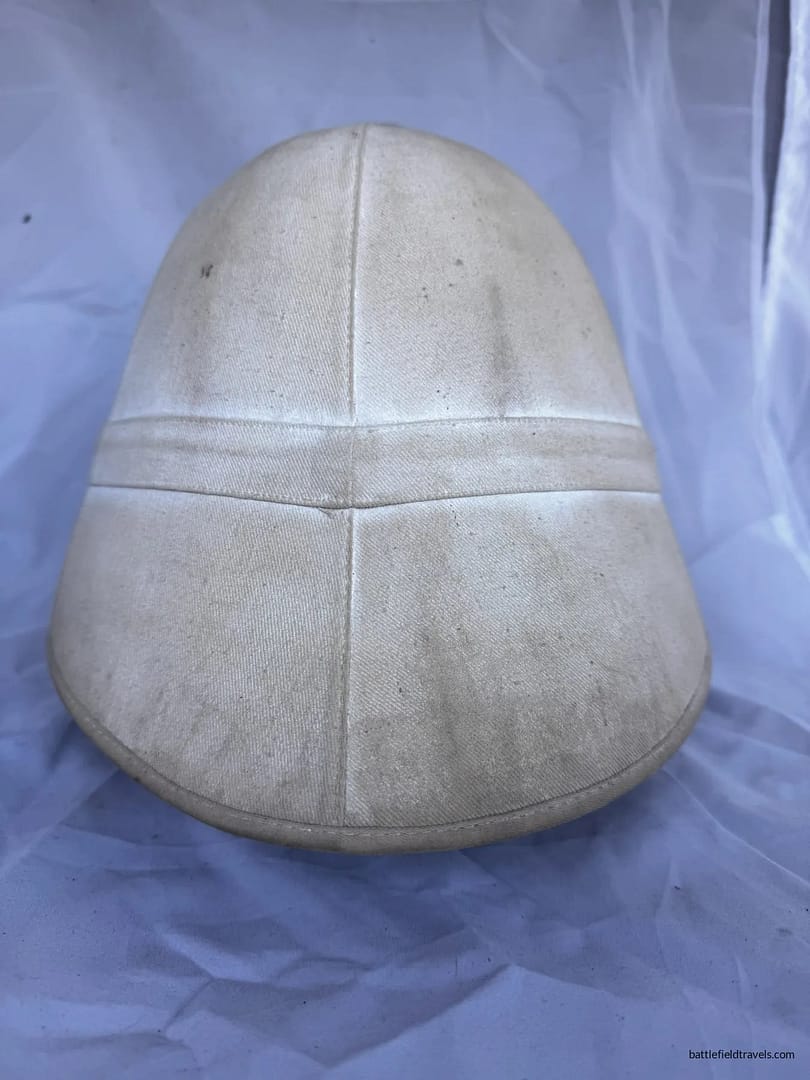
French Colonial Marine Pith Helmet, 3rd Marine Infantry Regiment, from my collection

This French Troupe de Marine pith helmet, marked to the 3e Régiment d’Infanterie de Marine, reflects the standard tropical headgear worn throughout the French colonial empire. Constructed from cork and cloth-covered, often in khaki or off-white, these helmets provided essential sun protection in Indochina, West Africa, and Madagascar. The Marine Infantry—elite, long-service colonial troops—carried these helmets during garrison duty, expeditionary warfare, and extended field campaigns. Surviving, regiment-marked examples are particularly desirable due to hard service in tropical climates.


French Pattern 1837(Monarchie de Juillet) Garde Nationale Chasseur officer’s shako

This Pattern 1837 officer’s shako belonged to a Chasseur company of the Garde Nationale during the July Monarchy (1830–1848). Distinguished by its tall, elegant profile, lacquered leather body, and ornate front plate, it reflects the increasingly uniformed, semi-professional structure of the citizen militia in the 1830s. Officers’ shakos featured higher-quality trim, bullion cords, and decorative cockades. This pattern represents a transitional style between the Restoration-era stovepipe shakos and the shorter, more practical models of the Second Republic.


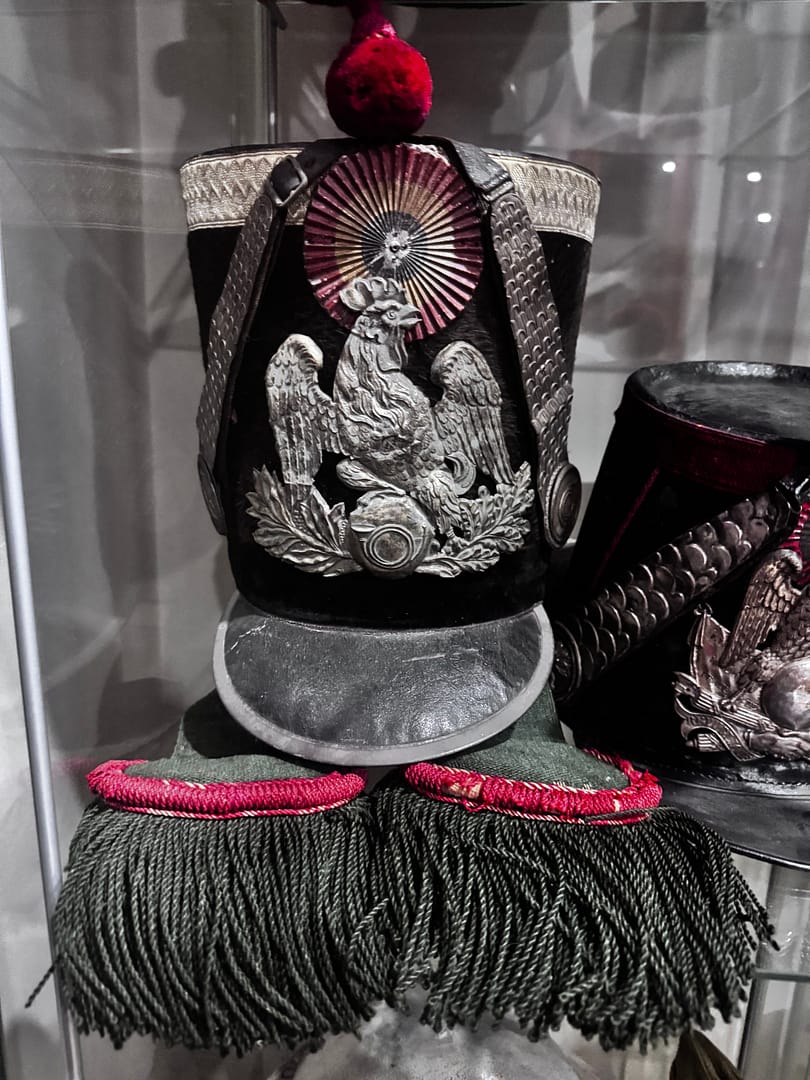
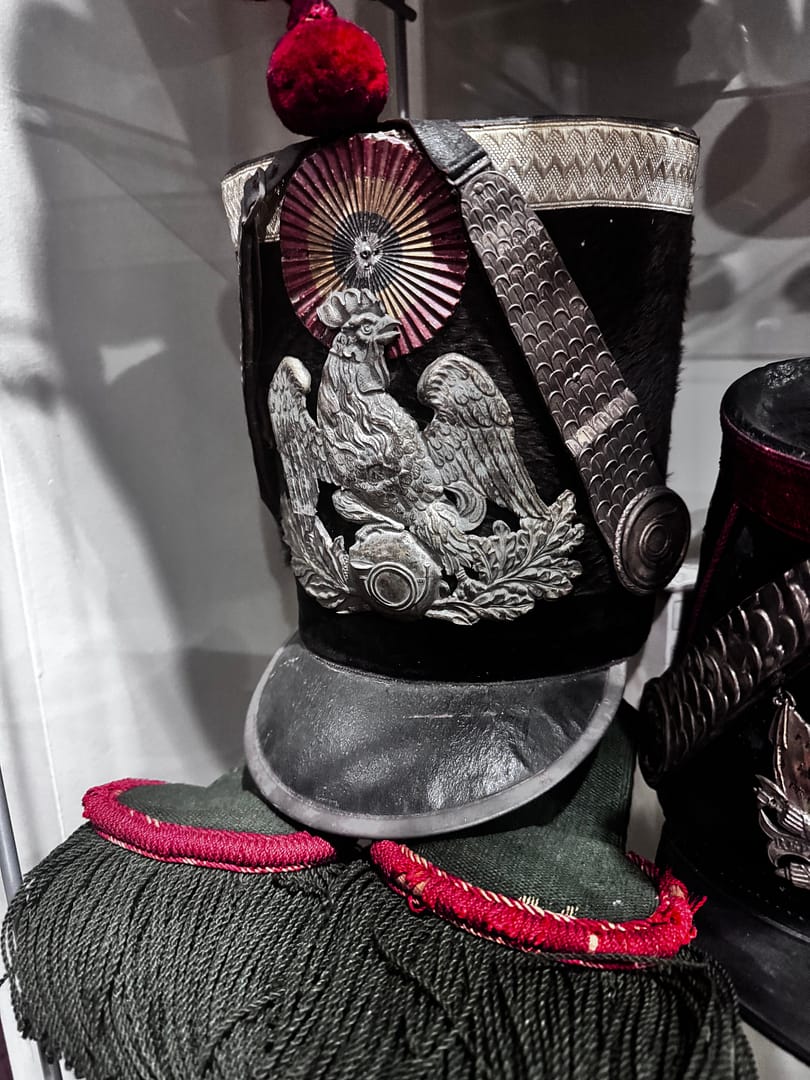
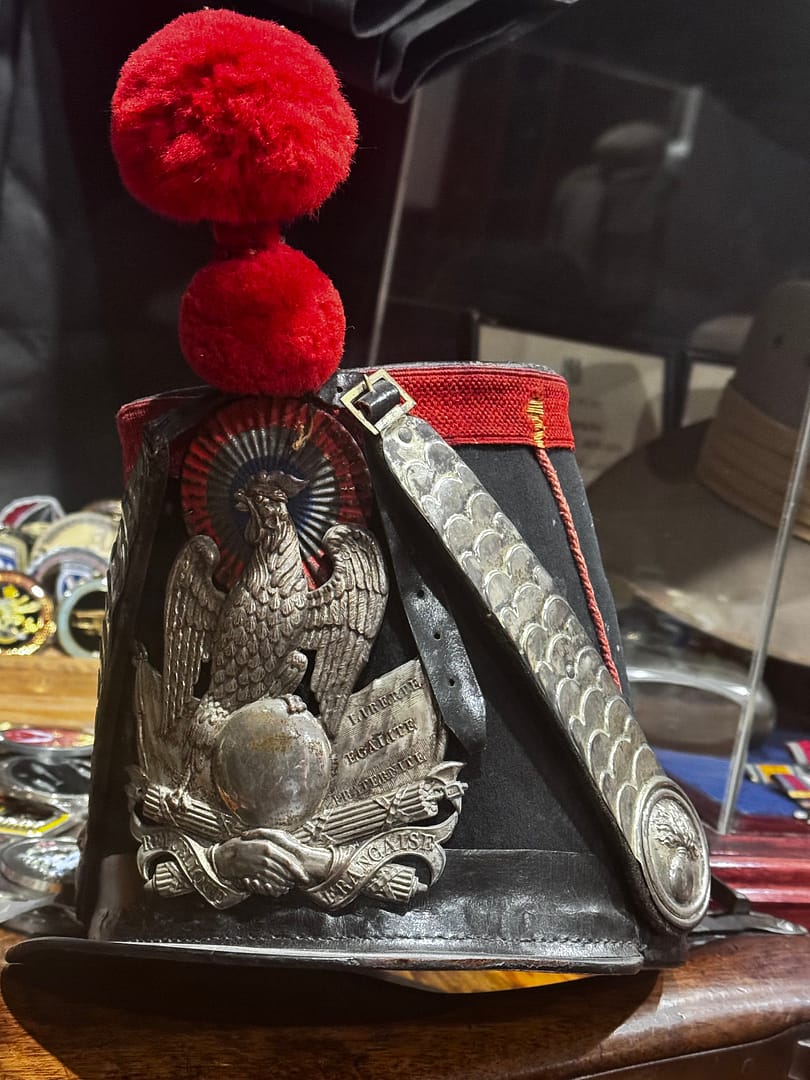
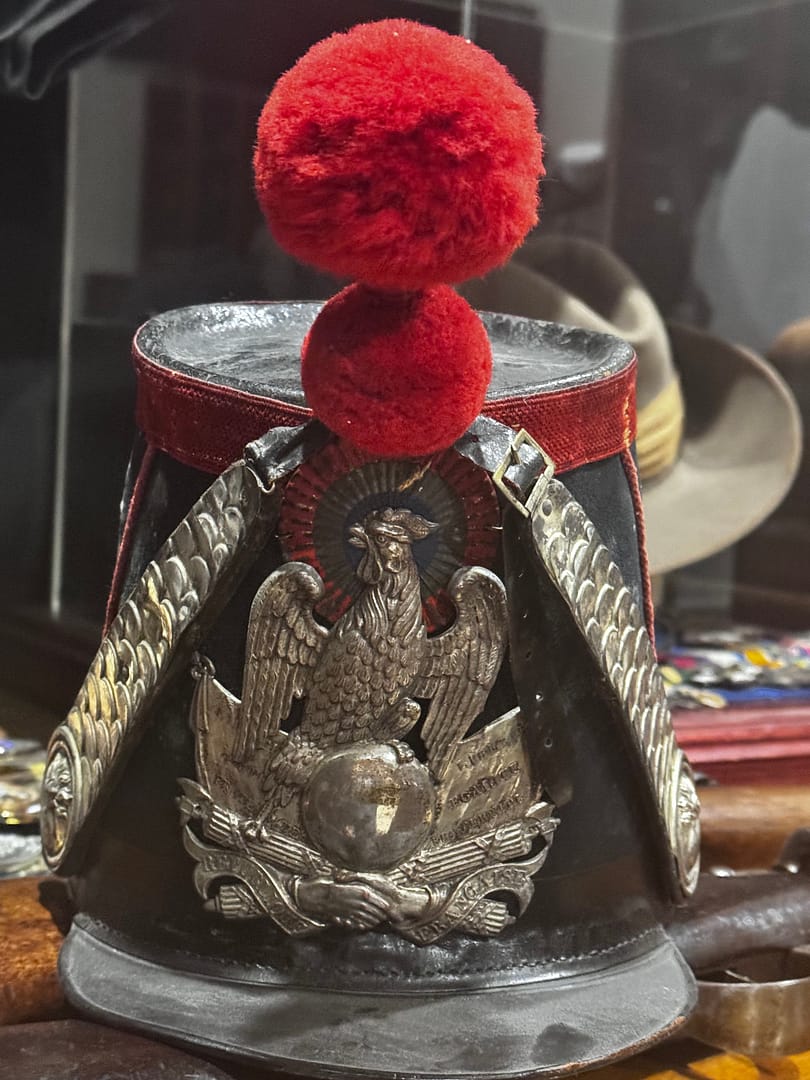
French Second Republic, Pattern 1845 Garde Nationale grenadier company shako, from my collection

The 1845 Garde Nationale Grenadier shako embodies the short-lived military aesthetics of the Second Republic (1848–1852). Characterised by its wide front plate, prominent tricolour cockade, and grenadier flaming-bomb device, it was worn by the elite companies of France’s citizen-soldier militia. These shakos were used during internal security duties, civic parades, and the turbulent political climate that preceded the rise of Napoleon III. Original grenadier-marked examples are now scarce due to limited production and hard post-service use.


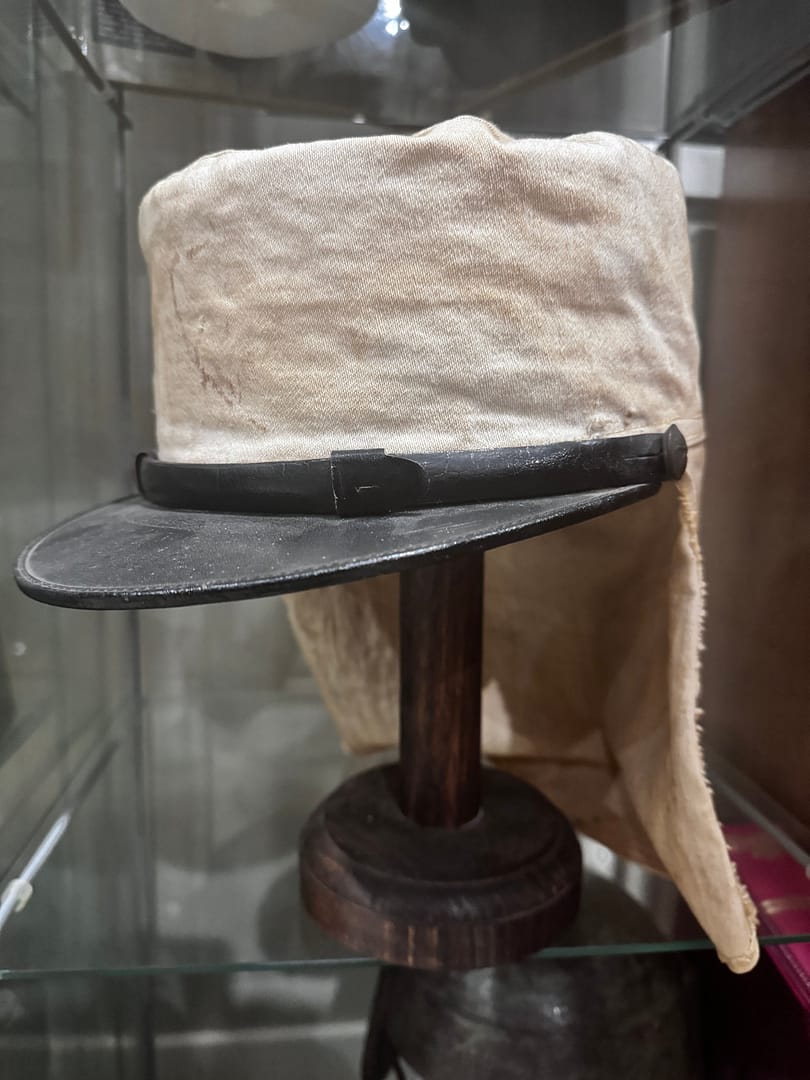
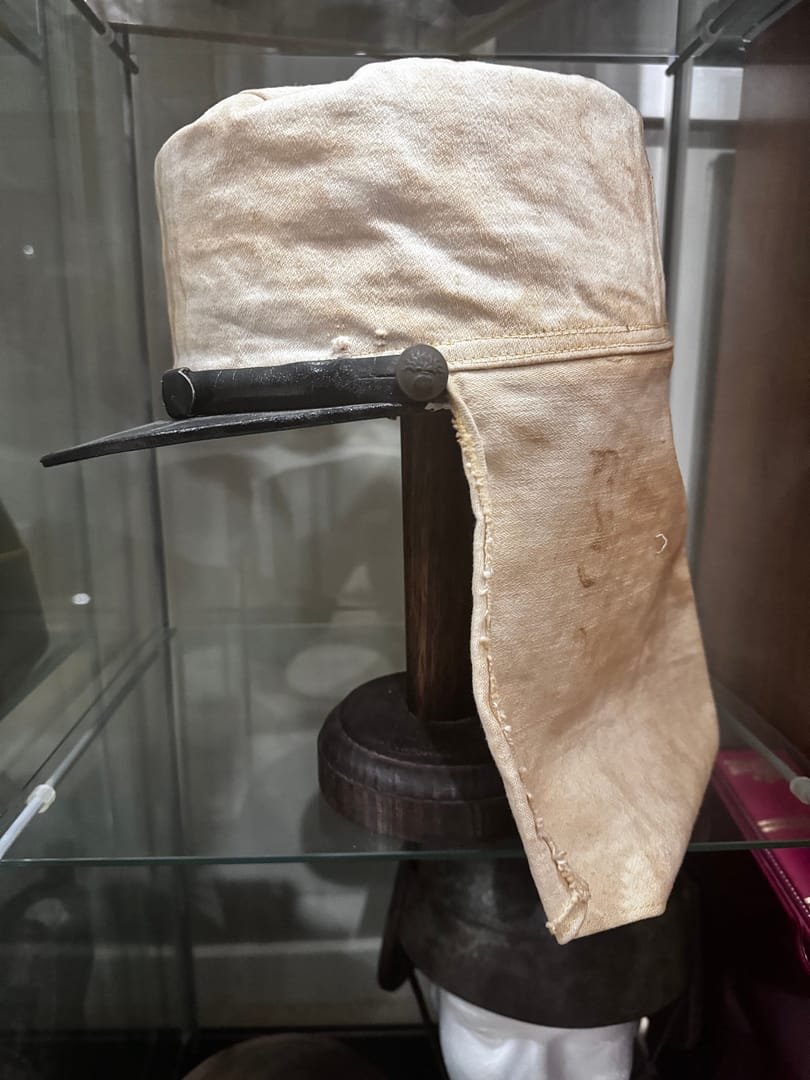
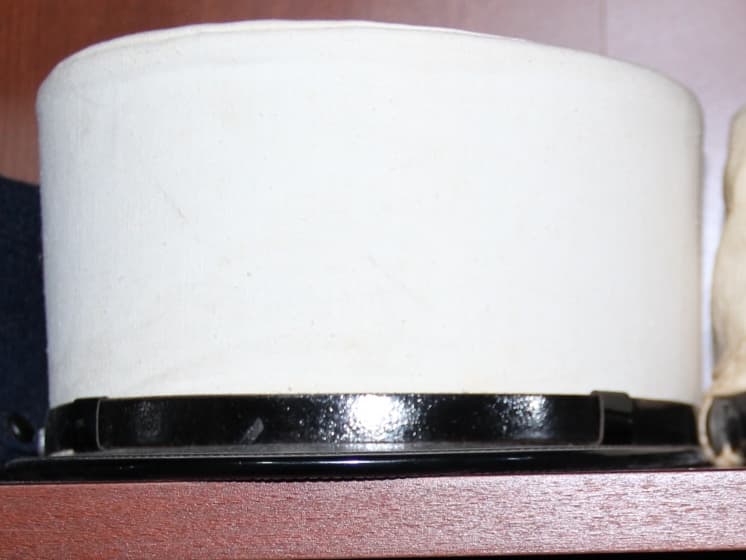
French Foreign Legion Kepi Moutarde and white cover, from my personal collection.

The iconic kepi moutarde (mustard-coloured Foreign Legion kepi) with removable white sun cover was standard wear during France’s North African campaigns of the 1920s, including the violent Rif War in Morocco. The mustard wool body and red piping identify the Legion’s pre-WWII colour scheme, while the white cover provided solar protection during desert operations. Hard-used Legion kepis from this period are rare: they were field-worn in extreme conditions and often replaced in service. This example reflects the Legion’s harsh interwar expeditionary deployments.


Accoutrements


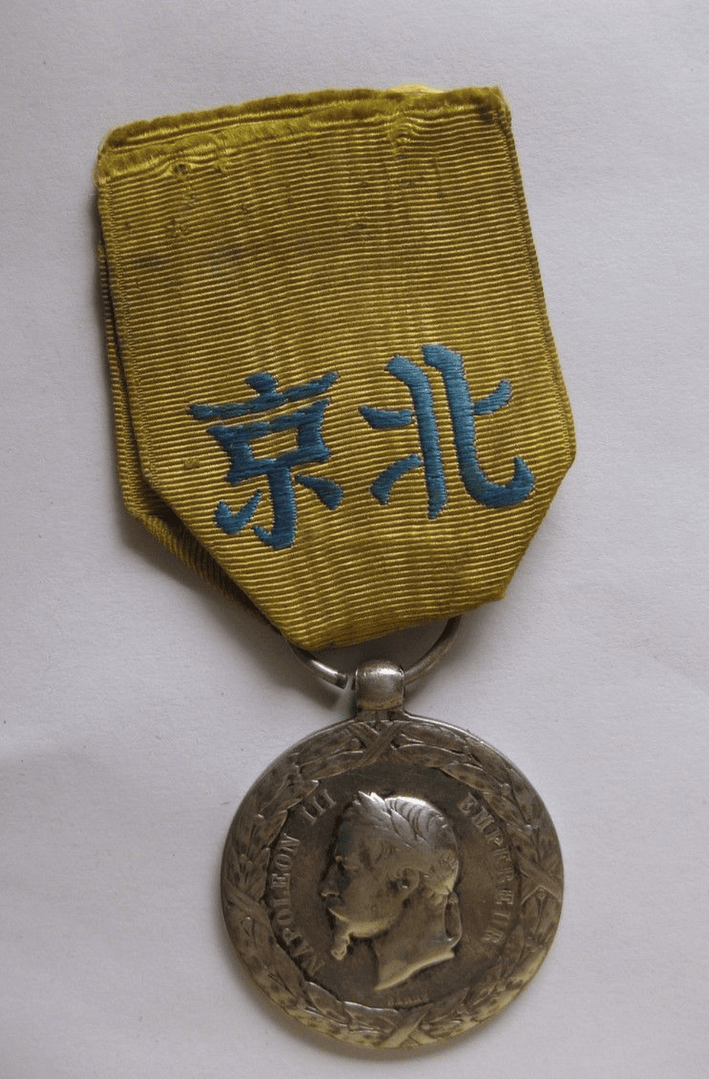
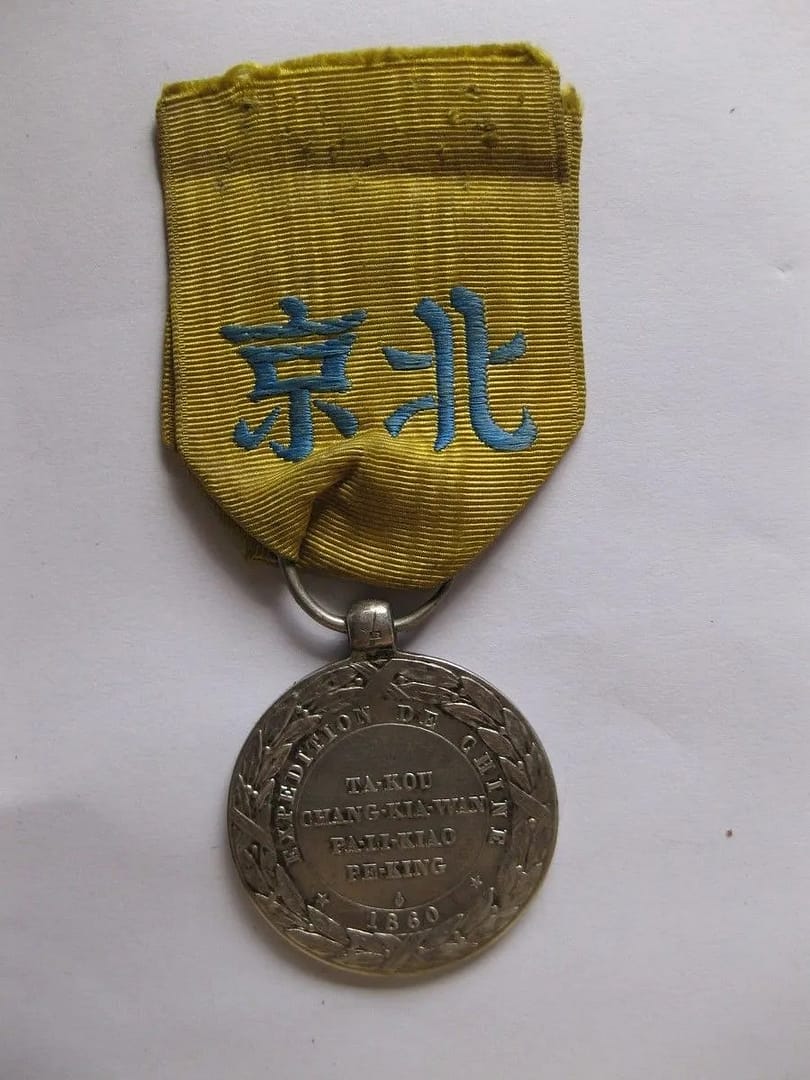
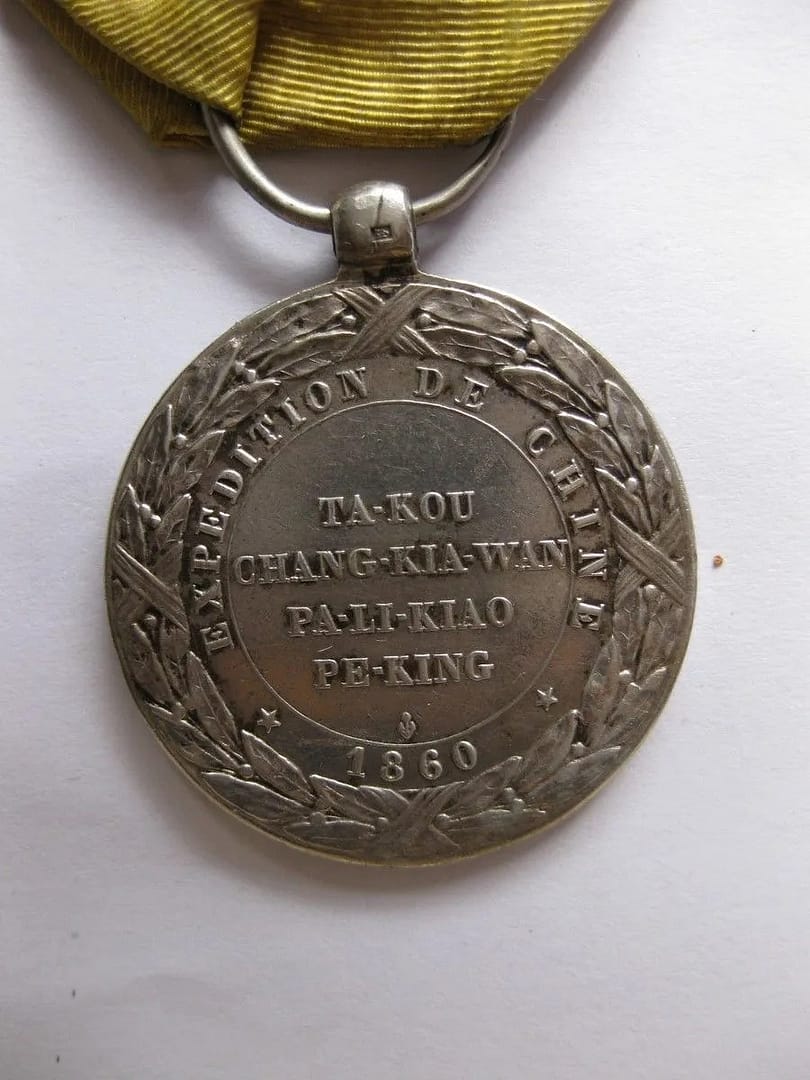
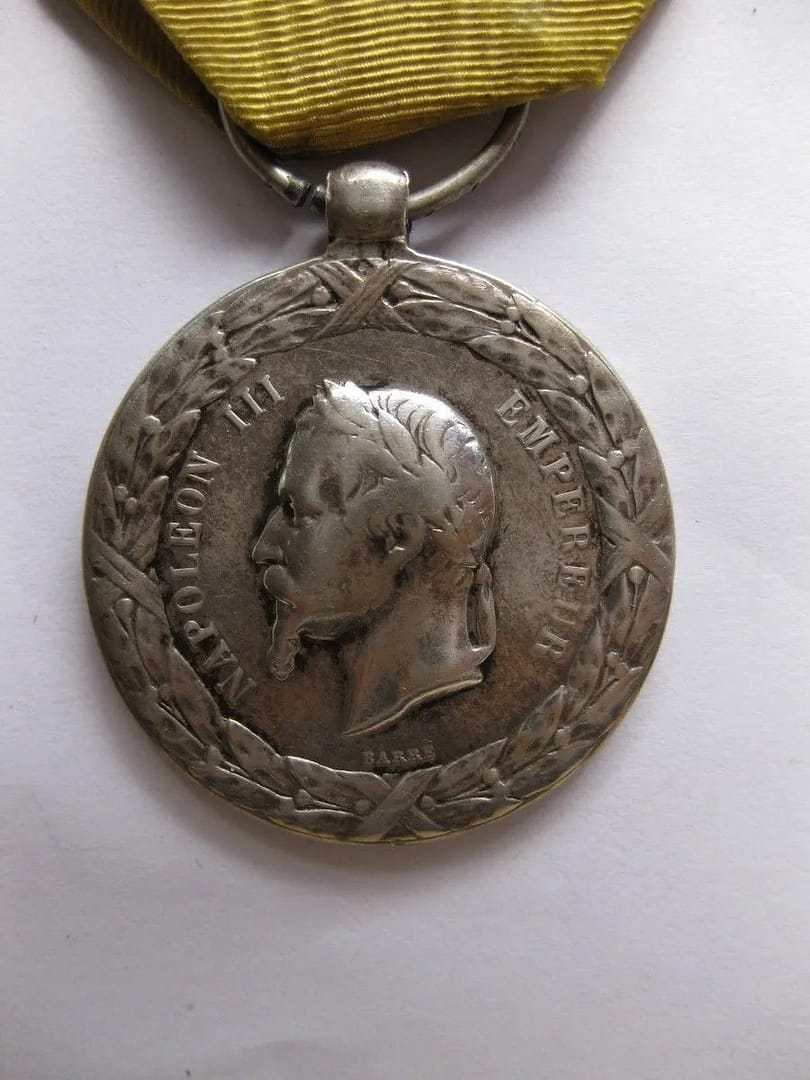
French Campaign medal, Second China War 1860 (2nd Opium War), Napoléon III, from my collection

The Médaille de la Campagne de Chine (1860) was awarded to French troops who served in the Second Opium War alongside British expeditionary forces. Struck under Napoleon III, it commemorated operations at the Taku Forts and the capture of Peking, including the infamous destruction of the Summer Palace. The obverse bears the Emperor’s profile while the reverse lists the principal theatres of the campaign. Original medals with correct ribbons and unmarred suspension rings are highly collectible due to limited issue.


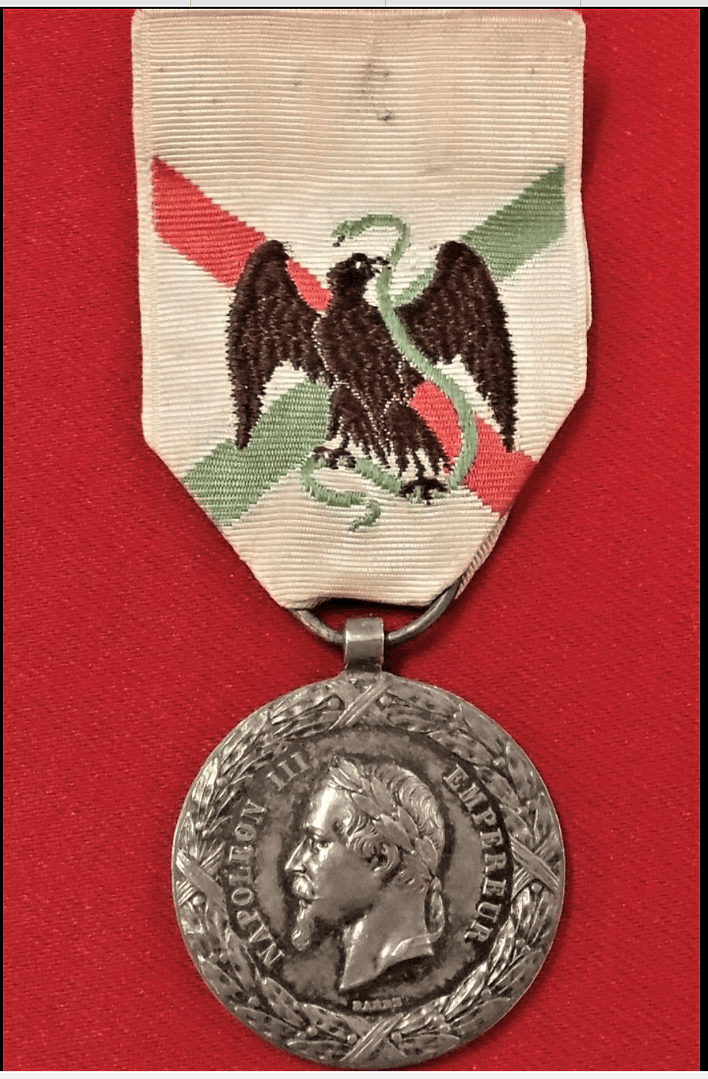
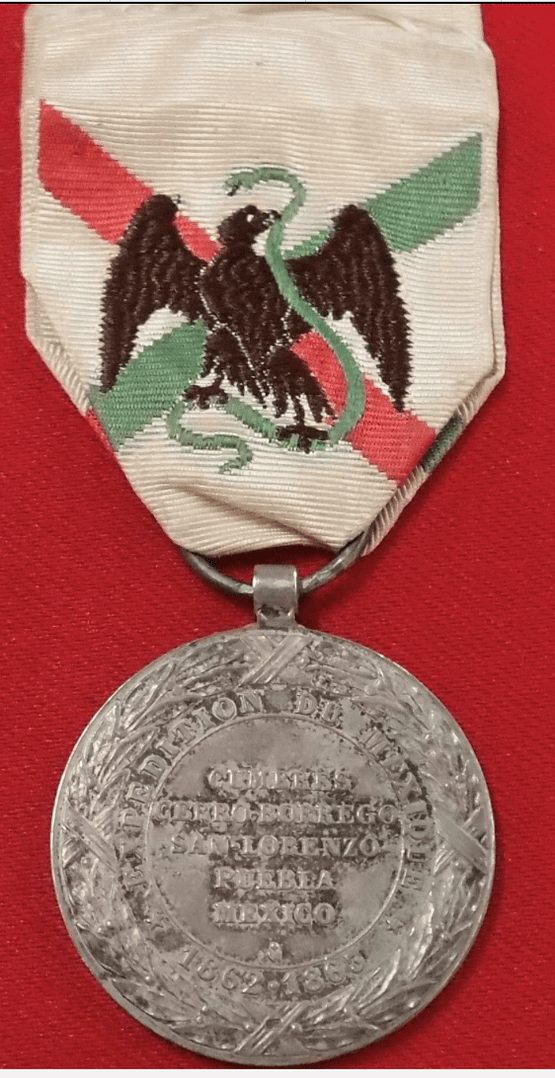
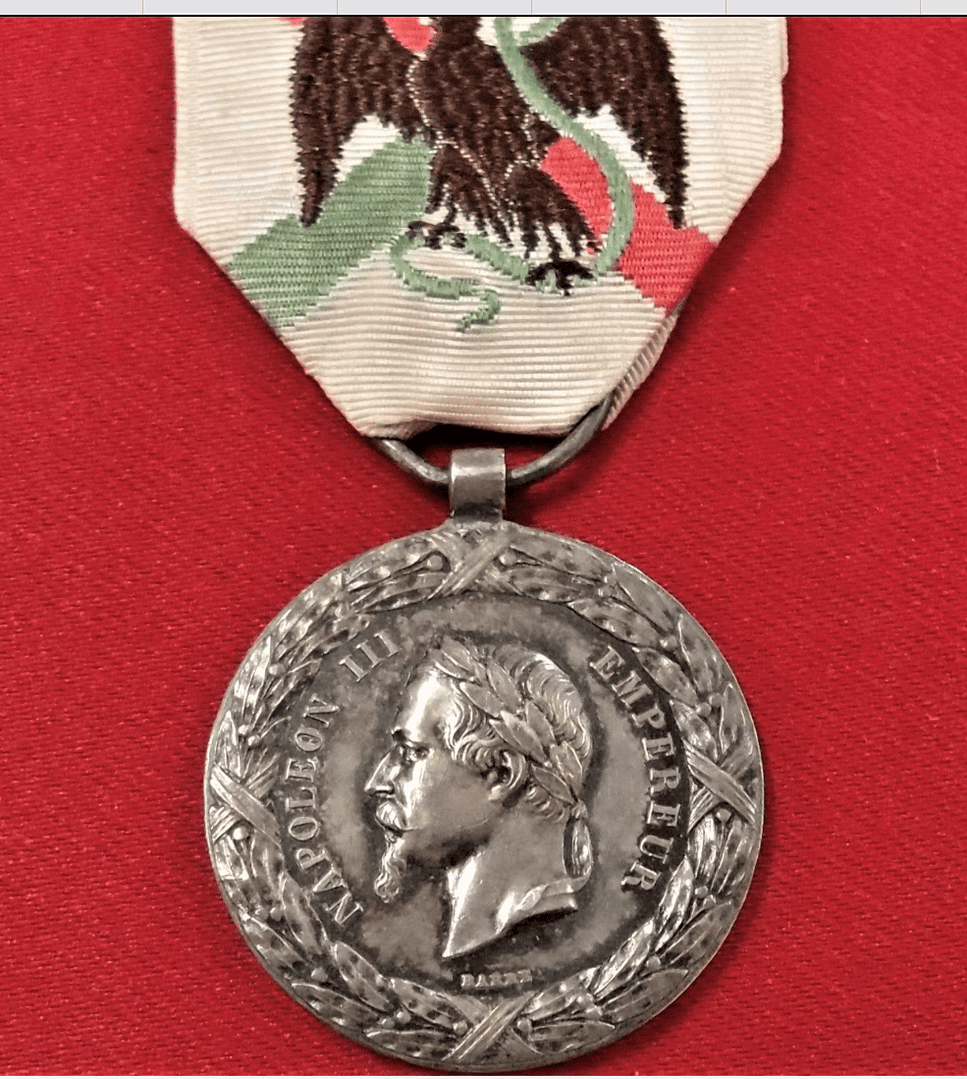
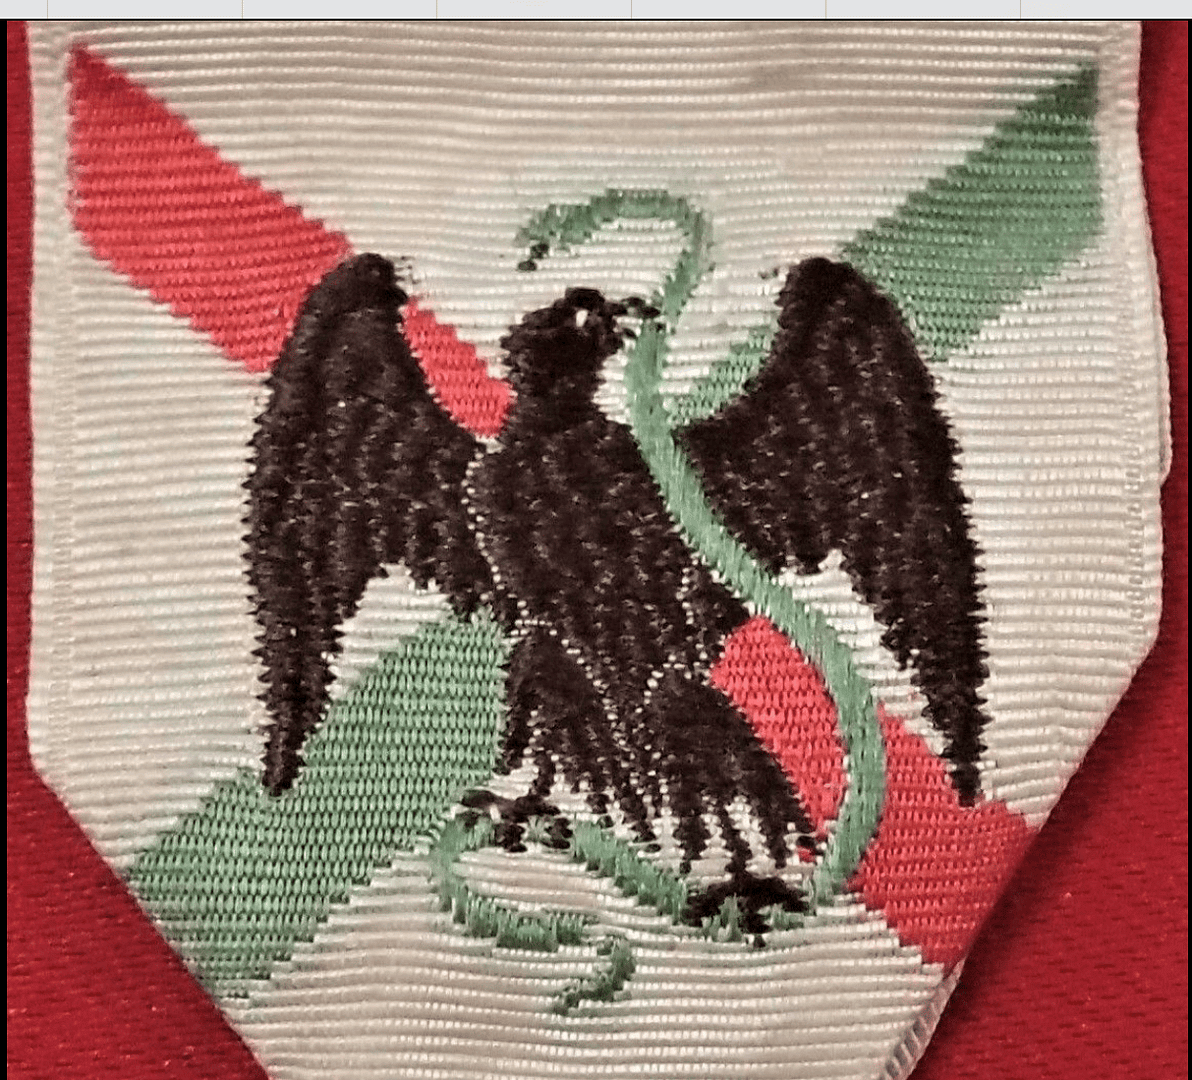
French Campaign medal for the 1863-1867 Mexican Intervention, from my collection

The medal was instituted by Imperial decree on 29 August 1863 to be awarded to participants in the French Expeditionary Corps whose purpose was to create a French-dominated empire in Mexico under Archduke Maximilian of Austria. Battle of Camerone. The Médaille de la Campagne du Mexique commemorates French service during the Mexican Intervention, where expeditionary troops attempted to install Emperor Maximilian I. Awarded to Foreign Legion, Marine Infantry, cavalry, and line units, the medal marks actions at Puebla, Mexico City, and numerous hard-fought guerrilla engagements. Service in Mexico was notoriously harsh, marked by disease, ambush warfare, and extreme climate. The medal remains strongly associated with the Legion’s legendary stand at Camerone (30 April 1863).


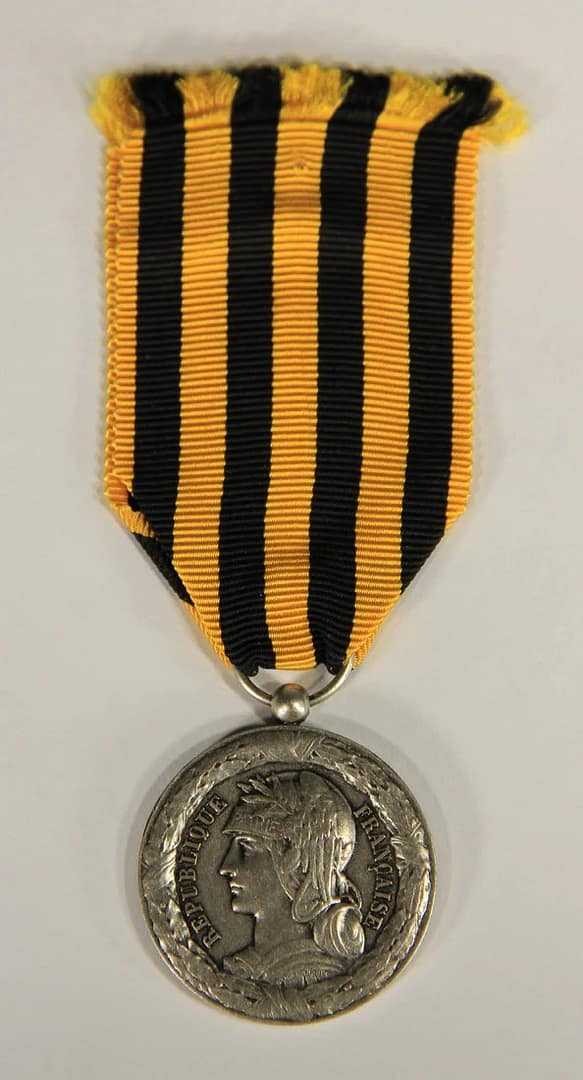
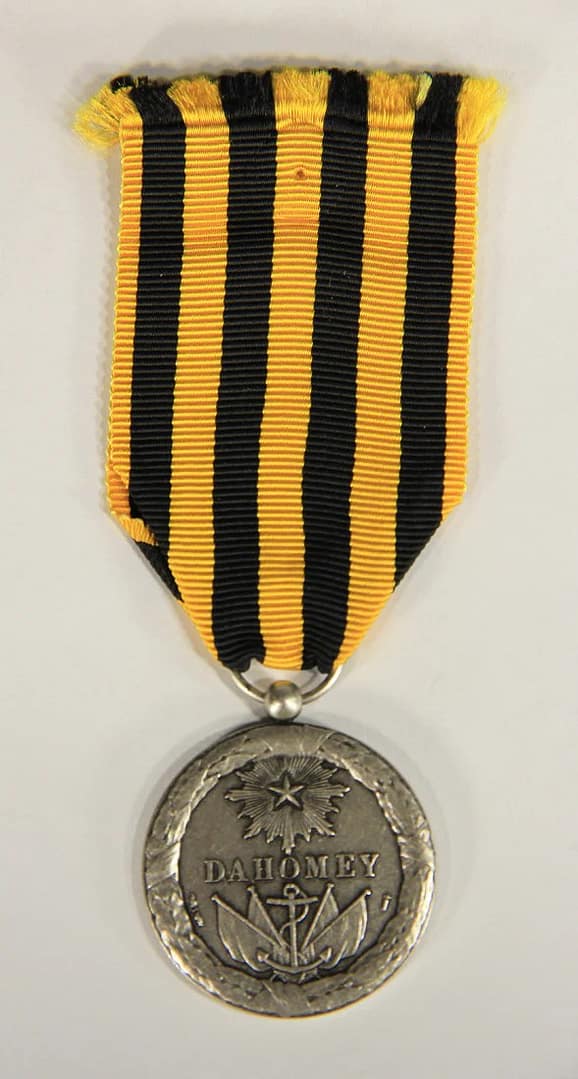
French 1892 Dahomey Campaign Medal, from my collection

The 1892 Dahomey Campaign Medal was awarded for service in the French military expedition against the Kingdom of Dahomey (in present-day Benin), culminating in the capture of Abomey. The campaign was characterised by operations in dense tropical terrain against a determined indigenous force, notably the Dahomey army and its female warrior units, the so-called “Amazons”. The medal reflects France’s late-nineteenth-century colonial campaigns in West Africa, where European firepower and discipline were applied in environments that imposed severe constraints on movement, logistics, and command decision-making..


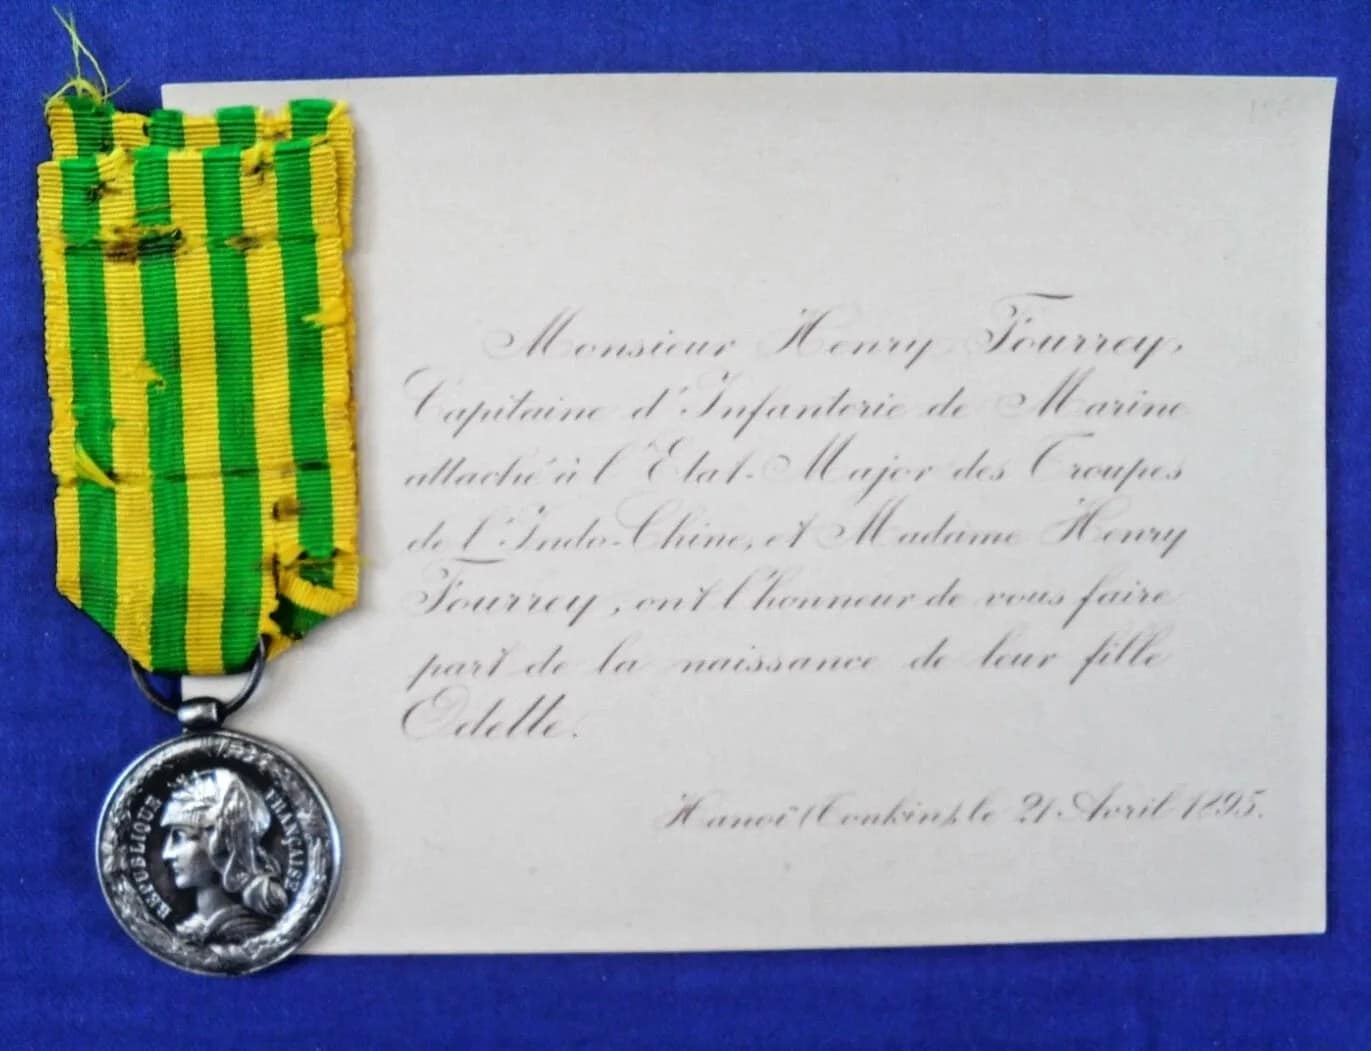
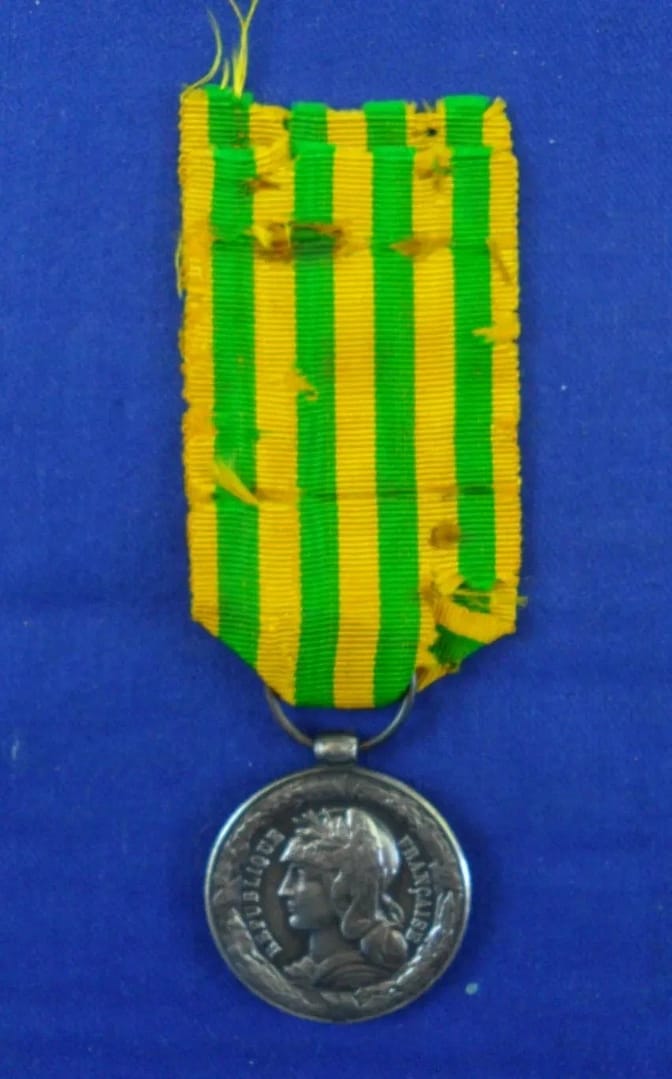
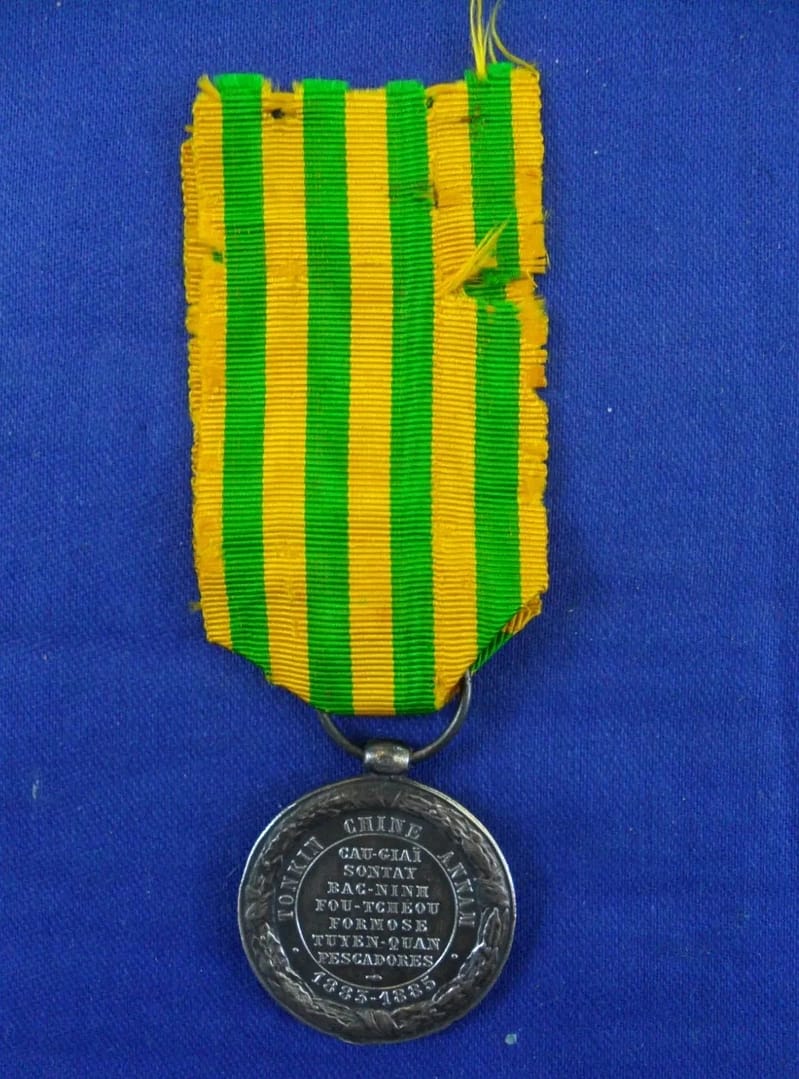
French Tonkin Campaign Medal 1885, from my collection


The Tonkin Campaign Medal was awarded for service in French military operations in northern Vietnam during the 1880s and early 1890s, including the Sino-French War and subsequent pacification campaigns. Fighting was conducted in complex terrain dominated by rivers, dense vegetation, villages, and steep hills, where ambush, small-unit actions, and extended lines of communication shaped operations. The medal reflects the challenges of colonial warfare in Tonkin, where command decision-making was heavily influenced by terrain, climate, and the need to adapt European doctrine to local conditions.


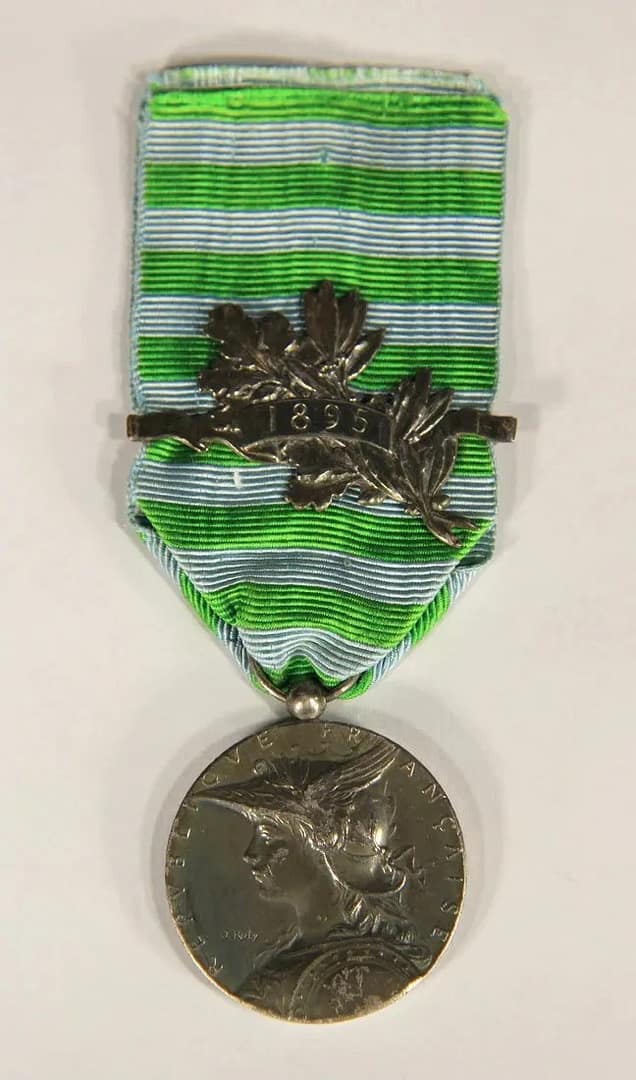
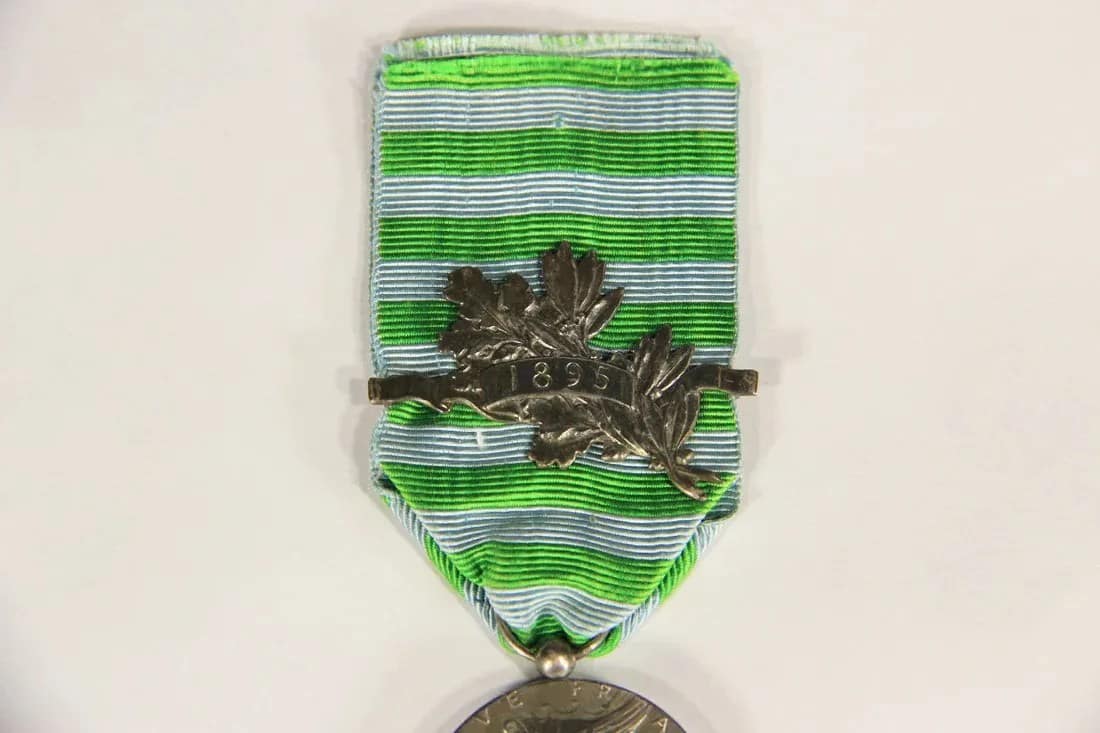
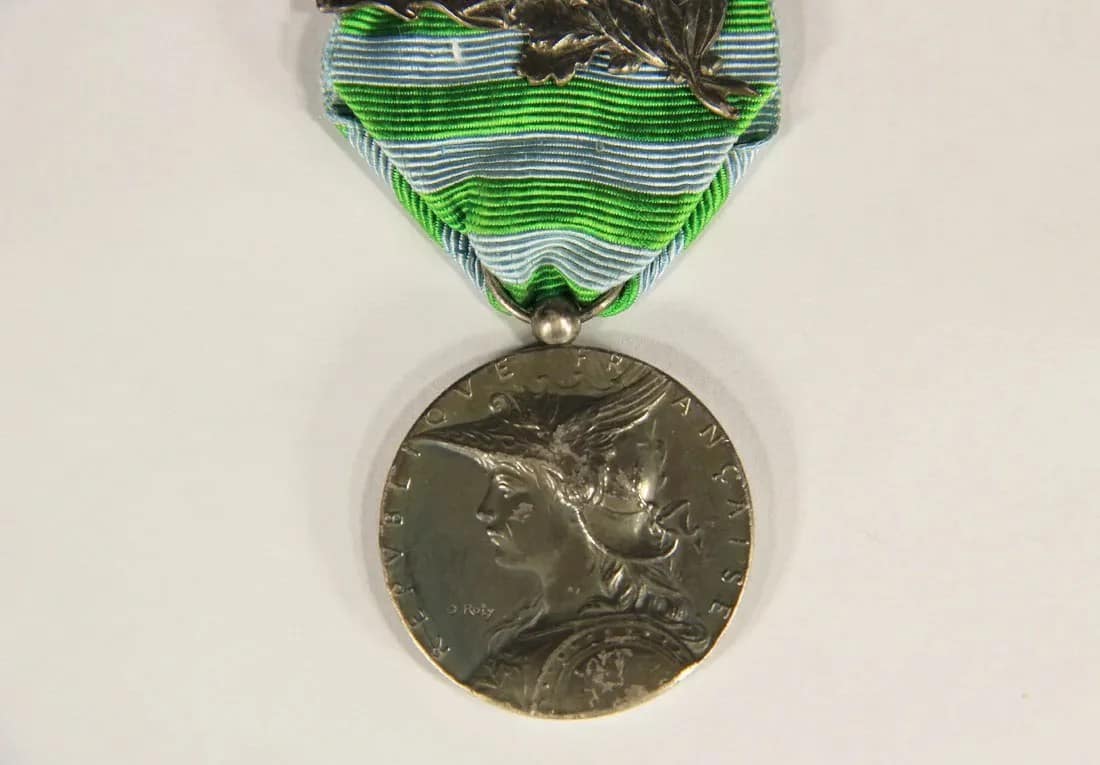
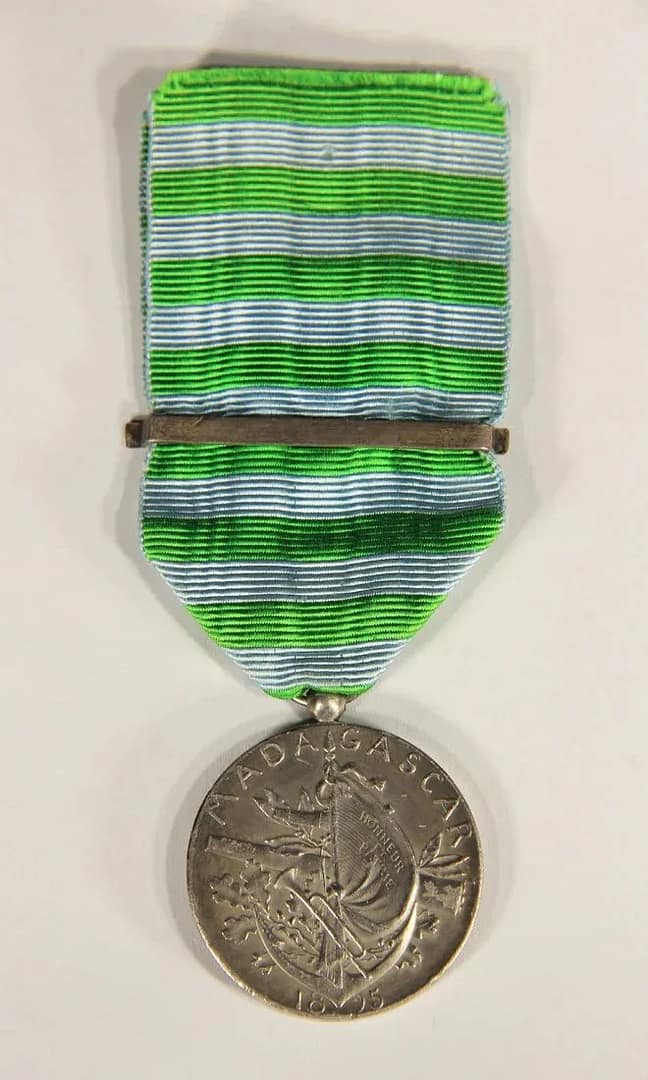
French Madagascar Campaign Medal (1895), from my collection


The Madagascar Campaign Medal was awarded for service in the French expedition of 1895, which resulted in the capture of Antananarivo and the establishment of French control over the island. The campaign was conducted under exceptionally difficult conditions, with operations constrained by rugged terrain, poor tracks, river crossings, disease, and climate rather than sustained battlefield combat alone. The medal reflects the realities of late-nineteenth-century colonial warfare, where terrain, logistics, and environmental factors often exerted a greater influence on command decision-making and operational outcomes than enemy resistance.


Subscribe to Battlefield Travels and receive a free E-Book Battlefield Guide

Unlock expert battlefield analysis, campaign reconstructions, and historical insights drawn from firsthand exploration and primary sources.

🗺️ You’ll receive:

🎖️ Exclusive historical insights you won’t find elsewhere

📘 A free eBook: 10 Tips for Exploring Historic Battlefields

📰 New battlefield studies straight to your inbox as they are published


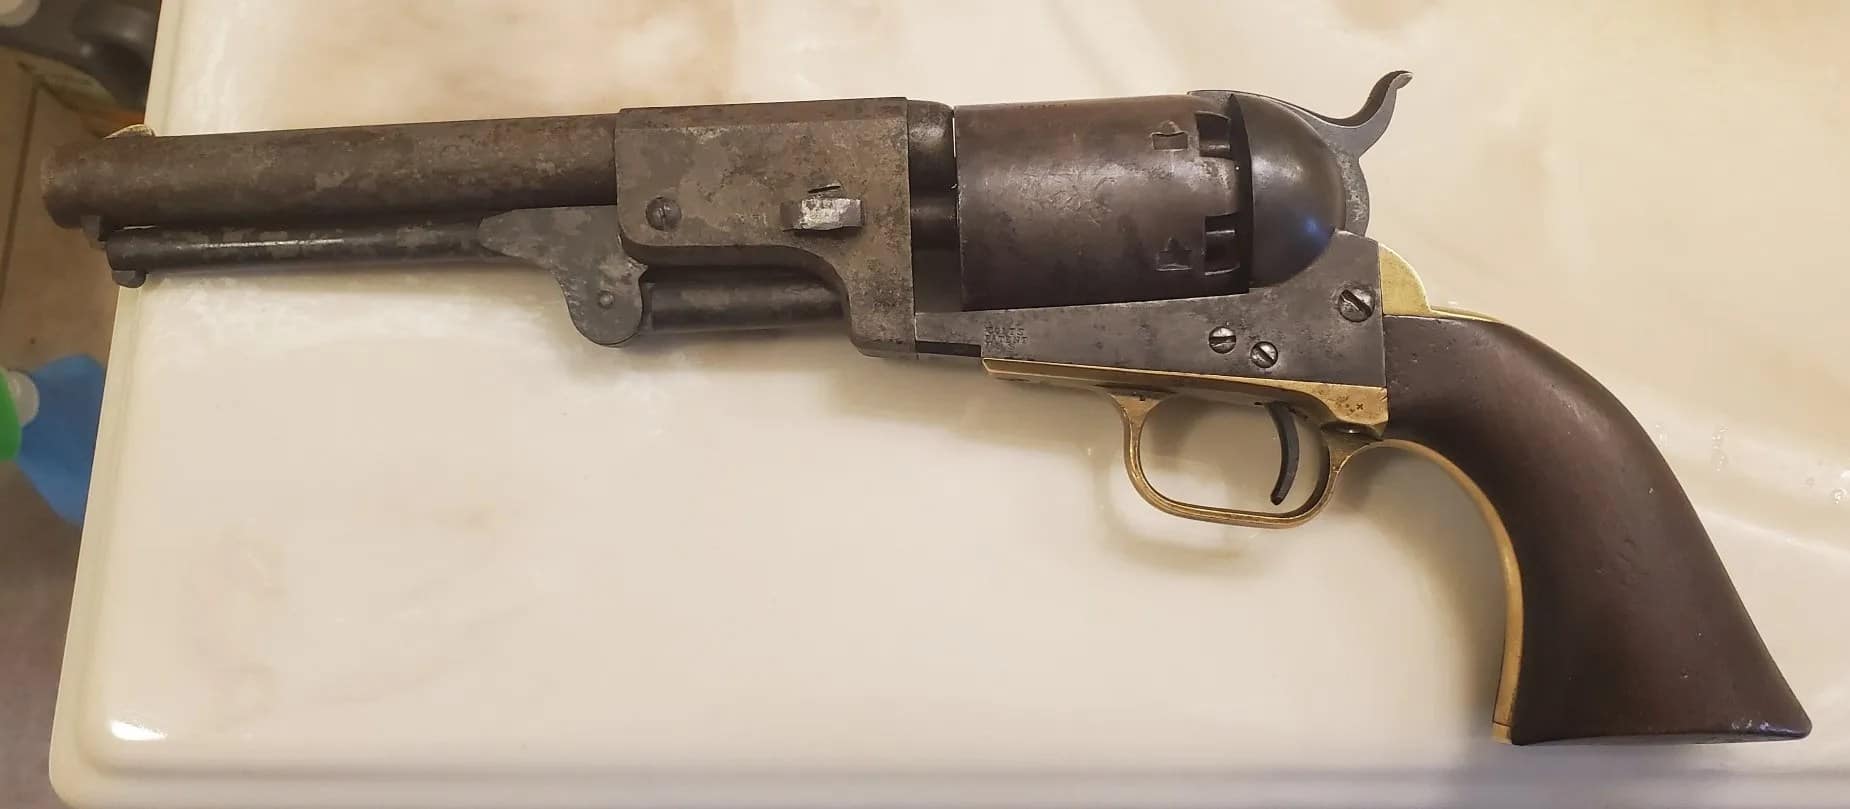
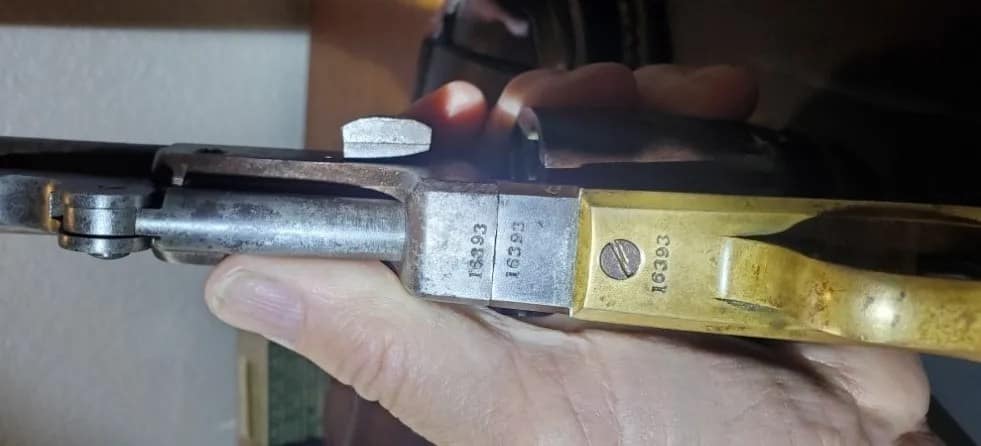
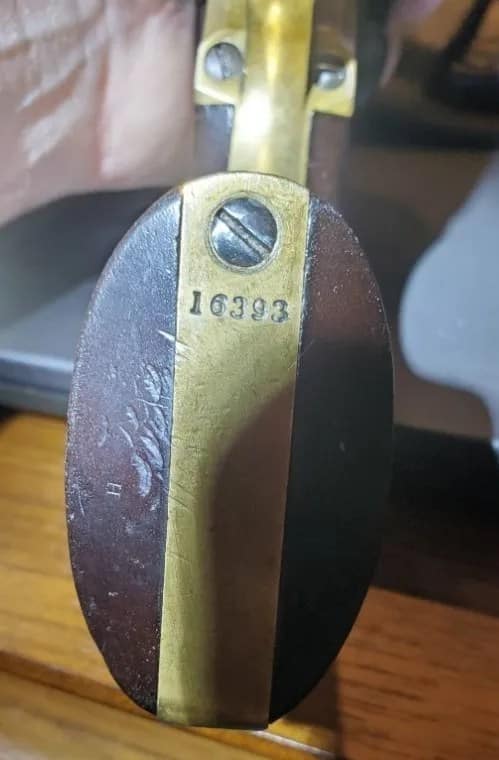
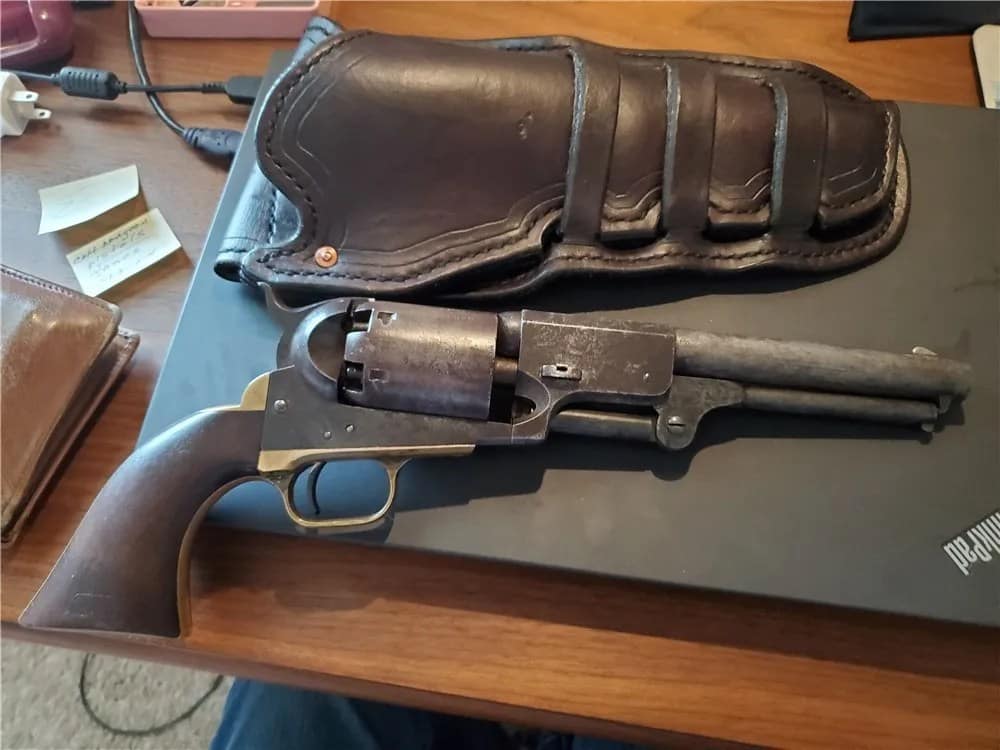
1847-Colt-Dragoon-1857-SN-16393-02
Model 1847 Colt Dragoon, dated 1857

America’s old west

The American Old West, spanning roughly from the 1840s to 1912, was defined by rapid frontier expansion, conflict with Native American nations, and the emergence of a distinctive frontier culture. The westward movement of settlers, miners, and ranchers—driven by railroads, land policies, and resource discoveries—brought sustained clashes with tribal groups defending their homelands. Campaigns on the Great Plains, Southwest, and Northwest pitted U.S. cavalry units against highly mobile Native forces skilled in irregular warfare, culminating in decisive actions such as the Little Bighorn, Washita, and Wounded Knee. Skilful Native American leaders like Cochise and Geronimo led guerrilla campaigns that lasted for many years.

Beyond military operations, the frontier produced a complex environment of lawlessness, informal justice, and local power structures. Cattle trails, mining towns, and railheads fostered criminal activity, while figures such as Wyatt Earp, Billy the Kid, the James Gang and the Dalton Gang became embedded in popular memory.

On the new frontiers, bitter struggles emerged over whether old-world institutions like slavery would permeate into the new territories. Nowhere was this more vicious than the ‘Bleeding Kansas’ fighting along the Kansas-Missouri border area.

The weapons of the frontier became legendary themselves; names like Colt, Smith & Wesson and Winchester entered popular folklore. By the 1890s, the closing of the frontier marked the end of a turbulent era that shaped American identity and mythology.


Weapons of America’s Old West and Indian Wars


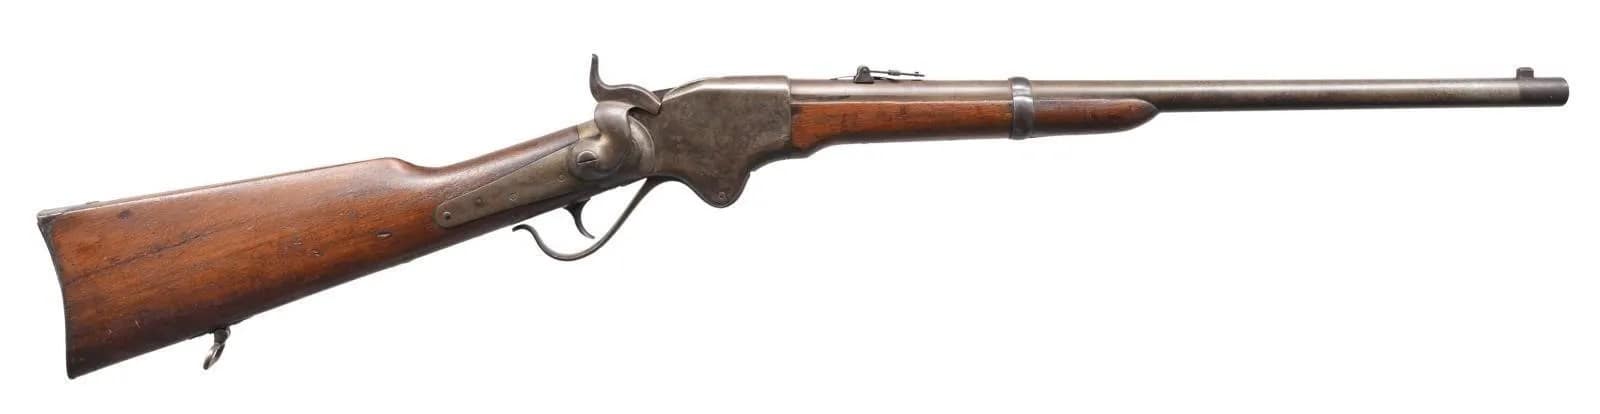
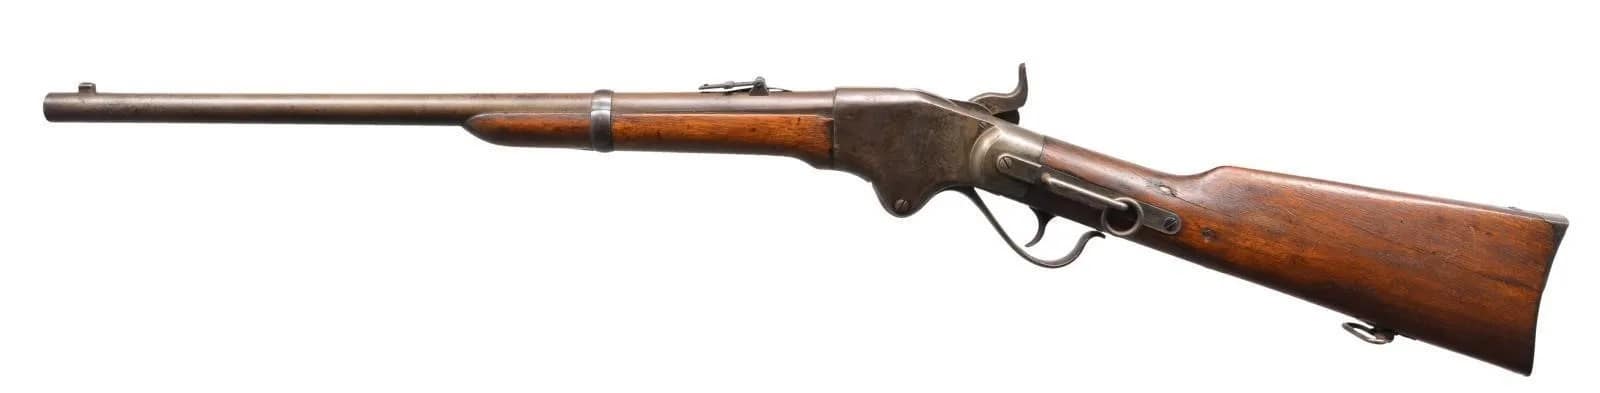
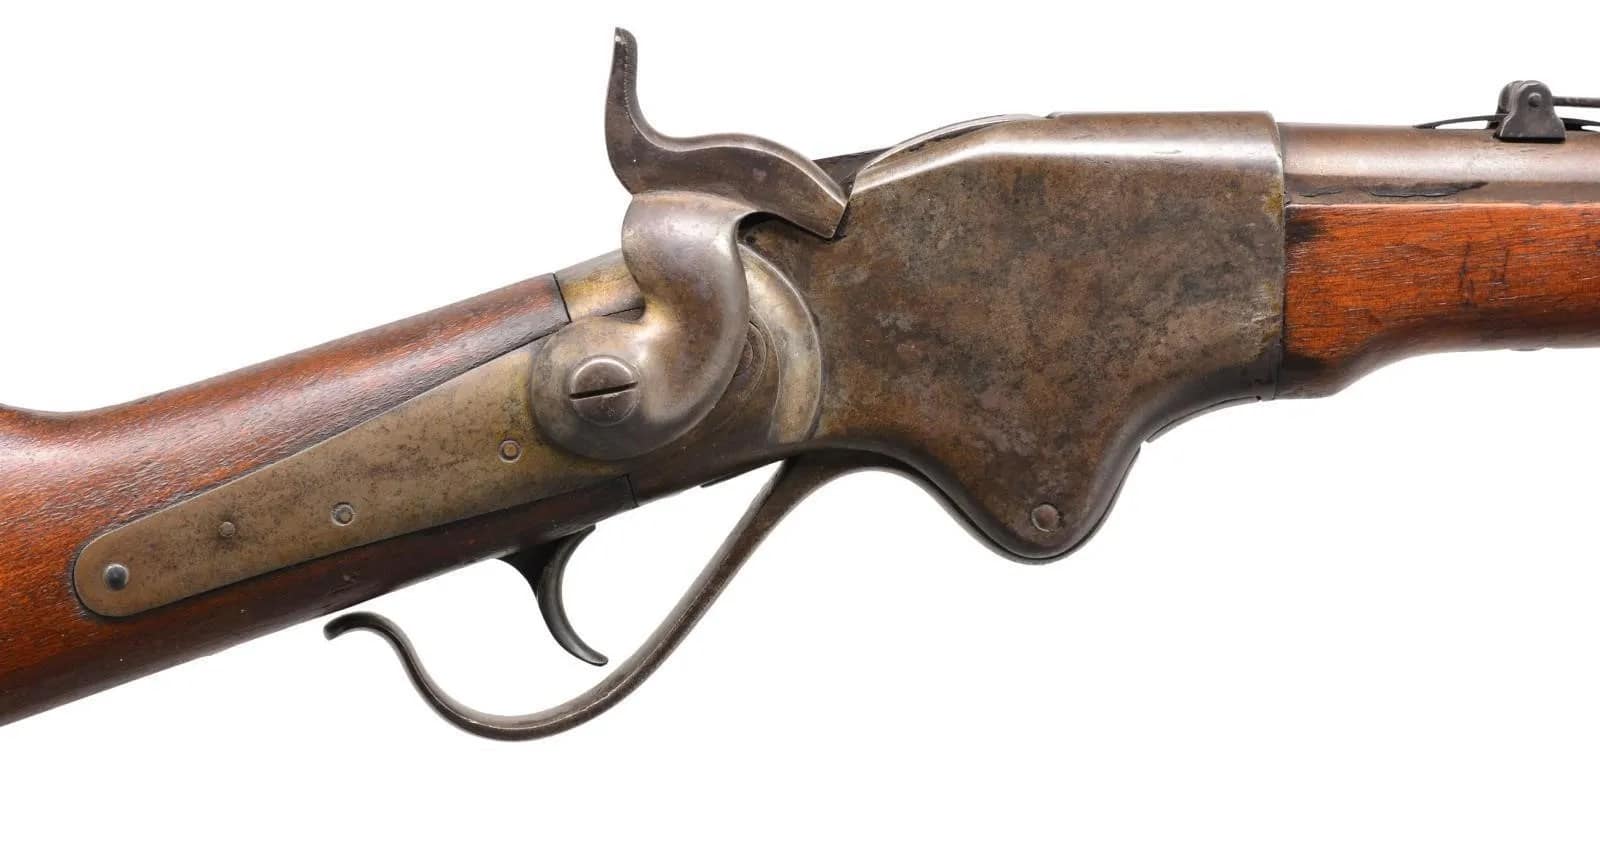
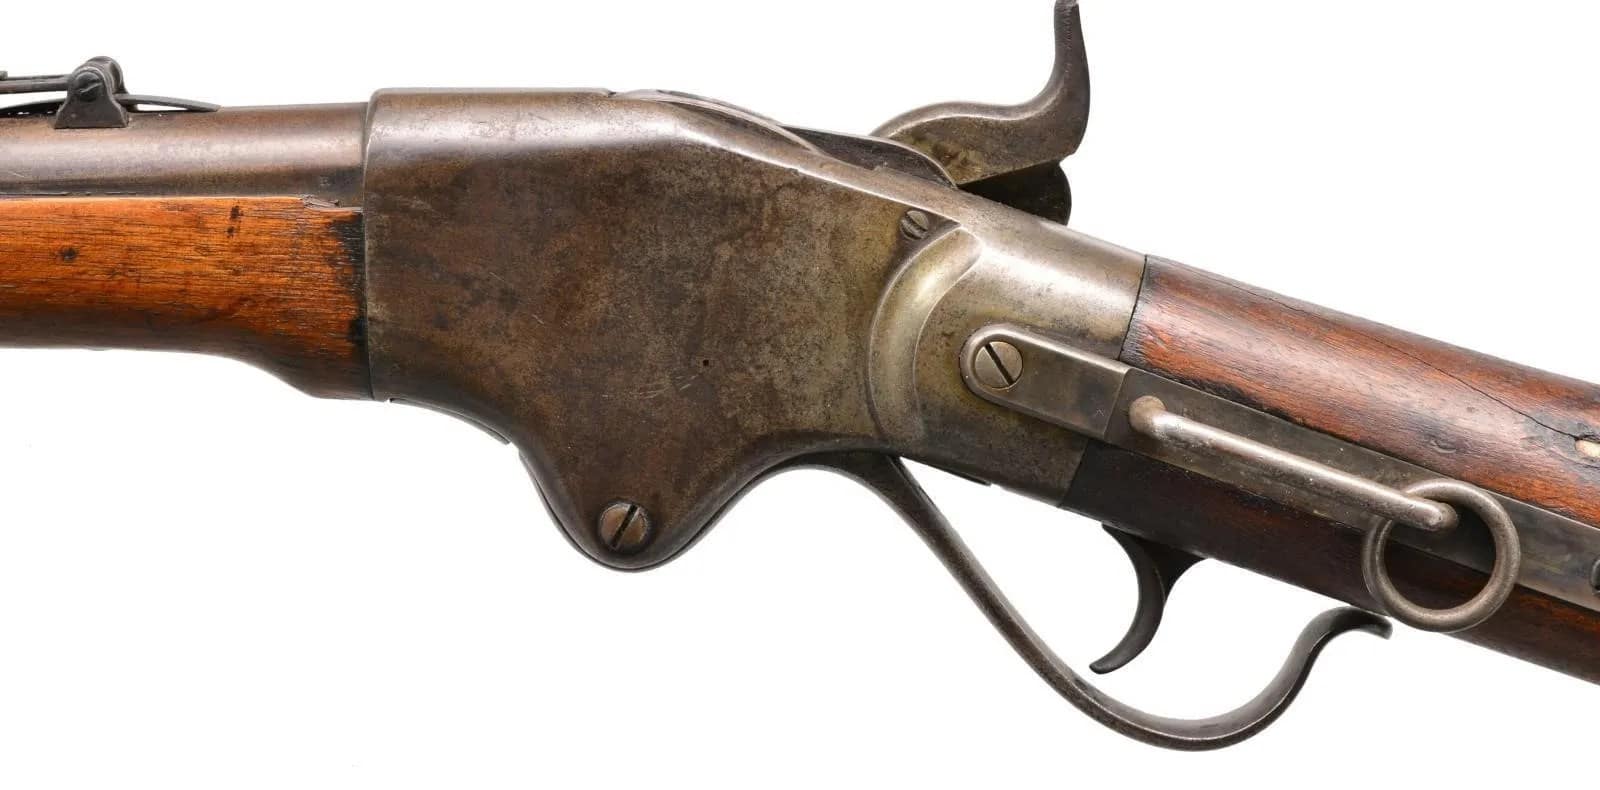
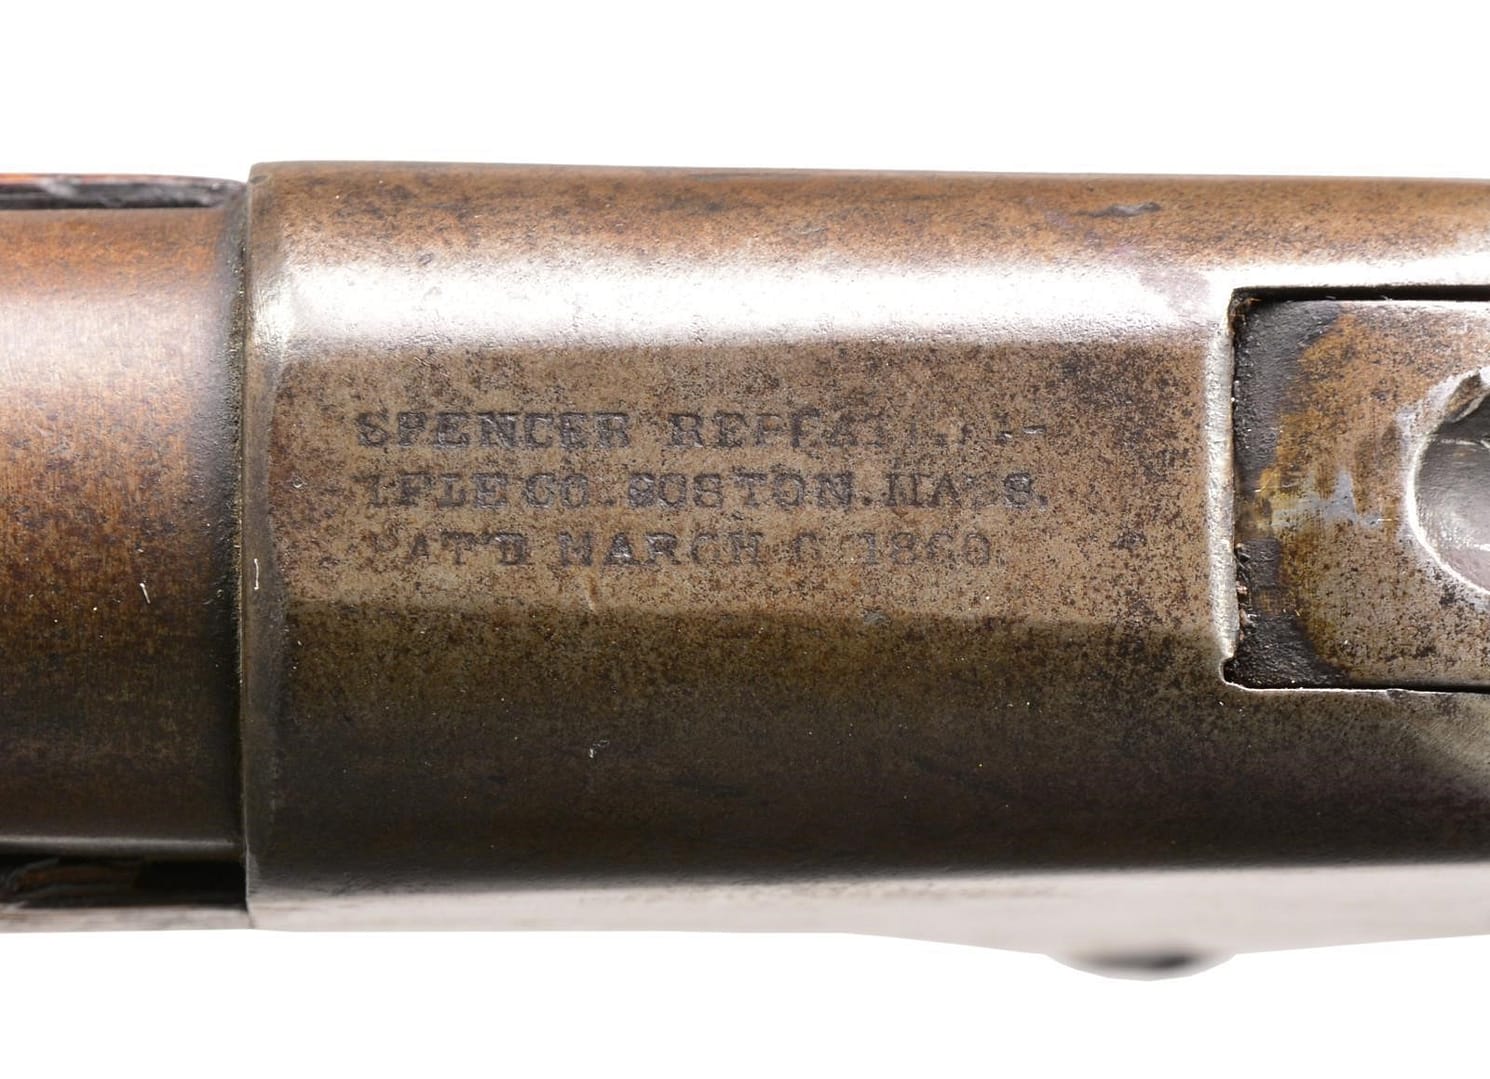
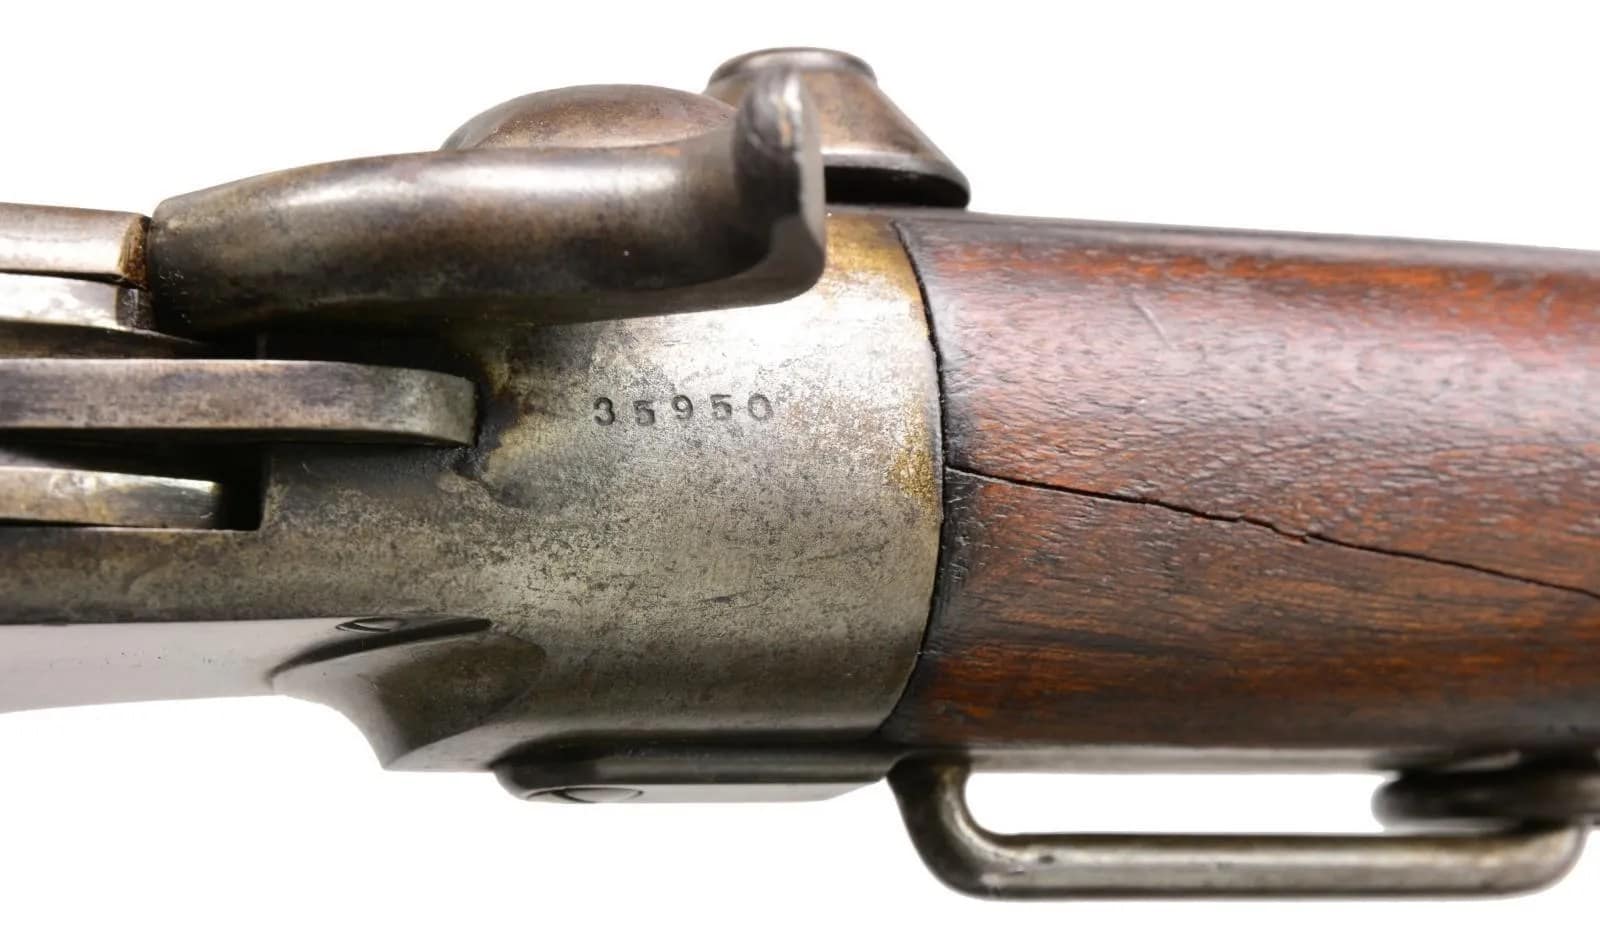
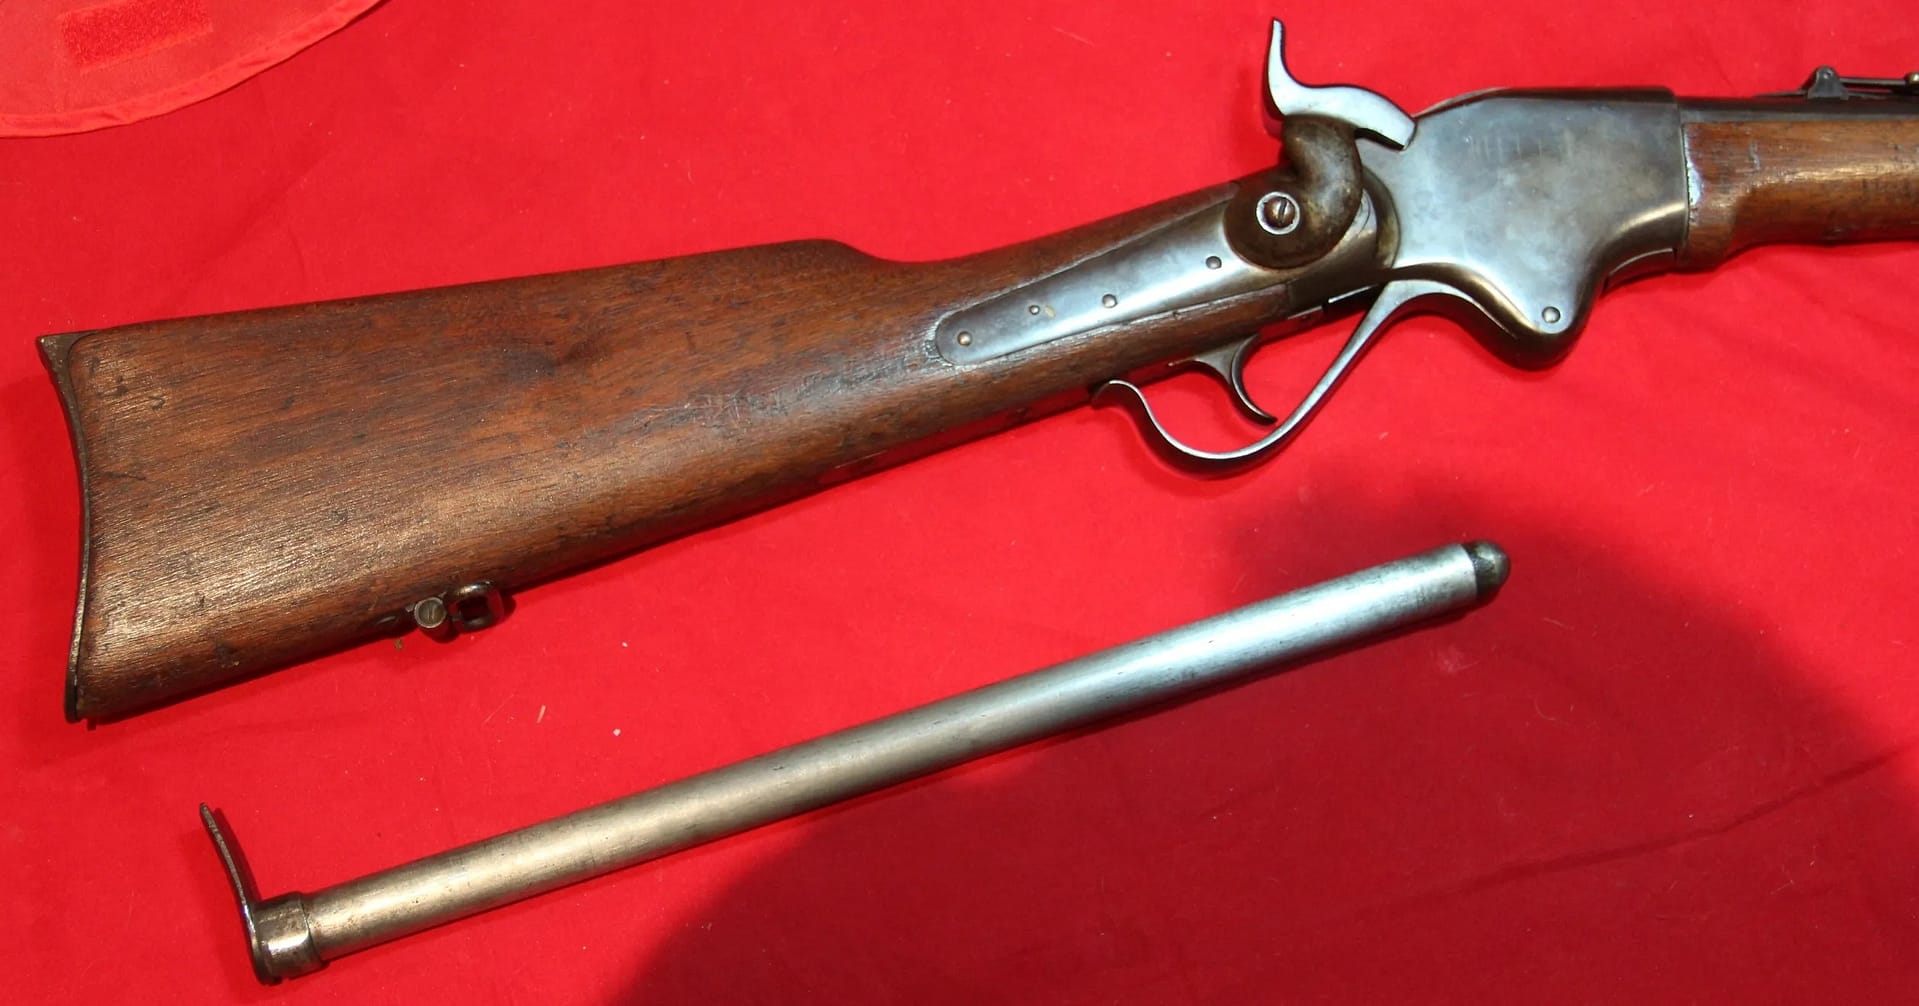
Model 1860 Spencer 7-shot Civil War Cavalry Carbine, from my personal collection.

The Spencer Model 1860 cavalry carbine was a lever-action, 7-shot repeating firearm chambered in .56-56 rimfire. Designed by Christopher Spencer, it offered Union cavalry an unprecedented rate of fire compared with muzzle-loading carbines. Cartridges were fed from a tubular magazine housed in the buttstock, allowing mounted troopers to deliver rapid, sustained volleys during charges or skirmishes. The Spencer saw extensive service with Federal cavalry from 1863 onward and played a decisive role in late-war mobile operations.


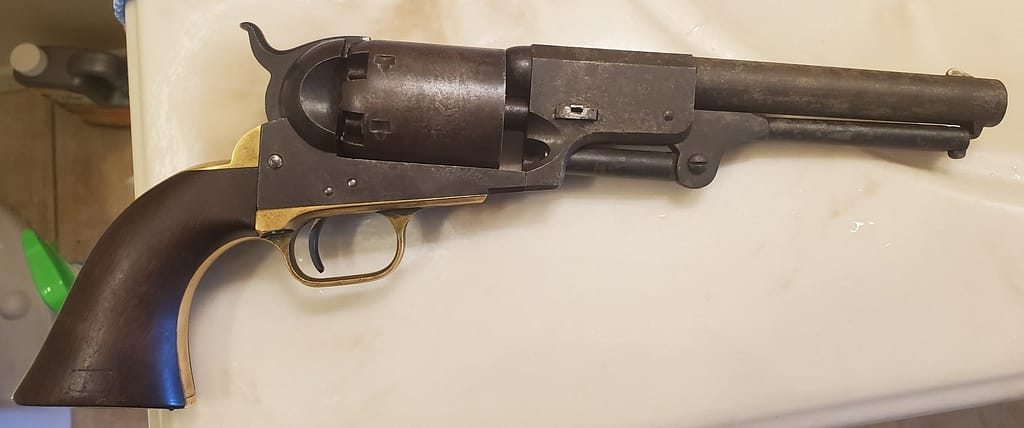
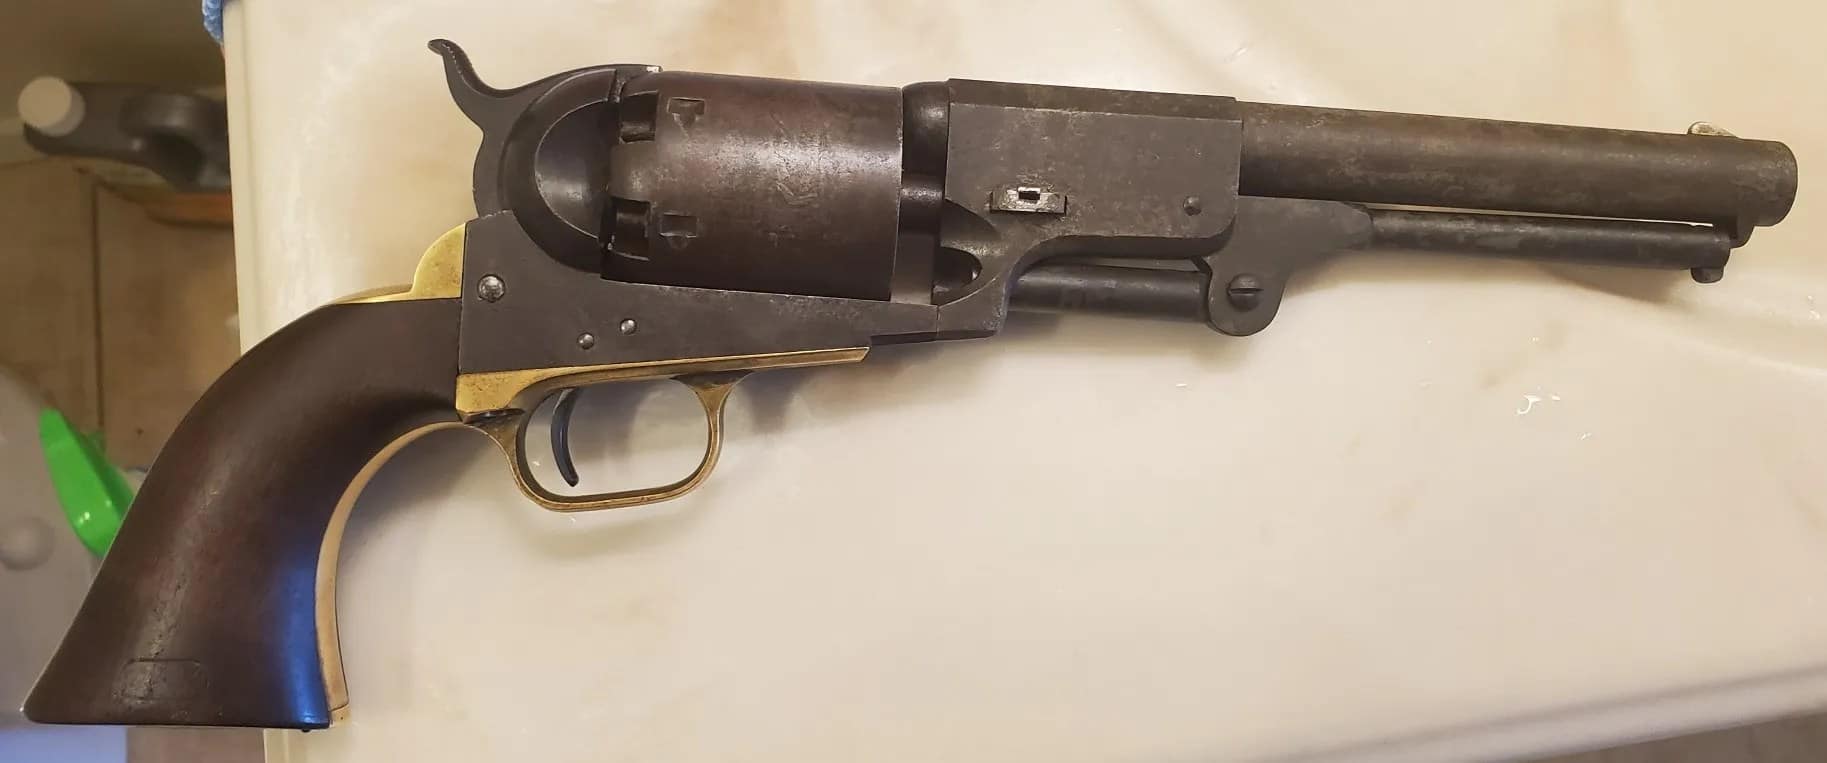
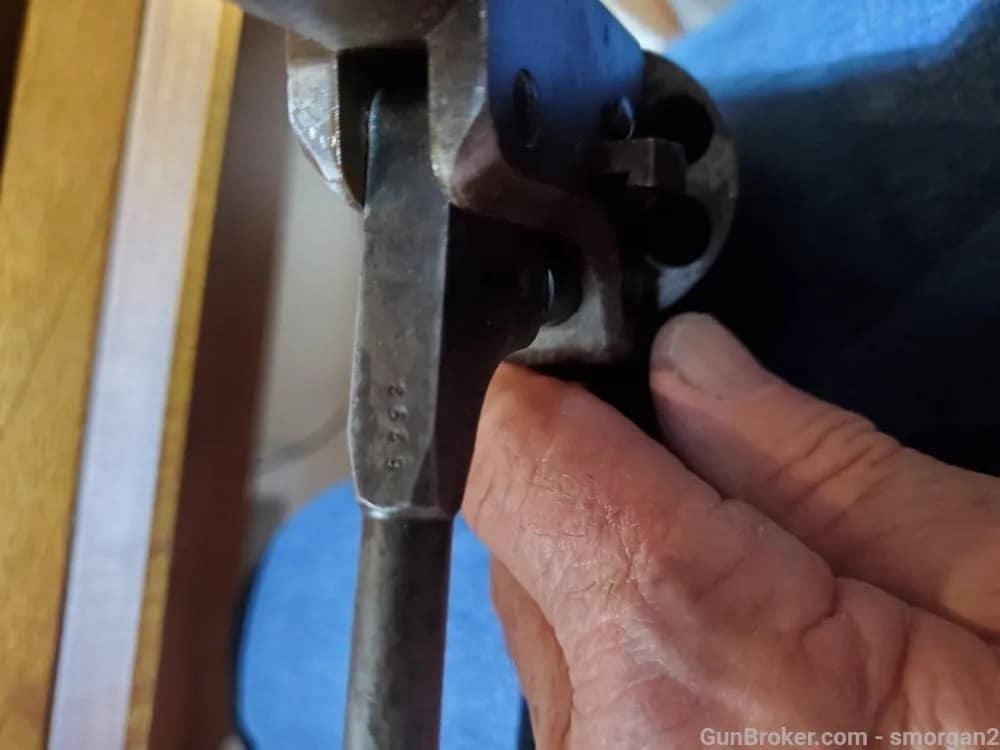
Model 1847 Colt Dragoon, 3rd Model, .44″ caliber. From my personal collection.

The Colt Model 1847 Dragoon revolver, 3rd Model, was a .44-calibre percussion handgun designed for mounted service following the Mexican–American War. Larger and more powerful than the later Model 1860 Army, it featured a robust frame, six-shot cylinder, and improved cylinder locking notches. Although production ended before the Civil War, many Dragoon revolvers remained in service with both Union and Confederate cavalry, valued for their stopping power and durability in the field.


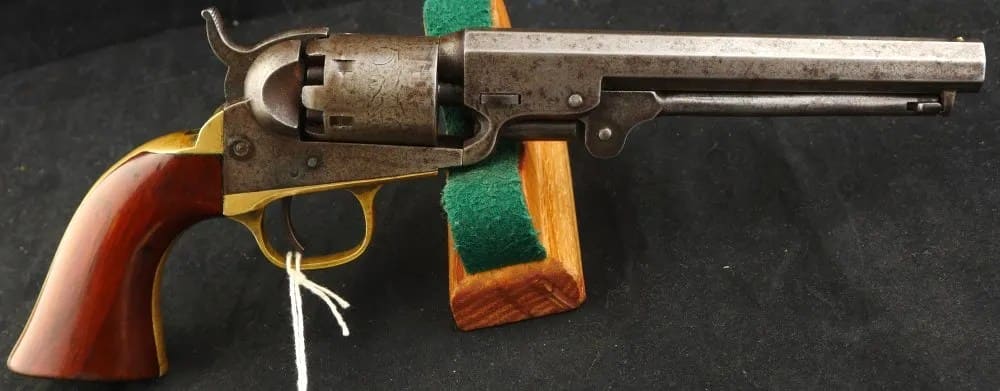
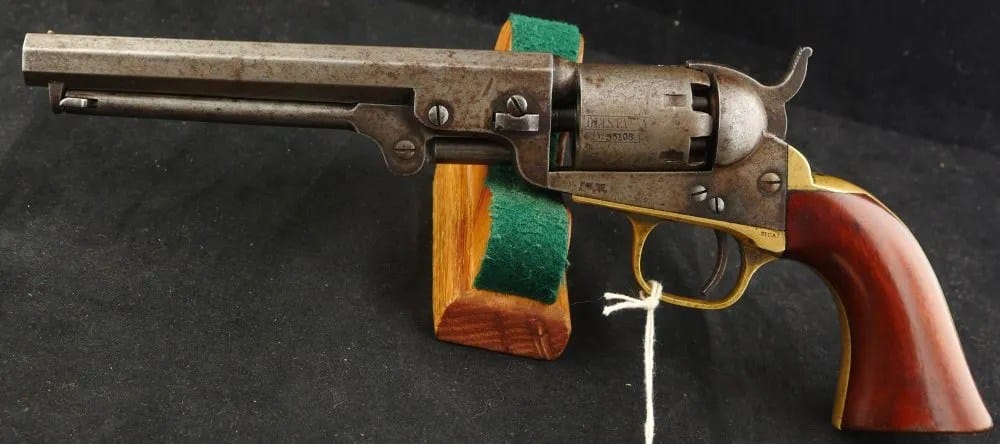
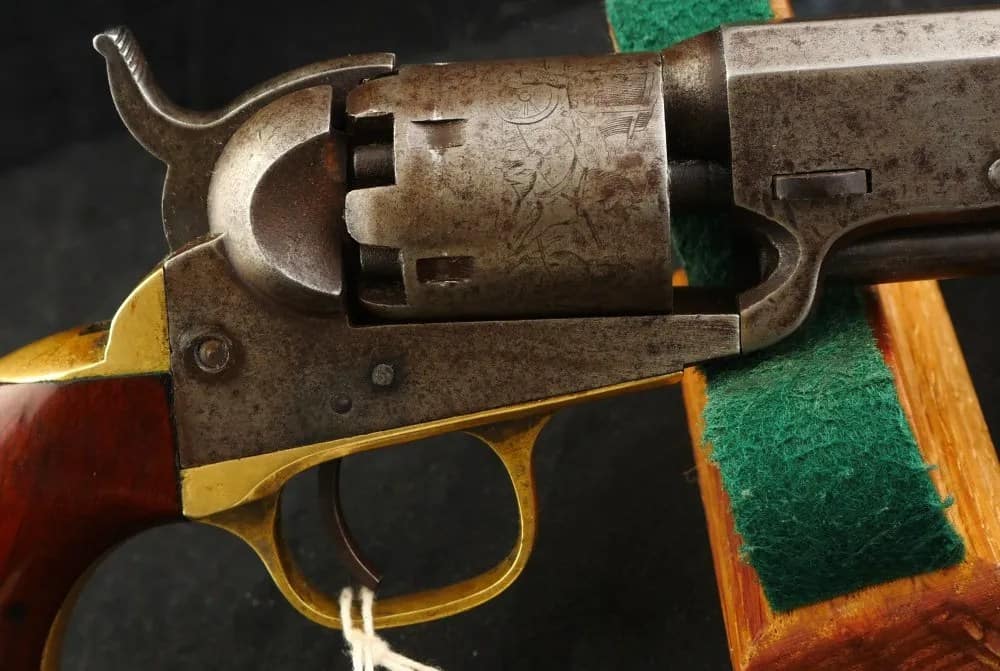
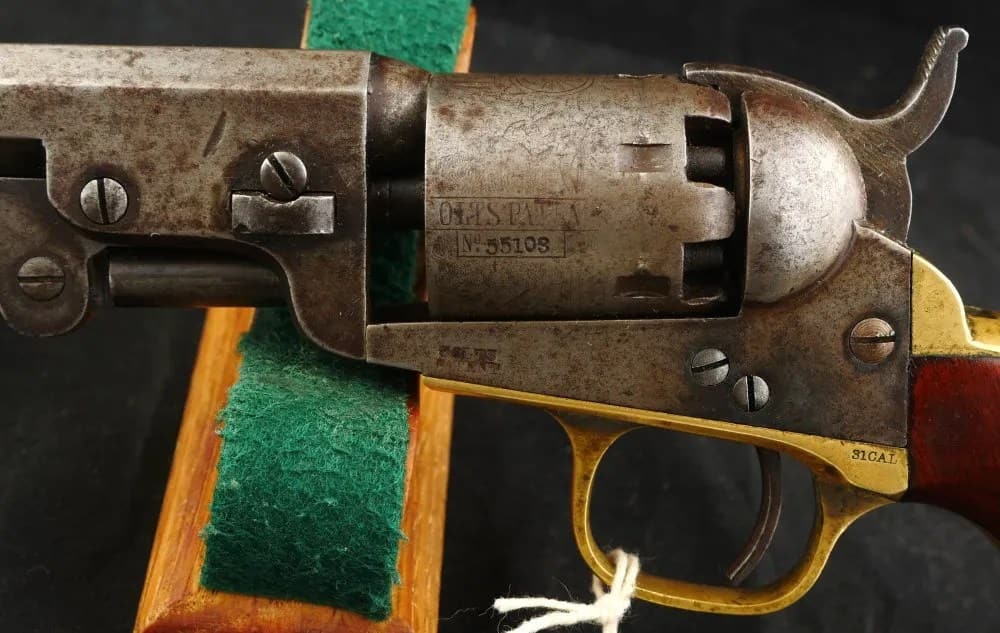
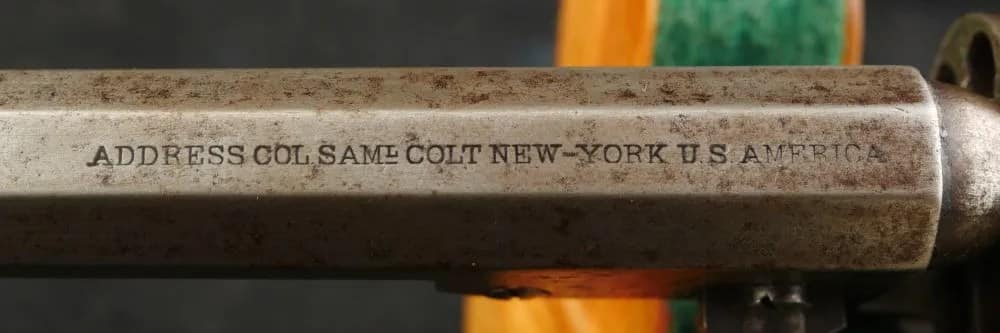
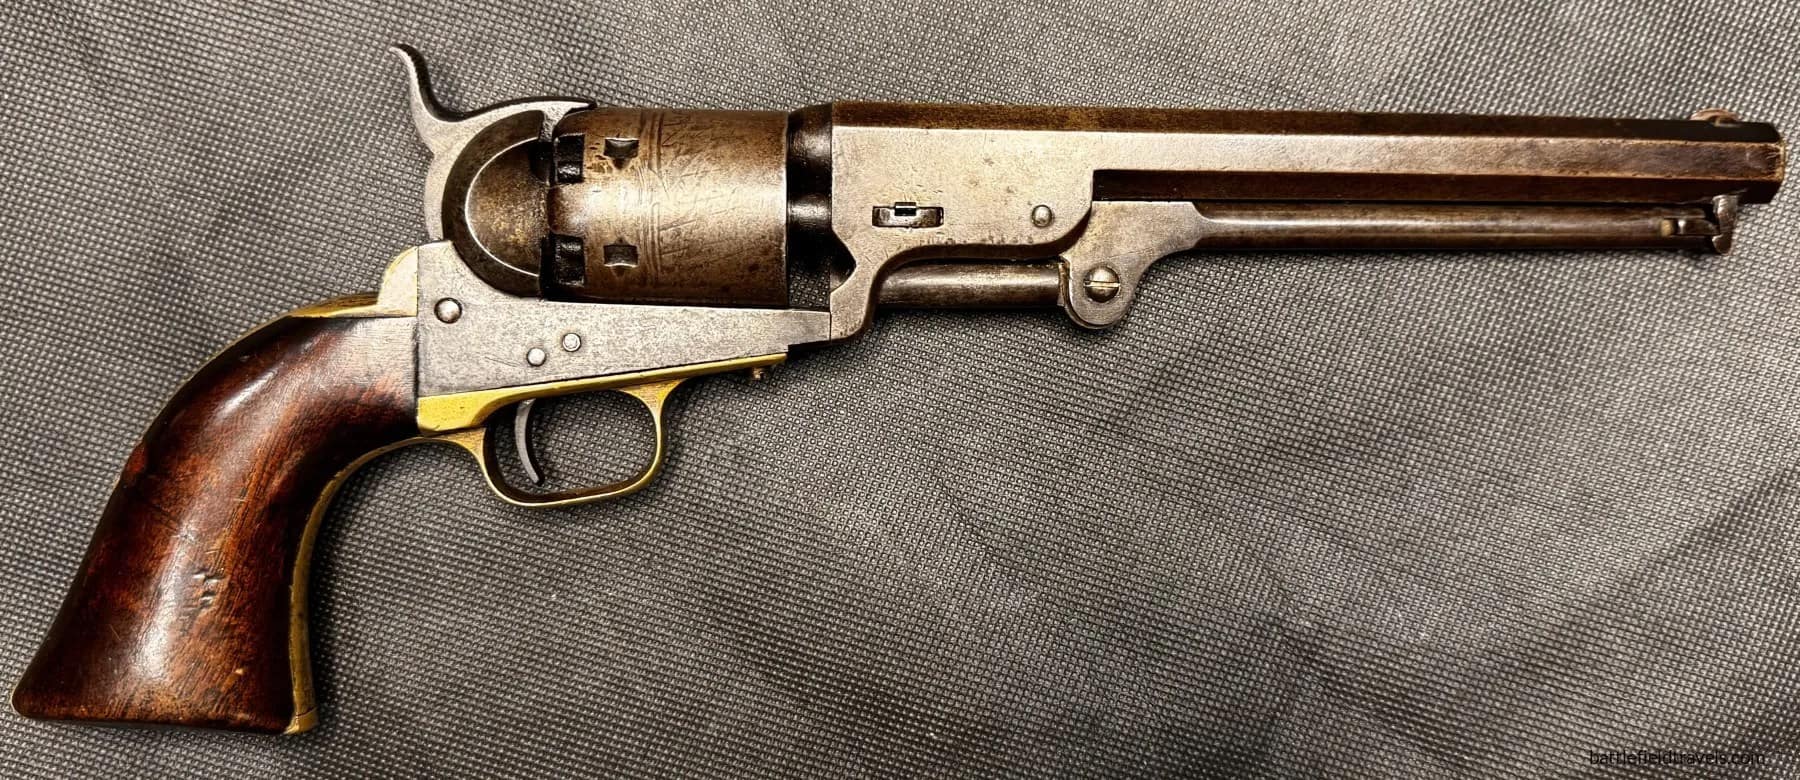
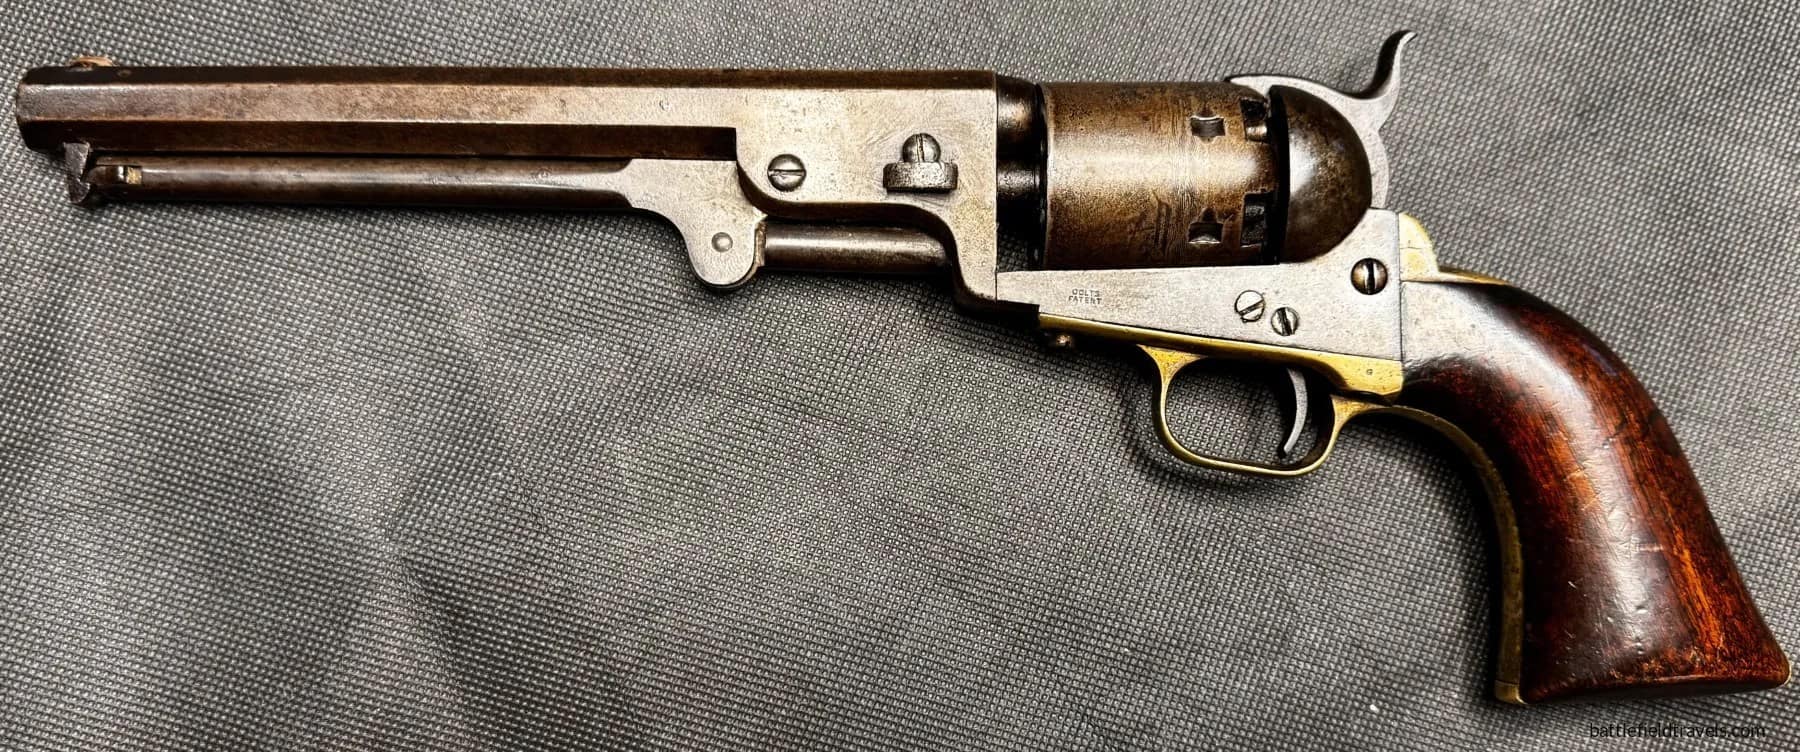
Model 1849 Colt Pocket, 6″ barrel, .31″ caliber. From my personal collection.

The Colt Model 1849 Pocket revolver was the most widely produced Colt percussion handgun, chambered in .31 calibre. Intended as a compact civilian and officer’s sidearm, it featured a five-shot cylinder, slender profile, and, in this example, the longer 6-inch barrel for improved accuracy. Though not a frontline cavalry weapon, the 1849 Pocket was privately purchased by officers, scouts, surgeons, and staff across both armies, making it one of the most commonly carried personal sidearms of the Civil War.


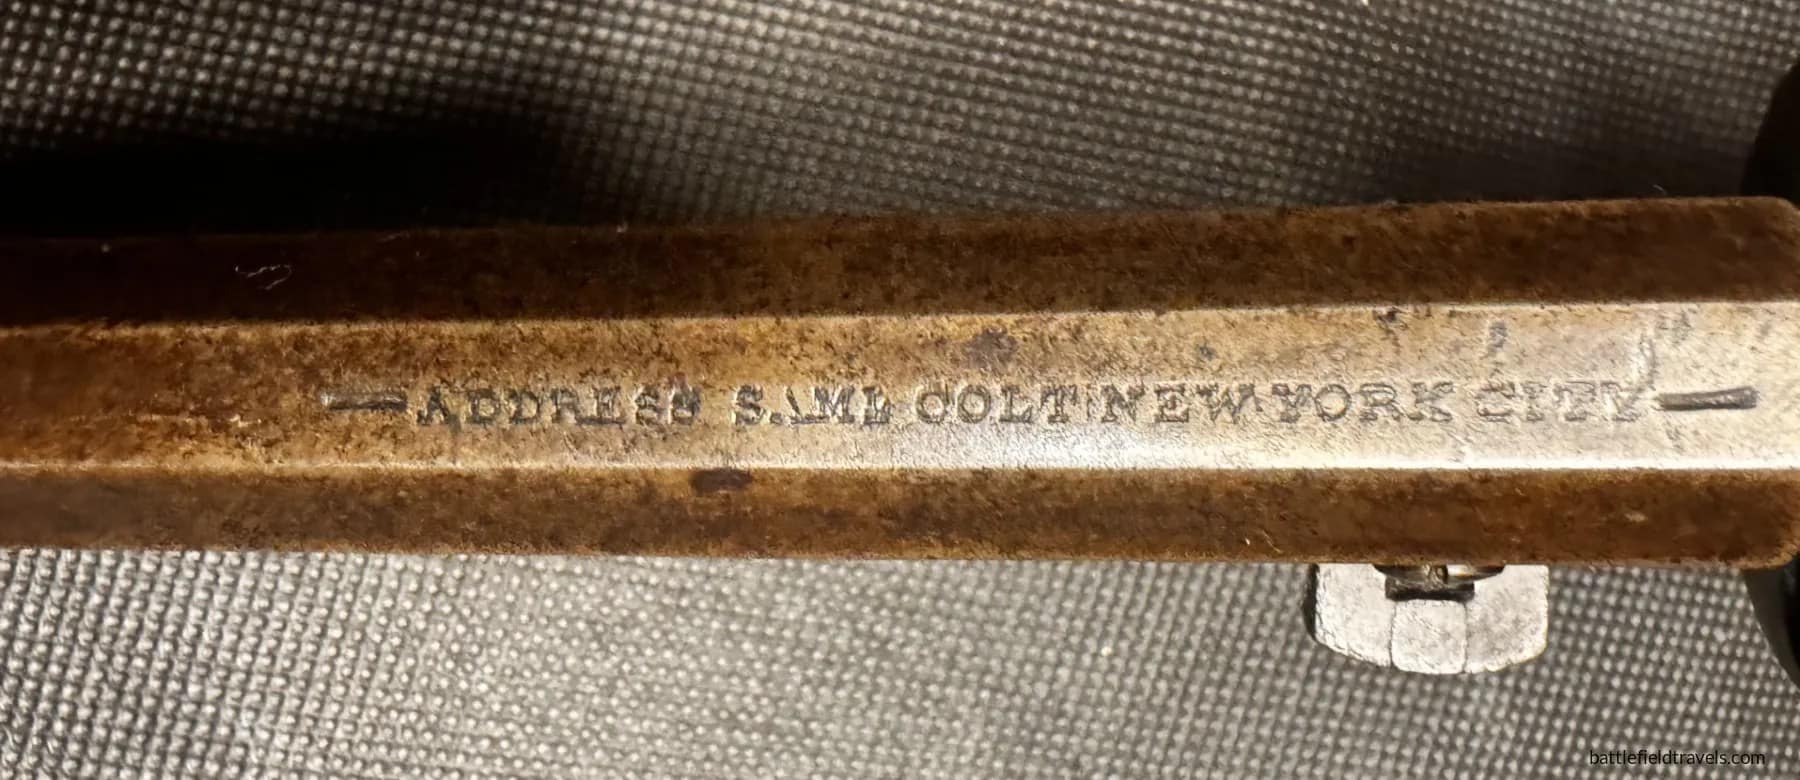
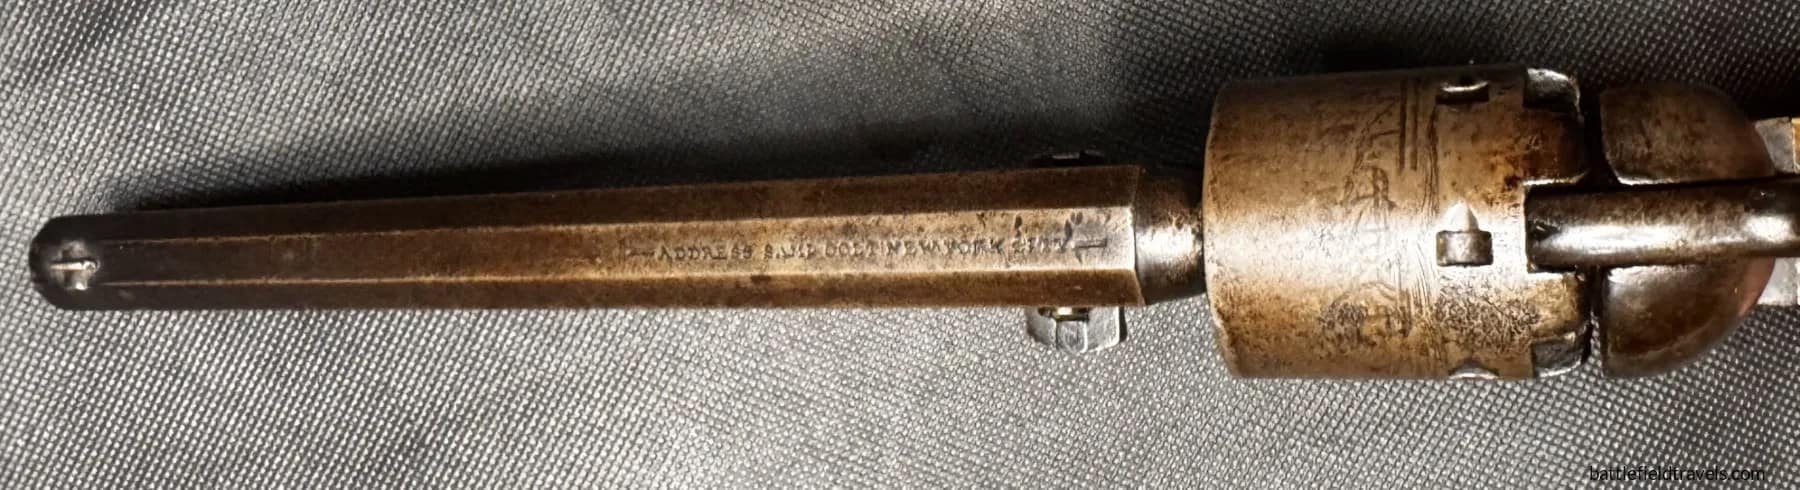
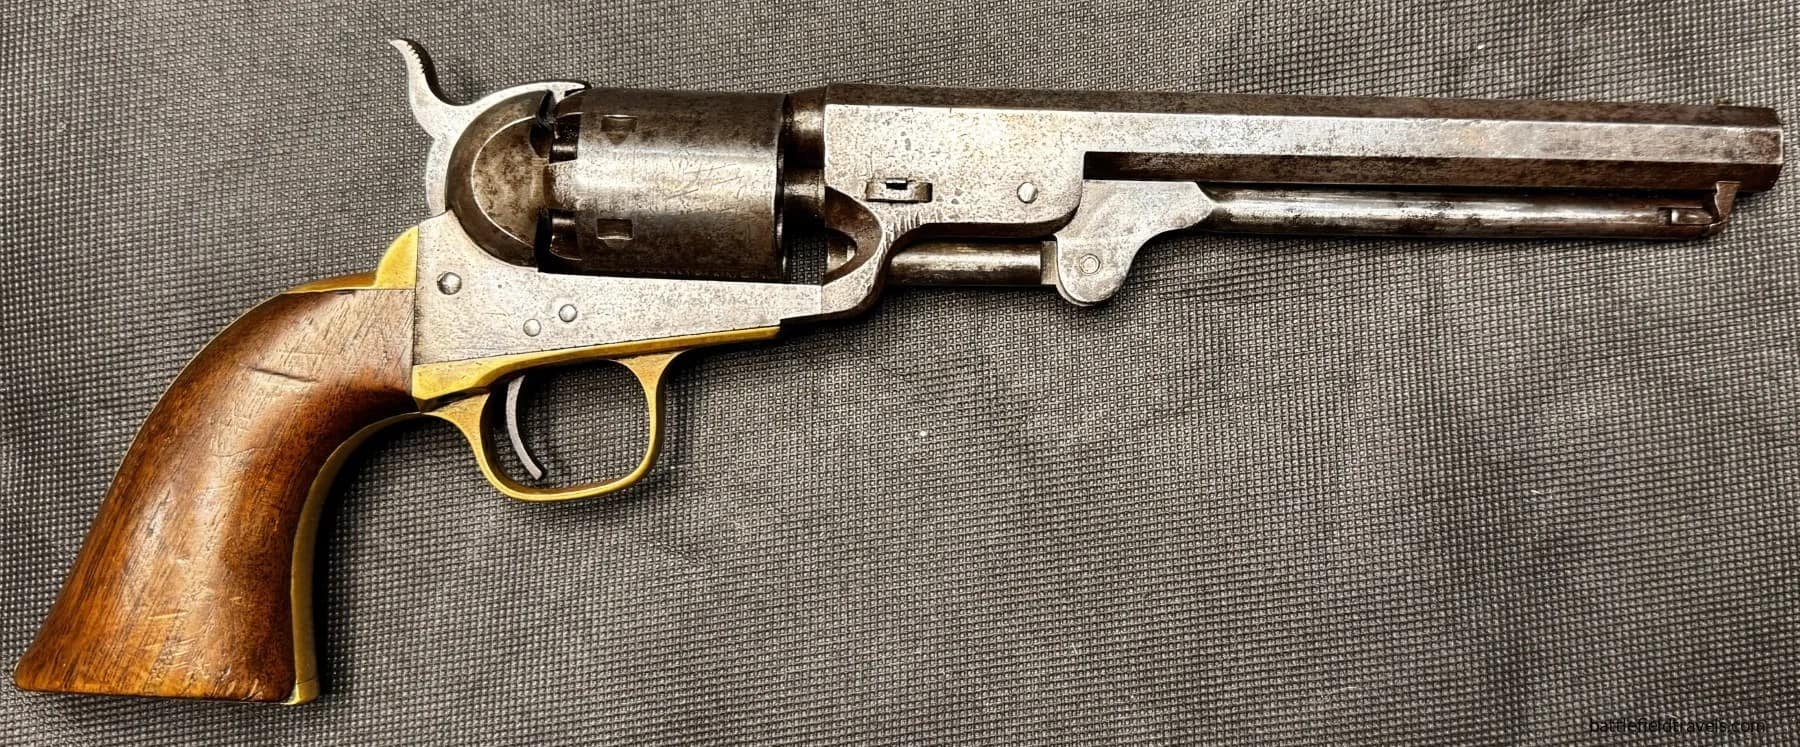
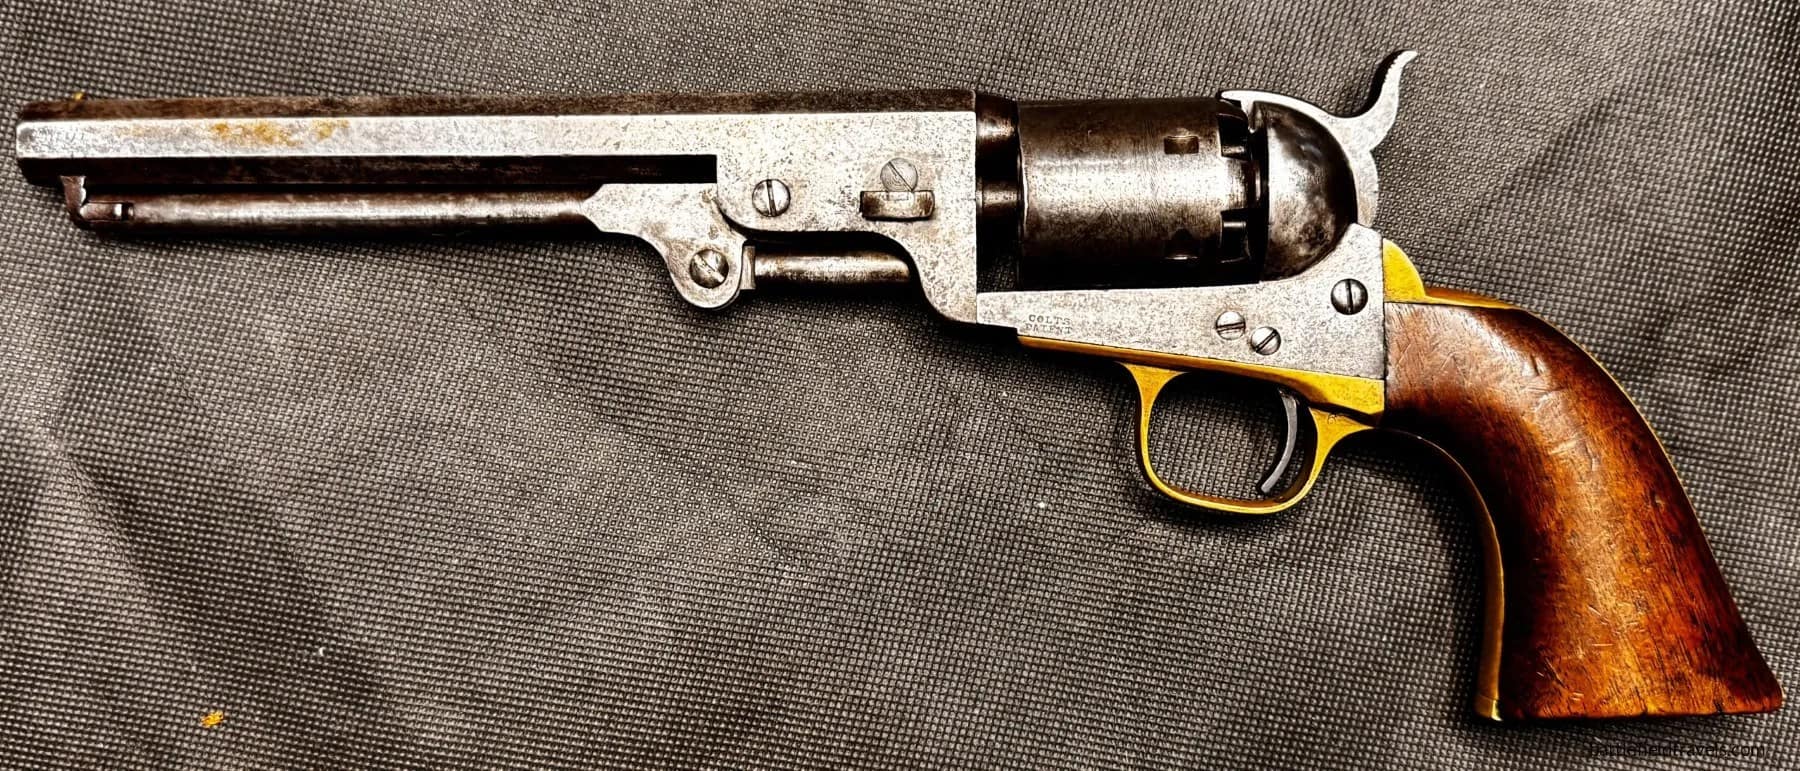
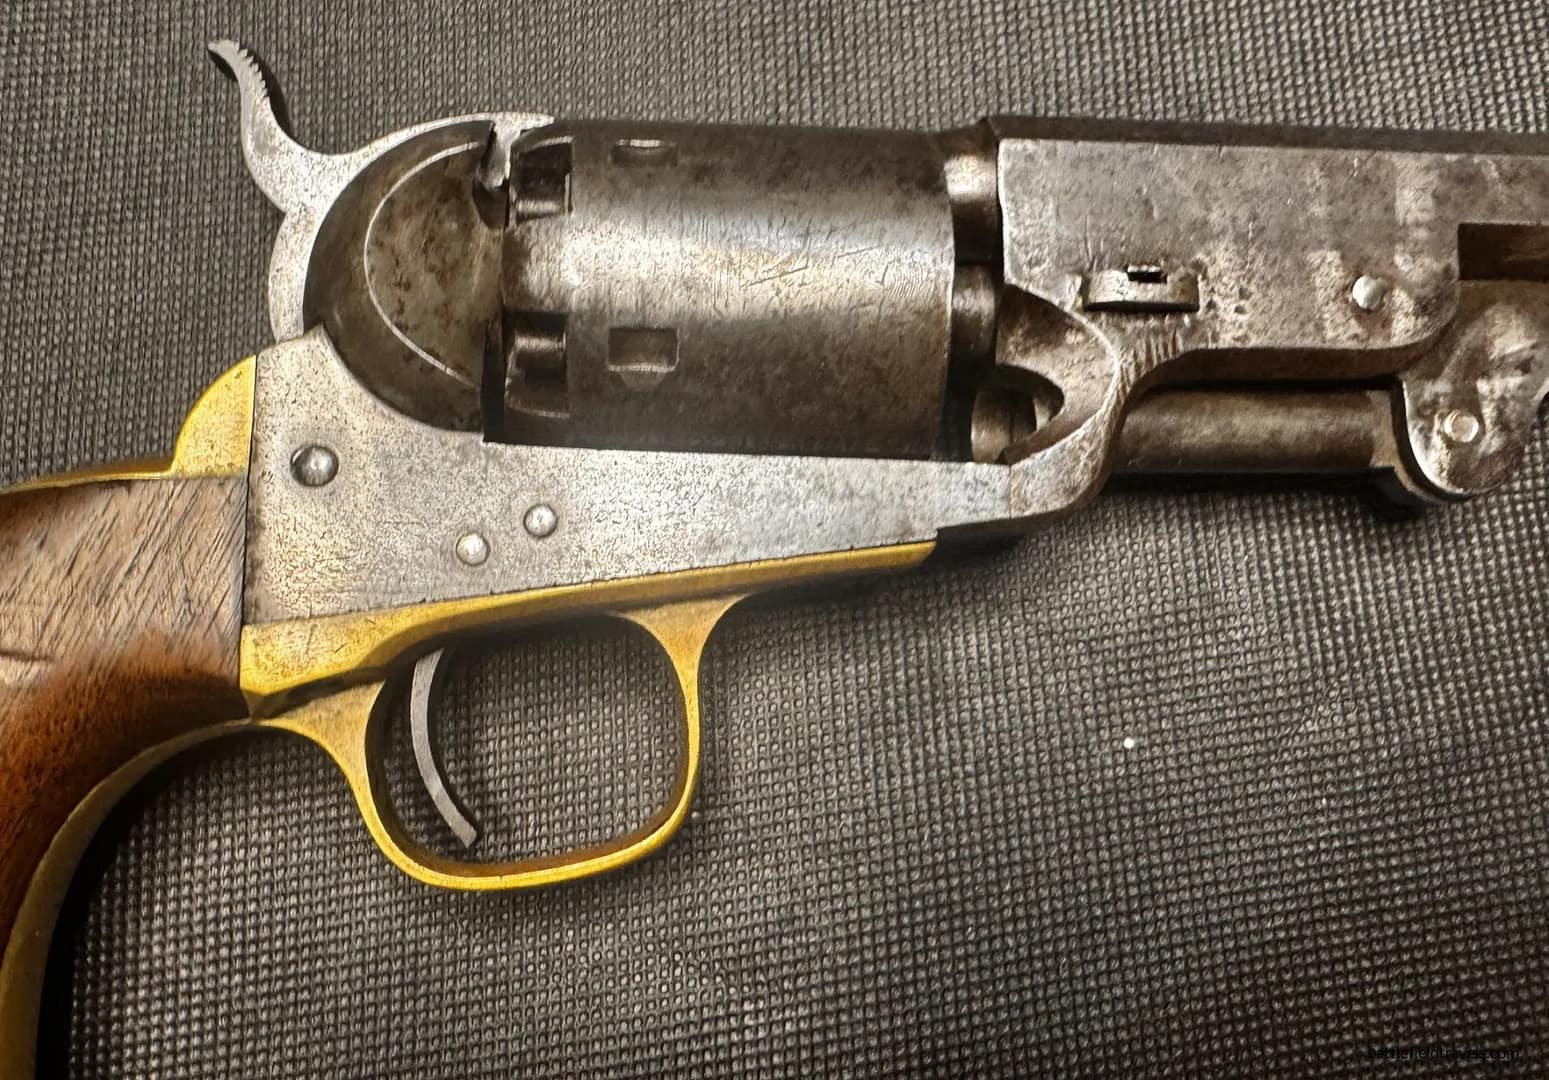
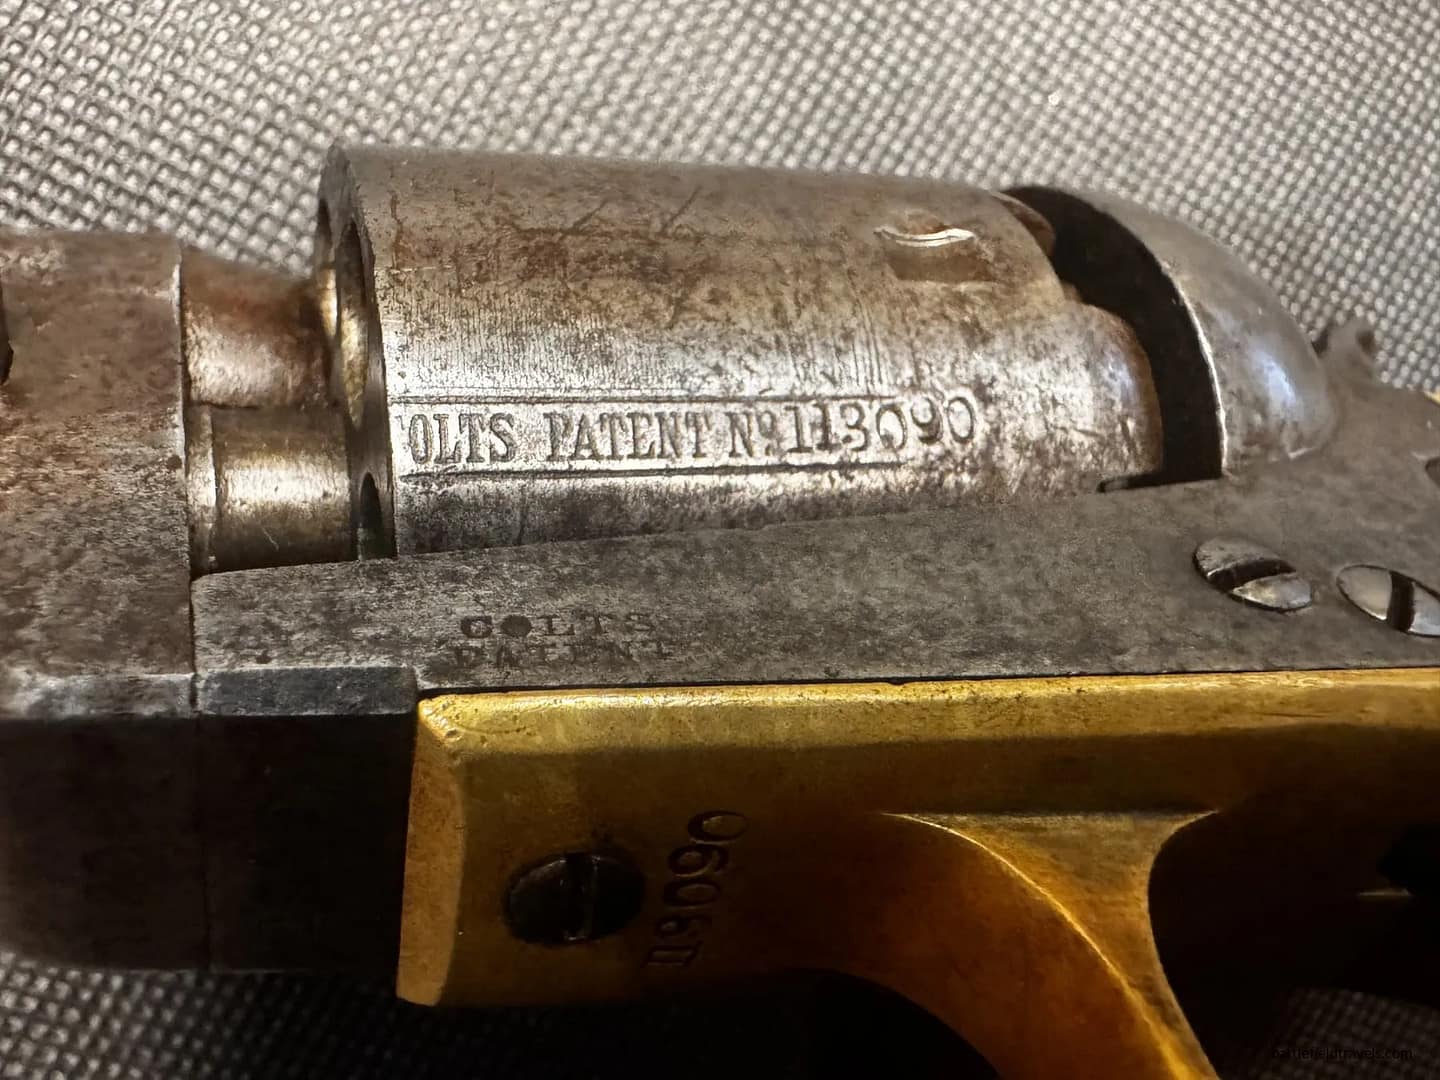
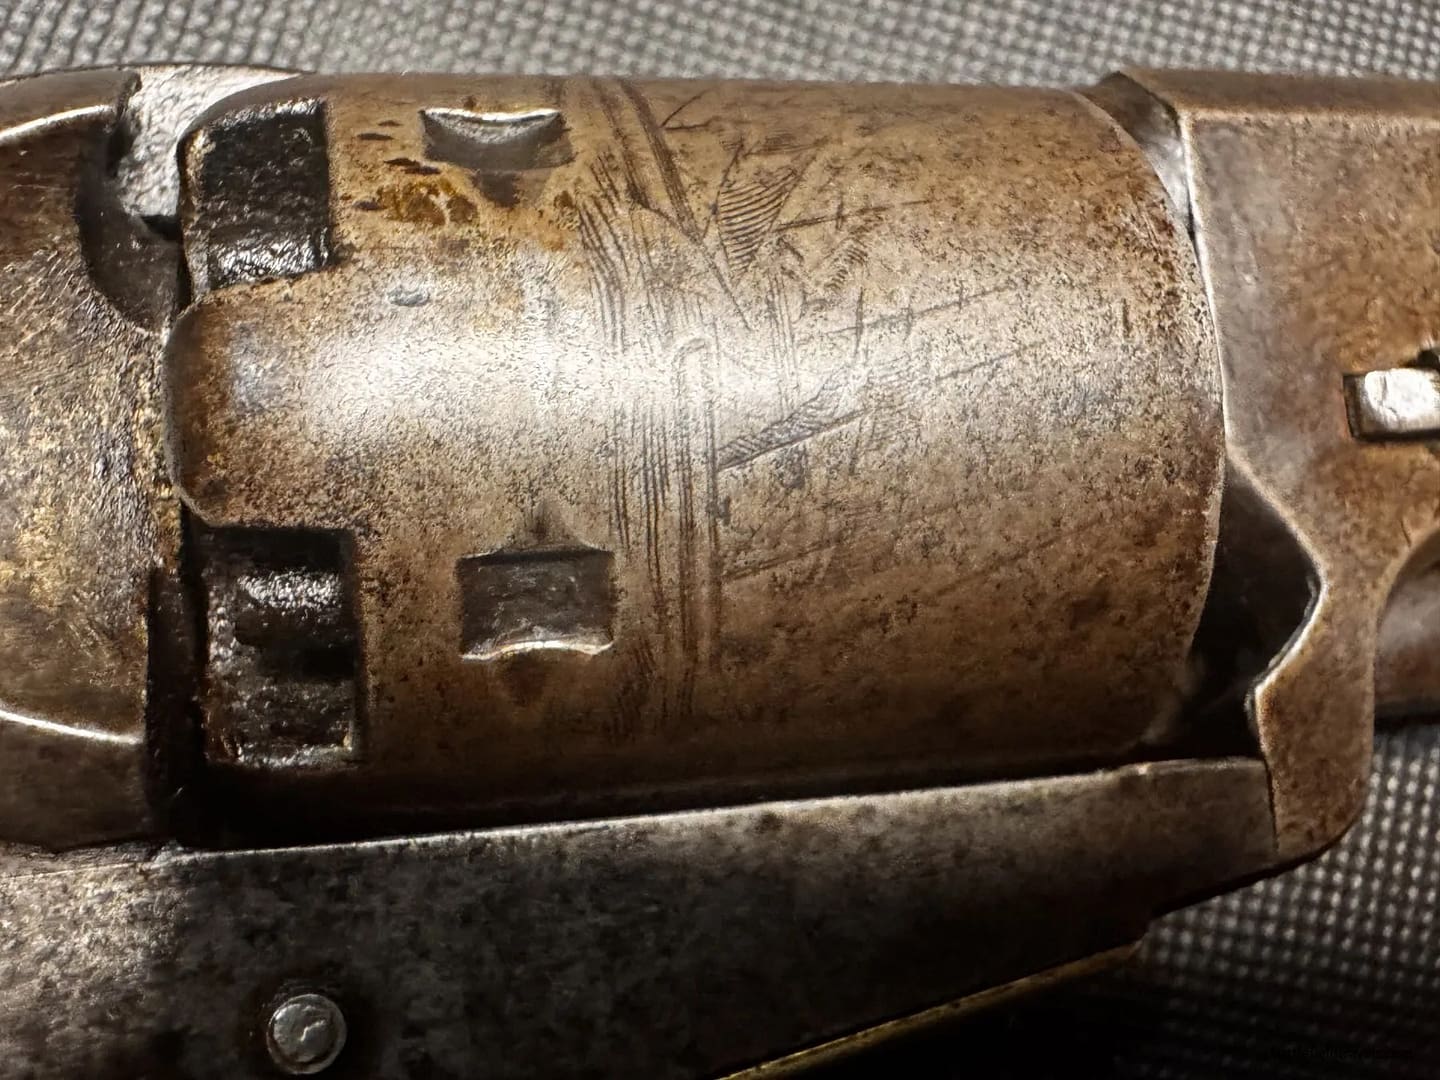
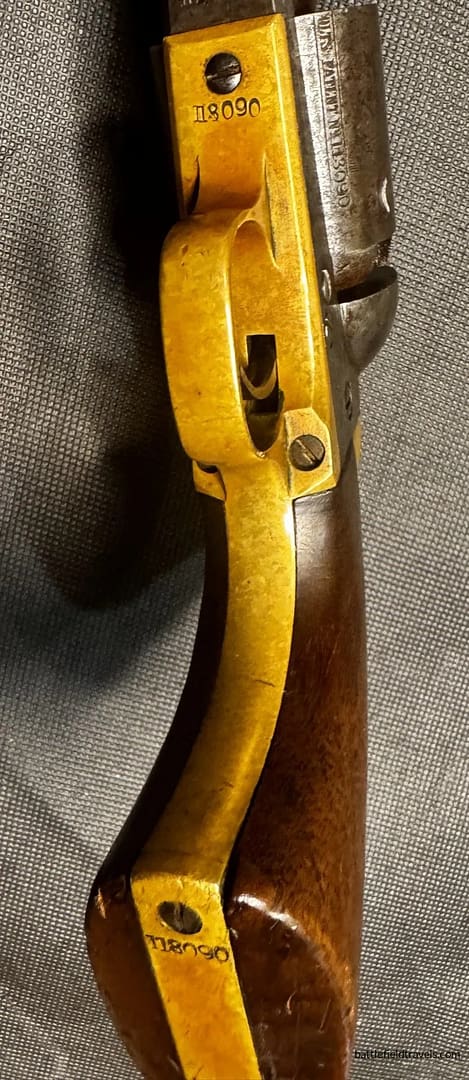
Model 1851 Colt Navy revolver .36″ caliber. From my personal collection.

The Colt Model 1851 Navy was a .36-calibre percussion revolver and one of the most iconic handguns of the mid-19th century. Featuring an octagonal barrel, six-shot cylinder engraved with the Texas Navy battle scene, and excellent balance, it became the preferred sidearm of many officers and naval personnel. Widely used by both Union and Confederate forces, the 1851 Navy gained a reputation for accuracy, reliability, and handling, remaining in service long after the war.


Subscribe to Battlefield Travels and receive a free E-Book Battlefield Guide

Unlock expert battlefield analysis, campaign reconstructions, and historical insights drawn from firsthand exploration and primary sources.

🗺️ You’ll receive:

🎖️ Exclusive historical insights you won’t find elsewhere

📘 A free eBook: 10 Tips for Exploring Historic Battlefields

📰 New battlefield studies straight to your inbox as they are published


The Bigeard 'Lizard' cap in TAP camouflage, iconic Algerian War headdress
The Bigeard ‘Lizard’ cap in TAP camouflage, iconic Algerian War headdress

Overview of the Algerian War

The Algerian War (1954–1962) was the decisive and violent struggle that ended more than a century of French rule in Algeria. Fought between French forces and the FLN (Front de Libération Nationale), the conflict combined guerrilla warfare, terrorism, counter-insurgency operations, and political confrontation. What began with the FLN’s coordinated attacks on 1 November 1954 escalated into a nationwide war, with rural guerilla units operating from the Aurès, Kabylie, and Constantinois while urban networks waged a campaign of bombings, assassinations, and strikes.

France deployed conscripts, colonial troops, and elite formations including the Foreign Legion, parachute regiments, and specialised counter-insurgency units. Major operations such as the Battle of Algiers (1957), the Morice Line campaign, and offensives in the Atlas Mountains demonstrated the tactical effectiveness of French forces. Still, they failed to break the FLN’s political momentum. The war became increasingly divisive within France, contributing to the collapse of the Fourth Republic and the return of Charles de Gaulle.

The Evian Accords of March 1962 brought an end to hostilities, granting Algerian independence and triggering a mass exodus of European settlers and loyalist Muslim auxiliaries. The conflict left deep political, social, and military legacies in both France and Algeria.


Headgear and uniforms


French Algerian War grouping, LT Roquefeuil, 13e Régiment de Dragons Parachutistes. From my personal collection.

TAP 47/56 camouflage uniform, TAP 47/56 green smock and trousers, Dress uniform, Kepi, kit bag, US M1951 cold weather cap, Red beret, Khaki cotton beret


Foreign Legion Kepi, enlisted soldier, Algerian War era. From my personal collection.

The kepi blanc is the defining symbol of the French Foreign Legion, issued to legionnaires upon completion of basic training. Constructed from white cotton with a stiffened crown, leather chinstrap and legion grenade buttons, it served as a dress and garrison cap for Legion units deployed in Algeria. During the war, the kepi blanc was typically worn behind the lines, with field caps or helmets used in operations. Its distinctive appearance reflects the Legion’s unique identity, traditions, and multinational character during counter-insurgency campaigns.

Foreign Legion Kepi, enlisted soldier, Algerian War era

French Model 1951 Combat Helmet. Korea/AlgeriaFrom my personal collection.

The French Model 1951 helmet, based closely on the U.S. M1 pattern, was adopted after WW2 and issued to French forces serving in Korea (1950–1953) as part of the UN contingent. Featuring a double-shell system with a steel outer shell and composite liner, it offered improved comfort and ballistic protection. The M51 later equipped airborne, Foreign Legion, and colonial units in Algeria. Its dual service in Korea and North Africa makes it one of France’s most recognisable post-war combat helmets.


US MC1 Paratrooper Helmet. Front seam, Swivel Bail. Late WW2, Korea, Indochina, Algeria. From my personal collection.

This airborne-pattern M1 helmet features the early front-seam rim and later swivel-bail chinstrap loops adopted from 1943. Used by U.S. airborne and specialist infantry units during the Korean War, the helmet provided improved ballistic protection and a stable platform for winter covers, camouflage nets, and cold-weather liners. It was worn in operations from the Naktong Bulge to the Chosin Reservoir and throughout the fluid manoeuvre phase of 1950–51, remaining a standard U.S. helmet well into the 1960s.


French Algerian War grouping, Andre Pirrard, 3rd Regiment Colonial Paratroopers. From my personal collection.

TAP/56 camouflage uniform and ‘Bigeard’ lizard cap, medla certificate. This grouping relates to André Pirrard, a paratrooper of the elite 3e RPC, one of the most active airborne units of the Algerian War under Colonel Marcel Bigeard. It includes:

  • TAP 56 Camouflage Uniform. A late-war airborne pattern featuring lizard camouflage (tenue léopard), reinforced seams, and multiple cargo pockets designed for mountain and urban counter-insurgency operations.
  • “Bigeard” Lizard Cap. The iconic short-brimmed field cap introduced by General Bigeard, ideal for reconnaissance and close-quarter engagements.
  • Medals and Award Certificates. Documenting Pirrard’s operational deployments, airborne qualifications, and service in major 3e RPC operations in the Aurès, Kabylie, and Algiers sectors.

This grouping exemplifies the equipment, uniforms, and decorated service of France’s most famous parachute regiment during the Algerian War.


Subscribe to Battlefield Travels and receive a free E-Book Battlefield Guide

Unlock expert battlefield analysis, campaign reconstructions, and historical insights drawn from firsthand exploration and primary sources.

🗺️ You’ll receive:

🎖️ Exclusive historical insights you won’t find elsewhere

📘 A free eBook: 10 Tips for Exploring Historic Battlefields

📰 New battlefield studies straight to your inbox as they are published


Boer War British Lee Enfield Mark 1

Overview of the Anglo-Boer War

The Anglo–Boer War (1899–1902) was fought between the British Empire and the two Boer republics—the South African Republic (Transvaal) and the Orange Free State—for control of the Highveld and its strategic goldfields. The war opened with Boer offensives into Natal and the Cape Colony, followed by a series of British reverses during “Black Week” in December 1899. After the arrival of large British reinforcements, a counter-offensive relieved the besieged towns of Ladysmith, Kimberley, and Mafeking, followed by the capture of Bloemfontein and Pretoria in 1900.

Conventional warfare then gave way to a long, attritional guerrilla phase. Boer commandos, operating in mobile mounted groups, targeted rail lines, garrisons, and supply depots. In response, the British implemented a wide-ranging counter-insurgency campaign involving blockhouse lines, armoured trains, scorched-earth operations, and the controversial concentration camp system for civilians.

By 1902, sustained pressure, loss of mobility, and destruction of resources forced the Boer leadership to negotiate the Treaty of Vereeniging, ending the conflict and placing both republics under British sovereignty. The war marked a turning point in British imperial military practice, influencing later doctrine, field organisation, and mounted infantry development, and left a lasting political legacy in South Africa.


Weapons of the Second Anglo-Boer War


Lee Enfield Mk 1 1901, dated 1901, from my personal collection.

This Lee–Enfield Mk I rifle, dated 1901, represents the improved magazine-fed bolt-action rifle introduced during the latter stages of the Boer War. Chambered in .303 British and fitted with the early long-range volley sights, it offered rapid fire and reliability in harsh field conditions. Although many British units still carried the earlier Lee–Metford or converted rifles in 1899–1900, the Mk I Lee–Enfield increasingly equipped regular and colonial infantry from 1901 onward, reflecting the shift toward modern magazine rifles during the conflict.


Boer War Pattern 1888 Mk.I Type II Lee-Metford Bayonet. From my personal collection.

The Pattern 1888 Mk.I Type II bayonet was introduced for the British Army’s Lee-Metford rifle, reflecting the late-Victorian shift toward smaller calibre magazine rifles and modern infantry equipment. Featuring a double-edged blade with a distinctive narrow fuller and steel crossguard, it replaced earlier sword bayonets with a lighter, more practical design suited to the new style of infantry combat. The Type I can be distinguished by the single large brass rivet and two smaller brass rivets securing the wood grips. Manufactured by several British contractors from the late 1880s, it remained in service into the early twentieth century, including the early years of the Boer War and the transition to the Lee-Enfield system.


Boer War Pattern 1888 Mk.I Type II Lee-Metford Bayonet. From my personal collection.

The Pattern 1888 Mk.I Type II bayonet was introduced for the British Army’s Lee-Metford rifle, reflecting the late-Victorian shift toward smaller calibre magazine rifles and modern infantry equipment. Featuring a double-edged blade with a distinctive narrow fuller and steel crossguard, it replaced earlier sword bayonets with a lighter, more practical design suited to the new style of infantry combat. The Type II can be distinguished by the two large brass rivets securing the wood grips. Manufactured by several British contractors from the late 1880s, it remained in service into the early twentieth century, including the early years of the Boer War and the transition to the Lee-Enfield system.


Headgear and uniforms


Boer War-era Australian slouch hat – Victorian Mounted Rifles, from my personal collection.

This Boer War–era Australian slouch hat belonged to a trooper of the Victorian Mounted Rifles. Made from khaki felt with the left brim turned up, it features the distinctive lion-head side clip used by Victorian colonial forces before Federation. Worn in South Africa between 1899 and 1902, these hats were paired with khaki uniforms and regimental badges. The slouch hat became a symbol of Australian mounted infantry service in the war, preceding its later adoption across the Commonwealth.
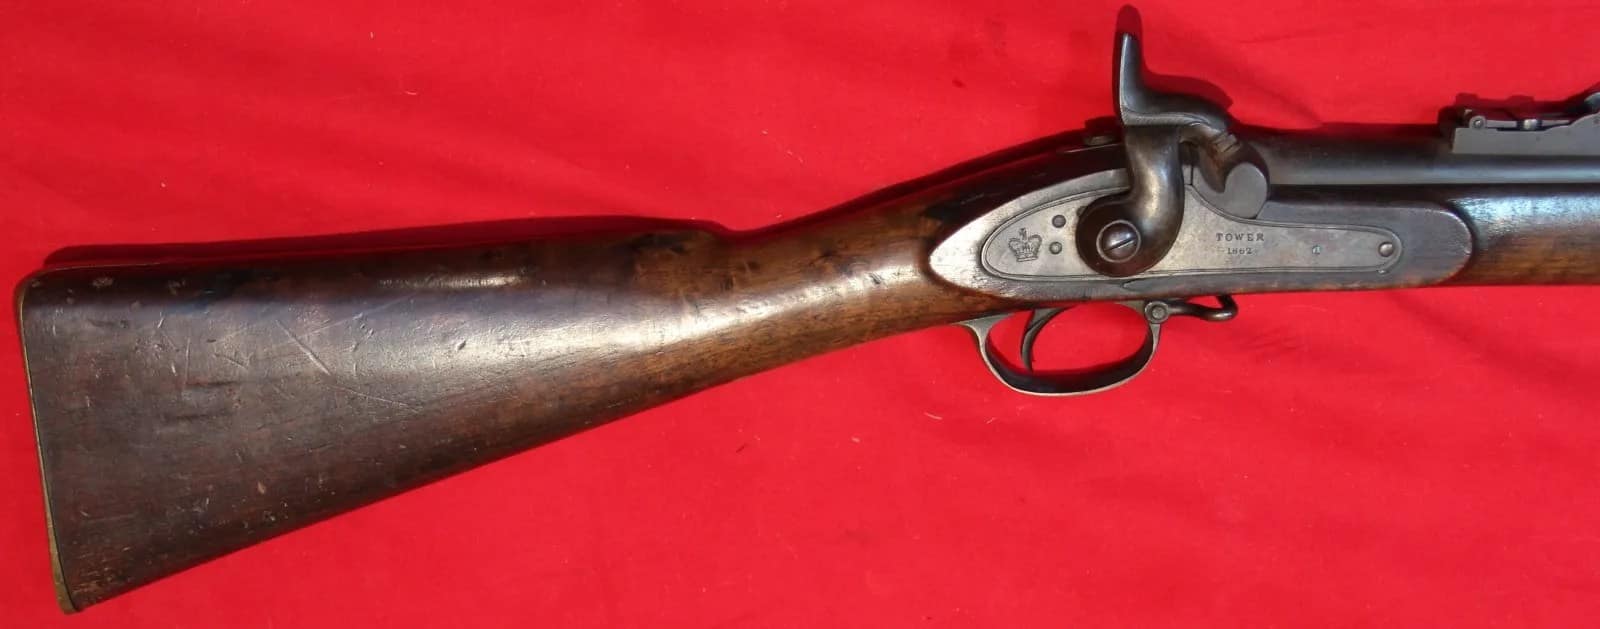

Boer War-era British Tropical Helmet, from my personal collection.
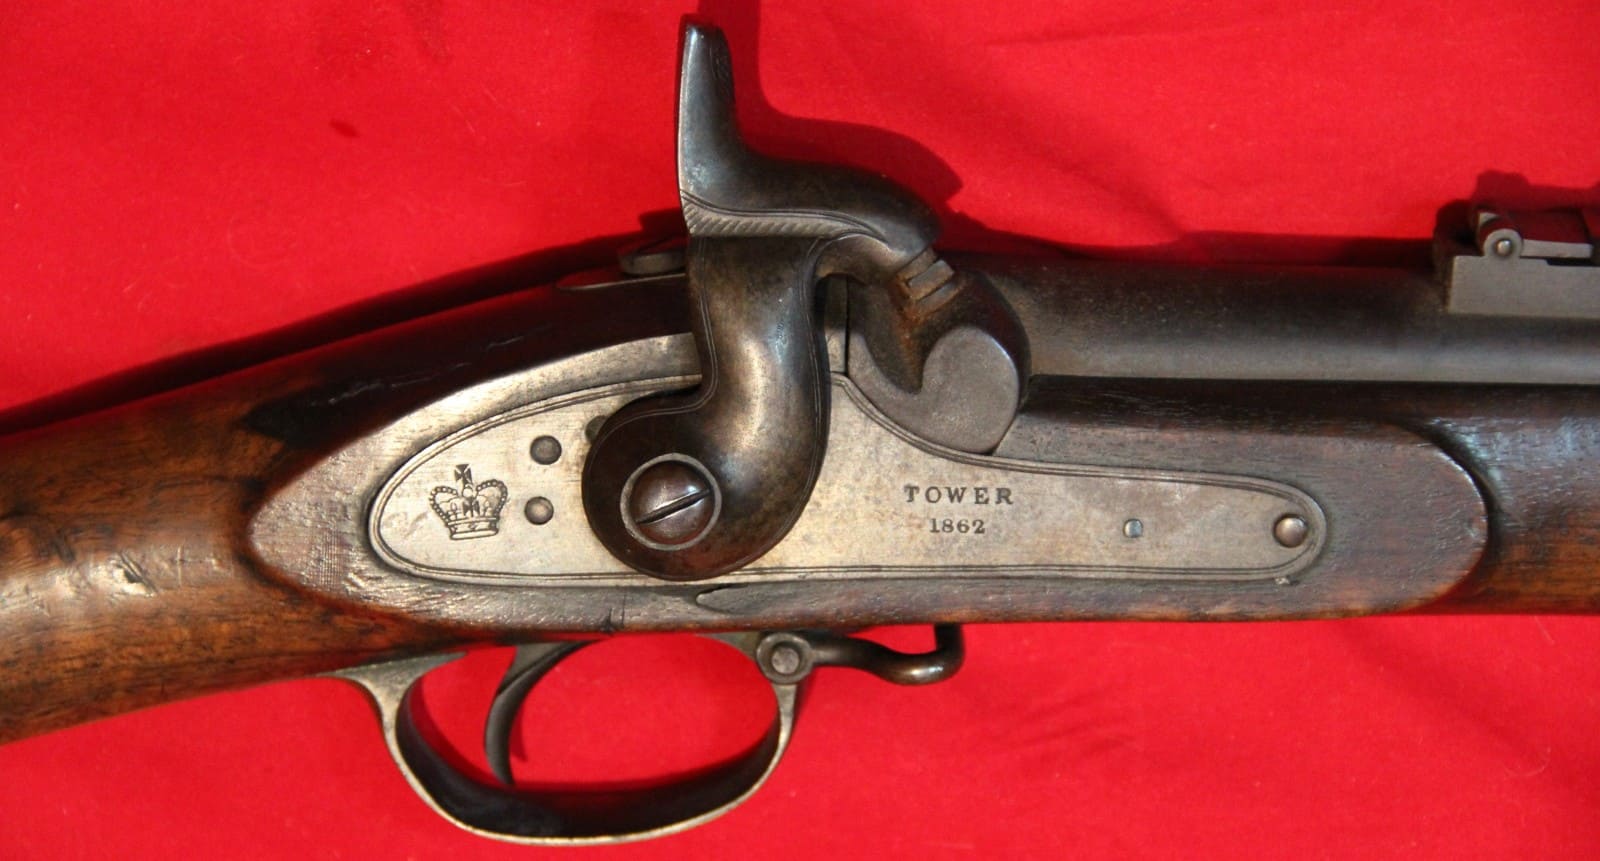
The British tropical helmet of the Boer War period was a sun helmet made of cork or pith covered in khaki cloth, designed for service in the hot, dry climate of the South African veldt. Issued widely to British and colonial troops, it offered shade and limited impact protection but was unsuitable for mounted action, where many soldiers preferred slouch hats or felt field caps. The tropical helmet remains closely associated with early-war British uniforms prior to the adoption of more practical campaign dress.
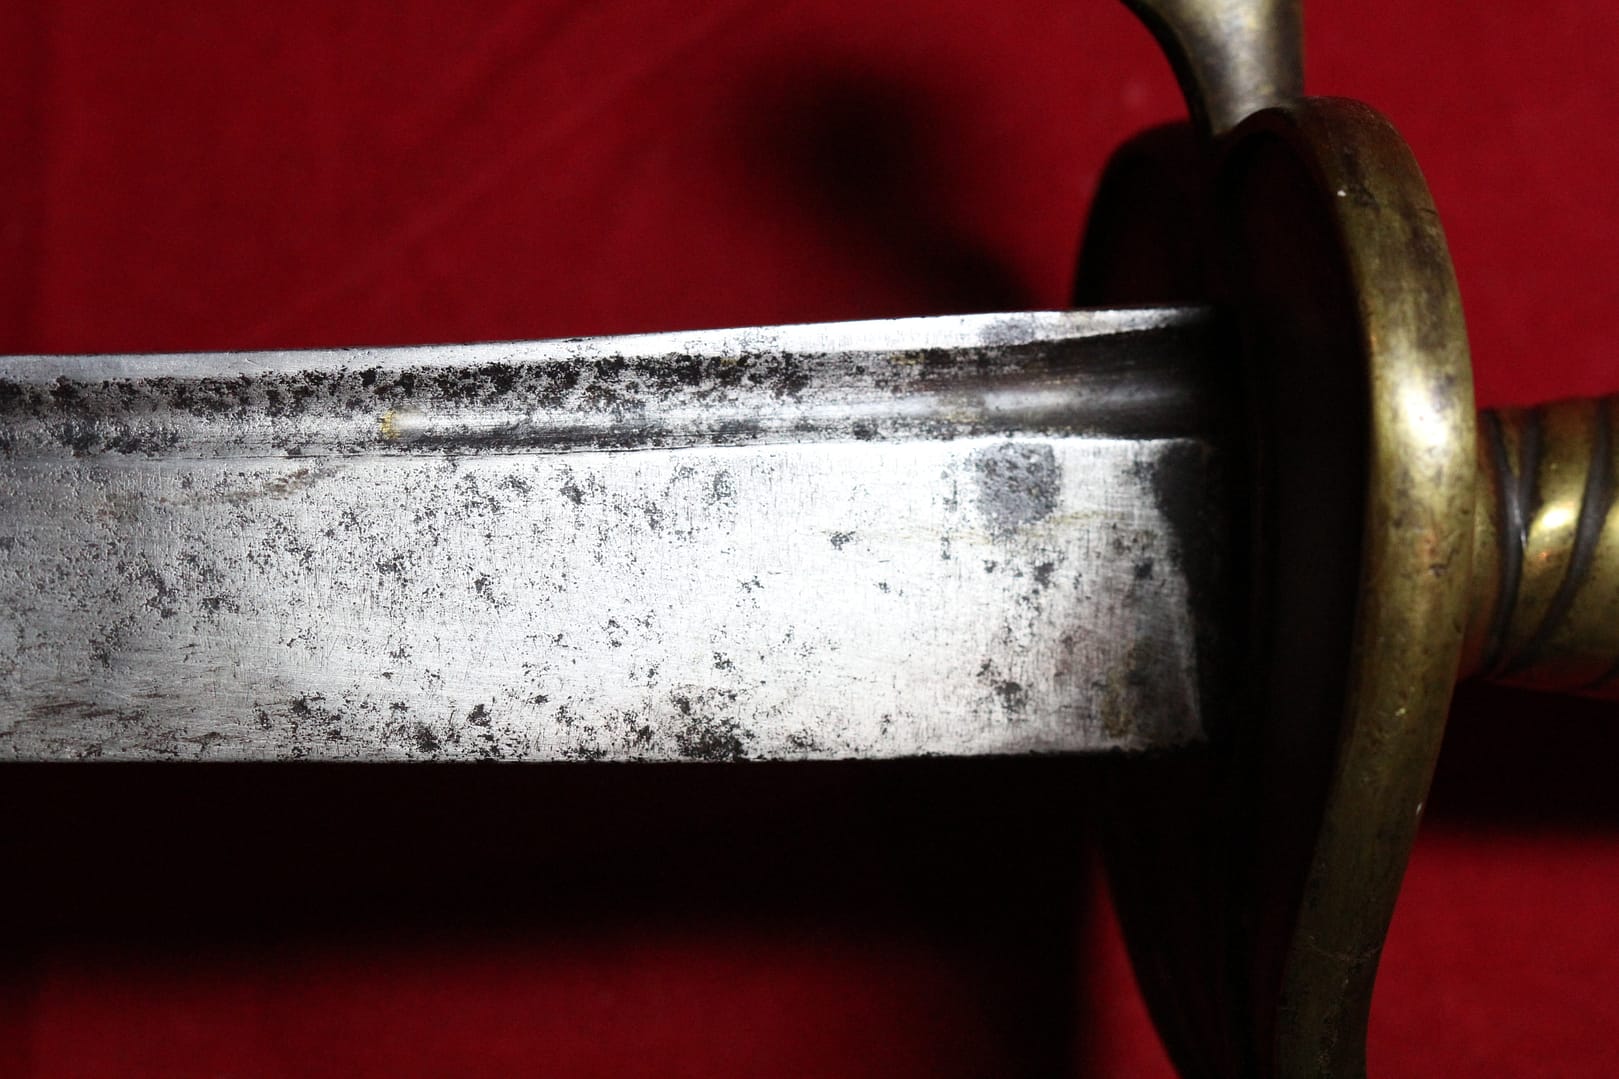

Accoutrements


PTE Williams Glosters WW1 trio plus QSA with clasps Orange Free State & Cape Colony, and KSA with clasps 1901 & 1902. From my personal collection.

An Original Full Size Military Boer War & WWI Medal Group.

  • Queens South Africa, Medal With Two Bars/Clasps: Transvaal. Orange Free State. Cape Colony. 2nd Type With Ghost Dates.
  • Kings South Africa, with clasps 1901 and 1902
  • Mons Star With 5th Aug-22nd Nov Clasp,
  • WWI British War Medal
  • Victory Medal
  • (QSA)
  • Named to “5701 Pte J.Crossman Glouc: Regt.” Mons 1914 Star Named 2399 Pte J.Crossman 1/Glouc:R. British War & Victory Medals Named “2399 Pte J.Crossman Glouc. R”. (1st Battalion Gloucester Regiment). With Private James Crossman Copied Index Card.


Subscribe to Battlefield Travels and receive a free E-Book Battlefield Guide

Unlock expert battlefield analysis, campaign reconstructions, and historical insights drawn from firsthand exploration and primary sources.

🗺️ You’ll receive:

🎖️ Exclusive historical insights you won’t find elsewhere

📘 A free eBook: 10 Tips for Exploring Historic Battlefields

📰 New battlefield studies straight to your inbox as they are published