Reconstructing Anglo-Boer War battlefields through terrain analysis, primary sources and on-site research
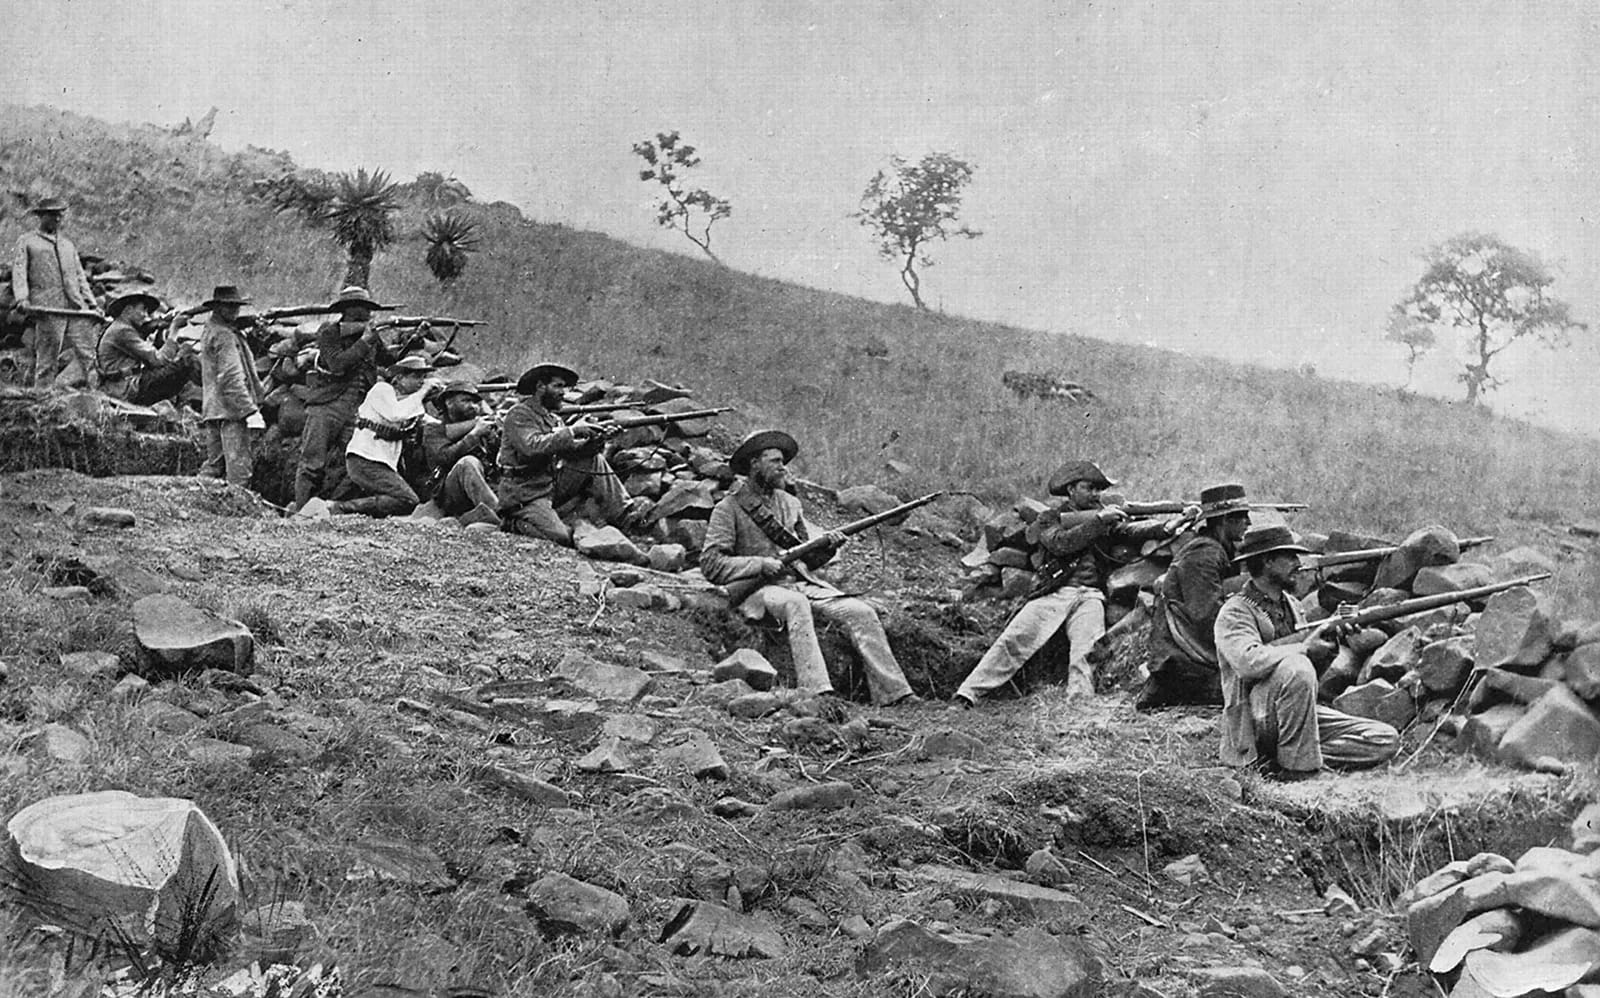
Walking the battlefields of the 2nd Anglo-Boer War, 1899-1902
Origins of the conflict
The Second Boer War erupted in October 1899 after years of tension between the British Empire and the Boer republics of the Transvaal and Orange Free State. Disputes over political rights, imperial influence, and control of the region’s gold resources spiralled into a conflict fought across some of the world’s most distinctive military terrain. Over nearly three years, armies manoeuvred through the high veldt, basalt-topped kopjes, deeply cut river lines, and dominating ridgelines that shaped every operational choice and tactical fight.
How the war unfolded
The war progressed in three broad phases. In the opening months, Boer forces seized the initiative by invading the adjacent British colonies of Natal and the Cape. Boer commandos advanced on the major garrison at Ladysmith, as well as the smaller British-held towns of Mafeking and Kimberley. By mid-October 1899, all three were under siege. A series of smaller clashes characterised the early war, including the British vitory at Elandslaagte, and a Boer ambush of a British armoured train near Chieveley that resulted in the capture of young Winston Churchill. Early British attempts to break these sieges met with costly reverses at Stormberg, Magersfontein, Colenso and Spion Kop — defeats defined by the Boers’ well-sited trenches, smokeless Mauser rifle fire, and exceptional use of dead ground and concealment. With the arrival of major reinforcements and a new commander, the British launched a counter-offensive in early 1900: relieving Ladysmith, Kimberley and Mafeking, and advancing into the Boer republics. The final phase, from late 1900 to 1902, saw the war evolve into a wide-ranging guerrilla struggle, answered by British blockhouse lines, mobile columns, and scorched-earth measures that reshaped both strategy and landscape.
Studying the Boer War battlefields
For the battlefield historian, this is a war where the terrain still speaks with remarkable clarity. The Tugela River crossings preserve the obstacles that constrained British manoeuvre; the summit of Spion Kop offers an unbroken panoramic view of the fight; the Ladysmith approaches retain their tight defiles and dominating high ground; and the open veldt around Elandslaagte and Colenso still conveys the depth and exposure that shaped Boer mobility and British deployments. Each study in this collection draws on period maps, British and Boer primary accounts, contemporary photographs, modern GIS terrain analysis, and firsthand fieldwork to reconstruct how ground, firepower, and command interacted to define each engagement.
These battles mark a watershed between Victorian colonial methods and the small-unit, fire-and-movement tactics that would define the 20th century. The insights gained from walking these fields — at Colenso, Ladysmith, Spion Kop, Elandslaagte, Chieveley and beyond — help illuminate that transition. This collection aims to provide a clear, terrain-focused understanding of how the war was fought, why decisions succeeded or failed, and what the ground still reveals today.
Anglo-Boer War Battlefield Studies
In-depth battlefield analyses based on terrain, primary sources, and on-the-ground exploration.
-
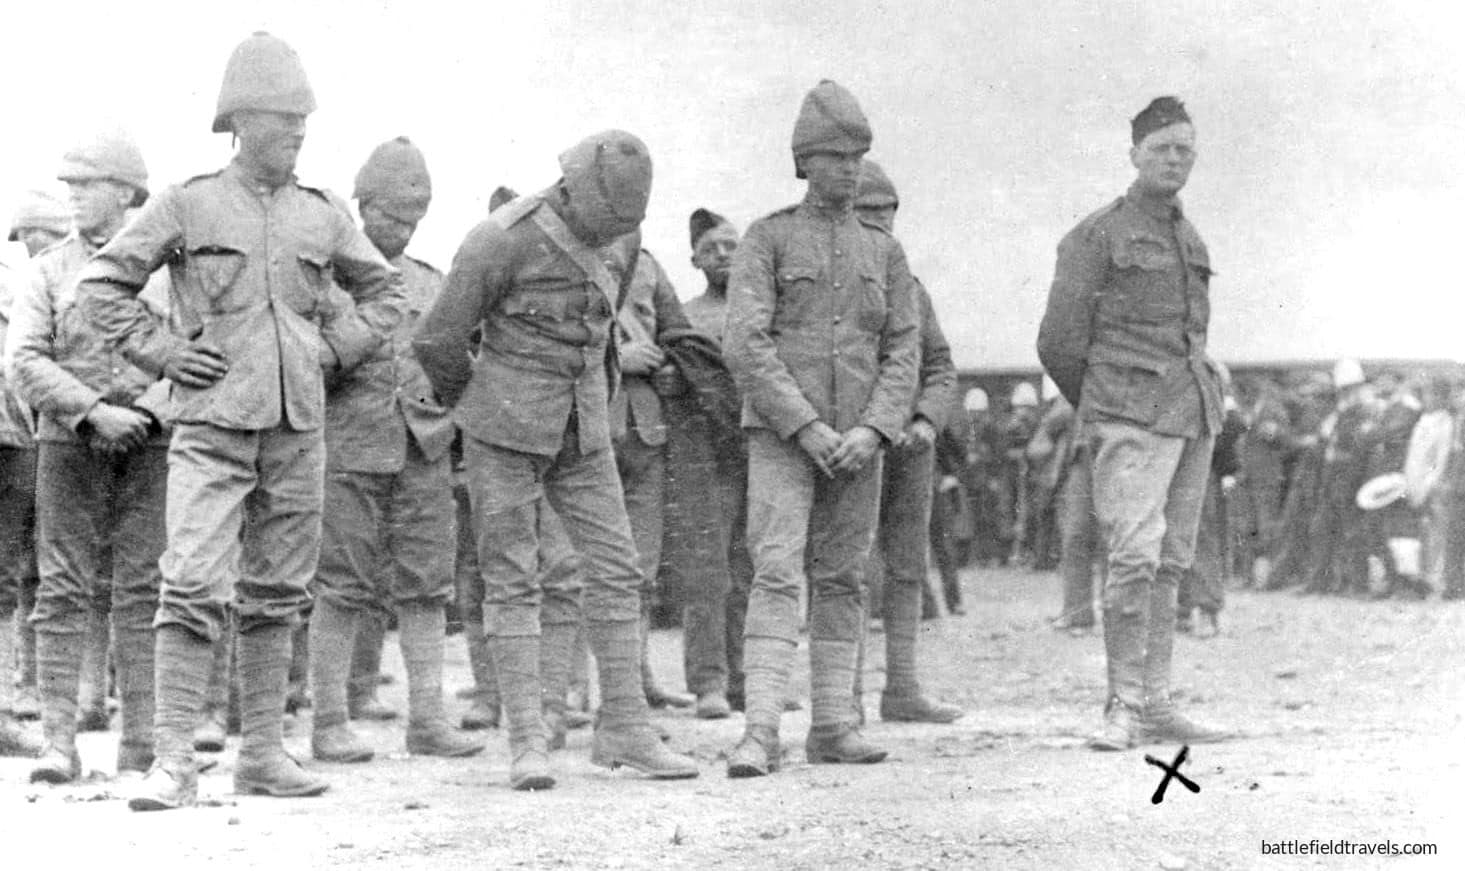
⚔️ Winston Churchill and the Armoured Train Incident: Chieveley, Natal, 15 November 1899

On 15 November 1899, just south of Chieveley Station in Natal, a Boer force lured a British armoured train patrol into a well-placed ambush. On board was 24-year-old war correspondent Winston Churchill, along with about 120 British troops under Captain Aylmer Haldane. Churchill subsequently escaped from captivity and evaded Boer security forces in an extraordinary…
-
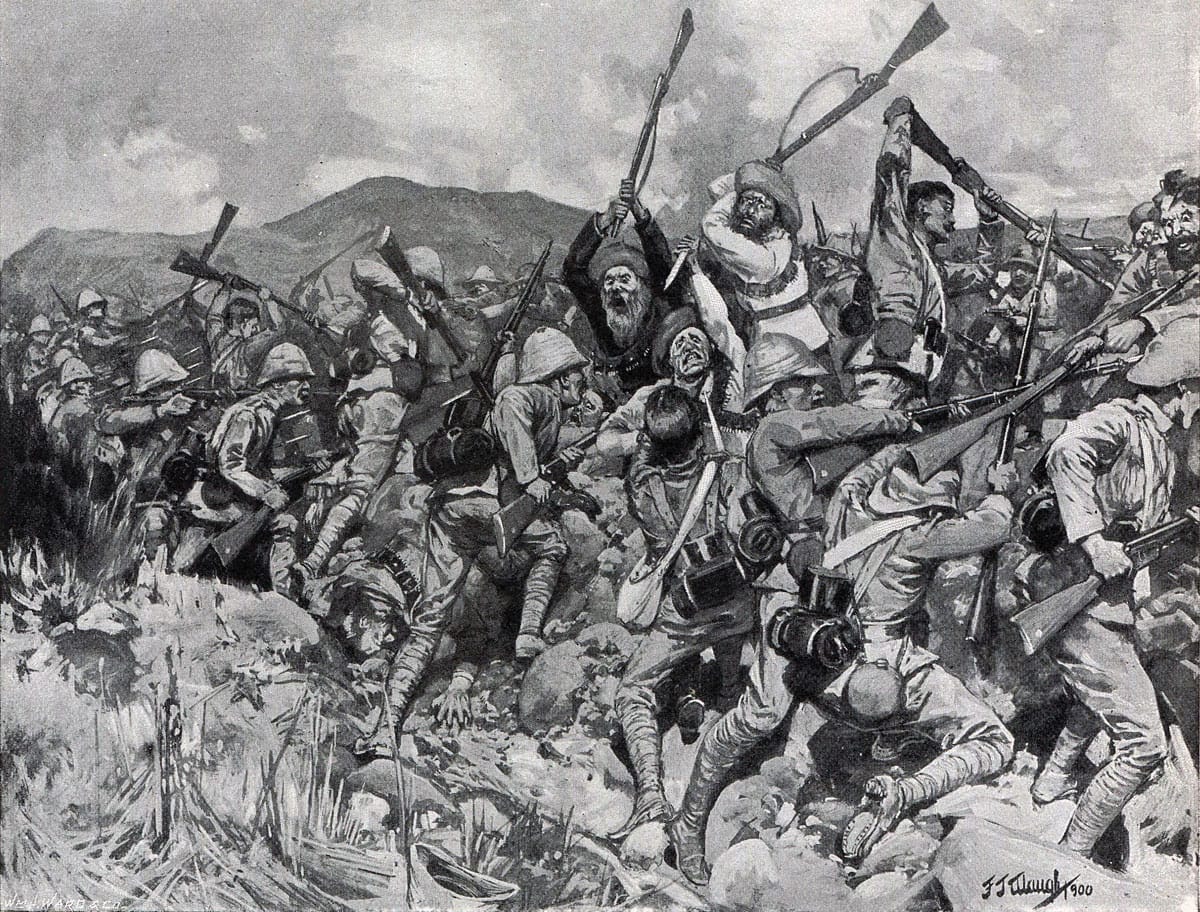
⚔️🔒Battle of Spion Kop, Natal,
23-24 January 1900
A bold plan and a day of disaster on the Tugela Heights! At the Battle of Spion Kop, 23-24 January 1900, a bold British night attack seized a key Boer position overlooking the Tugela River. By dawn, the British realised they had halted short of the crest and were exposed to converging Boer fire from…
Anglo-Boer War Field Notes
Short-form observations, terrain insights, and working interpretations from the field. Some posts require access.

Authored by Mick Prictor, a retired military officer with 40 years’ service, and a military historian specialising in terrain-focused analysis of tactics, doctrine, and command decision-making in land warfare. His work draws on extensive battlefield fieldwork—more than 280 sites worldwide—and one of the world’s largest private collections of historic military arms, uniforms, and equipment. About me
⚔️ Go deeper — Members get exclusive access to the Deep Research Collection, Field Notes, and monthly Research Dispatches. Try membership free for 7 days, cancel anytime. From $9/month.
Explore Related Themes
Armies: Boer Army • British Army
Weapons: Lee-Enfield • Martini-Henry Rifle • Mauser
Methods: Raid Operations • Envelopment • Siege Warfare
Further Study: Anglo-Boer War Reading List
Frequently asked questions
The war arose from long-standing tensions between the British Empire and the Boer republics of the Transvaal and Orange Free State. Disputes over political rights for foreign settlers, imperial influence in southern Africa, and control of gold-rich territories escalated into open conflict in 1899.
Early British operations underestimated the mobility, marksmanship, and defensive skill of Boer commandos. Well-sited trenches, smokeless Mauser rifles, and clever use of dead ground allowed the Boers to dominate key battles such as Stormberg, Magersfontein, Colenso and Spion Kop.
Following major reinforcements and new leadership, the British relieved the besieged towns and advanced into the Boer republics. From late 1900, however, the war shifted into a guerrilla phase, prompting the British to build blockhouse lines, form mobile columns and adopt scorched-earth tactics.
Many Boer War battlefields remain remarkably intact. Features such as the Tugela River crossings, the summit of Spion Kop, and the Ladysmith approaches still display the ground constraints, fields of fire, and dominant ridgelines that shaped historical decisions.
I have personally explored the battlefields of Colenso, Ladysmith, Spion Kop, Elandslaagte, and Chieveley, with additional sites to be added as further fieldwork is undertaken.
Subscribe to Battlefield Travels and receive a free E-Book Battlefield Guide
Unlock expert battlefield analysis, campaign reconstructions, and historical insights drawn from firsthand exploration and primary sources.
🗺️ You’ll receive:
🎖️ Exclusive historical insights you won’t find elsewhere
📘 A free eBook: 10 Tips for Exploring Historic Battlefields
📰 New battlefield studies straight to your inbox as they are published

⚔️ Go deeper — Members get exclusive access to the Deep Research Collection, Field Notes, and monthly Research Dispatches. Try membership free for 7 days, cancel anytime. From $9/month.